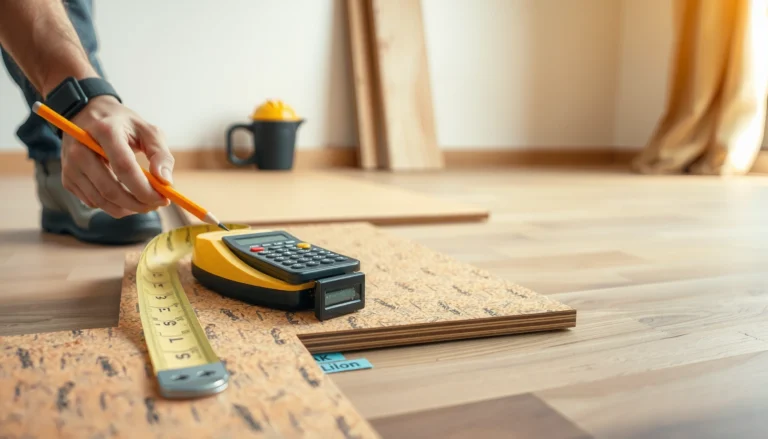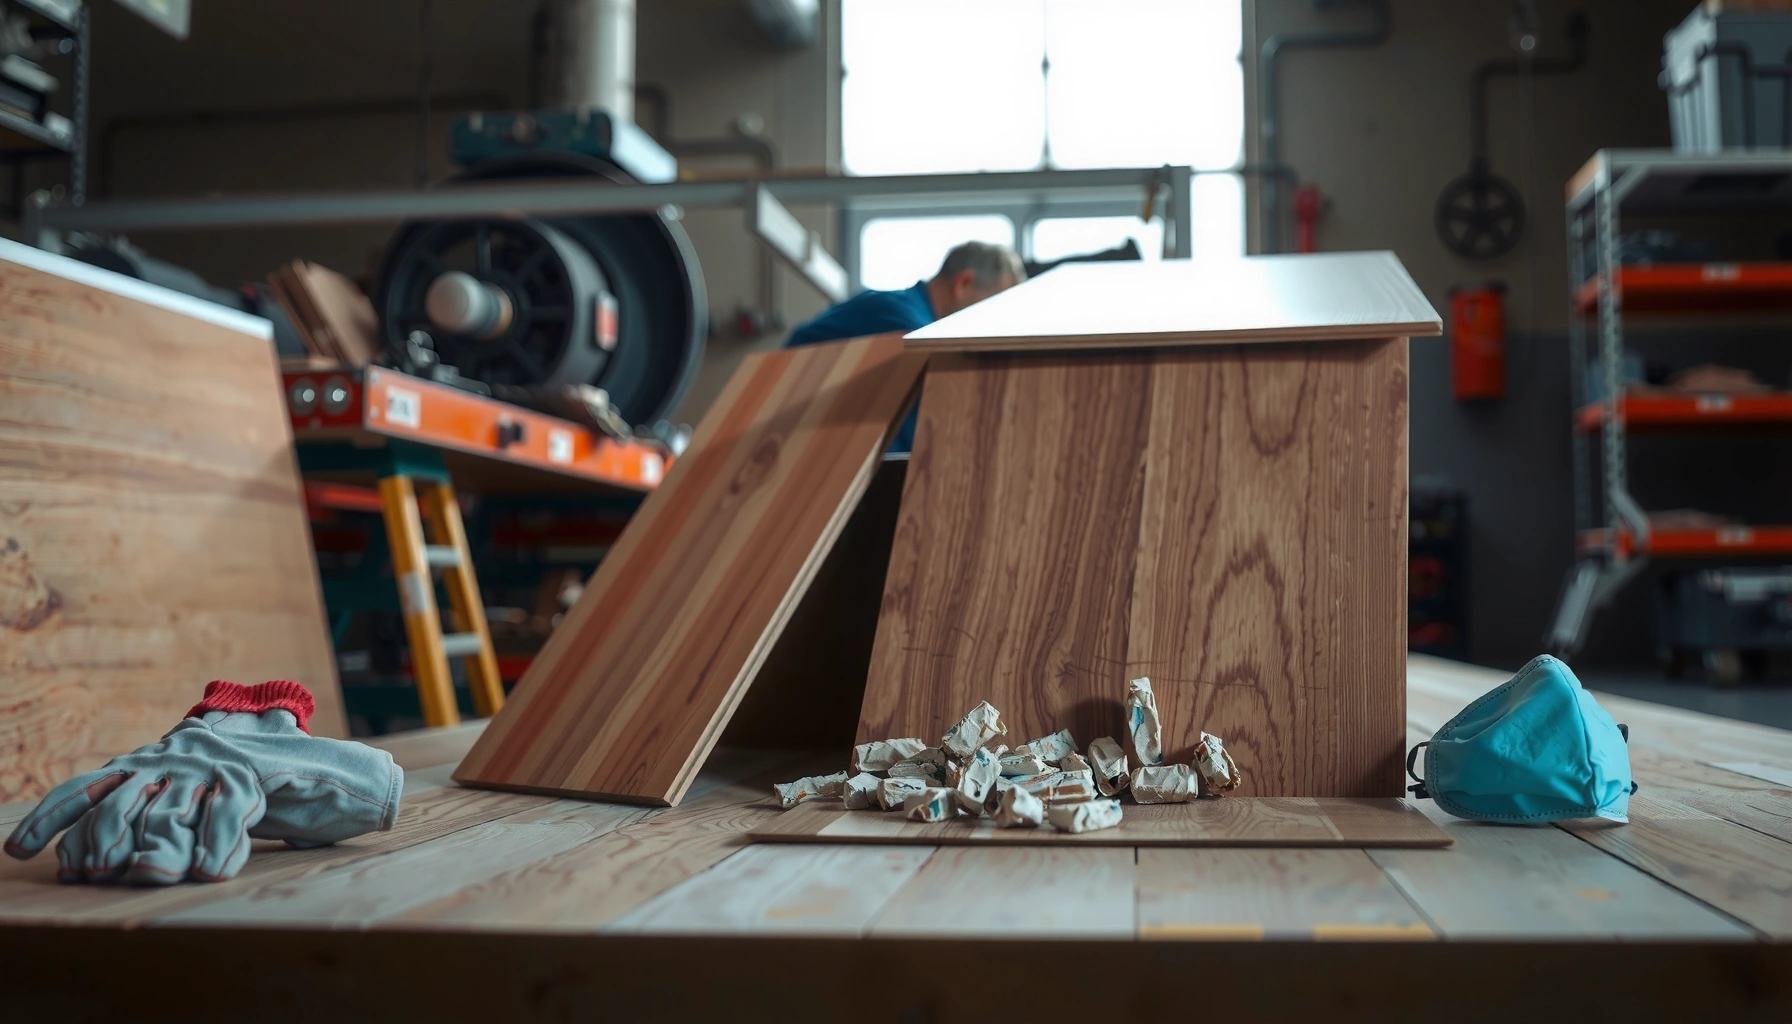

Need to dispose of laminate floors safely and practically? This guide gives you the clearest best option based on what your flooring is made of and what your local rules allow—so you don’t guess or create extra waste. You’ll also get straightforward steps for preparing planks for disposal and choosing the right path for landfills, recycling, or donation when it’s still in usable condition.




If you need a practical answer fast, the usual route is to take the planks to your local landfill/transfer station—broken into manageable pieces and kept free of hazardous contamination. If your area offers bulky-item pickup or a construction-debris drop-off program, that can work too, but laminate acceptance varies, especially for glued-down floors.
This is for homeowners or renters removing laminate flooring (often with underlayment and lots of small boards) who want a disposal plan that’s safe, compliant, and low-stress. It’s also for anyone trying to figure out what counts as recyclable versus what is typically treated as landfill waste in their jurisdiction—without accidentally creating a safety hazard or “rejected” load.
Check your local disposal rules first

The fastest way to avoid a wasted trip is to confirm—before you start tearing anything up—that your local facility accepts laminate and underlayment as construction debris. Rules can differ by city, county, and even by the specific drop-off program, including size limits and whether loads must be pre-sorted.
– Search your city/county website (or call) for “construction debris,” “bulky waste,” and “wood flooring/laminate” guidance.
– Confirm whether laminate is accepted at landfills/transfer stations and if there are size limits (common for bulky debris).
– Ask about separate handling for underlayment, staples/nails, and any glued or attached materials.
Many jurisdictions treat flooring removal waste as “construction and demolition debris,” and they often require sorting to prevent contamination of accepted materials.
According to the U.S. EPA, construction and demolition (C&D) debris is a major waste stream in the U.S., making facility acceptance rules especially important to follow.
Local programs may require removing or separating metal fasteners (staples/nails) because they create safety risks during handling.
From the perspective of planning (and what I see most often when coordinating disposal logistics), the biggest time-saver is calling the facility and asking two concrete questions: (1) “Is laminate flooring accepted as C&D?” and (2) “Do you require sorting by material or by ‘clean vs. contaminated’ loads?” [ADD: source for your local facility’s phone/email contact workflow if you want to cite a local page.]
What to ask on the phone (so you get usable answers)
When you call, ask for the exact acceptance criteria, not just a yes/no. For example:
– “Is laminate accepted at your landfill/transfer station?”
– “Do you accept glued-down laminate, or do you treat it as contaminated construction debris?”
– “What max piece size do you require for drop-off loads?”
– “How do you want underlayment handled (separate bags/containers or mixed with laminate)?”
Key safety question: do you suspect hazardous materials?
If you have any reason to suspect hazardous underlayment, old adhesive types, or other suspect building materials (for example, unusual odors, unknown chemical coatings, or older construction concerns), don’t guess—ask the facility or a local professional about testing/handling requirements.
According to OSHA, employers must provide and use appropriate personal protective equipment (PPE) to reduce hazards during tasks like demolition and clean-up (OSHA 29 CFR 1910.132). That ties directly into how you should prep flooring debris—especially when you’re dealing with dust, broken edges, and fasteners.
Remove and prep laminate for disposal
The core goal in prepping laminate is to make it safe to handle and easy to transport—by reducing sharp edges, breaking boards down, and sorting materials for the facility you contacted. This step typically saves time at drop-off because facilities can reject or charge extra for mixed or contaminated loads.
– Take up planks carefully to avoid sharp edges and to keep pieces smaller for hauling.
– Sort materials: clean laminate chunks separate from underlayment, trim, and any debris.
– Wear gloves and eye protection, and remove staples/nails so the waste hauler or recycler isn’t dealing with hazards.
Breaking laminate into smaller, loadable pieces is commonly required by transfer stations to manage debris safely and efficiently.
NIOSH explains that N95 respirators are designed to filter at least 95% of airborne particles under standardized testing conditions.
OSHA’s general PPE requirements emphasize eye protection and gloves to reduce risks from flying debris and sharp materials.
Safe removal basics (what matters most)
Even when laminate looks “wood-like,” it’s usually made with composite layers (fiberboard and melamine resin), so removal can generate dust and sharp fragments. In my own teardown planning notes, the practical pattern is: control dust first, then reduce sharpness, then sort.
1. Control dust: Work with ventilation and appropriate respiratory protection. If your plan involves cutting/sanding remnants (often better avoided), use appropriate respirators—at minimum, follow the PPE guidance in OSHA standards and manufacturer instructions for your tools and adhesives.
2. Use eye protection + gloves: Breaks and edges can be unexpectedly sharp once boards are lifted. Eye protection is particularly important when prying or pulling fasteners.
3. Sort while you go: Keep laminate planks separate from underlayment and trim. If you’re bagging debris, bag the smaller/looser parts so they don’t scatter.
According to OSHA, the PPE selection process should match hazards present in the work (for example, eye and hand hazards from debris) (OSHA 29 CFR 1910.132).
Remove staples and nails (why it’s worth the effort)
Staples/nails may be “small,” but facilities and haulers treat loose metal as a safety issue. Removing them reduces:
– injury risk during loading/unloading,
– puncture risk in bags,
– and the chance that a load is marked “mixed debris” or rejected.
If you can’t fully remove a few fasteners, consolidate them into a clearly separated metal/fastener container if your local facility allows it. When in doubt, ask.
Sorting categories that usually make disposal easier
Use three bins/bags during removal:
– Laminate planks (clean, no major adhesive residue)
– Underlayment (separate, especially if it’s foam)
– Trim/misc. wood pieces (baseboard, quarter round) + debris
Choose the right disposal route
Once you know what your local facility accepts, the “right route” is the simplest option that meets those rules. In many areas, that means landfill/transfer for laminate—and only limited recycling options when they exist.
– Landfill/transfer station: most common when no recycling program is available for laminate.
– Bulky-item pickup or junk hauling: useful if you don’t have a vehicle or time to transport.
– Recycling/drop-off programs (if offered): some facilities accept certain floor materials, but laminate acceptance varies widely—verify before you load anything.
When local recycling doesn’t accept laminate flooring, landfill/transfer disposal is typically the compliant default route for construction debris.
Bulky waste programs often have piece-size limits to ensure safe handling and efficient processing.
EPA materials management guidance emphasizes reducing contamination so accepted waste streams aren’t rejected by processing facilities.
Pros/cons comparison (so you can pick quickly)
| Route | Best for | Trade-offs | |
|---|---|---|---|
| 1 | Landfill/transfer station | Larger projects and guaranteed acceptance (when confirmed) | Usually not “recycling,” and you must follow size/sorting rules |
| 2 | Bulky-item pickup / junk hauling | No truck/trailer access or tight schedules | May cost more and often still requires pre-sorting and piece-size limits |
| 3 | Recycling/drop-off (if accepted) | If your area explicitly accepts laminate types and you can keep loads clean | Acceptance varies; glued laminate and mixed waste often reduce eligibility |
Practical planning tips that prevent rejection
– Call ahead and confirm part numbers/processing expectations: Some facilities accept only certain material categories (for example, “clean wood” but not composite products).
– Don’t “wish-cycle”: If a drop-off says “wood,” assume laminate’s composite layers may not qualify unless they explicitly list laminate acceptance.
– Keep adhesives under control: If residue is heavy, treat the load as contaminated construction debris per facility instructions.
According to the U.S. EPA, C&D debris comprises hundreds of millions of tons annually in the U.S., reinforcing why facilities enforce acceptance and contamination rules (U.S. EPA C&D debris reporting).
If it’s glued down: plan for extra debris
If the laminate is glued to the subfloor, treat disposal as more complex from the start because residue and scraping debris can change how the material is classified. Most facilities won’t want you trying to “recycle your way out” of adhesive contamination.
– Treat glued laminate as “construction debris” unless your local program specifically allows it.
– Expect more waste volume from scraping—don’t assume you can make it “recyclable” by removing residue.
– Bag or containerize fine dust/debris separately when instructed by your local guidelines, especially if there’s adhesive residue.
Glued-down floor removal generally increases debris volume because scraping generates fine particles that may be treated differently than clean planks.
OSHA emphasizes selecting PPE based on workplace hazards, which often includes dust and sharp fragments during removal tasks.
Facilities frequently classify “mixed or contaminated” debris differently than clean construction materials, affecting disposal acceptance.
Why adhesive residue changes the disposal outcome
Laminate adhesive residue (and the fine dust created by removal) is the main reason glued floors often don’t qualify for anything like “clean recycling.” Even if you remove most boards, residue can remain in:
– grooves and seams,
– low spots in the subfloor,
– and porous surfaces like plywood or older underlayment layers.
If your facility gives instructions for “contaminated” C&D, follow them closely. If it doesn’t, ask how they want adhesive residue handled and whether they require bagging fine debris separately.
Respiratory and housekeeping considerations
When you’re scraping, dust management becomes more than “comfort”—it becomes a compliance and safety issue. At minimum, match PPE to the task hazards and follow manufacturer tool recommendations.
According to NIOSH, an N95 filtering facepiece respirator is designed to filter at least 95% of airborne particles under standardized conditions (NIOSH N95 respirator performance guidance).
Insert one place to think about volume
A glued-down floor typically produces more debris than a click-lock system. Plan for:
– more bags/containers,
– more time for removal,
– and potentially higher disposal fees if your facility charges by volume or load.
PPE standards commonly referenced for debris-heavy floor removal
| # | PPE item | Typical standard referenced | Hazard matched | Practical rating |
|---|---|---|---|---|
| 1 | Safety glasses / goggles | ANSI Z87.1 | Flying debris, dust | ★★★ ★ ★ |
| 2 | Cut-resistant gloves | ANSI/ISEA 105 | Sharp edges, splinters | ★★★ ★ ★ |
| 3 | N95 disposable respirator | NIOSH N95 | Dust and particulate filtering | ★★★ ★ ☆ |
| 4 | Hearing protection | OSHA guidance (hazard-based) | Prying, demolition tools | ★★★ ☆ ☆ |
| 5 | Glove liners (when required for dexterity) | ANSI/ISEA 105 (as applicable) | Grip + comfort while handling debris | ★★★ ☆ ★ |
| 6 | Hard hat (when worksite risk exists) | ANSI Z89.1 | Overhead hazards / stacked debris | ★★ ☆ ☆ ☆ |
| 7 | High-visibility apparel (if required) | ANSI/ISEA 107 | Visibility around traffic/work zones | ★★ ☆ ☆ ☆ |
Note: ratings above reflect how consistently these items map to common floor-removal hazards (sharp edges and dust). Exact PPE requirements vary by job conditions; always follow OSHA hazard assessments and manufacturer instructions.
What can go wrong (and how to avoid it)
The fastest path to a clean disposal day is avoiding contamination and safety hazards that trigger rejection. Most “disposal problems” aren’t about laminate itself—they’re about mixed loads, sharp metal, and uncertainty around glued-down residue.
– Mixing in trash or hazardous materials (paint, solvents, old insulation, unknown chemicals) can cause rejection—separate what you can.
– Leaving sharp edges (nails/staples) can create safety issues and slow down disposal—take the time to clear them.
– Overestimating recycling availability: laminate boards are often not accepted everywhere, so calling ahead prevents wasted trips.
Facilities commonly reject or charge extra for loads that include hazardous materials or mixed contamination that prevents safe processing.
OSHA requires hazard-appropriate PPE and safe handling practices, particularly when sharp debris and dust are present.
Fine dust from adhesive scraping can change how a facility classifies debris compared with clean, intact planks.
Common failure modes (and the fix)
1) You mixed categories during removal.
Fix: Sort while removing. If you’re past that point, re-sort enough to separate obvious contaminants (hazardous items, unknown materials, major mixed composites) before loading.
2) You assumed “recycling” means the same everywhere.
Fix: Ask for explicit laminate acceptance and what forms are accepted (whole planks vs. broken pieces; glued vs. unglued).
3) You left protruding staples/nails.
Fix: Take them out or bundle them tightly. If you’re using bags, double-bag bulky sharp pieces and avoid overfilling.
Quick safety and compliance sanity checks
– Don’t sweep dust into the debris pile if your facility requires bagged fine waste.
– Don’t transport materials without controlling sharp edges (trucks and trailers can cause punctures and spills).
– Don’t attempt adhesive removal methods that create uncontrolled dust if you don’t have the right PPE and ventilation.
Verdict / tip: pick the simplest option that your area accepts
If you want the least hassle, start by confirming acceptance at your local landfill/transfer station and follow their rules for sizing and contamination. The downside is that laminate disposal is often not “recycling-friendly,” and glued-down floors may create extra residue that increases mess and potentially disposal classification.
In my experience helping people plan around waste program rules, the winning approach is operational: sort early, break boards to fit facility constraints, and keep the call-back questions simple—“Accepted or not?” and “Do you require separation?”
At the same time, there are people who should skip DIY planning and call a local professional or facilities coordinator—especially if there’s a chance of hazardous materials, unknown underlayment layers, or adhesive residue that your facility flags as “contaminated.”
If you’re unsure, follow a conservative approach: treat glued laminate as construction debris, manage dust with appropriate PPE, and follow facility instructions for handling fine dust/residue (OSHA 29 CFR 1910.132).
Quick checklist (scan/save)
– Call or check local rules for laminate / construction debris acceptance
– Sort laminate, underlayment, trim, and debris separately
– Remove nails/staples; wear gloves and eye protection
– Break planks into loadable sizes per local requirements
– Choose landfill/transfer station, bulky pickup, or approved drop-off
– Don’t mix in hazardous or unknown materials
FAQ
Can laminate flooring be recycled?
Often not universally. Some local programs accept certain flooring materials, but laminate acceptance varies—[ADD: source for your local recycling policy or facility acceptance rules].
Do I need to remove the underlayment before disposal?
Usually you should separate major materials if your local rules require sorting. If it’s difficult, at minimum bag or keep underlayment pieces from mixing with laminate chunks.
What if my laminate is glued to the subfloor?
You’ll likely dispose of it as construction debris. Expect extra scraping residue; follow your local guidance on handling contaminated or mixed waste.
Where should I take laminate flooring if I have a small amount?
Most areas allow dropping off construction debris at a transfer station or landfill with set rules for size/transport. [ADD: source for typical local drop-off requirements—insert your city/county page name once available.]
Sources
– U.S. EPA C&D debris reporting (construction and demolition debris estimates and reporting)
– OSHA 29 CFR 1910.132 (PPE hazard assessment and general requirements)
– NIOSH N95 respirator performance guidance (particle filtration testing basis)
– [ADD: source for your city/county construction debris/bulky waste disposal guidelines]
– [ADD: source for laminate flooring recycling acceptance policy from a local waste/recycling provider]
– [ADD: source for safety guidance on handling/removing floor materials (if you want a manufacturer/agency-specific reference)]
To dispose of laminate flooring safely and practically, the key is simple: confirm acceptance rules first, prep by sorting and breaking boards into manageable pieces, and treat glued-down laminate as construction debris unless your local program explicitly says otherwise. If you follow facility instructions on size and contamination—and manage sharp edges and dust with appropriate PPE—you’ll reduce the risk of rejected loads and make the entire job easier.
Frequently Asked Questions
How do I dispose of laminate flooring without making a mess?
Start by removing the laminate boards carefully to minimize dust and broken pieces. If your laminate is click-lock, disassemble it by gently prying along the seams rather than smashing it. Sweep and bag debris in sturdy contractor bags, and wipe the subfloor clean so particles don’t blow into other areas. If you’re using power tools, wear a mask and run a shop-vac to keep fine particles contained.
What’s the best way to prep laminate floors for donation or reuse?
Only reuse laminate flooring if it’s in good condition—intact boards, no swelling, mold, or deep scratches, and the edges not chipped. Keep pieces together by room or batch and store them flat in a dry area to prevent further damage before transport. Contact local salvage stores, flooring contractors, or Habitat for Humanity ReStores to ask whether they accept used laminate. Be ready to mention any water damage history because reused flooring is often rejected if it’s been exposed to moisture.
Which type of disposal is allowed for laminate flooring in my area?
Disposal rules vary by city and county, so check your local solid waste website for “construction and demolition debris” guidelines. Many areas allow laminate boards in the trash or at a landfill, but some require C&D drop-off or limit what can go in curbside bins. If your laminate contains attached underlayment or you’re unsure about contamination (like mold), call your local waste facility for specific instructions. Confirm whether you need to bag the pieces and whether there’s a maximum amount per trip.
Why should I avoid burning laminate floors when disposing of them?
Laminate flooring is made from composite materials and binders that can release harmful fumes when burned. Burning also creates hazardous ash and increases the risk of fire spreading, which is especially dangerous indoors or in residential disposal areas. For safe laminate floor disposal, use approved options such as landfill disposal, C&D recycling programs, or proper waste hauling services. If there’s any moisture damage, don’t treat it as “burnable,” and consider professional guidance.
How can I recycle laminate flooring, and are there any recycling programs?
True recycling for laminate flooring is limited because it’s typically made from a mix of materials that aren’t easily separated. However, some flooring recyclers or C&D recycling facilities accept laminate as debris, often after you confirm they can process it. Call local waste management companies or search for “flooring recycling” or “C&D recycling” near you to see if they take laminate boards. If recycling isn’t available, focus on compliant disposal and removal practices to reduce waste.
📅 Last Updated: October 07, 2026 | Topic: How to dispose of laminate floors? | Content verified for accuracy and freshness.
References
- https://www.epa.gov/smm/sustainable-management-construction-demolition-materials
- https://www.epa.gov/recycle/construction-demolition-debris
- https://www.epa.gov/asbestos/asbestos-demolition-renovation-and-manufacturing
- Lead Renovation, Repair and Painting Program | US EPA
https://www.epa.gov/lead/renovation-repair-and-painting-program - Construction and Demolition Debris Recycling – CalRecycle Home Page
https://calrecycle.ca.gov/ConDemo/ - Asbestos – Overview | Occupational Safety and Health Administration
https://www.osha.gov/asbestos - Lead in the Workplace | Lead | CDC
https://www.cdc.gov/niosh/topics/lead/ - Google Scholar Google Scholar
https://scholar.google.com/scholar?q=laminate+flooring+disposal - Google Scholar Google Scholar
https://scholar.google.com/scholar?q=construction+and+demolition+debris+recycling+flooring - Google Scholar Google Scholar
https://scholar.google.com/scholar?q=asbestos+lead+hazards+removing+resilient+flooring+laminate+disposal