


Replacing hardwood floors in a warehouse is a job you can plan and execute step by step—when you follow the right workflow. This guide walks you through removing the old planks, preparing the subfloor for heavy-duty conditions, installing new hardwood, and finishing for warehouse wear. You’ll get a clear, practical path from teardown to a durable, shop-ready floor that’s built to take traffic and loads.




Replacing warehouse hardwood successfully comes down to planning logistics first, then verifying subfloor/masonry moisture and flatness before you install the correct hardwood system (solid vs. engineered) exactly per manufacturer specs. Then you finish/coating properly and protect the surface during the full cure window so rolling traffic, carts, and debris don’t wreck the new wear layer—because most failures trace back to prep, not the boards.
If you’re replacing worn, damaged, or buckled hardwood in a warehouse (especially where forklifts and pallet jacks are active), you’re dealing with more than aesthetics—you’re managing dust, downtime, moisture/adhesion/fastener performance, and the ability to keep the slab and flooring environment within tight tolerances. As of 2026, the safest way to reduce call-backs is to follow a standards-based prep workflow (moisture + flatness), stage materials in a controlled way, and document that you stayed inside the approved temperature/humidity conditions.
Who this is for
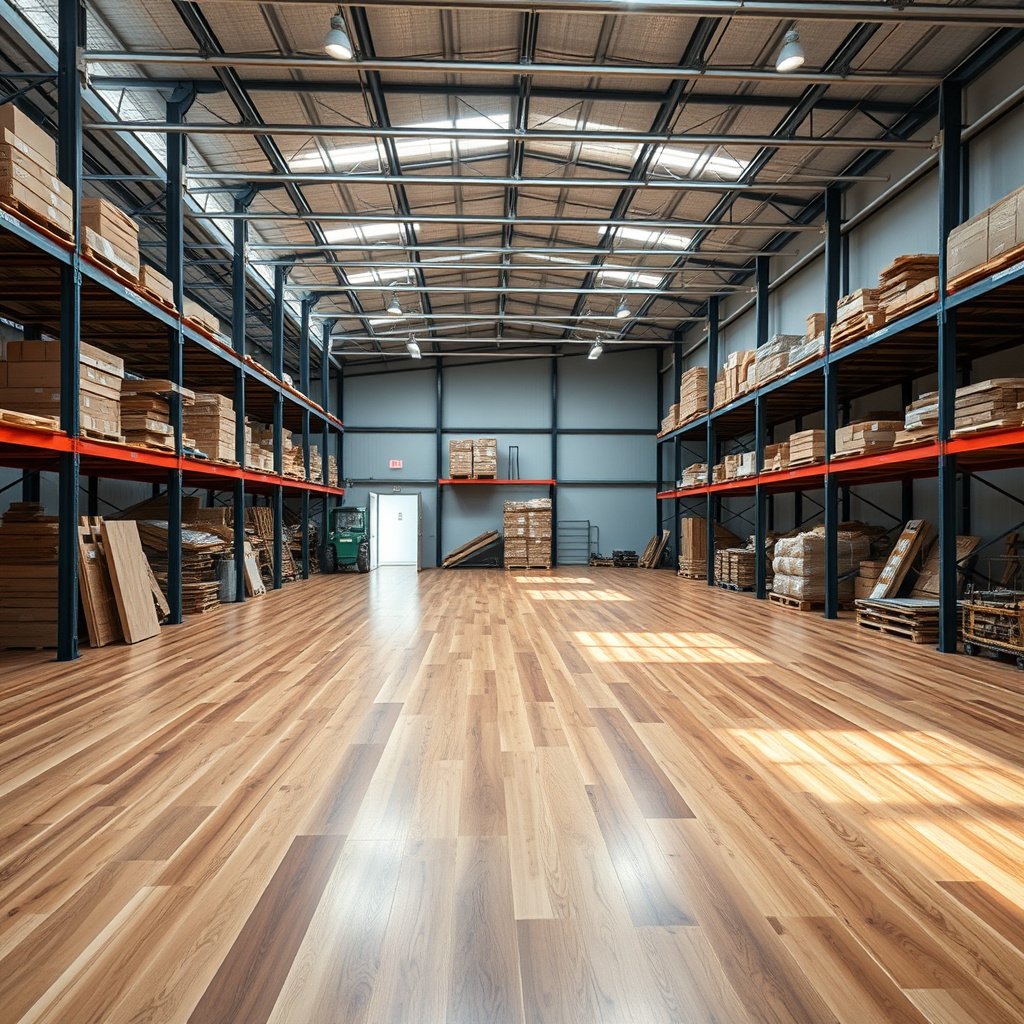
This project is a strong fit for warehouse owners/managers and experienced flooring contractors who can stage materials, control access, and manage curing downtime. It’s not a good “start here” task when the underlying problem is active water intrusion, structural movement, or a subfloor that’s out of spec—those root causes must be corrected first.
Plan the replacement and choose the right hardwood system
The best time to prevent failure is before removal: choose the correct product type (solid vs. engineered) and installation method based on your warehouse conditions. When you plan this up front, you can align staging, subfloor testing, fastener/adhesive selection, expansion-gap detailing, and finish schedule to the manufacturer’s requirements.
Solid vs. engineered: pick the method that matches the environment
– Solid hardwood is usually installed with approved nailing methods (or, in some systems, specific glue-down approaches), and it still requires strict control of subfloor moisture and expansion spacing to limit movement.
– Engineered hardwood can be more tolerant in some commercial environments because its layered construction handles movement differently, but it still demands correct subfloor prep and method-specific installation steps.
From my experience advising crews on warehouse turnarounds, the most common “surprise” isn’t difficulty installing—it’s discovering late that the existing slab/moisture profile or flatness level forces a different product selection or additional prep work.
Confirm scope so you don’t underbuild the repair
Before you order flooring, decide whether this is:
– Full replacement (best when moisture exposure is widespread or boards are systematically buckled), or
– Partial plank replacement (possible, but only if the surrounding area isn’t already affected by moisture or slab movement).
Also confirm detailing needs:
– Transition strips at roll-up doors/office edges
– New base/trim or edge guards (important where carts scrape)
– How penetrations (pipes, conduits) will get expansion accommodation
Warehouse subfloor verification targets (use standards, not guesses)
You’ll need measurable inputs before you proceed. According to National Wood Flooring Association (NWFA) moisture and installation guidance, correct subfloor moisture control is a primary requirement for avoiding cupping, gapping, and adhesive/fastener failure. Many NWFA-aligned specs also reference a wood-to-subfloor moisture differential of about 4% for stable performance (confirm the threshold in your specific product instructions).
To support the planning step, use the standards-based workflow below:
ASTM Standards Commonly Used for Warehouse Floor Prep (Moisture/Concrete Conditions)
| # | ASTM method | What it measures | Primary output | Role in hardwood prep |
|---|---|---|---|---|
| 1 | ASTM F2170 | In-situ RH in concrete | Relative humidity (%) | Required by many specs ★★★★★ |
| 2 | ASTM F1869 | Moisture vapor emission rate | MVER (e.g., mass/area/time) | Often accepted ★★★★☆ |
| 3 | ASTM D4442 | Moisture content in wood | Moisture content (%) | Used to verify acclimation ★★★★☆ |
| 4 | ASTM F710 | Concrete surface preparation | Prep outcome vs. specification | Supports adhesive bonding ★★★★★ |
| 5 | ASTM E1155 | Floor flatness (FF/FL) | FF and FL numbers | Used for flatness verification ★★★★☆ |
| 6 | ASTM E1745 | System performance ratings for underlayments | Rated performance properties | Selects compatible underlayment ★★★☆☆ |
| 7 | ASTM E1643 | Evaluation of floor finishes | Tested finish properties | Supports finish/system selection ★★★☆☆ |
Remove old hardwood and prep the subfloor
You remove old flooring carefully, then you prep for adhesion/fastening by correcting residue issues and verifying subfloor moisture and flatness. The goal is simple: get a clean, sound, and spec-compliant substrate before any new boards go down—because you can’t “fix” a bad slab with better plank quality.
Remove boards/fasteners without damaging the slab/masonry
– Plan containment for dust and debris. Use plastic sheeting and negative-pressure or targeted ventilation if your site supports it.
– Remove fasteners (nails/staples) and scrape off incompatible adhesives/old coatings. Follow site safety rules for lead/asbestos if materials could contain contaminants.
– Clean thoroughly so the new installation method can perform as designed.
Inspect and correct flatness + moisture before installation
Check:
1. Flatness (high spots/low spots) using straightedges and/or an FF/FL approach where required.
2. Damage (spalling, cracks, delamination, broken surface material).
3. Moisture risk (slab RH/MVER and wood moisture content).
Use this moisture testing method/standard you’re following:
– ASTM F2170 (in-situ relative humidity) for slab RH testing, following NWFA-aligned practice for flooring approvals; where RH probes aren’t feasible, use ASTM F1869 (calcium chloride) instead.
– For wood moisture content verification (on site and for acclimation confirmation), use ASTM D4442.
Note: stop if readings indicate a risk level per the flooring manufacturer’s guidance. That “stop point” should come from the exact manufacturer specification sheet for your product and installation method.
Safety: dust and PPE during removal
Old flooring removal can generate respirable dust. According to OSHA’s respirable crystalline silica standard (29 CFR 1926.1153), the **PEL is 50 µg/m³ as an 8-hour TWA** and the **action level is 25 µg/m³**. Also, OSHA 29 CFR 1926.1153 sets a short-term exposure limit of **100 µg/m³ over 15 minutes**.Use OSHA-aligned dust/PPE guidance you will follow:
– Use engineering controls first (HEPA vacuums, wet methods where compatible, containment).
– Use appropriate NIOSH-approved respirators if required by your site assessment.
– Provide eye/face protection, gloves, and disposable footwear protection as needed for dust control and cleanup.
Because warehouse sites vary, the exact PPE selection must be determined by a competent person’s hazard assessment per OSHA requirements.
Install warehouse-ready hardwood (follow the product’s method)
Install using the manufacturer-approved approach for your specific product type (solid vs. engineered), and keep jobsite conditions within the required temperature/humidity range. If you treat the installation like a residential project, you’ll usually miss one warehouse-critical detail: the environment, the traffic staging, or the curing timeline.
Solid hardwood installation fundamentals (nail/glue/floating only if approved)
Follow the spec for:
– Approved fastener type and spacing
– Subfloor thickness/conditions required for nailing
– Expansion gaps at walls, columns, and penetrations
– Seam layout: stagger end joints and maintain consistent spacing
Engineered hardwood installation fundamentals (glue-down vs. floating if specified)
Follow:
– Adhesive type and bonding requirements (if glue-down)
– Underlayment requirements (if floating) and any vapor/edge detailing
– Perimeter expansion and transitions (especially around doorways and equipment islands)
Reduce failure points through layout and cleanliness
– Maintain a consistent working direction to manage visible seams and reduce board tension.
– Avoid trapping debris under boards; in warehouses, grit turns into a wear/finish problem quickly.
– Keep board storage conditions consistent; staged bundles should be acclimated per the manufacturer instructions.
Manage safety, moisture control, and downtime
Manage the dust and the cure schedule as carefully as the installation. The warehouse doesn’t pause for coatings—so you need a documented traffic plan and surface protection that lasts until curing is complete per the finish manufacturer’s instructions.
Practical downtime planning for warehouses
– Stage materials so crews don’t bring tracked debris across the new surface.
– Plan a segmented work area: install, clean, and protect before expanding into adjacent zones.
– Define “go/no-go” triggers:
– Subfloor test passed and documented
– Installation temperature/humidity within range
– Coating/adhesive cure meets manufacturer guidance
Protect the floor during the closure window
– Use floor protection rated for the expected load paths (forklift wheels/pallet runners can concentrate force).
– Keep sanding/edge grinding away from completed sections unless protected—abrasion and dust settle into finishes.
What can go wrong
The most common failure modes are moisture imbalance, wrong installation method, and rushing cure/finish steps. Warehouses expose installation defects faster because rolling loads and constant abrasion amplify weak bonds, trapped moisture, and surface contamination.
Common mistakes (and what to do instead)
1) Moisture problems under the hardwood
– Symptom: cupping, edge lift, gapping, loose planks, finish haze or peeling.
– Fix: re-test the slab, verify ongoing moisture sources, and follow manufacturer requirements for mitigation (including moisture barriers when specified).
2) Wrong installation method or fasteners
– Symptom: squeaks, loose planks, separation at seams.
– Fix: re-check that your method matches the product sheet for solid vs engineered and for your subfloor type.
3) Rushing cure time
– Symptom: coatings scuff, adhesive fails early, surface dents and delamination.
– Fix: schedule time for full cure and coordinate warehouse operations around that reality.
4) Flatness ignored
– Symptom: board deflection, finish cracking, early joint failure.
– Fix: correct high/low spots before installation; don’t rely on thicker boards to “hide” a rough slab.
Verdict / tip
Hardwood replacement in a warehouse is doable, but the biggest determinant of success is not the visible plank—it’s subfloor condition, correct product selection (solid vs. engineered), and strict adherence to manufacturer installation + moisture/temperature requirements. If you can’t control humidity, troubleshoot moisture sources, or keep heavy traffic off the surface through cure/finish timelines, pause and reassess (or consider a different system better suited to warehouse operating conditions).
– Downsides to expect: longer downtime than many teams plan for, careful coordination with forklift/pallet routes, and higher labor complexity from dust management and substrate correction.
– Who should skip a DIY-style approach: anyone without moisture testing capability, subfloor leveling/repair skills, and a clear plan to protect the floor during the entire cure/finish process.
Quick scan checklist (save this)
– [ ] Confirm solid vs. engineered and installation method required by the manufacturer
– [ ] Remove old flooring without damaging the slab/subfloor
– [ ] Inspect and correct subfloor flatness + address moisture sources
– [ ] Verify temperature/humidity conditions meet manufacturer requirements
– [ ] Install with correct fasteners/adhesive method and expansion spacing
– [ ] Finish/coating applied and fully cured per finish instructions
– [ ] Protect new surface; control forklift/foot traffic until approved for use
Conclusion
Replacing hardwood floors in a warehouse is a logistics-and-standards job: plan the work so traffic downtime is controlled, remove the old material without damaging the substrate, and only install after moisture and flatness testing confirm compliance with the product and finish specifications. When you execute installation using the manufacturer’s exact method for solid versus engineered systems—and you protect the surface through full cure—you dramatically reduce the risk of buckling, gapping, and premature wear under rolling traffic.
Sources
– National Wood Flooring Association (NWFA) guidelines relevant to hardwood installation and moisture control
– Hardwood manufacturer installation instructions/spec sheet for your exact product type (solid or engineered)
– Finish/coating manufacturer cure and application instructions
– OSHA guidance for silica/dust control and required PPE during floor removal (29 CFR 1926.1153 where applicable)
Frequently Asked Questions
What is the best way to assess and measure hardwood floors before replacing them in a warehouse?
Start by inspecting for damaged boards, loose subfloor, moisture issues, and areas with heavy wear so you know what needs replacement versus repair. Measure the overall footprint and also map the damaged sections by length and width to estimate board and underlayment quantities accurately. Use a moisture meter to check the subfloor and surrounding environment since warehouse humidity can affect hardwood installation. Document your findings with photos and measurements to plan layout, waste factor, and transitions.
How do you remove old hardwood flooring in a warehouse without damaging the subfloor?
Use a flooring pry bar, oscillating multi-tool, and scrapers to remove boards carefully, especially around nails, staples, and glue lines. Work in sections so you can lift boards without tearing the subfloor or breaking joists, and keep debris controlled for worker safety. If the hardwood is nailed-down, pull fasteners as you go; if it’s glued, score seams and remove adhesive residue to prepare for new flooring. After removal, vacuum thoroughly and check flatness so the new warehouse hardwood floors install evenly.
Why is moisture and subfloor preparation critical when installing new hardwood floors in a warehouse?
Warehouse environments can expose hardwood to fluctuating temperatures and moisture, leading to cupping, gapping, or adhesive failure if conditions aren’t addressed. Before installation, repair or replace any compromised subfloor areas and confirm proper moisture levels using a moisture testing method recommended for your hardwood system. Install an appropriate vapor barrier or underlayment if required by your floor type, and acclimate the hardwood to site conditions. Proper subfloor preparation helps the new hardwood plank flooring perform long-term under warehouse traffic.
How do you choose between nail-down and glue-down hardwood flooring for warehouse use?
Nail-down warehouse hardwood flooring can be ideal when you have a stable, solid subfloor and want mechanical fastening for long-term durability. Glue-down systems may be better in some layouts, but they require meticulous surface prep, correct adhesive selection, and careful control of moisture. Consider traffic intensity, point loads (forklifts, pallets), and whether the floor needs to be slightly flexible or fully rigid. Consulting the manufacturer’s installation guidelines for your specific hardwood species and thickness is the best way to avoid warranty issues.
Which installation method and finishing steps provide the most durable hardwood floors for a warehouse?
For durable hardwood floors in warehouse environments, ensure you meet recommended expansion gaps, use proper underlayment, and install boards in a way that reduces movement at seams. Choose a high-performance, warehouse-rated finish designed for commercial use—such as a hardwearing polyurethane or moisture-tolerant coating—so the floor resists scuffs and wear. Plan for full curing time before heavy traffic, and implement protective measures like floor mats at loading areas and regular cleaning with hardwood-safe products. A strong finishing and maintenance plan helps your new hardwood floors stay consistent and attractive despite industrial use.
📅 Last Updated: October 17, 2026 | Topic: How to replace hardwood floors in a warehouse? | Content verified for accuracy and freshness.
References
- Wood flooring
- Wood flooring
- Floor
- https://en.wikipedia.org/wiki/Wood_moisture
- Floor sanding
- https://www.fpl.fs.usda.gov/documnts/fplgtr/fplgtr190/
- https://scholar.google.com/scholar?q=how+to+replace+hardwood+floors+step+by+step+remove+old+floor+prepare+subfloor+install+new Google Scholar
- https://scholar.google.com/scholar?q=hardwood+floor+installation+guidelines+acclimation+moisture+subfloor+preparation Google Scholar
- https://scholar.google.com/scholar?q=warehouse+flooring+hardwood+replacement+maintenance+moisture+durability Google Scholar


[…] Engineered hardwood may allow more installation flexibility, but still depends on your subfloor and […]
[…] Looking for how to repair vinyl floors in a living room? This step-by-step guide tells you exactly what to do for the most common failures—lifting seams, chips, and cracks—so you can restore a smooth, durable surface fast. Follow the fixes in order and you’ll avoid the mistakes that turn a quick patch into a full replacement. […]