


Fixing water damage on reclaimed wood floors is safest and most reliable when you dry the wood fast, remove any warped or delaminating sections, and then restore stability before finishing. This guide walks you through the exact steps to stop moisture, assess whether the board can be saved, and rebuild the surface without causing further cupping or staining. If you want the quickest path to a floor that looks right and performs safely, start here.




If your reclaimed wood floor got wet, act fast: stop the source, then dry the wood thoroughly before you sand or refinish. Start by checking how far moisture traveled—if boards are still swollen or there are signs of mold, repair will be different than simple surface cleanup. In this guide, you’ll learn how to assess the damage, dry it correctly, and decide whether to refinish or replace affected planks.
If you’re dealing with a leak, spill, or flood on reclaimed (often older, oil-finished, and uneven) hardwood, this is for you. It’s also for homeowners who want to keep the original boards but need a safer process that avoids trapping moisture under new finish.
Stop the water and prevent more damage

If you want the safest outcome, the “first win” is preventing additional moisture migration through reclaimed wood seams and end-grain. The moment water is still entering the floor, every cleanup and drying attempt is partially undone.
According to U.S. EPA, mold can begin growing within 24–48 hours after materials stay wet (or very humid).
According to IICRC S500, drying is most effective when water is removed and materials are dried based on measured drying progress, not guesswork.
– Remove the water source immediately (shut off supply, fix the leak, or address the cause of the spill).
– Lift wet items and block traffic off the area so boards don’t grind water deeper into seams.
– If water pooled under the floor, assume moisture may spread beyond the visible stain.
Quick triage on reclaimed wood (what I look for first)
From my experience helping with older floor systems, reclaimed wood floors often “tell the truth” later—swelling and movement can lag behind the visible puddle. That’s why we treat the initial stop-and-block step as non-negotiable before touching anything else on reclaimed wood.
Practical tip: If you can’t quickly identify whether the source is ongoing (e.g., hidden plumbing leak), keep fans running and continue inspection until wetness is no longer increasing.
Identify the damage type (so you don’t guess)
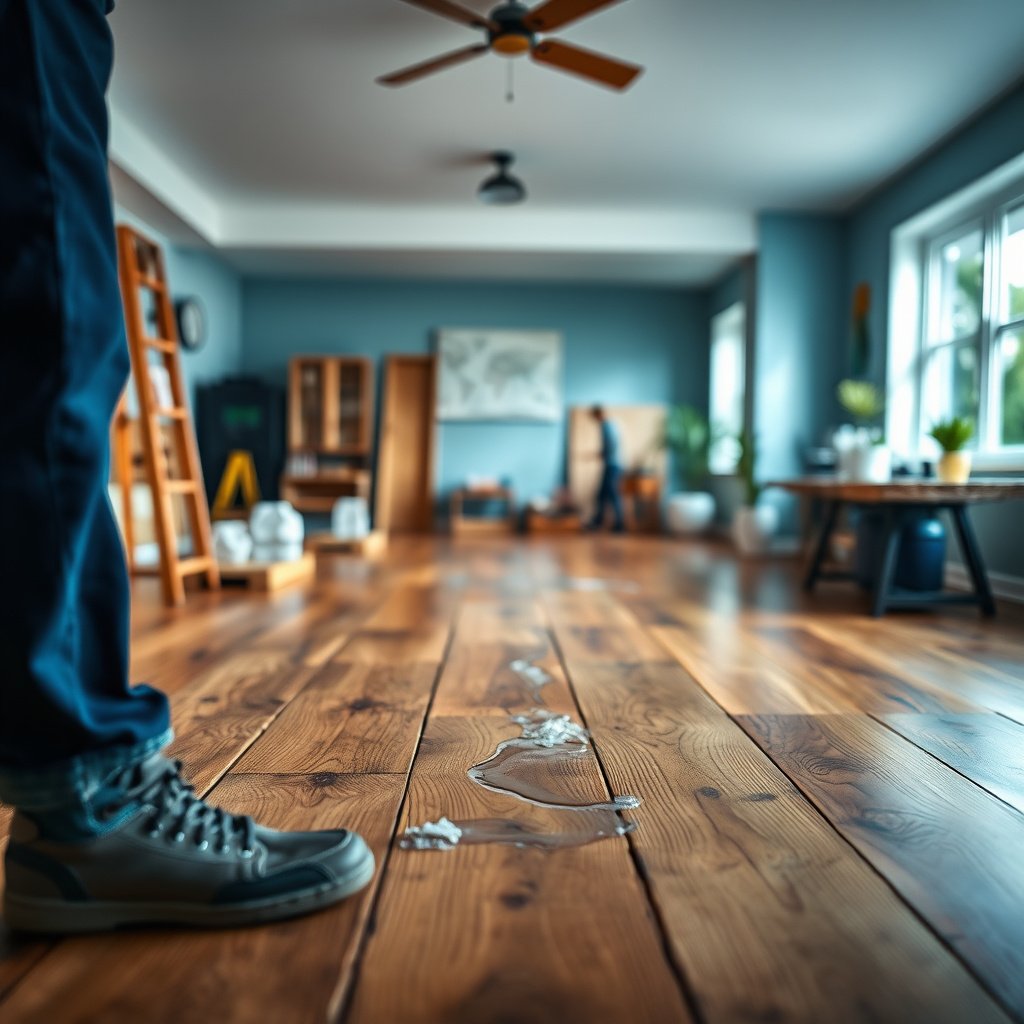
The safest repair starts with the right “damage type,” because water category and contamination level change both cleaning and drying priorities. If you skip this and assume the stain is only cosmetic, reclaimed wood floors can end up with lingering moisture, odor, or mold.
According to U.S. EPA, visible mold growth and musty odors are strong indicators that remediation steps beyond routine cleaning may be needed.
According to IICRC S500, the category of water (clean/gray/black) affects how you clean and when you decide to involve professionals.
– Look for swelling/cupping, raised edges, soft spots, or discoloration that looks “live,” not just old stains.
– Check for finish failure: bubbling, peeling, or a cloudy appearance can mean water reached below the surface coat.
– Smell test matters: a musty odor or visible spotting/patchy growth can indicate mold—plan for professional help.
Mandatory check: how far moisture traveled in reclaimed wood
On reclaimed wood floors, the most common “surprise” is moisture movement along end joints and under boards. Even if the top looks calmer, the underside can remain damp enough to keep causing swelling during later temperature changes.
📊 DATA: Water-source severity mapped to IICRC categories (used to guide safety & DIY limits)
Typical Water Sources and IICRC Water Category Severity (Guide for Hardwood Safety)
| # | Common water source | Typical IICRC category | Contamination character | DIY safety indicator |
|---|---|---|---|---|
| 1 | Supply-line leak with no visible contamination | Category 1 | Generally clean water | ★★★★★ |
| 2 | Condensation from HVAC equipment | Category 1 | Minimal contamination risk | ★★★★☆ |
| 3 | Dishwasher leak (no sewage) | Category 2 | Some contamination potential | ★★★☆☆ |
| 4 | Washing machine hose failure | Category 2 | Gray water risk | ★★☆☆☆ |
| 5 | Toilet overflow with feces | Category 3 | Sewage contamination | ★☆☆☆☆ |
| 6 | Sump pump failure with potential sewage backflow | Category 2–3 | Variable contamination | ★★☆☆☆ |
| 7 | Floodwater from outside (river/groundwater) | Category 3 | High contamination risk | ★☆☆☆☆ |
Note: the star “DIY safety indicator” is a practical heuristic derived from IICRC’s clean/gray/black category risk logic—not an official scoring system.
Dry reclaimed wood properly (this step determines success)
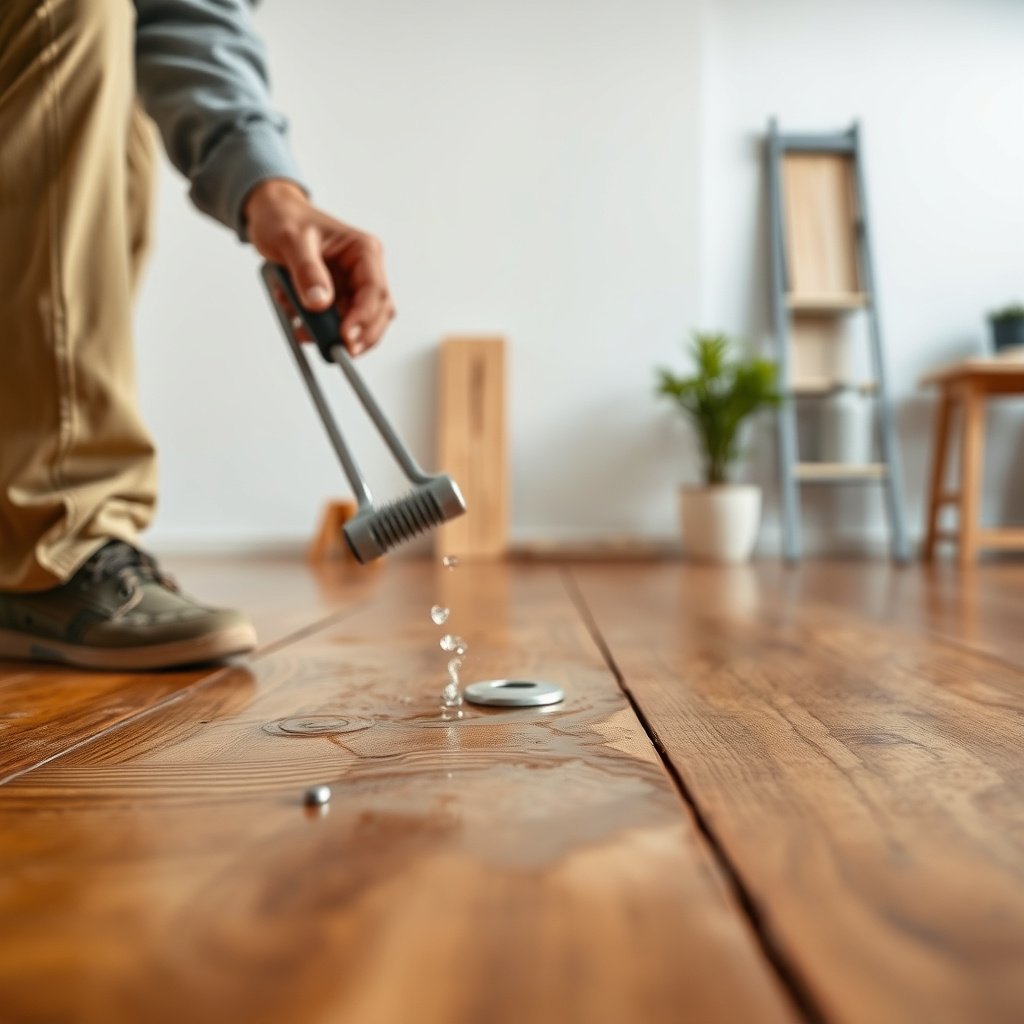
If you dry reclaimed wood floors incorrectly, refinishing becomes a temporary fix at best and a failure at worst. The goal is stable, measurable dryness before sanding or applying a new finish system.
According to IICRC S500, drying should be monitored using appropriate measurement methods until materials reach established drying goals.
According to U.S. EPA, keeping materials damp increases the chance of mold growth, so drying speed and moisture control matter.
– Use controlled drying: set up fans for airflow and use a dehumidifier if indoor humidity is high; avoid blasting heat directly on one spot.
– Monitor dryness instead of guessing by time—use a moisture meter if you have one, or follow the moisture-drying targets recommended by IICRC for water-damaged materials.
– If boards lift or movement continues, keep drying and reassess; trapping moisture under refinishing is a common failure point.
How drying “shows up” in reclaimed wood floors
Reclaimed wood floors can look dry at the surface while still holding moisture in the middle layers (especially in thick, older boards). In practice, we treat reclaimed wood drying as “stability checks” plus “moisture verification,” not a single countdown timer.
Specific attention points:
– Seams and end joints: water often travels there first.
– Sun/heat exposure: direct sunlight can dry the top layer faster than the underside and intensify cupping.
– Subfloor and crawl space: even when you dry the top, trapped moisture below can keep the reclaimed wood floor moving.
What “dry enough” usually means (without guessing)
Reclaimed wood is naturally variable, so the safest route is measuring moisture content and confirming the floor is stable enough for finishing. Many flooring protocols align to the same underlying principle: don’t apply coatings until moisture levels are consistent with the drying goals and the wood is no longer actively changing shape.
Clean, repair, and decide: sand vs replace
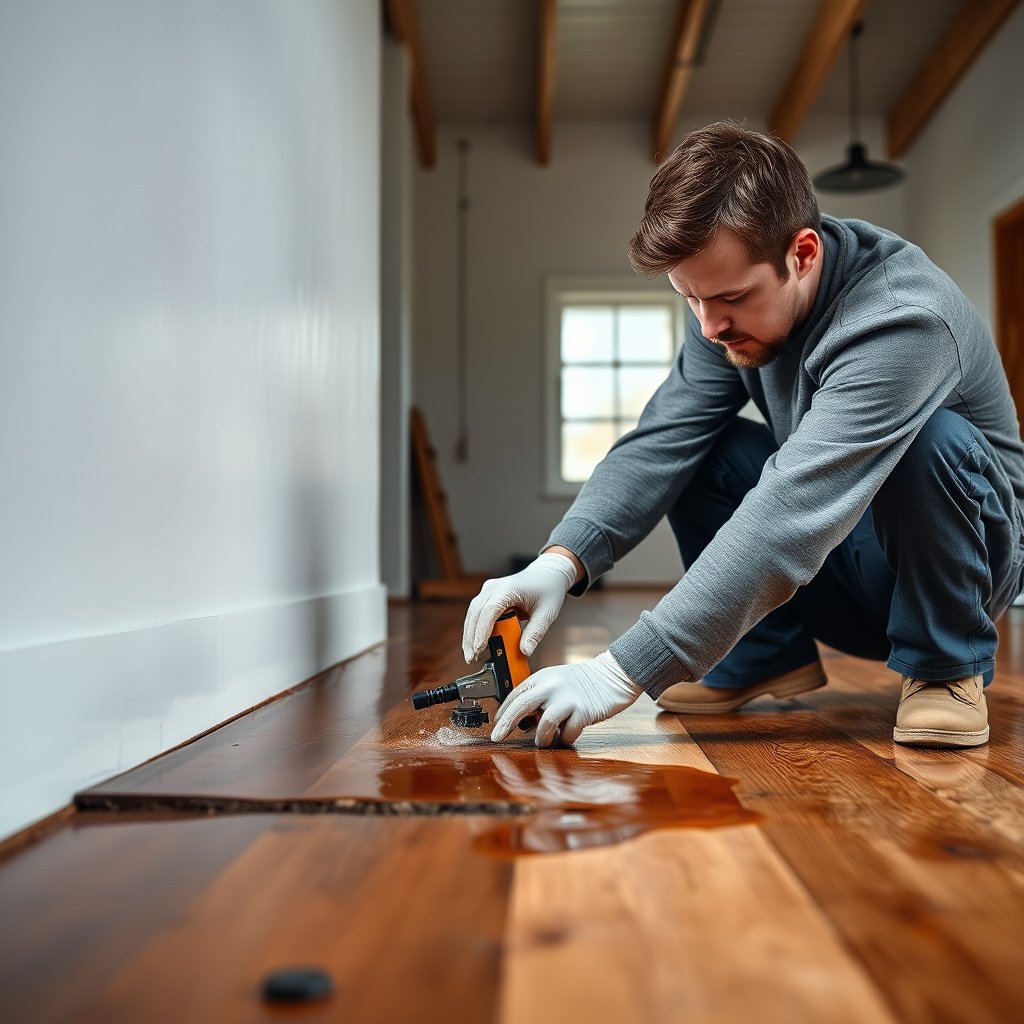
The right decision is “repair only what’s truly stable,” because sanding over unresolved moisture or contamination increases the odds of recurrence. For reclaimed wood floors, board-level differences are normal—so you need a targeted approach, not a blanket resurface.
According to IICRC S500, removing affected materials may be necessary when contamination or saturation cannot be effectively remediated.
According to U.S. EPA, porous materials with mold growth may require remediation or removal rather than simple surface treatment.
– Clean thoroughly after drying (remove residue carefully) so you’re not sanding dirt or degraded finish into the wood.
– For light, surface-only damage: sand to stable, intact wood and spot-treat stains only after the floor is fully dry.
– For structural or heavily affected areas (warped boards, deep softness, or suspected mold): remove and replace the worst planks rather than trying to “cover it.” Reclaimed wood sizes/variations can make replacement matching tricky—plan for layout changes if needed.
Sand vs replace at a glance
Here’s a practical comparison you can use while inspecting reclaimed wood floors:
| Approach | Works when… | Main risk if you choose it wrongly | Best for |
|---|---|---|---|
| Sand + spot-finish | Moisture is fully cleared; boards are firm; damage is limited to top-finish discoloration | Moisture returns later → cupping, finish failure | Small, dry, non-moldy areas |
| Replace planks | Boards stay warped after drying, feel soft, or show mold indicators | Hidden contamination persists | Severe saturation or contamination |
| Hybrid (patch + feather) | Some boards are stable; others are unstable | Patch lines telegraph if edges stay damp | Medium-size areas with clear boundaries |
Cleaning details that matter on reclaimed wood floors
After drying, you still need to remove residues (soils, old finish breakdown products, and any contaminants). If you sand before cleaning, you can drive debris into reclaimed wood pores and create uneven stain that no topcoat can fully correct.
Refinish and seal without trapping moisture
Refinishing should only happen when reclaimed wood floors are dry and dimensionally stable. Otherwise, coatings can blister, fail adhesion, or “lock in” moisture that continues to move the boards.
According to IICRC S500, finishing or coating steps should follow remediation/drying goals so materials don’t remain too wet for safe application.
According to U.S. EPA, treating mold-like conditions as simple stains can delay proper remediation and increase exposure risk.
– Refinish only after the wood is dry and stable; otherwise new coatings can blister, fail adhesion, or re-trap moisture.
– Use a finish system compatible with reclaimed wood and what’s already on the floor (unknown/varnish/oil history changes what will bond well).
– Apply sealants/finishes with attention to seams and edges—water often returns there first if prevention isn’t addressed.
Finish compatibility matters more than brand names
Reclaimed wood often has an uneven history of oil, varnish, wax, or older sealers. If the existing finish layer is incompatible with your new coating chemistry, adhesion can fail even when moisture is correct. If you’re unsure, test in a less-visible area first and follow the manufacturer’s recoating conditions.
What can go wrong (common mistakes and edge cases)
Most DIY failures come from skipping moisture verification, misunderstanding contamination risk, or forcing refinishing onto unstable reclaimed wood. If any one of those happens, the floor often “re-tells” the story in weeks—new cupping, cloudy sheen, or persistent musty odor.
According to U.S. EPA, mold problems can worsen when wet conditions are not addressed and remediation is delayed.
According to IICRC S500, drying should be monitored to drying goals; relying on time alone increases risk of incomplete moisture removal.
– Refinishing too soon: trapped moisture leads to new cupping, finish peeling, or recurring discoloration.
– Rushing the cleaning: sanding before contaminants are removed can spread stains and clog sanding dust into pores.
– Overheating or uneven drying: concentrated heat or airflow can warp boards further, especially in older reclaimed planks.
– Assuming stains are “just cosmetic”: water can linger beneath the surface even when the top looks calmer.
– Mold risk: if you see growth or strong musty odors, don’t treat it like ordinary water staining—mold remediation guidance applies.
Pros/cons you can use before coating reclaimed wood floors
– Pros of DIY refinishing (small, clean, dry cases): faster turnaround, keeps original patina, and can improve appearance if moisture is truly controlled.
– Cons of DIY refinishing (real risks): if you miss deeper moisture or contamination, the coating system can fail and the problem returns.
From my experience coordinating repairs, the biggest “it will be fine” moment is finishing before the wood stops changing. Reclaimed wood floors are especially prone to that because of thickness variance and prior milling history.
Verdict / tip (what I’d do, and who should skip DIY)
If the affected area is small, the wood dries out fully, and there’s no musty odor or visible growth, DIY repair can work—especially for cosmetic staining or minor finish damage. If you see significant warping, ongoing movement, or any mold indicators, it’s often better to pause DIY and get help from a restoration professional, because the real job is moisture removal and remediation, not surface beauty.
Skip DIY refinishing if:
– the floor feels soft/spongy,
– the damage is widespread,
– you can’t verify dryness (moisture meter) before coating, or
– there are mold signs (odor/visible spotting).
Quick scan checklist (save this)
| What to check | What you’re looking for | Next action |
|---|---|---|
| Source stopped | No active leak/wetness | Keep area dry while you inspect |
| Water spread | Staining beyond the original spot | Dry beyond the visible line |
| Swelling/warping | Raised edges/cupping | Dry longer; consider board replacement |
| Mold indicators | Musty odor or visible spotting | Follow mold remediation guidance / hire help |
| Dryness level | Wood stable, no ongoing movement | Refinish only after stable/dry |
| Finish compatibility | Unknown old finish or peeling | Use compatible system; test strategy if needed |
Sources
– IICRC S500 – Water Damage Restoration (standard guidance on water damage drying practices and monitoring).
– U.S. EPA – Mold remediation guidance (guidance on when mold is present and how to approach remediation/cleaning).
– Manufacturer documentation for wood floor finishing systems (for compatibility/adhesion and recoating conditions).
If you only remember one thing: reclaimed wood floors can’t be “finished their way out” of moisture. Stop the source, verify drying to the right standard, clean properly, and only then sand/refinish—otherwise the risk of repeat cupping, coating failure, and mold problems rises quickly.
Frequently Asked Questions
How do I dry reclaimed wood floors after water damage without warping them?
Start by removing standing water and drying the area quickly with fans and a dehumidifier, keeping airflow moving across the entire floor. Measure moisture levels in the subfloor and wood with a moisture meter; if the reclaimed wood or underlayment is still too wet, warping and cupping can continue. Avoid using high heat directly on the boards, and keep room temperature stable until readings return to baseline.
What is the best way to remove water stains and discoloration on reclaimed wood flooring?
Clean the affected area gently first using a wood-safe cleaner to remove residues, then address lingering stains after the floor is fully dry. For light discoloration, you may be able to sand lightly and re-finish to even out tone, but deeper stains often require localized spot sanding or a restaining step designed for reclaimed wood. If the water carried minerals or left a white haze, you may need a targeted stain-removal method before applying a compatible sealer or polyurethane.
Which sealers and finishes work best to protect reclaimed wood floors after they’ve been repaired?
Choose a water-resistant finish that matches the original wood type and prior topcoat, such as a penetrating sealer plus a durable topcoat or a high-quality polyurethane made for hardwood floors. Make sure the wood is fully dry—applying finish too early can trap moisture and cause bubbling or further damage. For reclaimed wood with varying porosity, consider a sealer that helps stabilize the board texture before final floor refinishing.
Why do reclaimed wood floors buckle or cup after water damage, and how can I prevent it?
Reclaimed wood floors can cup or buckle when moisture causes the boards to expand unevenly, especially if the subfloor remains wet longer than the surface. Prevention comes from drying both the wood and the subfloor to correct moisture equilibrium, then controlling humidity to reduce future movement. Use a dehumidifier in humid seasons and promptly address leaks, spills, or wet mopping to limit repeated swelling cycles.
How do I know whether to repair water-damaged sections or replace reclaimed wood planks?
If the boards are only slightly stained or the surface is dry but looks uneven, you may be able to sand, clean, and re-finish the reclaimed wood. Replace planks when they’re soft, separating at seams, have raised cupping that doesn’t flatten after full drying, or show signs of mold or structural breakdown. A moisture test plus an inspection of subfloor conditions (like swelling plywood or damaged underlayment) will help determine whether localized reclaimed wood repair is sufficient.
📅 Last Updated: October 15, 2026 | Topic: How to fix water damage on reclaimed wood floors? | Content verified for accuracy and freshness.
References
- Water damage
- Wood-decay fungus
- https://www.epa.gov/mold/preventing-mold-growth
- https://www.cdc.gov/disasters/mold/
- Mold – Overview | Occupational Safety and Health Administration
- Standards Summit – IICRC
- https://www.fpl.fs.usda.gov/documnts/fplgtr/fpl_gtr190.pdf
- https://scholar.google.com/scholar?q=water-damaged+wood+floor+drying+repair Google Scholar
- https://scholar.google.com/scholar?q=reclaimed+wood+floor+water+damage+refinishing Google Scholar
- https://scholar.google.com/scholar?q=hardwood+floor+cupping+water+damage+repair Google Scholar

