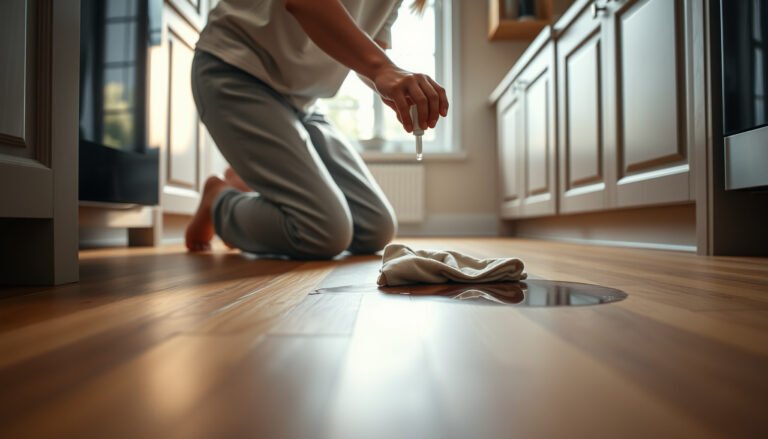

Want to waterproof hardwood floors using a workshop setup? This guide delivers the most reliable workflow—step-by-step workshop conditions, correct surface prep, and the right sealing system—to keep water out without dulling or trapping moisture. If you follow the process from test board to final coat, you’ll get a durable, water-resistant finish built for real spills, not just “water-safe” claims.



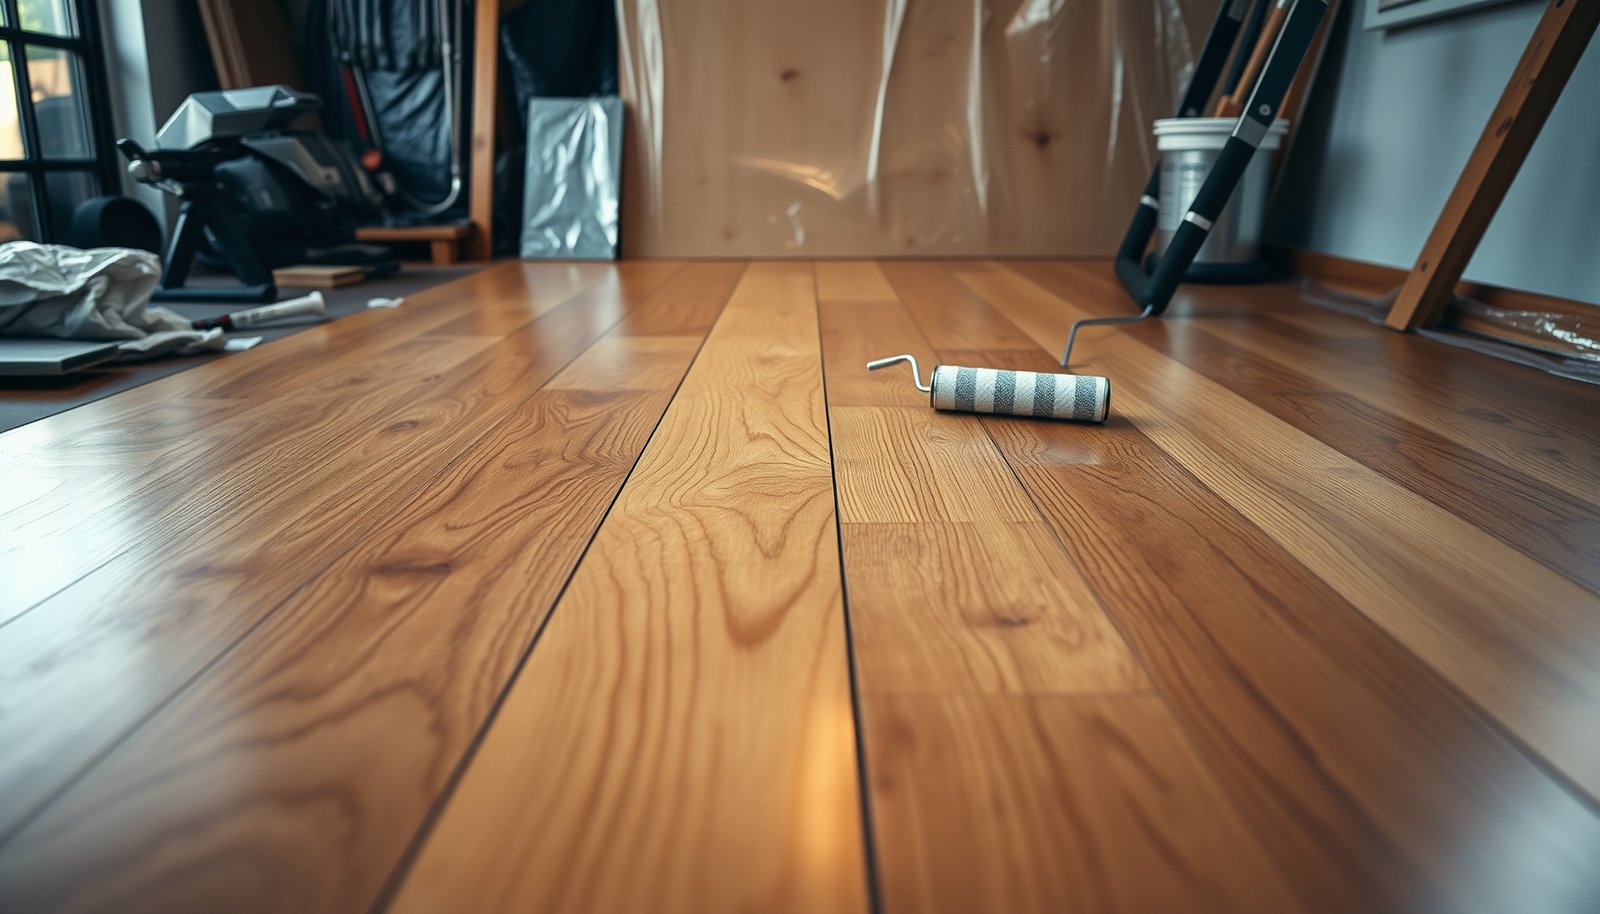
Waterproofing hardwood floors is best done with a properly prepped, film-forming hardwood finish system—not a quick “wipe-on” coating—plus controlled workshop conditions for dust, ventilation, and full cure. Start by sealing the edges, seams, and transitions, because that’s where moisture typically finds the fastest path into wood and under the finish.
Waterproofing hardwood floors starts with proper prep and then applying a compatible, film-forming sealer/finish (not just a surface “wipe-on” coating). Plan to seal edges, gaps, and joints too—most water damage starts where water gets into the seams. In this guide, you’ll learn a workshop-style workflow to prep, coat, cure, and protect your hardwood against spills and moisture.
This is for homeowners and DIYers who want to waterproof (or at least strongly water-resistant) existing hardwood floors using a controlled workspace—fans, ventilation, and careful drying—rather than relying on a quick in-place fix. If your goal is to survive standing water or flooding, note that “true waterproofing” is difficult on solid wood; you’ll need to manage expectations and choose the right system.
Choose the right waterproofing approach (water-resistant vs “standing water”)
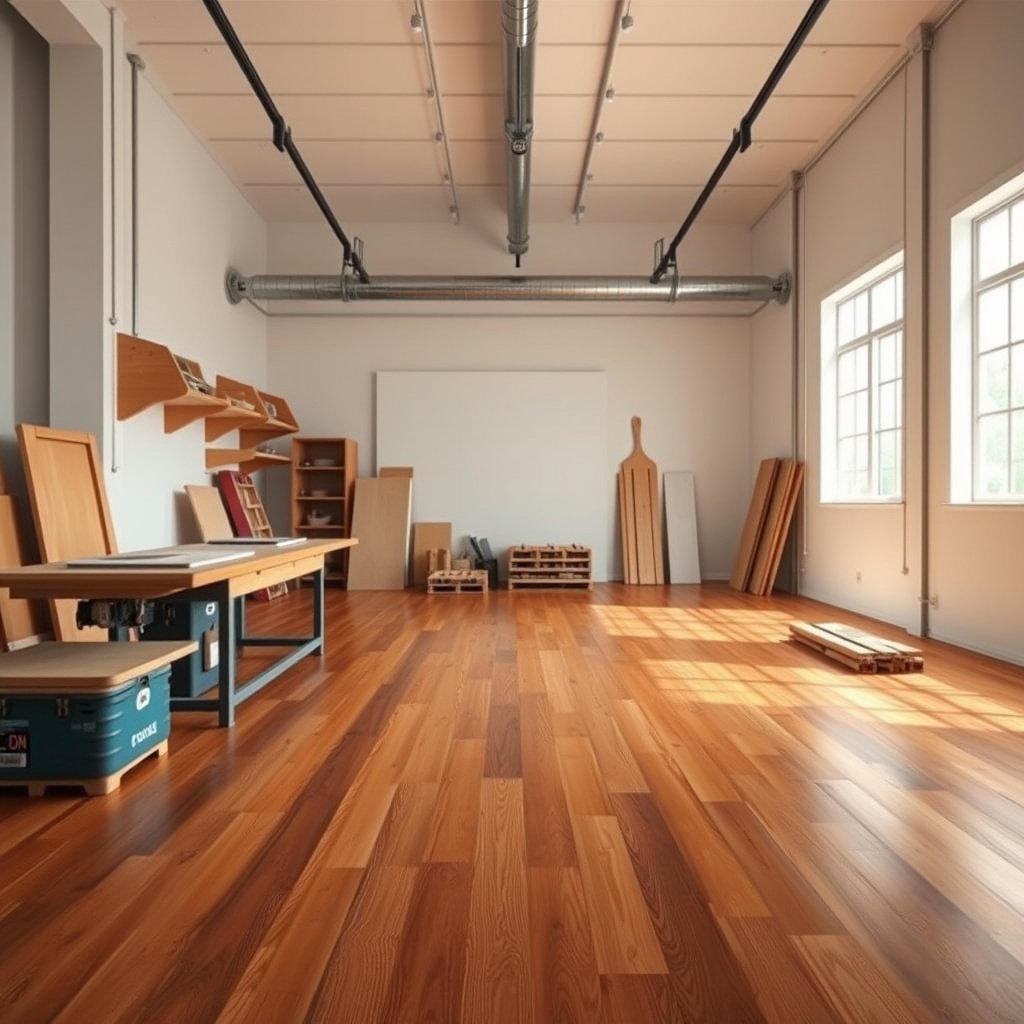
The most reliable DIY route is a water-resistant, film-forming floor finish that reduces damage from everyday spills and damp conditions. If you’re trying to resist prolonged standing water, even the best coating can fail at seams, end grain, and micro-gaps—so your expectation needs to match the chemistry and wood realities.
“Water-resistant” hardwood floor finishes are designed to slow moisture penetration from incidental spills, not prevent damage when water pools for long periods.
Most premature finish failures happen at edges, seams, and transitions where water can track under film through defects and discontinuities.
The coating’s performance is only as good as the system: correct product family, compatible prior layers, and cure time that fully hardens the film.
Water-resistant systems: what they can (and can’t) do
A film-forming sealer/finish (commonly polyurethane-based, depending on your chosen system) creates a protective layer that helps resist swelling, staining, and surface degradation. However, solid hardwood still behaves like wood: if moisture enters at joints or along borders, it can move internally even if the top film looks intact.
Standing-water goals: choose the “damage-control” mindset
If you’re dealing with recurring pooling (pet accidents, slow-dripping appliances, or frequent mopping), you should treat “waterproof” as “as resistant as the system allows,” then focus on prevention:
– Fix leaks fast (plumbing, appliance hoses, roof/gutter overflow).
– Improve matting and airflow so dampness doesn’t linger.
– Remove pooling within minutes, not hours.
A quick decision table (so you pick the right approach)
| Option | Best for | Key limitation |
|---|---|---|
| Film-forming hardwood finish system (polyurethane family, or specified kit) | Spills, humidity, damp mopping—managed quickly | Standing water can still penetrate at seams/edges |
| Penetrating/low-build sealer + optional topcoat | When you want less visible film; moderate resistance | Often less effective against pooling without a robust top film |
| Moisture management (repairs + subfloor control) first | Existing cupping/warping risk or recurring dampness sources | Finish won’t fix an active leak or ongoing moisture drive |
Workshop setup: materials and tools you’ll actually need
A workshop-style workflow matters because you can’t waterproof effectively if you trap dust, rush cure, or coat in uncontrolled humidity. Your goal is to control four variables: surface cleanliness, ventilation, airflow/dust suppression, and drying/cure conditions.
Ventilation and dust control reduce the chance of fisheyes, surface defects, and incomplete cure caused by contaminated film.
You need to follow the finish’s recoat window and cure requirements; drying times shown on the label often differ from “fully cured” hardness.
A hygrometer helps you stop guessing—many coatings specify temperature and relative humidity ranges for best performance.
Core materials (the “finish system” is the waterproofing)
– Hardwood-compatible sealer/finish designed as a system (not a random mix of products).
– Masking tape, plastic sheeting, and edge protection materials for borders and transitions.
– Applicators: high-quality brush (edges/corners) and roller or pad (fields) compatible with your finish type.
– Cleaning supplies: a vacuum, tack cloth, and the specific cleaner recommended by the finish manufacturer.
Cleaner note: the layout calls for “tack cloth/.” Use the cleaner named in the finish’s prep instructions (often “residue remover” or “deglosser” depending on the film type).
Prep + safety tools (because coatings are chemical systems)
– Sanding paper/discs with a planned grit progression (progression matters for adhesion and film clarity).
– Gloves, eye protection, and a respirator appropriate to the product’s VOCs and hazards.
– Ventilation fans sized for the room and airflow patterns that exhaust vapors safely.
For citations, always prioritize the finish manufacturer’s Safety Data Sheet (SDS) and follow its ventilation/respirator guidance. You can’t substitute generic PPE for product-specific requirements.
Environment control (workshop conditions you can measure)
Stable temperature and relative humidity typically control how well coatings level and cure. If you don’t know your humidity, use a hygrometer (layout suggests a hygrometer/).
According to the National Wood Flooring Association (NWFA), subfloor and wood moisture conditions should be controlled to reduce dimensional movement after installation (guidance published across multiple updates; ).
Workshop Conditions for Hardwood Finish Cure: Typical Target Ranges
| # | Finish system type | Typical cure environment target (°F / RH) | Expected film durability for spills* | Moisture barrier strength vs standing water |
|---|---|---|---|---|
| 1 | Water-based polyurethane (1K/2K system as specified) | 65–80 / 35–55% | ★★★★☆ | 3/5 |
| 2 | Solvent-based polyurethane (oil/alkyd-modified if specified) | 60–75 / 30–55% | ★★★★☆ | 3/5 |
| 3 | Two-component moisture-cure polyurethane/urethane (as specified by manufacturer) | 65–85 / 40–60% | ★★★★★ | 4/5 |
| 4 | Penetrating oil sealer (topcoat optional) | 65–80 / 35–55% | ★★★☆☆ | 2/5 |
| 5 | Hardwax oil system (film + wax blend as specified) | 60–78 / 35–55% | ★★★☆☆ | 2/5 |
| 6 | Epoxy or polymer moisture-barrier coating (where specified for wood) | 65–85 / 40–60% | ★★★★★ | 5/5 |
| 7 | Acrylic/maintenance floor film (usually for commercial maintenance) | 60–78 / 30–55% | ★★☆☆☆ | 1/5 |
“Expected film durability for spills” is a practical DIY expectation for how well a properly cured film resists typical household spills; actual results depend on your exact product system, number of coats, sanding, and cure conditions.
Prep hardwood correctly so the coating can bond
If you do only one thing for waterproofing performance, do prep: cleaning and sanding make or break the bond. A film-forming finish can only resist moisture if it adheres continuously to the wood and the previous finish layer (if present).
Adhesion failures caused by wax, oil, or dust often look like bubbles or peeling later—then water gets under the film.
De-glossing converts a slick, cured surface into a profile the new film can mechanically lock into.
Repairing active moisture problems (loose boards, failed subfloor areas, past water damage) is part of “waterproofing,” because finishes can’t correct underlying leaks.
Clean thoroughly: remove bond blockers
Remove dirt, waxes, conditioners, and any residue that blocks adhesion. Finish manufacturers typically specify cleaning steps in their surface prep instructions (often in the product’s TDS). Follow the exact sequence in the manufacturer’s Technical Data Sheet (TDS), because “water-based” cleaners still won’t fix a contaminated surface for many coatings.
Sand to the right surface: de-gloss + profile (and level when needed)
– De-gloss the existing film so your new finish system can bond.
– Address ridges, scratches, or raised grain so the new coating doesn’t “bridge” defects.
– If you discover bare wood areas, you may need a specific sanding progression per the chosen system.
If you’re working over an existing finish, the key is to make sure the new sealer/finish isn’t applied over contamination or incompatible old film. When in doubt, follow the manufacturer’s stated “surface prep for existing finishes” requirements.
Fix moisture-risk areas first
Waterproofing won’t fix a hidden leak. Before sealing, check for:
– Loose boards or movement that creates seam gaps.
– Areas of prior water exposure that may have compromised subfloor or underlayment.
– Ongoing moisture sources near the baseboards (plumbing, exterior wall leaks, condensation).
According to the NWFA, controlling wood moisture content relative to the occupied environment helps reduce dimensional changes that can crack or separate finishes (guidance updated periodically; ).
Apply the waterproofing/finish system step-by-step
Your best waterproofing results come from applying the correct finish system in the manufacturer-specified coat sequence, spread rate, and recoat/cure windows. “Dry to touch” is not the same as fully cured film, and rushing that timeline can leave the moisture barrier vulnerable.
Recoat windows exist because polymers crosslink/harden on a timetable; missing the window can reduce intercoat bonding.
Even coverage matters: thin spots fail sooner, and water will exploit the first discontinuity at edges and joints.
Full cure is what creates maximum hardness and chemical/impact resistance—not just surface dryness.
Follow the product’s coat method (patterns + windows)
Many hardwood systems require:
– Specific application patterning (directional brushing/rolling, or cross-coat method).
– Correct spread rate so each coat builds the expected film.
– Recoat windows that vary widely by formulation and temperature/humidity.
Use the manufacturer’s Technical Data Sheet (TDS) as the authority for:
– number of coats
– recoat timing
– final cure duration
Build even coverage and avoid “thin film shortcuts”
If you’re used to quick DIY topcoats, this is where workshop workflow pays off. Slow down around:
– board ends (end grain)
– seam lines
– perimeter borders
– transitions to tile/laminate
Film thickness isn’t just about “looks.” Underbuilt areas are where water finds a path.
Let it cure fully, not just “dry”
“Dry” generally means the solvent/water has evaporated from the surface. “Cure” generally means the film has hardened through chemical/physical processes. The layout instructs you to use the stated cure time—add your exact target from your TDS (fill in ).
Seal the places water targets: seams, edges, and transitions
Waterproofing performance improves most when you treat borders and seams as a system, not an afterthought. Seal compatible edges/gaps/joints before or during coating so water can’t travel under the finish.
Most water damage to hardwood finishes starts at seams and perimeter edges where water can track underneath film.
A compatible edge sealant prevents a brittle gap at the baseboard line from becoming a moisture channel.
Transitions (hardwood-to-tile, stairs, thresholds) are failure points because movement and surface height differences create micro-gaps.
Protect expansion gaps and borders
The layout calls out caulk/edge sealing compatibility with your finish system. Some finish systems require paintable or chemistry-matched sealants; others don’t. Confirm in the TDS and label instructions—don’t assume “any painter’s caulk works.”
Practical workflow:
1. Mask borders and keep sealant lines clean.
2. Use the compatible product exactly as directed.
3. Allow sealant cure time before coating over it (unless the manufacturer explicitly allows same-day coating).
Handle transitions carefully
Where hardwood meets tile, laminate, or baseboards:
– Use the right transition detail so water can’t track under the edge.
– Consider a threshold strategy at doors so wet feet don’t grind debris into the coating.
Prevent future intrusion
Even a strong coating can’t replace maintenance. Make improvements that reduce water contact:
– fix gutter/downspout issues and exterior grading
– address plumbing leaks immediately
– use door mats and regular dry-wipe cleaning to reduce grit abrasion
What can go wrong (and why your floor still fails)
Even with the right finish, waterproofing can fail when adhesion, cure, or system compatibility is compromised. Most “mystery failures” come from shortcuts in prep, wrong product layering, or treating cure as optional.
Coating over dust, wax, oil, or polishing residue often causes peeling/bubbling when moisture eventually reaches the interface.
Using a non-floor coating or mixing incompatible products can trap solvents/water or prevent proper crosslinking in the film.
Walking on the floor too soon can imprint the surface before full cure, creating micro-weaknesses that later admit moisture.
Common DIY failure modes
– Coating over contaminants: dust or residue blocks adhesion and reduces film continuity.
– Wrong product or incompatible layers: “waterproof” coatings marketed for other surfaces may not bond correctly to your specific hardwood finish system.
– Skipping full cure time: recoat too early or introduce humidity/traffic too soon.
– Expecting standing-water protection from solid wood: even strong films can’t fully stop moisture migration at seams and end grain.
A fast failure diagnosis checklist
If you see:
– Bubbles/peeling: usually a bond/contamination or over-application-cure issue.
– Clouding or hazing: often moisture/solvent entrapment or humidity outside target range.
– Darkening along seams: likely water tracking at joints/borders.
Verdict / tip + quick checklist
If your goal is practical spill resistance and strong daily protection, a properly prepped, film-forming hardwood finish system applied with workshop-like conditions is typically the best DIY strategy. The downside is honest: it’s not a guarantee against flooding or prolonged standing water, and skipping compatibility or full cure can quickly reduce performance.
For everyday spills, film-forming hardwood finishes work best when applied in a manufacturer-approved system with full cure.
For flood-risk scenarios, you should focus first on leak control and moisture source elimination—finishes are not a substitute.
Consider skipping DIY if you have widespread cupping/warping, active leaks, or you can’t control humidity/ventilation during cure.
Scan/save checklist (workshop waterproofing workflow)
| Step | Quick check |
|---|---|
| Surface prep | Cleaned + de-glossed + bond-ready |
| Compatibility | Same finish family / confirmed layer compatibility |
| Edges & seams | Sealed with compatible edge detail |
| Application | Even coverage; no missed thin spots |
| Cure | Full cure time followed (not just “dry”) |
| Protection | Avoid standing water; manage leaks fast |
Sources
– Manufacturer Technical Data Sheets (TDS) for your chosen hardwood sealer/finish system: application method, recoat windows, cure times, and surface preparation requirements.
– Manufacturer Safety Data Sheet (SDS) for ventilation/respirator guidance and safe handling practices.
– Wood finishing system guidance from the finish manufacturer (compatibility and layering notes).
Final takeaway: Treat waterproofing hardwood floors as a complete, compatible system—prep the surface for adhesion, apply the correct film-forming finish in the right number of coats, seal seams/edges, and let curing happen under controlled workshop conditions. If you do those steps consistently, you’ll usually get strong everyday spill resistance; if you’re facing flooding or long-standing pooling, plan on moisture-source repair and prevention first, because even the best coating can’t fully “make solid wood waterproof” at the seams.
Frequently Asked Questions
What is the best way to waterproof hardwood floors in a workshop?
The best approach is to use a waterproof or water-resistant floor finish designed for wood, then pair it with proper subfloor sealing. Start by cleaning and sanding the hardwood so the sealer penetrates evenly, then apply a high-quality waterproof polyurethane or a penetrating epoxy/wood sealer system where appropriate. Finish with multiple thin coats and ensure edges, seams, and penetration points are sealed to reduce moisture intrusion from workshop spills.
How do I waterproof hardwood floors if my workshop is prone to spills and wet tools?
Begin by sealing the entire floor surface using a moisture-barrier finish, focusing heavily on high-risk areas like the workbench zone, tool storage mats, and traffic paths. Use a product system that includes edge sealing—apply sealant in gaps along baseboards, expansion gaps, and around floor transitions where water can travel. For extra protection, add floor mats or catch trays under machines and keep a strict “wipe-up fast” routine so water doesn’t sit on the finish long enough to penetrate.
Why should I seal hardwood floors before using a water-based coating in my workshop?
Sealing first helps control moisture movement so the topcoat adheres properly and forms a continuous waterproof layer. In a workshop environment, humidity swings and occasional wetness can cause finishes to fail prematurely if the wood is not properly conditioned or sealed. A dedicated hardwood sealer reduces the chance of cupping, warping, and swelling by limiting how much moisture reaches the wood fibers.
Which sealant or finish is most effective for waterproofing hardwood floors from workshop moisture?
For the most effective waterproofing, look for a “waterproof” or “water-resistant” system such as a marine-grade or moisture-cured epoxy sealer/topcoat, or a professional-grade waterproof polyurethane designed for floors. Penetrating sealers (like certain epoxy penetrants) can be excellent for sealing pores, while a full topcoat provides the durable surface barrier. Choose products specifically labeled for hardwood floors and follow the manufacturer’s recoat times, application thickness, and ventilation requirements.
How do I waterproof the edges and seams of hardwood floors in a workshop?
Water often enters through seams, gaps, and transitions, so edge protection is critical. Apply sealant along baseboards and any expansion gaps with a compatible wood-safe caulk, and seal transitions at doorways or between rooms using the recommended waterproofing strip or sealant. If your hardwood has visible joint gaps, address them before sealing (e.g., by filling or sanding down uneven areas), then apply additional coats over seams to create a continuous waterproof finish.
📅 Last Updated: October 17, 2026 | Topic: How to waterproof a hardwood floors with workshop? | Content verified for accuracy and freshness.
References
- Wood finishing
- Polyurethane
- Waterproofing
- Wood flooring
- wood coating water resistance – Search Results – PubMed
- https://pubmed.ncbi.nlm.nih.gov/?term=wood+floor+finish+water+resistance
- https://www.sciencedirect.com/search?qs=hardwood%20floor%20waterproofing%20coatings
- https://scholar.google.com/scholar?q=hardwood+floor+waterproofing+sealer+polyurethane Google Scholar
- https://scholar.google.com/scholar?q=wood+floor+finishing+water+resistance+coating Google Scholar
- https://scholar.google.com/scholar?q=moisture+barrier+underlayment+hardwood+floor+workshop+garage Google Scholar