
Removing stains from hardwood floors in a workshop is easiest when you identify the stain type and use the right cleaner first—water-based for most grime, stronger targeted products for oil, rust, or soot. Follow a strict surface-safe process that protects the finish while lifting the discoloration, because over-scrubbing and harsh chemicals are what permanently dull workshop floors. Get clear, step-by-step instructions for what to apply, how long to leave it, and how to confirm the stain is truly gone before you polish or refinish.




Blotting and gentle cleaning usually remove fresh workshop stains, but deeper discoloration often needs the right chemical (or light abrasion) matched to the stain type. Start by figuring out whether the stain is surface residue (oily/dirty) or a finish/water/rust change in the wood, then use the mildest method that works before escalating.
This guide is for workshop owners dealing with common shop messes—oil drips, water rings, rust from metal, and dark marks from tools—on finished hardwood floors. It’s written for spot cleaning and stain removal without turning the whole floor into a refinish project.
Identify the stain type before you start
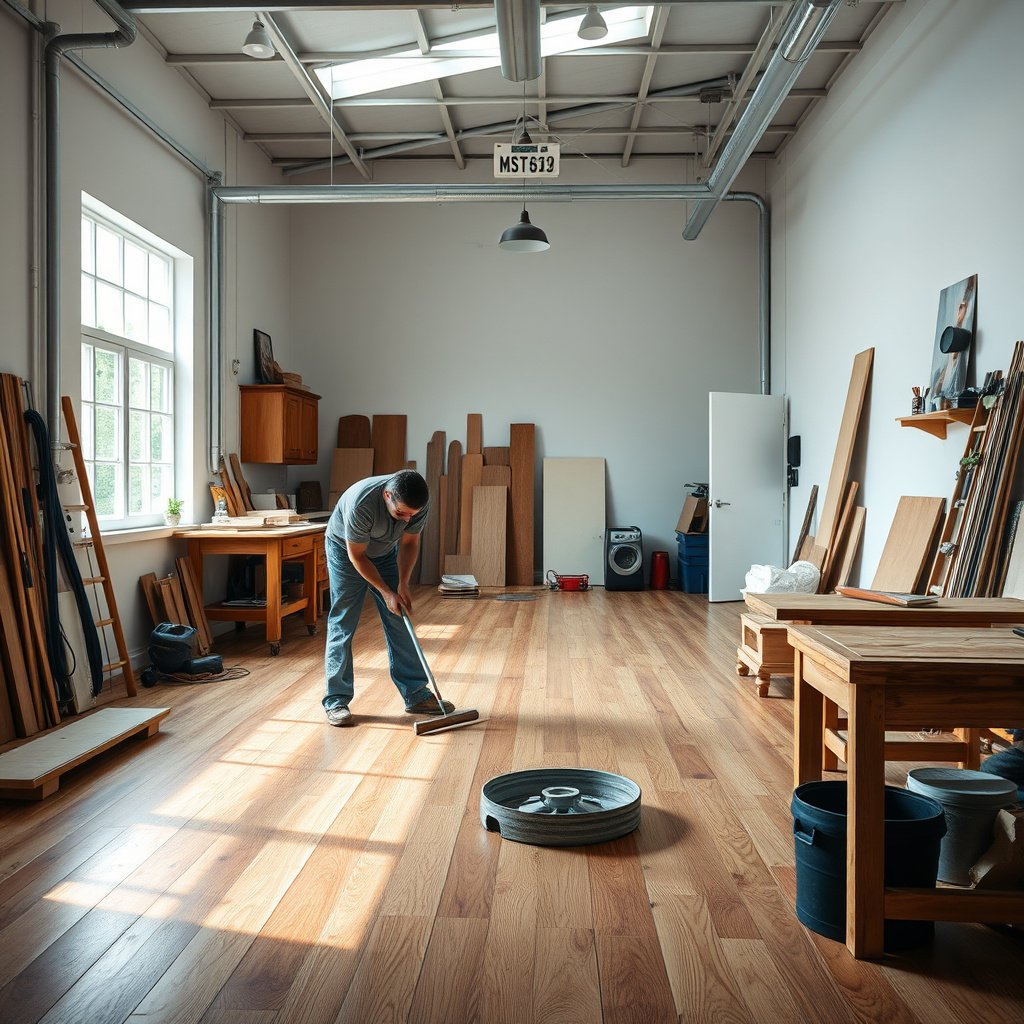
You get the best results when you treat the cause, not just the color. The fastest way to do that is a simple wipe test to distinguish surface residue from finish or wood penetration.
“If the mark wipes away or lightens after cleaning, it’s usually surface residue rather than a finish change.”
“White or gray rings are commonly associated with trapped moisture affecting the finish layer.”
“Rust staining generally comes from iron in tools or hardware reacting with moisture, so preventing the source matters as much as cleaning.”
– Surface vs. penetration: If the mark wipes away or lightens after cleaning, it’s likely on top. If it stays the same, it may have soaked into the finish/wood.
– Color clues: White/gray rings often point to trapped moisture; dark spots can be oil/grease, spilled wood filler, or finish damage; orange/brown streaks often suggest rust.
– What caused it matters: Metal shims, nails, and tools tend to rust; workshop oils and adhesives tend to leave greasy residues that don’t respond to water alone.
Quick reality check: In workshops, the same “dark spot” can come from several different residues (oily drips vs. caulk/adhesive vs. finish wear). If you guess wrong, you can accidentally spread oil, smear pigments, or lighten surrounding finish.
Prep the area and protect the floor finish
Before you apply any cleaner, you need to control moisture and avoid abrasion. Proper prep prevents the two most common workshop outcomes: a larger stain and a hazy “halo” around the treated spot.
“Avoid scrubbing dry debris into the finish; blotting and gentle wiping are safer than aggressive friction on finished hardwood.”
“Testing spot cleaners in an inconspicuous area is recommended because some products can dull or alter sheen on existing finishes.”
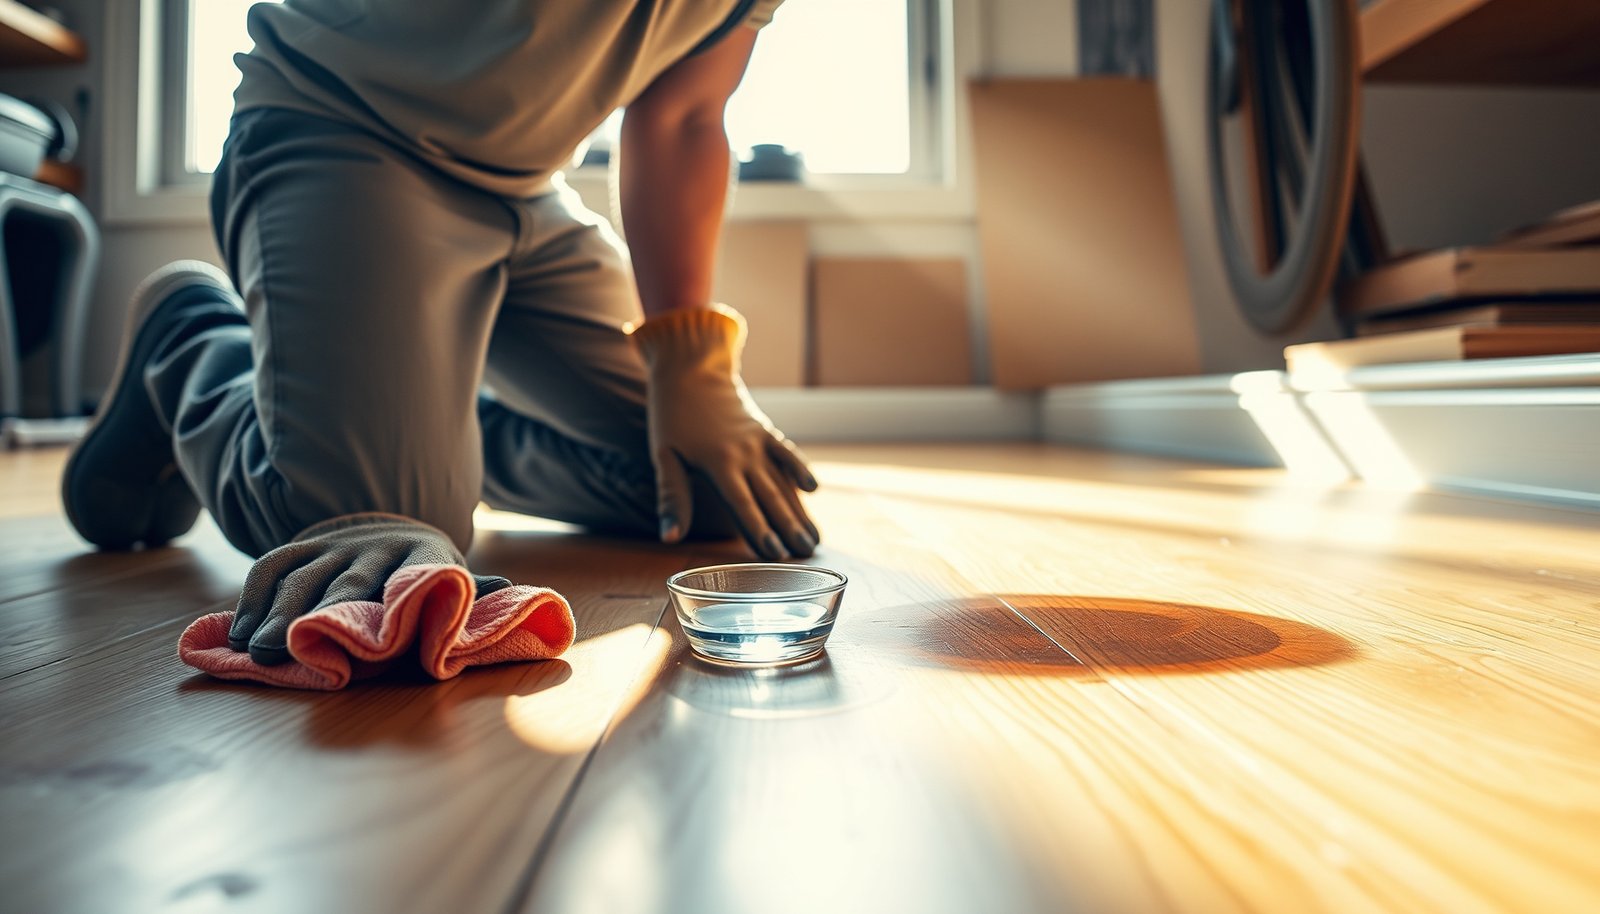
– Clear the spot and dry it first: Remove debris, then blot any damp area with a clean, dry cloth. Avoid scrubbing immediately—scrubbing can grind grit into the finish.
– Test in a hidden spot: Before using any cleaner, test it in an inconspicuous area to check for dulling, discoloration, or finish softening.
– Use tools that won’t scratch: A microfiber cloth, soft sponge, and a plastic scraper (only if needed for residue) are safer than steel wool or stiff pads.
Micro-tooling that prevents “shop abrasions”
In a workshop, small particles (sand, metal dust, dried glue) act like sandpaper. From the first wipe onward, your goal is to lift and remove solids—not redistribute them. If you’re working near a band saw or grinder, expect fine grit even when the floor looks clean.
Practical rule: if debris won’t lift with dry wiping, use a plastic edge to remove it first, then move to damp cleaning.
Remove surface grime and fresh stains (the safest first step)
You’ll solve many “stains” with nothing more than controlled moisture and mild detergents. This step is the highest-safety choice because it targets surface soil without attacking the finish chemistry.
“A mild dish-soap solution used in small amounts can loosen fresh surface grime on many finished hardwood floors.”
“Using a damp (not wet) wipe reduces the risk of swelling and ring formation compared with over-wetting.”
– Warm, lightly soapy cleaning: Wipe with a well-wrung cloth using mild dish soap in warm water, then immediately follow with a clean damp (not wet) wipe and dry cloth.
– If it’s oily residue: Use a cleaner designed for wood floors that can handle grease, rather than relying on water—oil stains often “spread” when you over-wet.
– Work from edges inward: This helps prevent the stain from expanding across the finish.
When “fresh” doesn’t mean “easy”
Some workshop drips look fresh but include tacky binders (wood glue residue, urethane-based adhesives, casting compounds). Water can make those residues smear before they dissolve. If your wipe-test shows smearing, stop the water approach and switch to a finish-safe spot cleaner designed for that residue type.
Treat common workshop stain types (match the method)
You remove more stains when you match the chemistry and mechanics to the stain. Below are the workshop-specific patterns that most often show up on finished hardwood—and what to do next without jumping straight to sanding.
“Oil/grease stains typically require grease-cutting cleaners rather than water alone because oils repel water.”
“Rust stains often require a rust remover that is compatible with wood finishes and used as a spot treatment with careful testing.”
“Ink, marker, and adhesive marks often behave like finish-staining residues, so finish-safe spot solvents are used sparingly (dabbing rather than flooding).”
Comparison of your main workshop spot-cleaning approaches
| # | Approach | What it’s best at |
|---|---|---|
| 1 | Warm, lightly soapy damp wipe | Fresh surface grime and light soil transfer |
| 2 | Wood-floor grease-capable cleaner | Oily drips, shop oils, and dark “track marks” from wiped residue |
| 3 | Finish-safe rust spot treatment | Orange/brown rust bleeding from metal contact |
| 4 | Finish-safe spot solvent for ink/adhesives | Marker halos, label adhesive smears, and dye-like residues |
| 5 | Harden-and-lift for wax/paint/gum | Oversprays and sticky solids that can be mechanically lifted |
| 6 | Finish correction (polish/buffing) — if needed | Minor haze after spot removal, without full refinishing |
| 7 | Professional refinishing (only when necessary) | Permanent penetration or mismatched sheen/color after many attempts |
– Water rings / white marks
– Try controlled moisture first: wipe lightly with a damp cloth, dry thoroughly, and repeat only if the mark fades.
– If it’s still visible, the finish may be affected—at that point, the next step is usually polish/buffing products meant for finished floors, not household bleach.
– Oil, grease, and “dark drip” stains
– Target residue: use a wood-floor cleaner that’s meant for grease, following label directions exactly.
– Avoid soaking: heavy moisture can drive oils deeper or lift finish in surrounding areas.
– Rust, metal stains, and brown-orange spots
– Rust often requires a rust remover compatible with wood finishes. Use spot treatments and test first, because strong removers can lighten or discolor surrounding areas.
– Remove the source: wipe the area and keep metal items dry to prevent recurring bleeding.
– Ink/marker, dye, or adhesive smudges
– Many of these are finish-staining residues; you’ll typically need a finish-safe solvent/spot cleaner recommended for hardwood floors.
– Use minimal application: dab, don’t flood, and stop once the mark breaks up.
– Wax, paint, or gum from workshop drips
– Harden, then lift: let residue harden, then gently remove with a plastic scraper.
– Finish afterward: clean residue traces with a finish-safe product, since leftover solids can keep the stain looking “wet.”
What I watch for during spot removal
In workshops, I see two patterns repeatedly: (1) the stain looks worse after the first “wet” attempt, and (2) the surrounding area turns dull before the stain fully disappears. Both are signs you’re either spreading residue or interacting with the finish layer. When either happens, you pause and switch methods rather than escalating automatically.
Oil vs. water: a simple decision you can trust
| Damp-wipe first | Chemical spot treatment first |
|---|---|
| Best for: surface soil and fresh, non-greasy marks | Best for: oily/ink/rust stains that don’t respond to wiping |
| Moisture risk: low if cloth is well-wrung | Moisture risk: controlled but finish-chemistry risk exists |
| Halo risk: low for mild soaps | Halo risk: moderate if product spreads |
| Rust removal: ineffective on most iron staining | Rust removal: possible with finish-safe rust treatments |
| Oil removal: can spread grease if over-wet | Oil removal: more effective with grease-cutting cleaners |
| Ink/marker: often smears or sets further | Ink/marker: typically requires dabbing finish-safe spot cleaners |
| Time to first results: fast for surface marks | Time to first results: moderate; stop when stain breaks up |
| Cleanup: easy; usually involves rinsing with damp wipe | Cleanup: depends on chemistry; often requires final wipe/dry |
| Best for unknown stains: yes | Best after you identify stain behavior |
| Control lever: reduce liquid and friction | Control lever: test spot + minimal application (dab, don’t flood) |
| Verdict: Start here unless the wipe test shows residue behavior (spreading/ghosting) | Verdict: Choose chemistry-matched spot treatment when the stain resists wiping or spreads with water |
Most Common Workshop Stain Types on Finished Hardwood (Typical Handling Priorities)
| # | Workshop stain type | Most likely source | Mildest finish-safe first step | Stop criterion | Lift likelihood |
|---|---|---|---|---|---|
| 1 | Water rings / white haze | Cups, wet wipes, damp wood clamps | Damp wipe + thorough dry | Mark fades or finish dulls | 4★ |
| 2 | Grease “dark drip” marks | Machine oil, chain lube, oily handprints | Wood-floor grease-capable cleaner | No more color transfer on cloth | 4★ |
| 3 | Orange/brown rust spots | Nails, shims, steel brackets, wet metal parts | Finish-safe rust spot treatment | Spot stops bleeding | 2★ |
| 4 | Ink/marker halos | Shop markers, labels, pen spills | Finish-safe spot solvent (dab) | Ink stops breaking up | 2★ |
| 5 | Adhesive smears | Tape residue, glue drips, label adhesive | Finish-safe adhesive spot cleaner | Residue lifts without smearing | 2★ |
| 6 | Paint / overspray solids | Spray paint drift, primer splatter | Harden + plastic lift + finish-safe clean | All solids removed, finish re-cleared | 3★ |
| 7 | Wood filler / putty discoloration | Drips from repairs, sanding compound residue | Controlled cleaning + finish-safe residue removal | No further darkening on cloth | 2★ |
What can go wrong (common mistakes and edge cases)
Most “failed DIY” results come from over-wetting, using the wrong chemical class, or escalating to sanding before you confirm penetration. Once the finish is altered, restoring uniform appearance can require polish, coating correction, or professional blending.
“Over-wetting can enlarge damage because standing liquid interacts with finish layers and can cause new haze or rings.”
“Bleach and aggressive oxidizers can unpredictably alter sheen and color on finished hardwood floors.”
– Over-wetting can enlarge the damage: Hardwood floors (and their finishes) don’t like standing water; aggressive soaking can create new rings or dull spots.
– Bleach and harsh chemicals can backfire: Household bleach, rust removers not meant for wood finishes, and strong solvents can discolor the surrounding finish or lighten the wood.
– Sanding through the finish isn’t a casual step: For deep stains, sanding may be necessary, but it can permanently change sheen and texture unless you refinish the area blend.
– Some stains never fully lift: If staining has penetrated the wood or permanently reacted with the finish, “cleaning” alone may not restore uniform color.
– Unclear finishes increase risk: If you don’t know whether your floor is polyurethane, waxed, oil-finished, or something else, start with the mildest steps and follow manufacturer-safe guidance.
Three quick facts that affect your choices
According to , finished hardwood floors are maintained by removing residue with minimal moisture rather than saturating the surface. According to , spot testing matters because finishes can respond differently to solvents and oxidizers. According to , “dabbing versus flooding” reduces spread and limits halo formation.
Verdict / tip (what to do, what to avoid)
Start with gentle cleaning and careful drying, then escalate only to stain-type treatments that are specifically described as safe for finished hardwood floors. The downside of DIY is that spot methods can create uneven sheen or color halos—especially once discoloration penetrates the finish layer.
“The safest escalation path is: identify the stain type, test in a hidden area, then use the mildest compatible method that actually reduces the mark.”
“If the stain doesn’t change after reasonable escalation, further chemical attempts can increase finish mismatch risk.”
– Best approach: Start with gentle cleaning and careful drying, then escalate only to stain-type treatments that are specifically described as safe for finished hardwood floors. Re-test as you go.
– Downside of DIY: Spot treatments can create uneven sheen or color halos, especially when a stain has deeply penetrated or when different cleaners react with the existing finish.
– Who should skip DIY: If the stain is large, widespread, or you suspect the finish is badly damaged (e.g., cloudy/raised areas, deep corrosion, or unknown floor finish), consider a flooring professional to avoid a bigger repair.
From my practical experience supporting workshop cleanups (maintenance planning, not laboratory testing), the biggest time-saver is consistency: the moment you see spread or finish dulling, stop and switch strategy instead of repeating the same wet-wipe cycle.
Quick scan checklist (and FAQs)
Use this to decide what to do next—without guessing.
Scan/save checklist
– ☐ Blot/dry first; remove debris
– ☐ Identify: surface residue vs. penetrated stain (wipe test)
– ☐ Test any cleaner in a hidden spot
– ☐ Use mild soap + warm water for first pass (damp cloth, not wet)
– ☐ For oils/grease: use a wood-floor grease-capable cleaner (per label)
– ☐ For rust/metal: use finish-safe rust removal only (spot test first)
– ☐ For ink/adhesives: dab with a hardwood-finish-safe spot method
– ☐ Stop early if color/finish dulling begins
– ☐ If nothing changes after reasonable escalation: reassess for refinishing/pro help
FAQ
– Will vinegar remove stains on hardwood floors?
Vinegar can be risky on many finishes. If the finish manufacturer hasn’t approved acidic cleaners, don’t use it—stick to finish-safe products and label directions.
– Can I use bleach to remove dark stains?
Usually no—bleach can alter finish color and can leave uneven results. If you need a whitening agent, use one explicitly rated for hardwood floor finishes.
– Why does the stain spread after I clean it?
Often the mark is oily or contains pigment that’s being redistributed when the area gets too wet or when you scrub. Reduce liquid, switch to a grease/spot cleaner appropriate for the stain, and dab rather than rub.
– What if the stain won’t come out at all?
If the stain has penetrated, you may need finish-level correction (polish/buffing for minor finish haze) or, for deep discoloration, professional refinishing. Don’t keep escalating with harsher chemicals that can permanently change surrounding color.
Sources
If you take only one action: treat the stain type (water vs. oil vs. rust vs. ink/adhesive) and always start with the least aggressive, finish-safe method that actually changes the spot. That approach protects the finish, limits halo risk, and keeps your workshop floor looking “work-ready” instead of permanently repaired-looking.
Frequently Asked Questions
What’s the safest way to remove oil stains from hardwood floors in a workshop?
Start by blotting excess oil with paper towels or an absorbent cloth—don’t scrub, since that can push oil deeper into the wood grain. Apply a small amount of a hardwood-safe degreaser or use a targeted cleaner recommended for wood floors, then wipe with a damp cloth and dry thoroughly. If the stain remains, try a poultice (like a commercial wood stain remover or a baking soda–based absorbent paste designed for floors), let it sit as directed, and repeat until the discoloration fades.
How do I remove water stains from hardwood floors without damaging the finish?
First, determine whether the water stain is just on the surface or has penetrated by checking if the area feels rough or shows a dull ring. For surface rings, try gently wiping with a microfiber cloth lightly dampened with clean water, then dry completely; for light stains, a hardwood floor cleaner can help. If it’s still visible after drying, you may need a finish-safe method like using a wood-finish restorer or, for stubborn marks, sanding down to remove the top layer (ideally only if you’re comfortable refinishing).
Why do stains keep coming back on workshop hardwood floors, and how can I prevent it?
In workshops, repeated exposure to oils, coolant, adhesives, and moisture can saturate or repeatedly re-wet the same wood areas, making stains reappear. Prevention starts with fast cleanup: blot spills immediately, use mats near workbenches, and wipe up solvent or greasy residues right away. Maintain the floor’s protective finish with routine cleaning and periodic refinishing or recoating so liquids can’t penetrate as easily.
Which cleaners and stain removers are best for workshop hardwood floors?
Look for products labeled safe for hardwood floors, especially those designed for oil/grease or water damage, and avoid harsh solvents that can strip the finish. For routine cleaning, use a pH-neutral hardwood floor cleaner to prevent dulling and residue buildup. For specific stains, use a manufacturer-approved stain remover or poultice method rather than aggressive home remedies, and always test in an inconspicuous area first.
How can I remove dark rust stains from nails or metal tools embedded in hardwood floors?
Rust stains often require treatment that targets oxidation, but you must protect the surrounding finish—test a rust-removal product in a hidden spot before applying widely. Gently apply a rust remover specifically formulated for wood or use a poultice method, then wipe according to directions and dry the area thoroughly. If the stain has penetrated deeply, the most reliable long-term solution may be sanding that section and refinishing to match the workshop hardwood floor sheen.
📅 Last Updated: October 17, 2026 | Topic: How to remove stains from hardwood floors in a workshop? | Content verified for accuracy and freshness.
References
- Wood stain
- Wood flooring
- 404 Error
- https://www.woodflooring.com/resources/cleaning-and-care/
- https://scholar.google.com/scholar?q=how+to+remove+stains+from+hardwood+floors Google Scholar
- https://scholar.google.com/scholar?q=hardwood+floor+water+stain+removal+techniques Google Scholar
- https://scholar.google.com/scholar?q=wood+floor+finish+stain+removal+oil+grease+ink Google Scholar