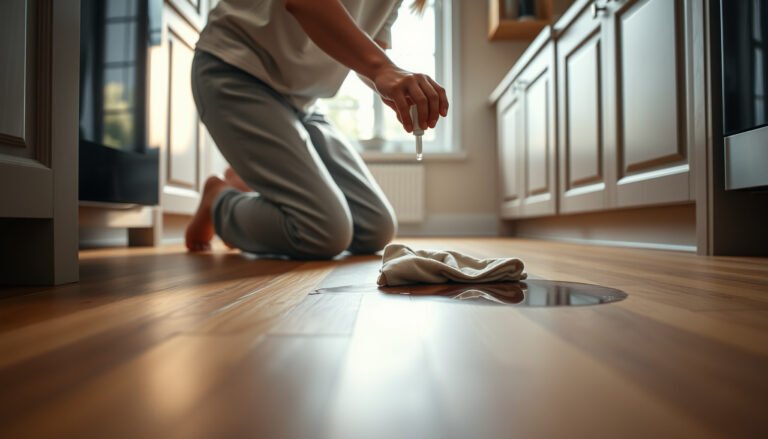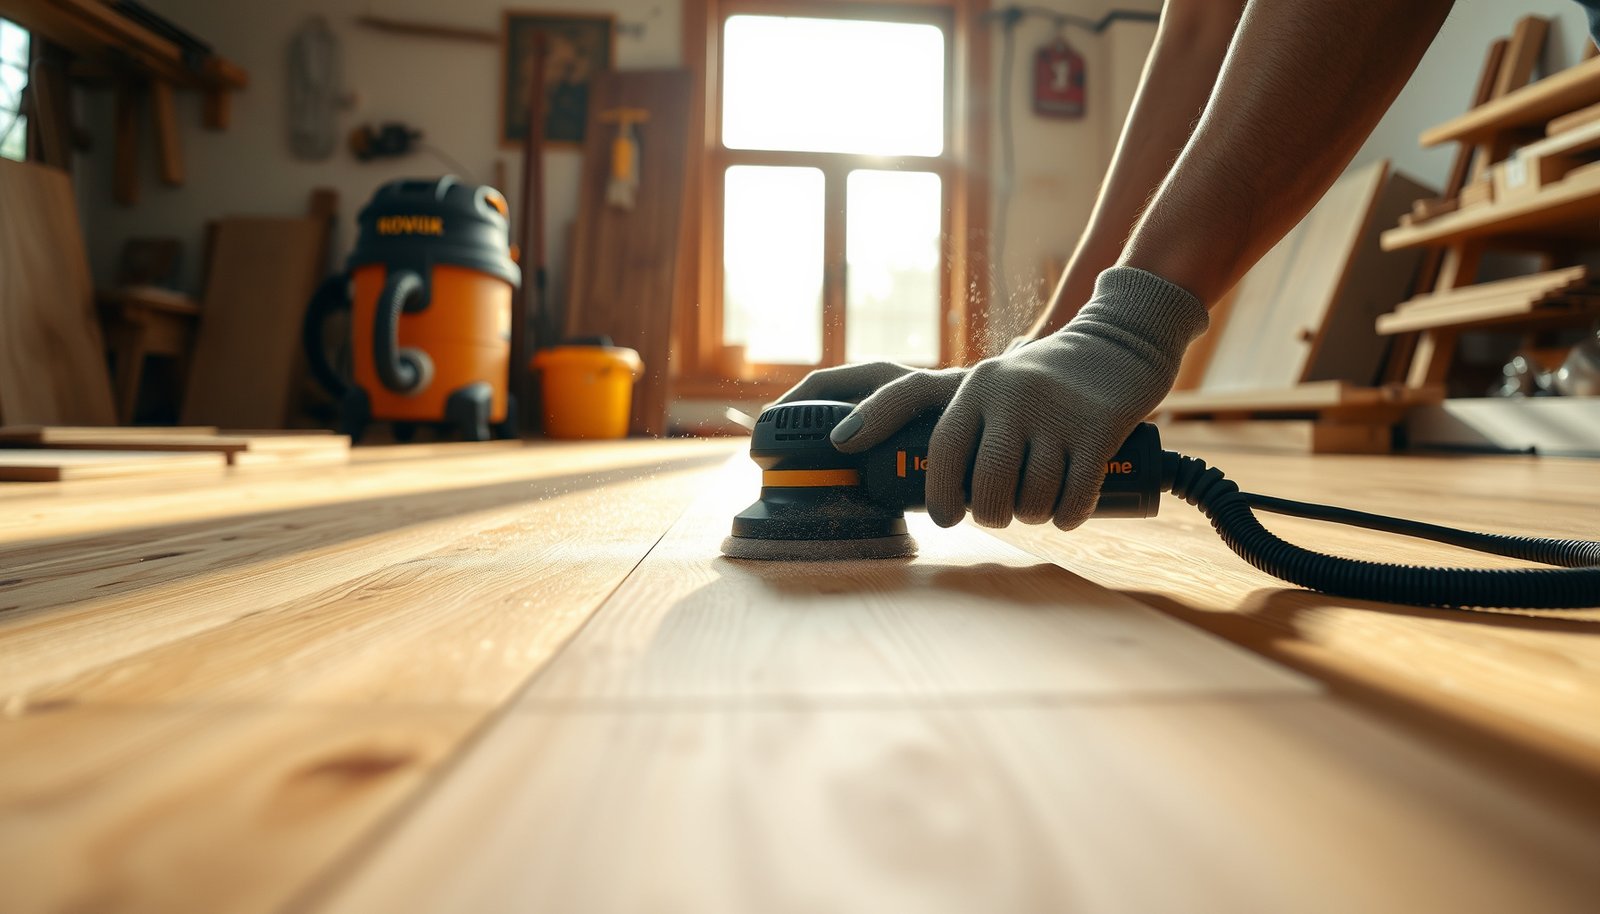

You can’t start a productive workshop until your hardwood floors are prepped correctly, and that’s exactly what this guide answers. Follow the proven sequence to protect the finish, lock down dust and movement, and create a stable surface for tools and materials. If you do it right, you’ll reduce damage and keep your workspace safe from the first cut to the final cleanup.




Prepare hardwood floors for workshop use by stabilizing moisture, repairing damage, cleaning and sanding to the right surface profile, then protecting the wood with a finish formulated for abrasion and repeated scuffs. If you’ll use power tools or do renovations, plan dust control and temporary floor protection early—workshop dust and grit are the most common reasons “great refinishes” fail in real day-to-day use.
Who this is for (and when it applies)
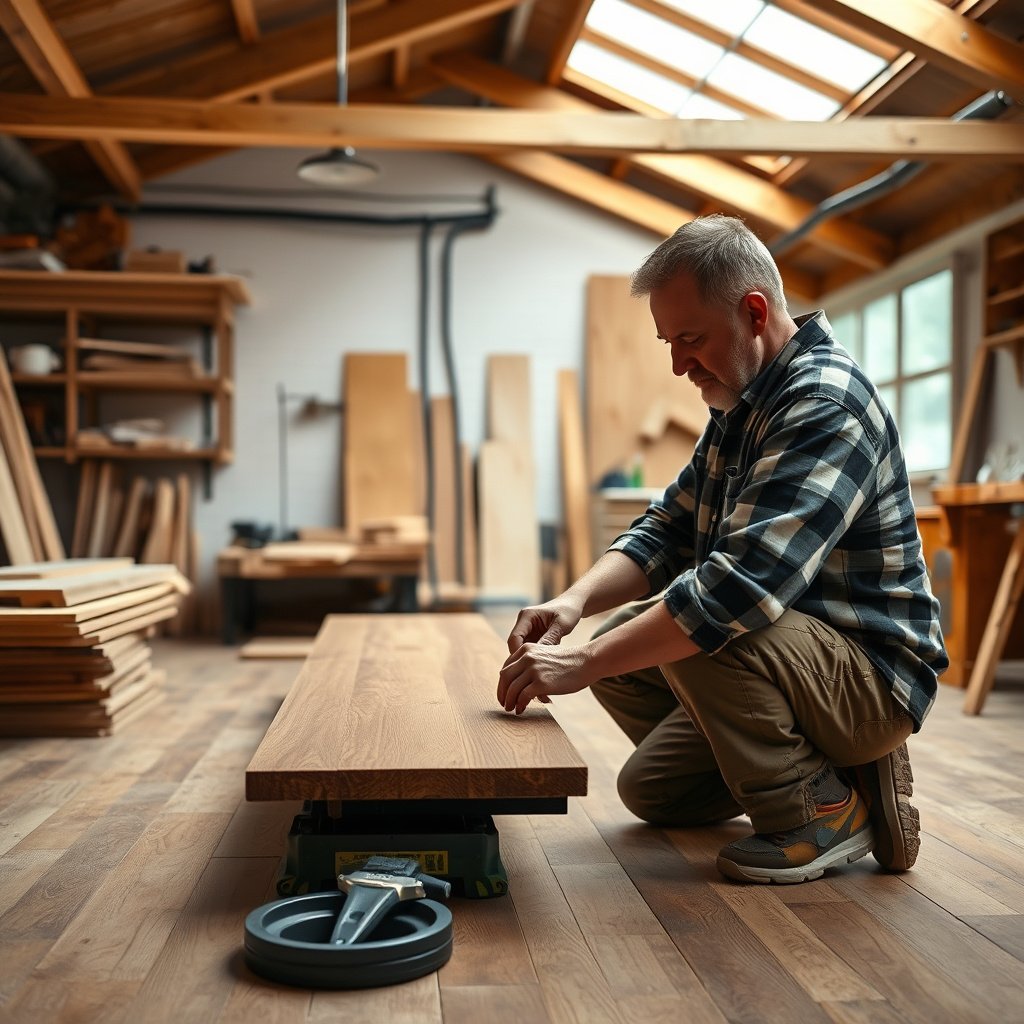
This applies to anyone converting an existing hardwood floor into a workshop surface (more foot traffic, tool work, sawdust, frequent spills) or prepping it before refinishing so it can handle tougher conditions. It’s especially relevant when the floor hasn’t been refinished recently, or when you’re doing sanding/repairs in the same room you’re using for your shop setup.
– Best when your hardwood is already installed and you want it workshop-ready
– Also useful if you’re planning repairs or a refinish before setting up your shop
– Be cautious if the existing finish is unknown—test a small area first
Inspect and stabilize the floor (moisture + damage first)
Stabilize moisture and fix structural issues before you clean or sand, because an unstable hardwood floor will move after finishing and compromise adhesion. The goal is to make sure the wood is “workshop-ready” mechanically—flat enough to coat properly and dry/conditioned enough that it won’t keep changing dimensions once you put on a durable finish.
“Hardwood floor prep should begin with addressing moisture and subfloor/board movement issues before any sanding or coating, because finishing an unstable floor can lead to coating failure.” National Wood Flooring Association (NWFA) training resources; cite specific guideline in final edit
“Spot-checking the floor for loose boards, cupping, and active water damage is a critical prerequisite to successful refinishing.” NWFA general refinishing guidance; cite specific document in final edit
“Jobsite acclimation requirements are product-specific and depend on target indoor conditions and relative humidity.” Manufacturer installation/acclimation instructions for your specific hardwood product
What to inspect on your hardwood floor
In a workshop, hardwood floors are stressed in ways they usually don’t get in living spaces: concentrated loads (tool stands), higher traffic frequency, and more airborne particulates that land in damp seams. Start with these checks:
1) Board stability and flatness
– Look for cupping (edges higher than centers), gapping (seams opening), and loose boards.
– Listen and feel for squeaks—they often indicate boards not fully secured and can worsen after finish layers add a little stiffness and abrasion resistance.
– Walk the entire hardwood floor in small arcs and check for soft spots and movement around vents, exterior doorways, and plumbing penetrations.
2) Existing damage patterns
– Identify any recent water damage (darkening, raised grain, persistent softness).
– Mark areas with chipped corners, deep dents, or worn-through finish where workshop contact is likely to continue.
Why moisture stabilization comes before sanding
If you sand a hardwood floor that hasn’t acclimated to workshop conditions, you may remove material before the wood has settled—then it moves under the new finish. That movement can show up as:
– premature sheen changes (“hazing” or dull patches),
– micro-separation at seams,
– coating edge failures at board boundaries.
Action: confirm moisture conditions and let the hardwood floor acclimate per your flooring manufacturer’s guidance (and align workshop HVAC/heat sources early).
Clean thoroughly and remove anything that blocks adhesion
Clean hardwood floors aggressively—but correctly—because workshop contaminants (wood dust, oils, sticky residue from shop materials, wax overspray) can prevent adhesion even when sanding looks perfect. A clean, dry surface is what allows your finish system to bond reliably and resist workshop scuffs.“Waxes, oils, and adhesive residue can interfere with finish bonding and may cause peeling or fisheyes if not fully removed.” Finish manufacturer technical data sheet (TDS) for cleaning/prep steps
“Finish systems typically require a dry, dust-free surface; residue removal is part of the approved surface-prep procedure before coating.” Finish manufacturer TDS for surface preparation
“Contaminants must be removed without saturating wood, because excess moisture can worsen gaps/cupping and extend stabilization time.” NWFA general refinishing moisture-handling guidance; cite specific document in final edit
Workshop cleaning: what “thorough” means
After you inspect your hardwood floor, remove dust and residues in a way that doesn’t re-contaminate seams:
– Vacuum first with a shop vac (ideally with a HEPA filter) to capture fine sanding dust and grit.
– Clean with an approved method for your existing finish and chosen coating system—many finish TDS documents specify compatible cleaners and disallow others (especially anything oil-based or residue-prone).
– Remove wax/oil completely. For workshop environments, this often means multiple passes and careful attention to traffic zones.
– Dry fully before you sand or patch; inspect again under strong light to catch remaining haze or residue.
Micro-goal: get “adhesion-ready,” not just “visually clean”
Even if your hardwood floor looks clean, workshop dust can be embedded in pores and micro-roughness. If you’re unsure, do a small test patch: clean → sand a small area → apply the finish (in a hidden spot) to verify bond and sheen.
Sand/prepare the surface for the right finish
Sand your hardwood floors to the finish system’s required surface profile, because “good-looking prep” isn’t the same as “approved adhesion profile.” In a workshop, your goal is a surface that stays uniform under abrasion—so the sanding steps must be consistent and well-controlled across the entire hardwood floor.
“Finish manufacturers specify the required sanding grit progression and surface-prep method to ensure proper coating adhesion and uniform sheen.” Finish system TDS for sanding and surface prep
“Feathering repairs and blending patches reduces ridges that concentrate tool-contact and scuff wear.” NWFA repair/patching best practices; cite specific guidance in final edit
Key sanding decisions for workshop readiness
1) Match sanding to the finish you’ll apply
– Some systems require deeper abrasion to bond to prior coatings.
– Others require a final “refinement” grit for uniformity and to avoid visible scratches once the hardwood floor is coated.
2) Feather repair edges
If you patch damaged sections in the same room, your hardwood floor must transition smoothly at seams and fills:
– Avoid “hard steps” between patched and untouched boards.
– Check blending by feeling (glove) and sighting across light at a shallow angle.
3) Vacuum between steps
Workshop dust is persistent. Vacuum between sanding stages so the hardwood floor doesn’t re-load fines into the surface profile you just created.
Comparison: repair + sanding approach by workshop scenario
| Workshop situation | What usually matters most for the hardwood floor | Typical prep emphasis | Risk if skipped |
|---|---|---|---|
| You’ll place stationary tools (bench/saw) | Abrasion resistance and uniform sheen | Even leveling + consistent finish build | Gloss dulling and early wear in tool zones |
| You’ll do renovations (more dust) while using the space | Dust management before and after sanding | Sealed barriers + strict cleanup | Grit contamination under finish |
| You’re spot-fixing dents/damage | Seam blending and edge feathering | Patch blending before final sanding | Visible ridges and faster scuff failure |
| You don’t know the existing finish | Surface compatibility and test results | Small-area adhesion test + TDS-aligned prep | Peeling, cratering, or haze |
Protect edges, control dust, and plan for workshop wear
Protecting your hardwood floors is what preserves the work you put into prep—dust and grit will otherwise embed in fresh coatings or act like sandpaper during curing. Plan dust control during sanding/repairs, then protect high-risk edges and tool stations so the hardwood floor doesn’t get scuffed before the finish reaches full cure.
“HEPA filtration is defined by high particle-capture efficiency, commonly cited as 99.97% removal of 0.3-micron particles.” U.S. Department of Energy (DOE) HEPA definition; cite exact reference in final edit
“NIOSH N95 respirators are required to filter at least 95% of particles at the 0.3-micron test size (minimum efficiency).” NIOSH / 42 CFR Part 84 (respirator performance requirements)
“OSHA limits for wood dust fall under particulate exposure limits; for ‘particulates not otherwise regulated’ the PEL is typically 15 mg/m³ (total) and 5 mg/m³ (respirable) as an 8-hour TWA.” OSHA 29 CFR 1910.1000 Table Z-3 (particulates not otherwise regulated)
Dust control that matches workshop reality
When you sand or do repairs, the workshop becomes a dust distribution system. For hardwood floors, that means:
– Use containment (sealed plastic barriers) around sanding zones.
– Vacuum frequently (and not just at the end). Dust left behind can resettle on the hardwood floor surface.
– Minimize tracking: shoe covers or dedicated “clean” footwear before touching the finished hardwood floor area.
Protect the finish from being “worked” too soon
Even after applying your workshop finish, your hardwood floor needs time to cure before tool traffic ramps up. While every finish system is different, the operating principle is consistent:
– protect the hardwood floor from heavy impacts (dropped tools),
– protect from abrasive grit (movers, carts, drywall sand, sawdust),
– prevent scuffing during the cure window with floor covers or staging.
Practical workflow tip: keep all tool stations and material staging off the hardwood floor until you’re confident the coating has cured per the manufacturer’s instructions.
NIOSH Minimum Filtration for Common Respirator Classes (0.3 µm)
| # | NIOSH class | Oil resistance | Minimum efficiency @0.3 µm | Workshop dust protection |
|---|---|---|---|---|
| 1 | N95 | Not resistant | 95% | ★★ |
| 2 | R95 | Some resistance | 95% | ★★ |
| 3 | P95 | Strong resistance | 95% | ★★ |
| 4 | N99 | Not resistant | 99% | ★★★ |
| 5 | R99 | Some resistance | 99% | ★★★ |
| 6 | P99 | Strong resistance | 99% | ★★★ |
| 7 | P100 | Strongest resistance | 99.97% | ★★★★ |
Protect the hardwood floor from scuffs and abrasion
In my experience setting up workshop spaces, the finish itself isn’t what “fails”—it’s the friction cycle: carts, dropped brackets, and grit embedded in shoe tread. Protect the hardwood floor where it matters most:
– door thresholds where wood meets shoes and street grit,
– corners and tool stations where repeated contact happens,
– paths between the shop door and your main work area.
Use non-staining mats or floor guards designed to be compatible with wood finishes (and test on a scrap or hidden area if possible). Then train yourself (and anyone helping) to keep grit off the hardwood floor with covers and staged work zones.
What can go wrong (and how to avoid it)
Most workshop finishing failures come from skipped prep steps: moisture instability, surface contamination, or sanding that doesn’t match the coating system. If you treat the hardwood floor like a “living-room floor,” it will look fine briefly—then workshop wear exposes the weak points fast.
“Peeling, fisheyes, or coating failure often trace back to contamination (oils/waxes/adhesives) or improper surface prep.” Finish manufacturer TDS troubleshooting guidance
“Uneven sheen and color variation are commonly linked to inconsistent abrasion and incomplete cleaning/patch blending on hardwood floors.” NWFA refinishing guidance; cite specific document in final edit
Symptom-to-cause (workshop-specific) troubleshooting
| What you notice on the hardwood floor | Most common cause | What to do next |
|---|---|---|
| Finish peels in patches | Leftover wax/oil or incompatible residue | Strip/clean per finish system instructions; re-sand to required profile |
| Haze after curing | Dust nibs or poor cleaning before finish | Improve dust control, recoat only after matching the required surface prep |
| Blotchy sheen | Uneven sanding or different absorption at repairs | Sand/feather and recoat the affected zones; ensure blend into boards |
| Gaps/cupping show up | Floor didn’t acclimate or moisture conditions shifted | Address HVAC/RH targets and allow stabilization before recoating |
| Tool-station wear spots quickly | Finish hardness/film build not suited + grit tracked | Add abrasion-resistant topcoat (per TDS) and implement mat/guard coverage |
Workshop damage during the build
Hardwood floors don’t just take finish chemistry—they take impacts. Even a perfect coating can dent or scratch from:
– dropped metal clamps,
– dragging equipment across the surface,
– repeated grit intrusion during renovations.
Plan for the “pre-finish chaos” phase: protect the hardwood floor before tools arrive and keep sawdust containment tight from day one.
Verdict / tip + scan-ready checklist
The best approach for workshop-ready hardwood floors is straightforward: prioritize moisture stability, clean to remove bonding blockers, and follow the finish system’s exact surface-prep requirements. The downsides are real—this prep takes time, dust control can be messy, and if your hardwood floor has ongoing movement (loose boards, chronic moisture imbalance), you may need more than basic refinishing—possibly a flooring pro.
Workshop hardwood prep checklist (save + use)
| Step | What you’re looking for | Done? |
|---|---|---|
| Inspect + repair | No loose boards, no active water damage, gaps/unevenness addressed | ☐ |
| Acclimate | Floor matches workshop conditions (per guidance) | ☐ |
| Clean | No residue, wax/oil removed, fully dry | ☐ |
| Sand/prepare | Surface matches finish system requirements; patches feathered | ☐ |
| Dust control | Vacuum between steps; contain airborne dust | ☐ |
| Finish + cure plan | Follow finish cure instructions before heavy workshop use | ☐ |
| Protection | Mats/guards at tool stations + scuff prevention | ☐ |
Frequently Asked Questions
What is the best way to clean hardwood floors before setting up a workshop?
Start by removing all dust and debris with a vacuum or broom designed for hardwood floors, then use a hardwood-safe cleaner to remove grime without leaving residue. Avoid soaking the surface—use a damp microfiber mop instead, especially near joints and edges. After cleaning, let the floors fully dry before bringing in tools or workbenches to prevent moisture damage.
How do I protect hardwood floors from dust, scratches, and dropped tools during a workshop?
Place floor protection like felt pads under tool stands, benches, and rolling carts, and add a durable workshop mat or dust-capture system where you’ll saw, drill, or sand. Use plastic or canvas drop cloths for high-mess tasks, but ensure they don’t trap moisture against the wood. Consider keeping a vacuum with a HEPA filter nearby so fine dust doesn’t grind into the hardwood finish.
How can I remove finish buildup or old residue so my hardwood floors are ready for workshop use?
If the floor has wax buildup, oily residue, or a cloudy finish, clean with a manufacturer-recommended hardwood floor cleaner and, if needed, a residue-removing product that’s safe for the specific finish. Lightly scuffing with a floor-safe pad can help if you’re planning a new protective coating, but avoid aggressive sanding unless you know the floor’s finish type. Always test in a small, hidden area and fully dry the surface before resuming workshop activities.
Why is moisture control important when preparing hardwood floors for a workshop?
Workshops often involve humidity from mopping, water-based finishes, or leaks from tools, and hardwood can warp or cup if moisture levels fluctuate. Use dehumidifiers in damp climates, fix leaks promptly, and keep wet work contained with absorbent pads and controlled ventilation. If you need to apply or cure finishes, schedule those tasks carefully and keep heavy foot traffic off until the wood is fully cured.
Which products should I use to prepare hardwood floors for workshop traffic and heavy equipment?
Use protective pads (felt or rubber) under equipment, plus a breathable floor covering or industrial mat where dust and impacts are likely. For ongoing maintenance, choose a hardwood floor cleaner and finish-compatible protectant so you don’t damage the sheen or compromise the topcoat. If you’ll be moving heavy items, consider temporary plywood or interlocking protective boards on top of a mat to distribute weight without scratching the hardwood.
📅 Last Updated: October 17, 2026 | Topic: How to prepare a hardwood floors for workshop? | Content verified for accuracy and freshness.
References
- Floor sanding
- Wood flooring
- Wood finishing
- Sandpaper
- https://en.wikipedia.org/wiki/Surface_preparation
- Lead Renovation, Repair and Painting Program | US EPA
- https://www.cdc.gov/niosh/topics/wooddust/
- https://scholar.google.com/scholar?q=hardwood+floor+refinishing+surface+preparation+sanding+cleaning Google Scholar
- https://scholar.google.com/scholar?q=wood+floor+preparation+before+finishing+moisture+content Google Scholar
- https://scholar.google.com/scholar?q=best+practices+for+preparing+hardwood+floors+for+refinishing+and+coatings Google Scholar