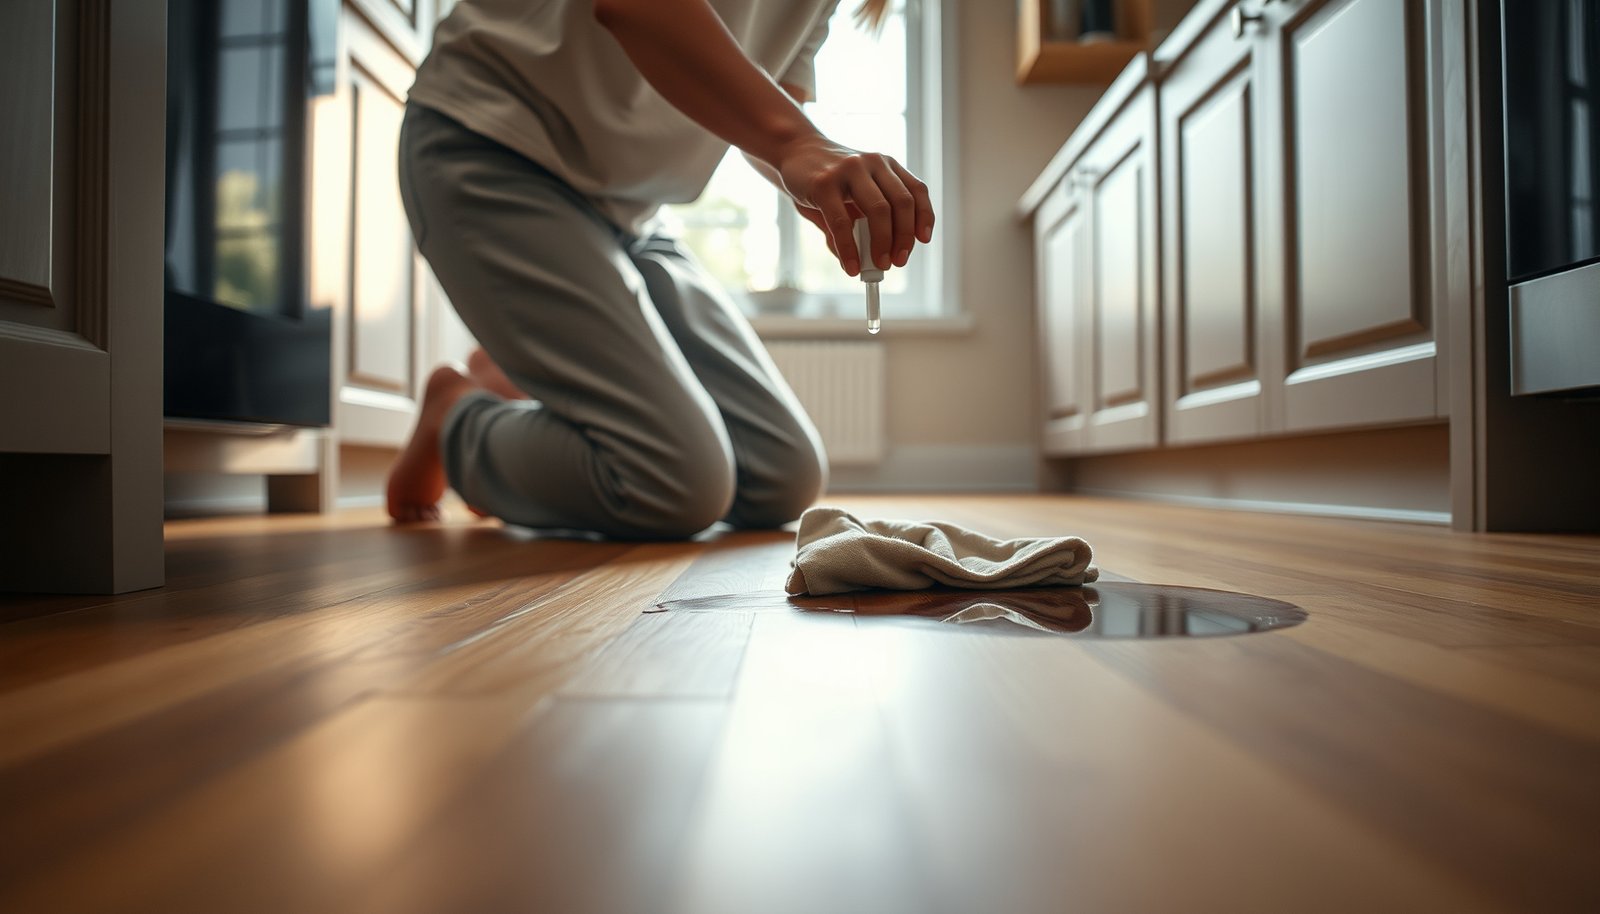

You can remove kitchen stains from hardwood floors without damaging the finish—if you use the right method for the stain type. This guide gives you the fastest, most effective step-by-step approach for common spills like food, grease, and water rings, with clear do’s and don’ts for sealed versus unfinished wood. By the end, you’ll know exactly what to use, how long to let it work, and how to get the floor looking even again.




If you want to remove stains from hardwood floors in a kitchen, start by identifying what caused the stain (water, grease, pet urine, etc.), then use the gentlest method that matches it—without soaking the wood. Most kitchen stains lift with careful cleaning and a finish-safe cleaner; deeper discoloration may require oxidation/bleaching products made for wood finishes or professional refinishing.
This applies to most solid hardwood and engineered hardwood floors with a surface finish (polyurethane, sealed oil, etc.), especially when stains come from spills, tracked-in kitchen dirt, or pets. If you’re dealing with an unsealed/raw floor or unknown finish, pause—wrong chemicals can permanently dull the surface.
Kitchen hardwood stain removal is usually straightforward when the floor is finished and the stain is recent; the risk comes from over-wetting or using the wrong chemistry. This guide focuses on practical, finish-safe steps for common kitchen scenarios, with clear stop points so you don’t spread the discoloration.
Identify the stain type before you clean
You can remove most hardwood kitchen stains faster and safer when you first match the discoloration to the likely cause. In practice, the visible pattern (ring, smear, cloudiness) often tells you whether you’re dealing with moisture, grease, organic residue, or something more permanent in the finish.
“Water rings and cloudy spots are strongly associated with moisture sitting on top of the finish rather than deep staining of the wood.”
“Grease smears on hardwood often behave differently from water spots because oils can spread under the finish before drying.”
“Pet urine can leave odor residues even after the surface looks clean, which is why odor-specific treatments may be required.”
– Look for clues: water rings and cloudy spots usually come from moisture, while dark smears often follow grease, food, or footprints.
– Check the surface vs. the depth of the stain: if it wipes off with light cleaning, it’s likely on top; if it won’t budge, the color may be embedded in the finish or wood.
– Smell can matter: pet urine often leaves a distinct odor even after the spot looks “clean,” which means you may need treatment designed for odor/soiling, not just surface cleaning.
Quick decision cues for finished hardwood floors
– Ring + slight haze: usually water or a wet spill that sat.
– Smear + darker “track”: often oil/grease/food residue (kitchen cooking zone).
– Yellowish/gray tone + odor: often organic contamination (pet urine), even if the surface “seems” dry.
– Random dark patch with no obvious source: could be dye/ink, tracked dirt, or older damage in the finish layer.
Data point to keep in mind: According to common household product specifications/SDS, hydrogen peroxide is frequently sold as a 3% solution (typical household concentration), which is strong enough to change some finishes if misapplied. (See manufacturer SDS / product label for 3% hydrogen peroxide.)
Also, many “disinfectant” wipes and sprays are formulated for rapid microbial kill—sometimes at a chemistry level that can dull finish sheen if used repeatedly on finished hardwood. (See finish-care guidance from your floor manufacturer.)
Prep the floor and test your cleaner first
You’ll protect the sheen of finished hardwood floors when you prep properly and test every product before it touches the stain. Kitchen floors are gritty, and grit + moisture = micro-scratches and uneven dull patches that can look like “stains” later.
“Cleaning starts with removing grit; mopping or wiping over grit is a common cause of micro-scratches on polyurethane-sealed floors.”
“Using a barely damp microfiber cloth prevents excess moisture from migrating into seams and edges.”
“Spot-testing in a hidden area helps confirm the finish won’t cloud, soften, or lighten before treating the stain.”
– Vacuum or dry-sweep first, then use a barely damp, soft microfiber cloth—kitchen floors collect grit that can scratch when you scrub.
– Test every product in a hidden area (baseboard edge/closet threshold) to confirm it doesn’t dull, lighten, or soften the finish.
– Keep moisture controlled: don’t flood the area, and wipe dry right after cleaning.
A simple moisture rule for finished hardwood floors
For most finish types, the goal is to clean the stain, not saturate the wood. In my own maintenance approach, I treat finished hardwood like a “damp-wipe” surface: microfiber goes slightly damp, not wet, and every pass gets followed by a dry wipe. If the cloth starts shedding water or the puddle feeling happens anywhere, stop—your finished hardwood floors are taking on more moisture than they should.
Data point to remember: Many household white vinegars are ~5% acetic acid by label/spec (varies by brand), and acids can dull or haze certain finishes if used regularly. (See product label/SDS for common white vinegar.)
Remove fresh kitchen stains with gentle, finish-safe cleaning
You’ll get the best odds when you treat fresh kitchen stains as “surface contamination” first, using finish-safe cleaners and minimal moisture. On finished hardwood floors, many early discolorations lift before they have time to bond to the finish.
“For sealed hardwood floors, finish-safe cleaners applied with a microfiber cloth are typically preferred over wet mopping.”
“Abrasion changes sheen; using a non-abrasive pad helps avoid shiny streaking on polyurethane or sealed oil finishes.”
– For most everyday spots (spills of coffee/tea/juice, general grime, food residue): clean with a wood-floor cleaner labeled as safe for your finish, following the label directions.
– Work in small sections: blot/wipe, re-dampen as needed (again, per label), and stop if you see clouding or finish haze.
– Use a soft sponge or microfiber—avoid abrasive pads that can leave shiny “burnish” marks or dull patches on polyurethane or sealed surfaces.
What “gentle” means in kitchen cleanup
When I’m advising homeowners, the practical definition is: short contact time + controlled moisture + immediate drying. If you leave cleaner sitting longer than the label recommends, or you repeatedly re-wet without drying, you can create a new haze area that looks like the stain got worse. Finished hardwood floors can show a “mist” effect if moisture sits too long on top of the finish.
Finish safety check (before you go harder)
Before you escalate, confirm:
– The cleaner is intended for the floor’s finish (polyurethane, sealed oil, wax, etc.).
– The method doesn’t require soaking (most do not).
– You’re not scrubbing in circles; gentle straight wipes reduce uneven sheen.
Treat common stain causes (water rings, urine, grease, darker marks)
Match the treatment chemistry to the stain cause; this is what prevents “stain spread” on finished hardwood floors. Kitchen stains are rarely all the same—water marks, oils, and organic contamination often require fundamentally different approaches.
“Organic stains (like pet urine) often require enzymatic or targeted odor/soiling chemistry, not just general floor detergent.”
“Grease/oil contamination generally needs a degreasing step before returning to a finish-safe cleaner and dry-down.”
“Avoid random household chemicals on finished hardwood because some oxidizers and solvents can alter finish clarity or color.”
– Water rings / cloudy spots: First try the gentlest finish-safe cleaner and thorough drying. If that doesn’t work, you may need a product specifically designed to lift finish haze from wood—use only if it’s intended for *finished* floors and follow label directions exactly.
– Pet urine or old organic stains: Start by cleaning with a cleaner appropriate for urine/organic messes (not general disinfecting sprays). If odor remains, you may need an enzymatic or targeted treatment made for wood floors—skip bleach unless your floor finish manufacturer explicitly allows it.
– Grease, oils, and food stains: These usually require a degreasing step that’s safe for wood finishes. Apply to a cloth rather than the floor, wipe gently, then clean again with a finish-safe wood cleaner and dry.
– Ink, dye, or “dark mystery” stains: Avoid experimenting with random household chemicals. Choose a wood-finish-safe remover meant for the type of staining you suspect, and test first—some dyes won’t lift without refinishing.
What usually works best (and why)
Here’s a practical “cause → method” map for finished hardwood floors:
| Stain cause (kitchen context) | Best first move for finished hardwood floors | What to avoid |
|---|---|---|
| Moisture rings / haze | Damp microfiber + finish-safe cleaner; dry thoroughly; consider haze removers only if labeled for finished floors. | Don’t soak or steam-clean; avoid repeated re-wetting that creates a bigger cloud area. |
| Pet urine / organic staining | Use urine/odor-specific wood-floor cleaner; if odor persists, follow enzymatic treatment directions for finished floors. | Avoid generic disinfectant sprays; avoid bleach unless the finish manufacturer explicitly approves it. |
| Grease, cooking drips, smears | Degrease with finish-safe approach applied to a cloth; then clean with a finish-safe wood cleaner and dry. | Don’t scrub abrasively; don’t leave degreaser sitting beyond label time. |
| Ink/dye tracks | Test targeted remover meant for the suspected stain type; only escalate if the finish remains uniform after spot test. | Don’t mix chemicals; avoid “kitchen experiments” that alter finish tone. |
Data point to anchor safety: Many household bleaches list sodium hypochlorite at ~5–8% depending on brand/product form, and even “diluted” bleach can damage or dull finishes that weren’t designed for oxidizing exposure. (See common bleach product labels/SDS for sodium hypochlorite concentration ranges.)
If the stain has penetrated: sanding/refinishing (or a pro)
If the discoloration remains after finish-safe cleaning (and after using products intended for finished floors), sanding/refinishing may be the only way to restore uniform color. On finished hardwood floors, this typically means the stain has affected the finish layer or reached into the surface sufficiently that spot cleaning can’t reverse it.
“When a stain persists after finish-safe cleaning, it may have altered the finish itself or penetrated deeper layers.”
“Refinishing removes the stained top layer and allows new stain and topcoat application for a more uniform result.”
– Refinishing can remove the stained top layer and restore uniform color—but it’s messy and may require matching stain tone and protective topcoats.
– Consider calling a floor professional if your kitchen has large affected areas, if the finish is hard to match, or if the floor is engineered with a thin wear layer (sanding limits can apply).
Key decision factors for finished hardwood floors
Before you commit to sanding, evaluate:
– Stain size: large areas usually cost less with a professional refinishing approach than repeated DIY attempts.
– Finish type: polyurethane/urethane and sealed oil behave differently—some haze responds to specific refinishing-friendly steps, while others require controlled abrasion.
– Floor construction: engineered hardwood wear layers can be thin; aggressive sanding may exceed limitations.
– Uniformity risk: you can often “make it worse” by creating a visible patch if spot-refinishing doesn’t feather/coat properly.
Finish-Safety Guide for Common Kitchen Stain Responses (Finished Hardwood Floors)
| # | Stain-response approach | Typical kitchen use | When to stop | Finish-safety rating |
|---|---|---|---|---|
| 1 | Dry-sweep/vacuum first | Tracked kitchen dirt | Before any wet cleaning | ★★★★★ |
| 2 | Barely-damp microfiber + finish-safe cleaner | Fresh spills (coffee/juice) | If haze/clouding appears | ★★★★☆ |
| 3 | Targeted grease/oil degrease on a cloth | Cooktop splatter smears | Before finish feels tacky | ★★★☆☆ |
| 4 | Urine/odor-specific cleaner + enzymatic step | Pet accidents (odor persists) | When odor stops returning | ★★★★☆ |
| 5 | Finish-haze remover made for sealed wood | Water clouding on topcoat | If sheen changes noticeably | ★★★☆☆ |
| 6 | Oxidizers only if finish manufacturer approves | Deep discoloration in top layer | Immediately at label stop point | ★★☆☆☆ |
| 7 | Bleach/solvents not approved for your finish | “Disinfect and scrub” attempts | Never—avoid on finished wood | ★☆☆☆☆ |
Important note about this finish-safety guide
This table reflects general finish-care principles used in wood-floor maintenance: avoid soaking, avoid unapproved oxidizers/solvents, and stop if you see sheen changes. Always defer to your floor finish manufacturer’s cleaning instructions for finished hardwood floors.
What can go wrong (and how to avoid it)
DIY stain removal often fails because the method doesn’t fit the stain chemistry—or because the cleaning process changes the finish itself. The safest path for finished hardwood floors is gentle cleaning, controlled moisture, and verified finish compatibility.
“Over-wetting finished hardwood increases the chance of swelling at seams and edge damage.”
“Abrasive scrubbing can change sheen, creating a lighter or shinier patch that reads as a ‘new stain.’”
“Using disinfectant-type products on hardwood finishes can leave residue that dulls or hazes the topcoat over time.”
– Over-wetting the floor: Soaking hardwood can cause swelling at seams and edge damage, especially near cabinets and high-traffic paths.
– Using the wrong chemical: Bleach, harsh solvents, and “mop and disinfect” products can damage finishes or leave permanent discoloration. Don’t switch products repeatedly—give each method a fair try on the test area.
– Scrubbing abrasively: Pads and stiff brushes can change sheen (matte vs. glossy streaking) or leave micro-scratches that show in kitchen lighting.
– Ignoring the finish type: Some floors are aluminum-oxide finished, others are polyurethane/urethane, and others are oil/wax. A method that’s safe on one finish can fail (or worsen staining) on another.
– Mistaking surface dirt for staining: If the stain is mostly grime, harsh “stain removers” can spread it, making a darker halo.
Comparison: “cleaner choice” tradeoffs for finished hardwood floors
– Pros of targeted, finish-safe products: More consistent results; less risk of haze/shooting; more predictable sheen.
– Cons of generic household chemicals: Higher risk of finish dulling, uneven color, or irreversible patchiness.
Verdict: what I’d do first + quick checklist
If you want the best chance of success with the least risk, start with gentle, finish-safe cleaning, then move to stain-cause-specific products that are designed for finished hardwood floors, always tested in a hidden spot. Avoid bleach and unapproved solvents unless your floor finish manufacturer explicitly says they’re safe.
“The safest DIY order for finished hardwood floors is: remove grit → damp-clean → dry → reassess before escalating chemistry.”
“Stop immediately at visible finish haze or sheen changes; that’s your signal the cleaner is incompatible with the finish layer.”
Downsides / who should skip DIY:
– Skip DIY (or at least stop early) if you don’t know the finish, the stain is widespread, the floor is engineered with a very thin wear layer, or the spot came from a long-term exposure (like old urine) that may require controlled treatment. In these cases, refinishing or professional assessment may be the only reliable path.
Scan-this checklist (save or print):
| What to do | When to use it | Stop if you notice |
|---|---|---|
| Dry-sweep/vacuum first | Any time before you clean | Grit still spreads when wiping |
| Use a wood-floor cleaner labeled safe for your finish | Fresh spills and general kitchen spots | Cloudiness, dull patches, or streaking |
| Blot with a microfiber cloth (no flooding) | Water marks and light spills | Edges swelling or the area growing larger |
| Apply cause-specific treatment (urine/grease/etc.) to cloth, then wipe | Stains that don’t lift with cleaner | Finish haze or uneven sheen |
| Re-evaluate after treatment; test again before more aggressive steps | Darker/deeper stains | You can’t get consistent results in the test area |
| Consider refinishing/professional help | Penetrated stains or large areas | Uneven color, persistent odor, or repeated failures |
Frequently Asked Questions
What’s the safest way to remove water stains from hardwood floors in a kitchen?
Start by drying the area completely and checking whether the stain is just surface discoloration or has penetrated into the wood. Use a soft, damp microfiber cloth with a small amount of wood-safe cleaner, then dry immediately to prevent further moisture damage. If the stain remains, try a mild solution of equal parts distilled water and white vinegar, wiping with the grain and drying thoroughly. Avoid soaking the floor or using steam, which can warp hardwood and spread the stain.
How can I remove dark food or grease stains from kitchen hardwood floors without damaging the finish?
First, blot any remaining residue and then mix a few drops of dish soap into warm water (keep it well-diluted). Wipe gently with a damp cloth, working in small sections, and dry right away with a clean towel. For oily buildup, you can use a hardwood floor cleaner designed for polyurethane or sealed finishes rather than harsh degreasers. If the stain persists, you may need a targeted spot remover formulated for hardwood—test it in an inconspicuous area first to avoid dulling the finish.
Why do hardwood floor stains keep coming back in the kitchen, and how do I prevent re-staining?
Kitchen stains often reappear because spills reach the wood surface through scratches, worn finish, or gaps around appliance areas. Use felt pads under kitchen chairs and rugs, clean spills immediately, and maintain a consistent routine with a pH-neutral hardwood floor cleaner. Make sure the floor stays dry—water from mopping or leaks is a common cause of repeated spotting. If the topcoat is worn, consider refinishing or reapplying an appropriate finish to seal the wood and reduce future stain penetration.
Which home remedies work best for removing white rings or heat stains on hardwood floors?
White rings are typically caused by trapped moisture or heat, so the approach depends on whether the finish is sealed. For sealed hardwood, gently try rubbing the spot with a cloth lightly dampened with distilled water and then dry thoroughly, or use a small amount of white vinegar solution (equal parts vinegar and distilled water) as a careful first step. If it still looks cloudy, use a paste made from baking soda and a few drops of water, apply very lightly, and wipe off after a short dwell time—always dry immediately. Skip abrasive scouring pads, which can permanently damage the finish and make stains harder to remove.
What’s the best way to treat stubborn pet urine or biological stains on hardwood floors?
Remove any contamination by blotting and cleaning immediately with an enzyme cleaner made for hardwood and organic stains—enzymes help break down the compounds that cause lingering discoloration and odor. After the enzyme step, follow with a wood-safe cleaner and ensure the area is completely dry to avoid moisture-related damage. If the stain has penetrated and won’t lift, you may need to sand and refinish that section to fully remove the discoloration while protecting the surrounding finish. For persistent odor, repeat the enzyme treatment rather than using ammonia or bleach, which can damage wood and worsen the stain.
📅 Last Updated: October 16, 2026 | Topic: How to remove stains from hardwood floors in a kitchen? | Content verified for accuracy and freshness.