To fix scratches on hardwood floors, start by identifying the scratch type. Light scratches can often be treated with a wood stain marker that matches your floor color. Just apply it directly to the scratch and blend with a cloth. For deeper scratches, you'll need wood filler and fine-grit sandpaper; fill the scratch, let it dry, then sand smooth. Clean the area beforehand, and consider using a wax stick for added protection. Regular maintenance, like using area rugs and felt pads, will help prevent future scratches. There's more handy tips to explore that can keep your floors looking pristine.
Identify the Scratch Type
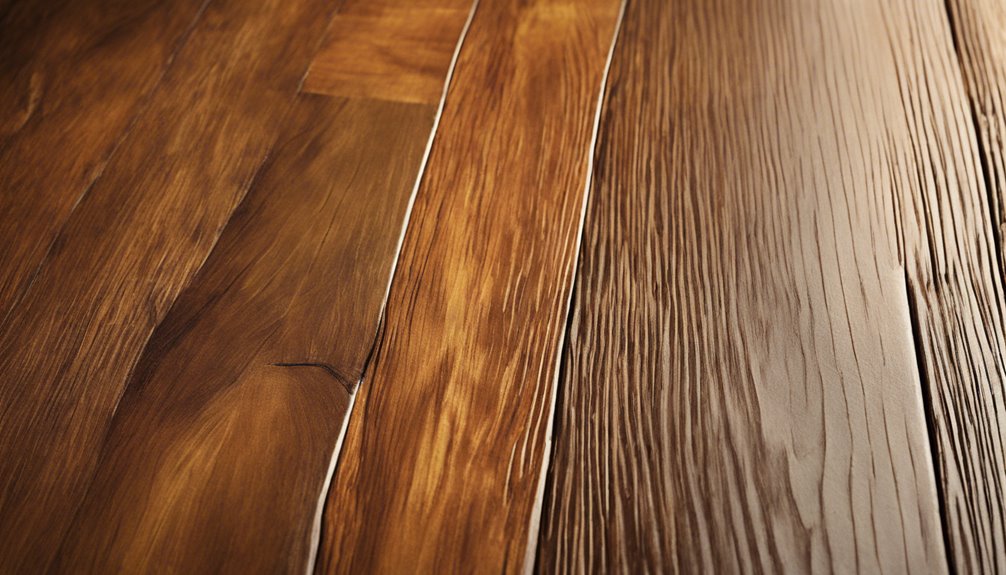
Before you can effectively repair scratches on your hardwood floors, it is crucial to identify the type of scratch you're dealing with. Start by evaluating the scratch severity. Light scratches are often superficial and can be buffed out with ease, while deep scratches may require more extensive repairs. Next, consider the scratch location. Is it on a high-traffic area or a less noticeable spot? This can influence your repair approach. For instance, a scratch in a visible area might need immediate attention, while one tucked away might not. By determining both the severity and location, you'll be better equipped to choose the right method for restoring your beautiful hardwood floors to their original glory.
Gather Necessary Supplies
Before you start fixing scratches on your hardwood floors, you'll need to gather some essential repair tools and cleaning solutions. Make certain you have items like wood filler, a putty knife, and a soft cloth on hand. This preparation will guarantee a smoother repair process.
Essential Repair Tools
To effectively tackle scratches on your hardwood floors, you'll need to gather a few essential repair tools. Start with high-quality sanding tools, like fine-grit sandpaper or a sanding block, which will help smooth out the damaged area. Next, consider investing in a good repair kit specifically designed for hardwood floors; these kits often include putty, markers, and finish to match your floor's color. Don't forget a clean cloth for dusting off the area after sanding. If the scratches are deeper, a wood filler might be necessary. Having these tools on hand will not only make the repair process smoother but also empower you to maintain your floors and keep them looking their best for years to come.
Cleaning Solutions Needed
While you're prepping to fix those scratches, gathering the right cleaning solutions is essential for achieving the best results. You'll want to start with some effective natural cleaners. A simple mixture of vinegar and water can work wonders for removing dirt and grime without harsh chemicals. If you prefer homemade solutions, consider mixing olive oil and vinegar for a gentle polish that nourishes the wood while cleaning. You'll also need microfiber cloths for application and buffing, as they're gentle on the surface. Finally, don't forget a spray bottle for easy application. With these supplies on hand, you'll be well-equipped to tackle those scratches and restore your hardwood floors to their former glory.
Clean the Affected Area
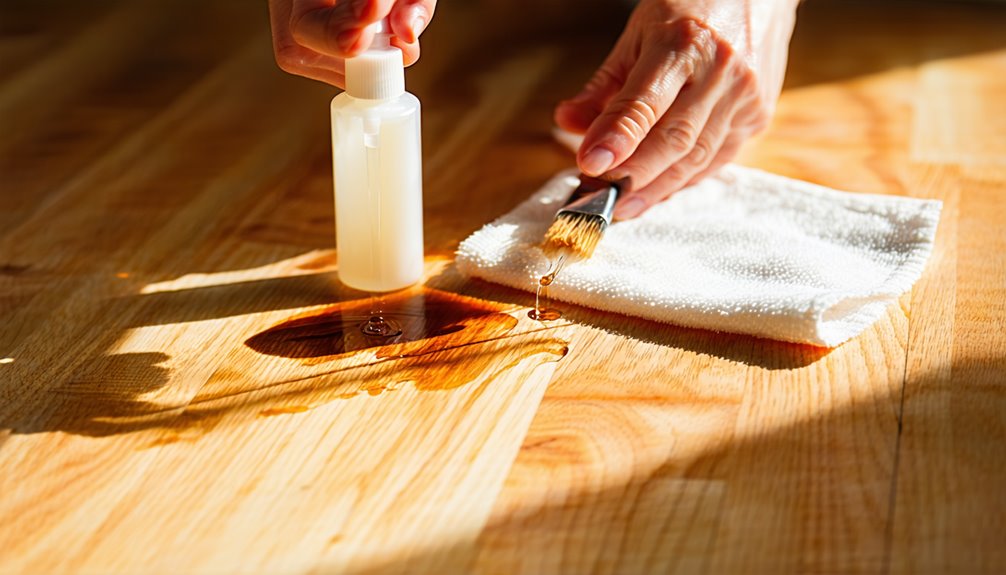
Cleaning the affected area is a crucial first step in repairing scratches on your hardwood floors. Start by gathering your cleaning supplies, like a soft cloth and a gentle cleaner specifically designed for hardwood. Use effective cleaning techniques, like lightly dampening the cloth with the cleaner, and gently wipe the scratched area, removing dirt and debris. Avoid soaking the wood, as excess moisture can worsen the damage. Afterward, dry the spot thoroughly to prevent water damage. Incorporate these maintenance tips into your routine to keep your floors looking great and to minimize future scratches. Regular cleaning guarantees your hardwood maintains its beauty and longevity, giving you the freedom to enjoy your space without worry.
Use a Wood Stain Marker
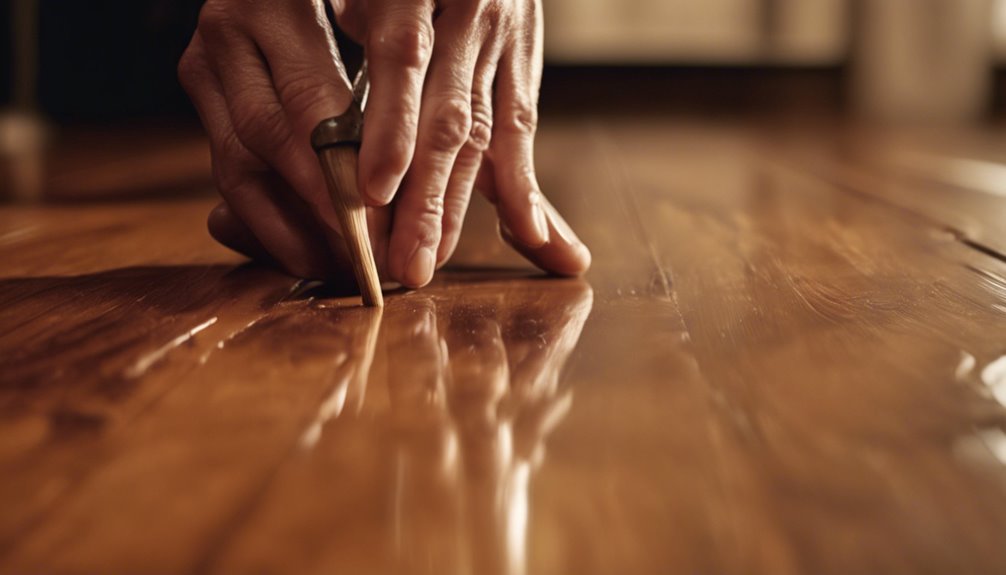
A wood stain marker can be a handy tool for addressing scratches on your hardwood floors. It's quick, easy, and provides a seamless repair. First, choose a wood stain marker that matches your floor's color. Then, apply it directly to the scratch. Blend it gently with a cloth to guarantee an even finish.
Here's a quick comparison of wood stain markers:
| Feature | Description |
|---|---|
| Application Ease | Simple and quick |
| Color Matching | Wide variety available |
Using a wood stain marker is one of the effective repair techniques to restore your floors' beauty. Just remember to let it dry thoroughly before walking on it!
Apply a Wax Stick
To effectively fix scratches with a wax stick, you need to choose the right color that matches your floor. Once you've got the right shade, apply even pressure while filling in the scratch for a smooth finish. This guarantees the repair blends seamlessly with the surrounding wood.
Choose the Right Color
Choosing the appropriate color for your wax stick is essential, as it guarantees a seamless blend with your hardwood floors. Color matching is key to achieving a natural look, so take your time with stain selection. Here's how to find the right shade:
- Inspect your flooring: Examine the existing stain and wood grain closely.
- Gather samples: Collect a few wax stick colors that resemble your floor.
- Test application: Apply small amounts on discreet areas to see how they blend.
- Consider lighting: Check how the color looks in different lighting throughout the day.
Apply Even Pressure
When you're ready to apply the wax stick, maintain even pressure throughout the process. This consistency is essential for effective scratch removal. Start by placing the stick directly over the scratch, ensuring it matches the wood color. Then, gently press down while moving the stick back and forth along the scratch, using steady, even pressure application. Avoid pressing too hard, as this can lead to excess wax buildup. Instead, focus on a smooth motion to blend the wax into the surrounding wood. Once you've filled the scratch, wipe away any excess with a clean cloth. Allow it to set, and enjoy your refreshed floors. With a little practice, you'll master this technique and keep your hardwood looking pristine.
Sand and Refinish
Although it may seem intimidating, sanding and refinishing hardwood floors can effectively restore their original beauty. With the right approach, you can revive your floors in no time. Here are some essential sanding techniques and refinishing tips to guide you:
- Choose the Right Sandpaper: Start with coarse grit and gradually move to finer grits for a smooth finish.
- Use a Floor Sander: A drum sander or orbital sander can save you time and effort.
- Vacuum Thoroughly: Remove dust and debris between sanding stages to guarantee a clean surface.
- Apply Finish Evenly: Use a brush or roller to apply your chosen finish, making sure to follow the grain.
Prevent Future Scratches
To keep your hardwood floors looking pristine, it's important to take proactive steps that can prevent scratches from occurring. Here are some effective preventive measures you can implement:
| Action | Description | Benefits |
|---|---|---|
| Use Area Rugs | Place rugs in high-traffic areas | Reduces wear and tear |
| Add Felt Pads | Attach them to furniture legs | Prevents gouges |
| Regular Cleaning | Sweep and mop regularly | Eliminates debris |
| Apply Protective Coatings | Use protective finishes | Enhances durability |
| Limit Pet Claws | Regularly trim pet nails | Reduces scratching |
Frequently Asked Questions
Can I Use Furniture Polish on Scratched Hardwood Floors?
You might be tempted to use furniture polish on scratched hardwood floors, but its effectiveness is limited. While it can temporarily enhance shine and mask minor imperfections, it won't repair deep scratches. Instead, consider scratch repair techniques like using a wood filler or a touch-up marker for a more lasting solution. For the best results, always test products in an inconspicuous area before applying them to the entire floor.
How Often Should I Refinish My Hardwood Floors?
Think of your hardwood floors as the canvas in a painter's studio; they need regular touch-ups to keep their beauty. You should refinish your hardwood floors every 5 to 7 years, depending on foot traffic and wear. This refinishing frequency is essential for effective hardwood maintenance. If you notice dullness or scratches, it might be time to reflect on a refresh. By staying proactive, you'll enjoy the freedom of stunning floors for years to come.
Are There Professional Services for Hardwood Floor Scratches?
Yes, there are professional services specializing in scratch repair for hardwood floors. These experts provide professional restoration to bring your floors back to life, ensuring a seamless finish that's hard to notice. They've got the tools and experience to tackle scratches effectively, saving you time and hassle. If you want to maintain your floors' beauty without the stress of DIY fixes, hiring a professional is a great option to contemplate.
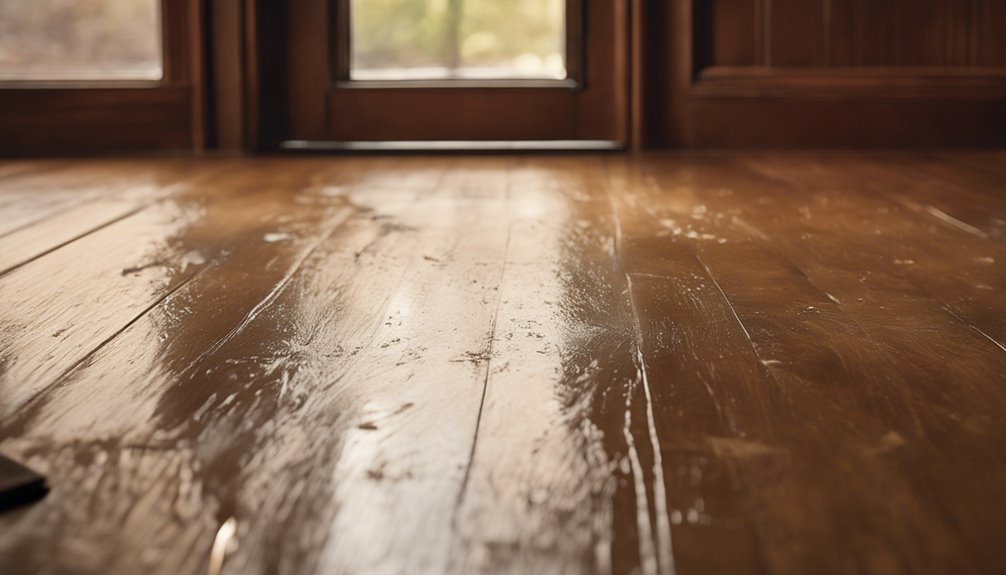
Will Sunlight Fade My Hardwood Floor Repairs?
Yes, sunlight exposure can fade your hardwood floor repairs over time. If you've just had your floors repaired, it's wise to contemplate protecting them from direct sunlight. Using curtains or blinds can help minimize fading. Additionally, applying a UV-protective finish can shield your repairs from harsh light. By taking these steps, you can enjoy your beautiful floors without worrying about them losing their luster due to sunlight.
Can I Fix Deep Scratches Without Sanding?
Did you know that 70% of homeowners encounter scratches on their hardwood floors? If you're looking to fix deep scratches without sanding, you've got some effective DIY methods at your disposal. Try using a scratch repair marker or a wax fill stick that matches your floor color. Simply apply it to the scratched area, then buff it gently. This can help blend the scratch into the surrounding wood, giving your floors a fresh look!


