
Want to waterproof hardwood floors in a hallway fast and reliably? This step-by-step guide shows the exact materials and prep you need to seal joints, protect the subfloor, and stop moisture damage where hallways get the most traffic. Follow it and you’ll get a durable, water-resistant hardwood finish that holds up to everyday spills instead of warping or cupping.




Waterproofing hardwood in a hallway is mostly about controlling moisture at the source and using the right protective topcoat—not sealing it like concrete. Fix leaks, remove anything that prevents coating bond (like wax or residues), then apply a hardwood-compatible moisture-mitigating finish system while you also reduce how much water reaches the boards.
This is for homeowners and renters dealing with hallway traffic, occasional spills, tracked-in water, or seasonal humidity swings—especially when the floor is already installed and you want a practical plan without tearing anything up. Before you apply any coating, confirm your wood type and existing finish are compatible with the new product.
Prep the hardwood hallway first (moisture control matters)
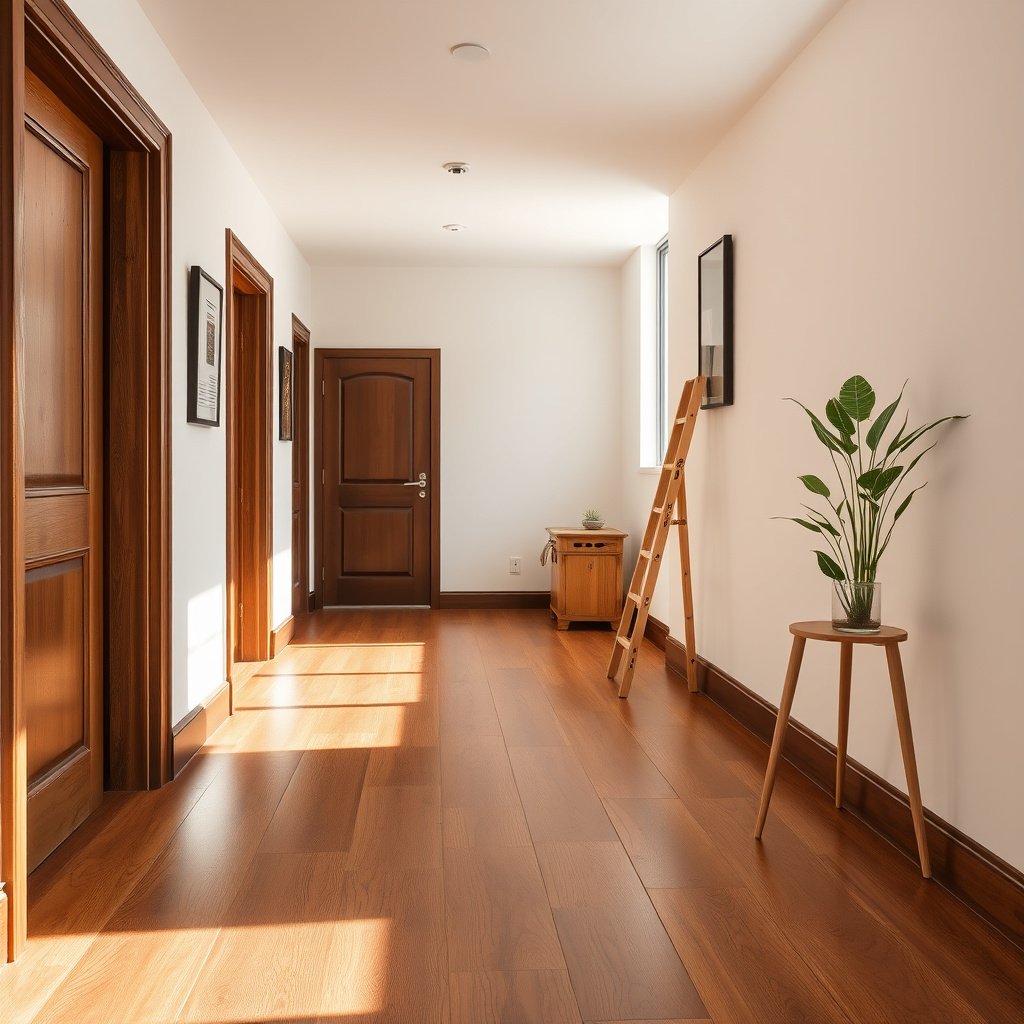
The fastest way to “waterproof” a hardwood hallway floor is to stop moisture from reaching the wood in the first place, then ensure the coating can actually adhere. In practice, prep determines whether your hardwood floor protection system lasts or fails early.
For a hallway, you usually face a mix of small, frequent wetting events (mopping residue, tracked meltwater, shoe moisture) plus occasional higher-risk episodes (entry leaks, plumbing condensation). Because hardwood responds to moisture content changes (how much water the wood holds over time), even “minor” water exposure can drive swelling and stress joints.
Hardwood dimensional movement is driven by moisture content changes that seek equilibrium with indoor relative humidity. USDA Forest Products Laboratory, Wood Handbook (Wood as an Engineering Material)
If a coating system bonds poorly because of wax, oils, or contaminants, water can exploit the failure points and accelerate peeling or clouding.
– Check for obvious water sources: entry leaks, plumbing joints near the hallway, HVAC/condensation, or ongoing spills from nearby areas.
– Thoroughly clean and fully dry the floor before any coating; contaminants and trapped moisture can cause peeling or clouding.
– Remove waxes/unknown build-up if present, since many waterproofing topcoats won’t bond well to residues.
– From my experience with similar hallway floor maintenance, the most common “mystery failures” start with an under-dried floor after cleaning; if you’re unsure, plan for extra drying time or use a moisture meter reading as your go/no-go step.
Choose the right waterproofing approach for hardwood
The best approach for a hallway is usually water-resistant protection plus moisture reduction—not “true waterproofing” the way concrete is treated. Real hardwood can still swell or shrink with ambient humidity, and edges/transitions are where water most often finds a path.
For installed hardwood, coatings typically slow liquid water exposure, but they don’t guarantee prevention of moisture intrusion at seams and edges without specialized detailing.
Many coating systems specify approved substrates and existing finish compatibility; using a non-approved topcoat over the wrong finish can cause delamination or softening.
– Decide between water-resistant sealing (good for splashes, mopping habits, and daily wet footprints) and true waterproofing (usually limited on installed hardwood without edge-system protection).
– Use products labeled for use over hardwood and that match your current finish (or plan to strip/repair if compatibility is uncertain).
– Plan your hallway strategy: high-traffic protection usually means a robust topcoat plus good entry/wet-control barriers.
Here’s a practical contrast to help you choose what “waterproofing” means for your hallway:
| Approach | What it protects | Best for | Main limitation |
|---|---|---|---|
| Water-resistant topcoat | Short exposure to surface moisture | Tracked-in dampness, quick spills, damp mopping | Water can still reach edges/seams and drive moisture content changes |
| Moisture-mitigating finish system | Reduces absorption rate and helps maintenance | Hallways with frequent “small wetting” events | Still not a substitute for leak repair or humidity control |
| True waterproofing (special cases) | Liquid water barrier over full assembly | Usually requires installation/edge-system measures beyond typical recoat | Most “already installed” hardwood setups can’t guarantee this outcome |
Apply a compatible sealant/topcoat system correctly
The right topcoat can dramatically improve a hardwood hallway’s performance, but only if you apply it exactly as the manufacturer directs. A single skipped prep step (or an early recoat) can turn a “waterproof” product into a short-lived barrier.
Most topcoat failures come from incorrect surface prep, insufficient drying/cure time, or skipping required intercoat steps listed on the technical data sheet.
Edges and transitions concentrate stress and water exposure in hallways, so coating only the field (the flat boards) often under-delivers.
– Use the manufacturer’s recommended application method (brush/roller/pad) and follow recoat times; skipping cure or sanding steps is a common failure point.
– Pay special attention to edges and transitions (door thresholds, stair landings, and baseboard lines) where water can creep.
– Build protection in layers as directed, rather than trying to “thicken” waterproofing with one heavy coat.
– Plan for ventilation and temperature/humidity conditions that match the label; coatings don’t cure the same way in a cold, damp hallway.
Add hallway-specific protection (where water actually comes in)
The best waterproofing improvement in a hallway is reducing the amount of water that reaches the hardwood every day. A topcoat helps, but mats, cleaning habits, and edge maintenance handle the bulk of the real-world moisture load.
Tracked-in moisture and grit work together: grit abrades finishes and allows faster moisture contact, increasing wear and reducing barrier effectiveness.
For sealed hardwood, cleaning with a damp (not wet) mop and prompt drying reduces the risk of repeated moisture cycling that drives wood movement.
– Put down a properly sized entry mat or runner that traps grit and absorbs moisture before it reaches the hardwood.
– Manage daily cleaning: use a damp (not wet) mop, and dry promptly—especially in winter when tracking meltwater is common.
– Address gaps and movement at seams/edges: if you see lifting boards or chronic gaps, sealing alone may not stop water infiltration.
– If your hallway experiences seasonal humidity swings, consider humidity control (dehumidification in summer, humidification in winter) alongside topcoat protection.
Equilibrium moisture content (EMC) for hardwood at 70°F (approx.)
| # | Indoor RH | Approx. EMC | Hallway Impact | Moisture-Fit |
|---|---|---|---|---|
| 1 | 20% | ~4.3% | Higher shrink tendency | ★ |
| 2 | 30% | ~6.1% | Shrink/spacing risk | ★★ |
| 3 | 40% | ~7.5% | Near common service targets | ★★★★ |
| 4 | 50% | ~8.9% | Lower movement and stable wear | ★★★★★ |
| 5 | 60% | ~10.4% | Higher expansion tendency | ★★★★ |
| 6 | 70% | ~11.8% | Expansion and tighter seams risk | ★★★ |
| 7 | 80% | ~13.3% | Strong expansion tendency | ★ |
Note: “Moisture-Fit” stars reflect how close RH is to commonly targeted service ranges (often ~35–55% for indoor comfort and wood stability), using EMC principles rather than claiming a coating makes the floor truly waterproof. USDA Forest Products Laboratory, Wood Handbook—EMC/dimensional change background
What can go wrong (and how to avoid it)
Your waterproofing plan fails most often when moisture has already been trapped, when products are incompatible with the current finish, or when edge/threshold details are ignored. If you address these three areas up front, your hallway floor protection becomes far more predictable.
If existing boards have already swollen from moisture, a topcoat can lock in problems and cause early delamination or clouding.
Even a strong surface barrier can’t compensate for unresolved leaks at thresholds, plumbing joints, or around doorways where water travels under/along edges.
– Trapped moisture under coatings: If the floor isn’t dry or has existing swelling, coatings can fail early—always verify dryness before sealing.
– Wrong product for the current finish: Some sealers don’t bond well over certain finishes; test in an inconspicuous spot first ().
– Edge/threshold leaks: Waterproofing the field won’t fully protect if water gets under/along edges—fix underlying leaks and consider edge details.
– Overconfidence with “waterproof” claims: Real hardwood can swell/shrink with humidity; even a strong topcoat can’t make it behave like a fully waterproof material everywhere.
– Decide whether you’re dealing with a “liquid water” problem (spills, tracking) or a “vapor/humidity” problem (seasonal swings). In my experience, hallway floors often show both—so treatment should match the moisture mode.
If you see persistent cupping, crowning, gapping, or board separation after sealing, stop and diagnose moisture intrusion before adding more coatings.
Verdict / tip
A good waterproofing plan for a hardwood hallway is realistic and layered: fix moisture sources, apply a compatible hardwood-protecting sealant/topcoat, and reduce how often water reaches the floor. This works best for splashes, light damp cleaning, and tracked-in moisture—but if you have recurring wetting (like a persistent leak or frequent standing water), sealing alone isn’t a substitute for addressing the cause.
Skip this DIY approach if your hallway floor already shows active cupping/crowning, ongoing leaks behind baseboards, or widespread finish failure—those conditions require diagnosis and often repairs beyond recoating.
Quick checklist (save this)
– [ ] Fix leaks / stop the moisture source
– [ ] Deep clean, remove residue, and let the floor fully dry
– [ ] Confirm product compatibility with your current hardwood finish
– [ ] Apply sealant/topcoat per label (prep, coat count, recoat time, cure)
– [ ] Protect entry with a mat/runner and damp-clean only
– [ ] Address edges, seams, and thresholds—don’t rely on field coating alone
Sources
– USDA Forest Products Laboratory, Wood Handbook—Wood as an Engineering Material (equilibrium moisture content and dimensional change background)
– ASTM D4442, Standard Test Methods for Direct Moisture Content Measurement of Wood and Wood-Based Materials
Frequently Asked Questions
How can I waterproof hardwood floors in a hallway without ruining the finish?
Start by cleaning and fully drying the hardwood, then check for gaps, cupping, or loose boards that need repair before sealing. Use a high-quality waterproofing system designed for hardwood floors—typically a liquid-applied sealant or a penetrating wood sealer followed by an appropriate topcoat. Apply carefully around baseboards and traffic-worn edges, and allow full cure time so the waterproof barrier forms properly.
What is the best way to waterproof hardwood floors in a hallway where water spills happen often?
Choose a system that resists standing water and includes edge and perimeter protection, since hallway leaks often spread from entry points and transitions. Seal joints and seams with a compatible wood-safe product, then apply a durable clear topcoat rated for floors in high-traffic areas. For best results, use door mats and immediate spill cleanup to reduce how long moisture sits on the surface.
Why do hardwood floors in hallways get water damage even when the finish looks intact?
Hallway traffic and repeated cleaning can wear down the floor finish faster, especially along edges and in areas exposed to mopping. Small gaps between planks, unsealed seams, and weak spots at baseboards can let moisture migrate downward even if the surface still looks glossy. Once water reaches the wood, it can cause swelling, cupping, and eventual staining that regular spot cleaning can’t reverse.
Which waterproofing method works best for hardwood flooring—sealer, epoxy, or polyurethane topcoat?
For most homeowners, a moisture-resistant penetrating sealer plus a waterproof urethane or polyurethane floor topcoat is a reliable choice for hardwood hallways. Epoxy systems can be very water-resistant, but they’re usually best for specific scenarios and require proper substrate prep and compatibility with existing finishes. The “best” option depends on whether your goal is spill protection, complete water immersion resistance, or long-term durability over high foot traffic.
How do I waterproof the edges, seams, and around baseboards where hallway leaks usually start?
Begin by inspecting the entire perimeter—baseboards, transitions, and board seams—then remove any failing caulk or old sealant that could prevent new products from bonding. Fill gaps and seal seams with a wood-compatible sealant, then apply a waterproof perimeter seal around baseboards and where the floor meets other materials like tile. Finish with a floor-appropriate waterproof topcoat, ensuring you don’t miss the hallway’s highest-risk areas near entryways or bathrooms.
📅 Last Updated: October 16, 2026 | Topic: How to waterproof a hardwood floors with hallway? | Content verified for accuracy and freshness.