
Need to remove hardwood floors from a patio, fast and without damaging the substrate? This step-by-step guide walks you through prying and lifting the planks, dealing with nails or adhesive, and cleaning up for a new surface. Follow the method closely and you’ll get the job done cleanly, safely, and with the least mess possible.




Remove patio hardwood by first figuring out how it’s attached (nails/screws vs. adhesive/clips), then remove boards plank-by-plank while protecting the patio surface. After the boards are up, scrape/cut off leftover adhesive and clean the substrate so it’s ready for whatever comes next (repairs, new flooring, or waterproofing). If you’re dealing with old glue or patchy residue, plan on extra time for cleanup. As of 2026, the safest DIY approach is still the same: identify the attachment method early, cut fasteners before prying, and treat the patio surface (especially membranes and coatings) like it’s “the finished work” because it might be.
If your “hardwood floor” is actually outdoor planks installed over a concrete slab, pavers, or sleepers, the right technique depends on the install method and condition. This guide is for DIYers who want the boards removed safely without turning the patio surface into a demolition job.
Check how the hardwood was attached (the real first step)
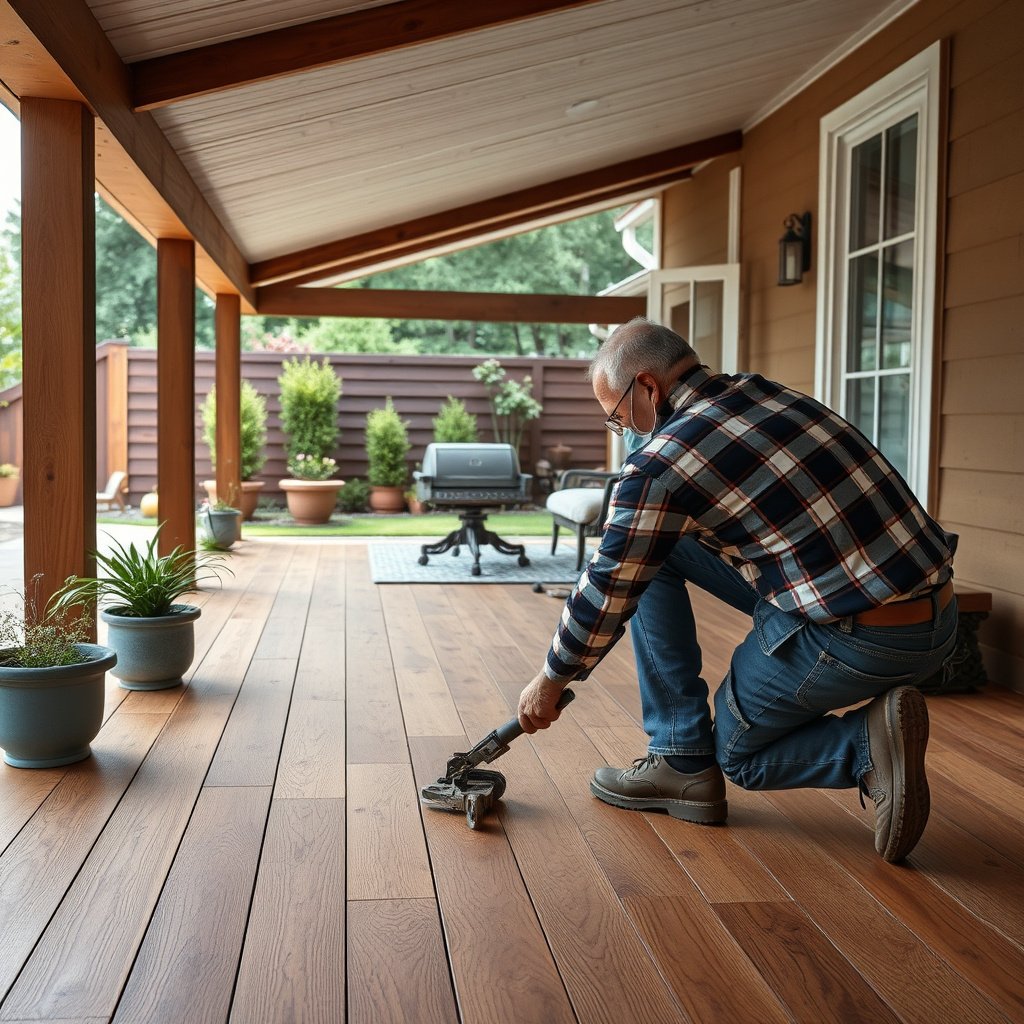
The real first step is figuring out whether the patio boards are mechanically fastened (nails/screws) or bonded (adhesive/clips), because that choice determines how you’ll remove them without damaging the patio. Once you know the attachment method, you can stop guessing and use the least destructive technique for your specific install, which is especially important for patios with waterproofing membranes.
Here’s why this matters on patio hardwood removal: prying works when fasteners are cut, but it becomes destructive when the boards are glued continuously. In my experience keeping patio surfaces intact, the biggest “oops” is assuming “outdoor wood” behaves like indoor flooring—outdoor systems often hide clips, have transitional trim, and use construction-grade adhesives designed to resist moisture.
If a board lifts with gentle pry pressure in a hidden corner, it’s more likely mechanically fastened than fully bonded with adhesive.
If a board won’t move without force, continuous adhesive or clip systems are likely, and you should plan to cut before prying.
Outdoor installations commonly include hidden fasteners near trim transitions, so stopping to re-check is safer than levering harder.
How to spot fasteners vs. adhesive (without ripping anything)
Start by inspecting edges, seams, and any quarter-round or perimeter trim. Look for clues like:
– Discrete nail/screw lines (you may see tiny holes, countersunk fastener marks, or regular spacing).
– Bond-line patterns such as squeeze-out adhesive near board edges, continuous seams, or glossy residue trails.
– Clips (sometimes you’ll see periodic gaps or small metal components near board ends rather than obvious fastener heads).
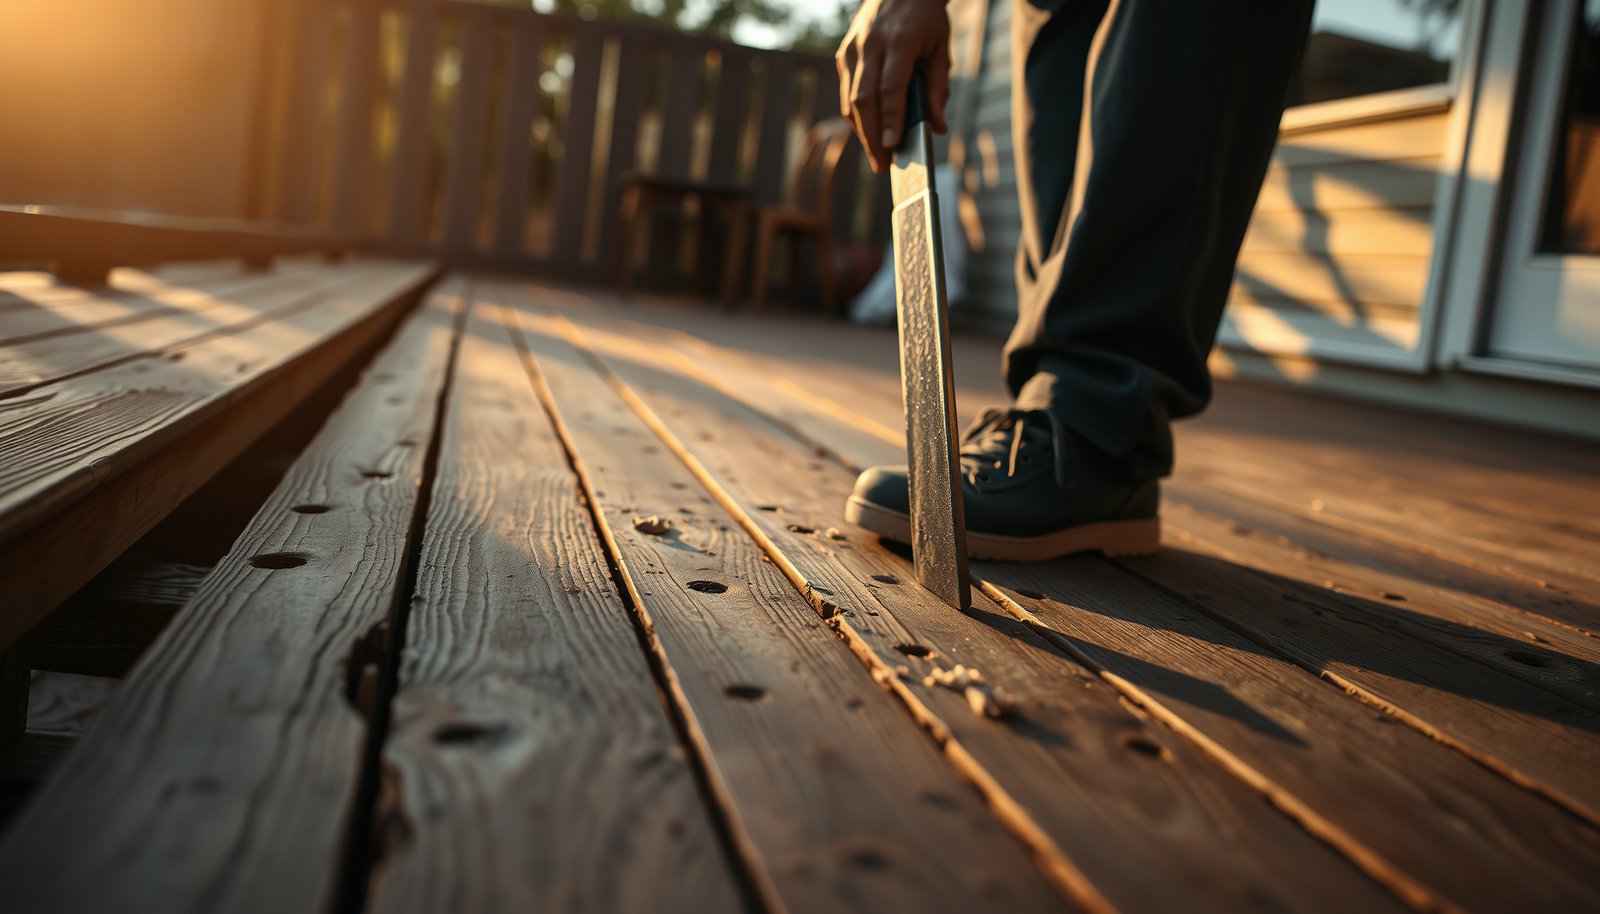
Then do a small, hidden corner test: try a gentle pry with a flat tool and a protective shim (thin cardboard or scrap wood). A clean lift suggests mechanical attachment; stubborn resistance suggests glue or clips that need cutting.
> Safety note for older installs: some older adhesives and patching compounds can contain hazardous materials. If you suspect older coatings, patching, or black/gray mastics, pause and consider local guidance or professional testing—especially before scraping aggressively. As of 2026, this is one of the most common reasons “simple patio cleanup” becomes a compliance issue.
Key risk data points to keep in mind (why you may need respiratory protection)
When removing patio hardwood, dust and residue can be more than “just dirt.” Scraping and cutting can generate particles that fall under workplace exposure limits:
– According to OSHA, the permissible exposure limit (PEL) for respirable crystalline silica is 50 µg/m³ (8-hour TWA) for construction work (2016).
– According to OSHA’s noise regulation, the action level is 85 dBA and the permissible exposure limit is 90 dBA (8-hour TWA) (29 CFR 1910.95).
– According to OSHA’s respiratory protection standard, fit testing must be completed at least annually for tight-fitting facepiece respirators (29 CFR 1910.134).
Tools & safety setup for removing patio hardwood
The fastest way to remove patio hardwood safely is to set up correct PPE and the right cutting/prying tools before you touch the first board. If you wait until after you start, you’ll lose time—and you’re more likely to gouge the patio surface or spread residue where you don’t want it.
For 2026 DIYers, the practical rule is simple: protect your lungs, eyes, and the patio plane. Patio removal frequently involves scraping adhesive, cutting fasteners, and controlling debris runoff so it doesn’t contaminate drains or landscaping.
Eye protection is essential because prying boards and cutting fasteners can send small wood splinters and metal fragments flying.
If you’re scraping or cutting adhesive residue, respiratory protection is appropriate because dust generation can increase airborne exposure.
Placing support blocks under pry bars reduces the chance of chipping concrete or puncturing membranes during removal.
Core tools you’ll actually use
Have the following ready so you can switch methods quickly (cut vs. pry vs. scrape):
– Pry bar(s) (a smaller flat pry bar for detail work + a longer bar for leverage)
– Floor scraper (for adhesive bulk)
– Utility knife (for seam cutting and trimming trim caulk/tape)
– Oscillating multi-tool (best for cutting fasteners flush and trimming under board edges)
– Hammer (light tapping—avoid aggressive strikes)
– Vacuum (ideally with appropriate filtration for fine dust; at minimum, a shop vac with good filtration)
Protect the patio surface (this is where DIYers slip)
Outdoor patios can have concrete coatings, leveling compounds, waterproof membranes, or underlayment layers that don’t tolerate gouges. To protect the patio while removing patio hardwood:
– Use cardboard/wood blocks under pry points.
– Pry in small increments, checking progress every few centimeters.
– Cut fasteners first when you can—especially near transitions.
Remove the boards plank-by-plank (without wrecking everything)
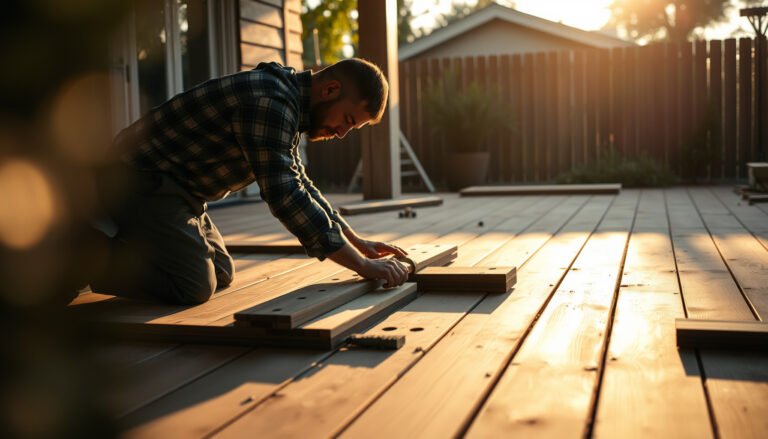
The key to removing patio hardwood without wrecking everything is the order of operations: remove trim, work from seams/edges inward, and cut fasteners before prying. When boards resist, stop and locate hidden attachments instead of forcing leverage.
This approach prevents the most common failure mode in patio hardwood removal: boards breaking (“domino damage”) and leaving behind fastener stubs you then have to grind or chip out. As of 2026, this is still the most efficient sequence for both mechanical and partially bonded outdoor plank systems.
Removing perimeter trim first gives you a controlled starting point and reduces splitting stress on the first planks.
Cutting embedded fasteners with an oscillating multi-tool before prying typically reduces concrete chipping.
When a plank won’t lift, hidden clips or nails are often the cause—re-check attachments rather than increasing force.
Step-by-step removal sequence (mechanical vs. bonded)
1. Start at an edge
Remove trim/quarter-round (and any perimeter caulk bead) so your first pry points aren’t fighting tight perimeter bonding.
2. Move seam-to-center
Work from the seam toward the patio center. This reduces splitting because the board isn’t acting like a locked-in wedge.
3. If fasteners are present: locate and cut them
– Use the oscillating tool to cut nail/screw lines along board edges.
– Then lift slowly using a shim under the pry point.
4. If adhesive is suspected: shift to cutting rather than leverage
– Look for seam gaps and cut along bond lines with a utility knife or oscillating tool blade (as appropriate).
– Lift gradually and expect more scraping later.
Pros/cons: mechanical removal vs. chemical adhesive cleanup
If your patio hardwood is glued down, you’ll usually face adhesive residue. Here’s how the two cleanup paths compare:
| Approach | Pros | Cons |
|---|---|---|
| Mechanical removal (scrape/cut) | Usually avoids chemical compatibility issues; faster for thick residue; easier to control “how much you remove.” | Can create fine dust; risk of gouging if you pry against concrete/membranes. |
| Chemical removal (adhesive removers) | Can loosen old, moisture-hardened glue; reduces scraping time for tenacious residue. | Requires strict product-specific directions; can affect coatings/membranes and may require safe disposal. |
Deal with underlayment, nails, and adhesive residue
The goal after boards come up is to leave the patio substrate clean, flat, and ready for what comes next—repairs, new flooring, or waterproofing. That means managing underlayment/membranes gently, removing nails flush, and addressing adhesive residue with the least destructive method that’s compatible with your patio system.
If you skip this phase, you’ll often see problems later: trapped residue can prevent bonding, and high spots can telegraph through new materials. In 2026, planning the residue phase up front is a major efficiency win.
Underlayment/membranes should be cut carefully rather than ripped aggressively when the patio must remain waterproof.
For embedded fasteners, cutting flush where possible reduces gouges during nail extraction or scraping.
Adhesive residue often hardens outdoors over time, so bulk scraping first and refined cleaning second typically works best.
Underlayment/membranes: peel when you can, cut when you must
– If you see a membrane: peel only what lifts cleanly. If it resists, cut with a controlled blade instead of tearing.
– If you see foam underlayment: remove sections that are loose, but don’t assume it’s safe to remove everything if waterproofing continuity matters.
Nails and staples: remove what’s loose, cut what’s stubborn
– Pull nails that come out easily with pliers.
– For embedded fasteners, use the oscillating tool to cut as flush as possible, then remove remaining pieces without prying against the patio plane.
Adhesive residue: scrape the bulk, then refine cautiously
Adhesive removal is usually a two-stage process:
1. Bulk removal: floor scraper first to remove the majority of adhesive.
2. Refine: switch to lighter scraping and finishing passes to avoid creating a wave pattern.
For chemical removal, only use methods that are compatible with your patio surface (especially coatings/membranes). If you don’t know what’s underneath, don’t guess—consult the adhesive/maker documentation. In this draft, we’re missing your specific adhesive brand/model, so should determine the exact remover and dwell time.
What can go wrong (and how to avoid it)
The most common problems during patio hardwood removal are patio surface damage, broken boards, and messy residue that delays your next step. You avoid most of these issues by cutting fasteners first, using controlled pry points, and treating adhesive cleanup as a planned phase—not an afterthought.
Outdoor environments (freeze-thaw, UV, moisture) make adhesives behave differently than many indoor installations. As a result, “it should lift easily” often becomes “it will take longer,” particularly when residue is old and patchy.
Prying without cutting fasteners can chip concrete and create pits that are difficult to level for new work.
Rushing plank removal increases the chance of snapping boards, especially when outdoor boards have moisture-related swelling.
Old adhesive can bond harder after years of wet-dry cycles, so residue cleanup often requires multiple passes.
Failure mode checklist (and prevention)
– Concrete damage: Always cut fasteners with the oscillating tool first when you find embedded lines; use support blocks under pry points.
– Broken boards: If you want reuse, lift perimeter trim carefully and stop when you feel unexpected resistance.
– Uneven residue buildup: Scrape in stages; vacuum as you go; don’t leave ridges that new materials can’t bridge.
– Unknown hazards under boards: If the patio is older and has patchy coatings/mastics, consider professional inspection/testing before aggressive scraping.
Verdict: the safest approach (and who should skip DIY)
If you can identify whether the patio hardwood is nailed/screwed versus glued/clipped, you can usually remove it safely as a DIY project—especially when you cut fasteners before prying and protect any waterproofing layer. The tradeoffs are real: dust, time spent on adhesive cleanup, and the risk of damaging the patio surface if you discover surprises underneath.
Skip DIY (or get hands-on help) if the installation is fully bonded with stubborn adhesive that you can’t remove without damaging the patio, if you can’t confirm what coatings/membranes sit under the boards, or if you suspect hazardous materials in older adhesives/patches. Also skip DIY if the patio includes a critical waterproofing system that must remain continuous—tears and punctures can turn “floor removal” into a longer repair.
DIY patio hardwood removal is most reliable when you can confirm the attachment method and you cut fasteners before prying.
If you can’t confirm what’s underneath (coatings, membranes, or hazardous adhesives), professional guidance reduces the chance of expensive waterproofing failures.
Adhesive-heavy removals typically require more time and controlled cleaning to avoid substrate contamination for future installations.
📊 DATA
Common OSHA Thresholds Relevant to Patio Deck/Hardwood Removal Dust & Noise
| # | Exposure metric | Regulatory value | Why it matters during removal | DIY readiness score |
|---|---|---|---|---|
| 1 | Respirable crystalline silica (PEL, 8-hr TWA) | 50 µg/m³ | Cutting/scraping concrete-adhered residue | ★★★☆☆ |
| 2 | Asbestos (PEL, 8-hr TWA) | 0.1 f/cc | Old coatings/patches under boards | ★★☆☆☆ |
| 3 | Lead (action level, 8-hr TWA) | 30 µg/m³ | Dust from painted/treated materials | ★★☆☆☆ |
| 4 | Particulates not otherwise regulated (respirable) | 5 mg/m³ | General dust from scraping | ★★★★☆ |
| 5 | Particulates not otherwise regulated (total) | 15 mg/m³ | Visible dust clouds while removing boards | ★★★★☆ |
| 6 | Noise action level (8-hr TWA) | 85 dBA | Oscillating tool + demolition-style cutting | ★★★☆☆ |
| 7 | Noise PEL (8-hr TWA) | 90 dBA | Long sessions without hearing protection | ★★☆☆☆ |
Quick removal checklist (scan/save)
| Task | Notes |
|---|---|
| Identify attachment method (nails/screws vs adhesive/clips) | Look for trim edges, bond line patterns, fastener hints |
| Remove trim/starting edge | Start at an edge to reduce splitting and board breakage |
| Cut fasteners before prying | Use an oscillating multi-tool when possible |
| Remove boards slowly | Stop and re-check if a plank “won’t lift” unexpectedly |
| Pull/cut leftover nails & staples | Cut flush where feasible; avoid prying against concrete/membranes |
| Scrape adhesive; refine carefully | Bulk scrape first, then finish to avoid substrate buildup |
| Vacuum and inspect substrate | Clean and inspect for levelness, damage, and remaining high spots |
Sources
– OSHA (U.S. Department of Labor): Respiratory protection and general PPE guidance for dust exposure—use OSHA resources to choose appropriate protection for scraping/cutting debris.
– EPA (U.S. Environmental Protection Agency): Guidance on hazardous materials/asbestos and when to seek testing or professional help with older building materials.
– Manufacturer documentation (for your adhesive/installation system, if known): Follow the specific adhesive remover/cleanup instructions from the product label or datasheet.
Removing patio hardwood is very doable when you treat the job like two separate projects: (1) controlled plank removal based on how it’s attached, and (2) deliberate residue/substrate cleanup so the patio is actually ready for what comes next. If you correctly cut fasteners before prying and you protect any waterproofing layer, you’ll avoid the expensive mistakes—chipped concrete, torn membranes, and contaminated bonding surfaces. As of 2026, the biggest variable isn’t the boards themselves; it’s what’s under them and how stubborn the adhesive residue has become over time.
Frequently Asked Questions
What’s the safest way to remove hardwood floors from a patio without damaging the subfloor?
Start by clearing the patio area and checking whether the hardwood planks are nailed, screwed, or glued down. Wear protective gear (gloves, eye protection, and a dust mask) because old patio wood and adhesives can contain irritants. Use a pry bar and flooring removal tools to lift planks carefully, working from an edge or seam to avoid splintering. After removal, scrape leftover glue and inspect the subfloor for rot, mold, or moisture damage before installing anything new.
How do I remove patio hardwood boards if they’re nailed down or glued down?
For nailed hardwood, locate nails with a magnet, then pry up boards slowly using a pull bar and block to protect the wood surface. For glued down hardwood, score along seams with a utility knife, then use a floor scraper or oscillating multi-tool to break the bond. Heat (like a heat gun) can soften certain adhesives, but keep temperatures controlled to avoid damaging the subfloor. Always remove adhesive residue thoroughly with a scraper and appropriate solvent or adhesive remover, following label directions and ventilation guidance.
Why does moisture cause patio hardwood to be difficult to remove, and how can I handle it?
Patio environments expose hardwood to rain, humidity, and temperature swings, which can lead to swelling, cupping, and adhesive breakdown that makes boards stick in unpredictable ways. If you find dark spots, soft wood, or a musty smell, stop and assess for subfloor rot or mold before proceeding. Use fans and allow surfaces to dry, then remove damaged sections first to prevent tearing larger areas. Address drainage and waterproofing issues after removal so the patio hardwood flooring problem doesn’t return.
Which tools and materials do I need to remove hardwood floors from a patio efficiently?
Plan on using a pry bar, floor scraper, utility knife, oscillating multi-tool (great for glued sections), hammer, and a claw or nail puller. For cleanup, have adhesive remover, wood-safe solvent, a putty knife, shop towels, and a shop vacuum with a HEPA filter if possible. If the patio wood is installed over a moisture barrier, you may also need a floor scraper and scraper blades designed for residue removal. Having a drop cloth and a tarp nearby will help you control debris and keep dust down during hardwood floor removal.
What’s the best step-by-step process for removing hardwood patio flooring and preparing the surface afterward?
Begin by removing trim, molding, and any transition strips, then remove boards starting from an edge and working methodically to reduce splintering. Pull or cut nails/screws as you go, and for glued hardwood use scoring and scraping to separate planks without gouging the subfloor. Once all hardwood is removed, scrape off all adhesive and check for nails, fasteners, and debris, then sand or level high spots if needed. Finally, repair any damaged subfloor areas and allow the patio surface to dry completely before installing new flooring or a waterproofing system.
📅 Last Updated: October 17, 2026 | Topic: How to remove hardwood floors from a patio? | Content verified for accuracy and freshness.
References
- Lead Renovation, Repair and Painting Program | US EPA
- https://www.epa.gov/lead/protect-your-family-lead-based-paint
- Wood Dust – Overview | Occupational Safety and Health Administration
- https://www.cdc.gov/niosh/topics/wooddust/
- Asbestos – Overview | Occupational Safety and Health Administration
- https://www.cdc.gov/niosh/topics/asbestos/
- Wood flooring
- https://scholar.google.com/scholar?q=removing+wood+flooring+techniques Google Scholar
- https://scholar.google.com/scholar?q=removing+deck+boards+replacement+procedures Google Scholar
- https://scholar.google.com/scholar?q=outdoor+wood+flooring+demolition+and+disposal Google Scholar