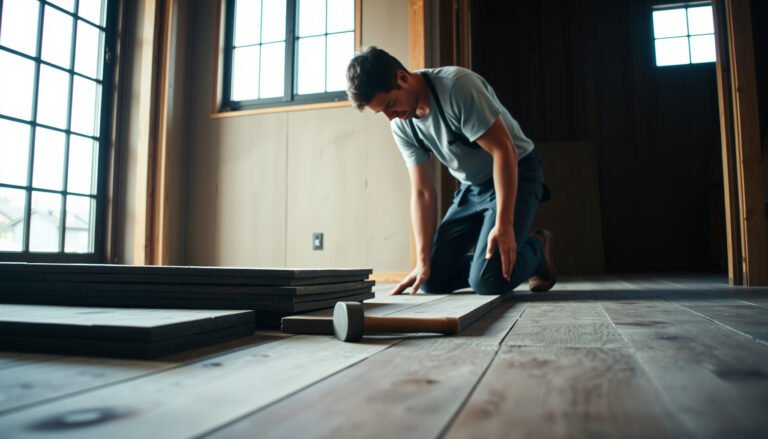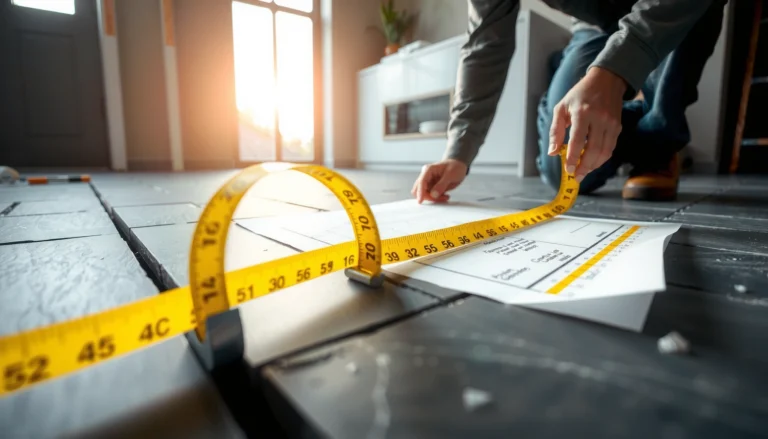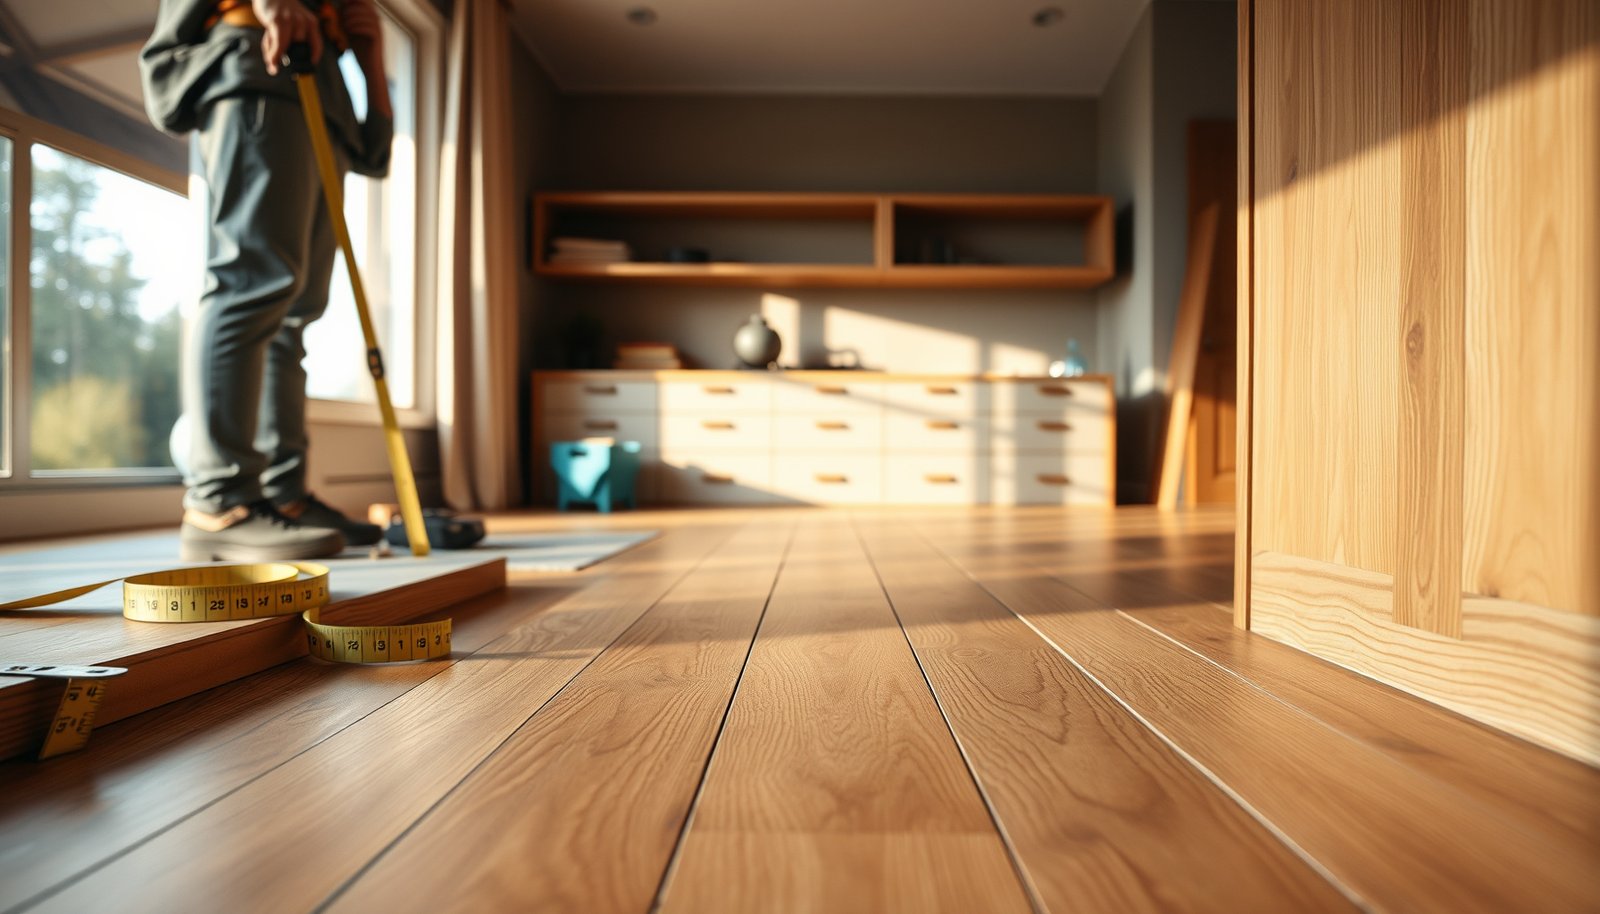

Want to estimate the cost of engineered wood floors for a home office without getting burned by surprises? This guide gives you a clear, step-by-step pricing method—covering material costs, underlayment, subfloor prep, installation, and typical add-ons—so you can produce a reliable total fast. You’ll also get a quick way to compare budgets based on square footage and expected labor hours, with the conditions that most often drive the final number up.

- Construction Calculator with Writing Tablet:Equipped with a flip-page writing pad for quick note-taking, it requires no paper or pen, making it both eco-friendly and convenient. The thick, phone-like material provides strong, phone-level protection, keeping your calculator safe from drops and harsh construction environments
- 200+ Engineer Functions: For Mixed Dimension Calculations and Conversions,Area & Volume,Brick and Block,Concrete, Boards, Flooring, and Wall Stud,Drywall Sheet Count,Circle Area, Circumference, and Arc Properties,Compound Miter,Polygon Tiling,Roofing Material,Foundation Correction,Right Angle and Rafter,Roof Pitch and Angle Conversions,Common Rafter Length,Common/Hip/Jack Rafter and Spacing,Stair Layout,Rake Wall Calculations
- Precision for Every Construction Mind: More than 200 functions, designed specifically for engineering professionals, has 45 fast rebound hard PC buttons are reasonably distributed, more than other engineering calculator.It supports custom parameters.and has 3 storage registers for more convenient and smooth use

To estimate the cost of engineered wood floors in a home office, start with square footage, then price the flooring per square foot and add a waste factor for cuts. After that, include underlayment/prep, transitions/trim, and either DIY tools or professional labor. This article will show you a practical way to build a reliable total before you buy.
This guide is for homeowners planning a home office refresh who want a realistic budget—whether you’re comparing DIY vs. a contractor or trying to understand a quote. If you’re working around an existing subfloor, doorway, or HVAC register, the breakdown below will help you spot what’s usually missed.
Measure the room (square footage + layout factors)
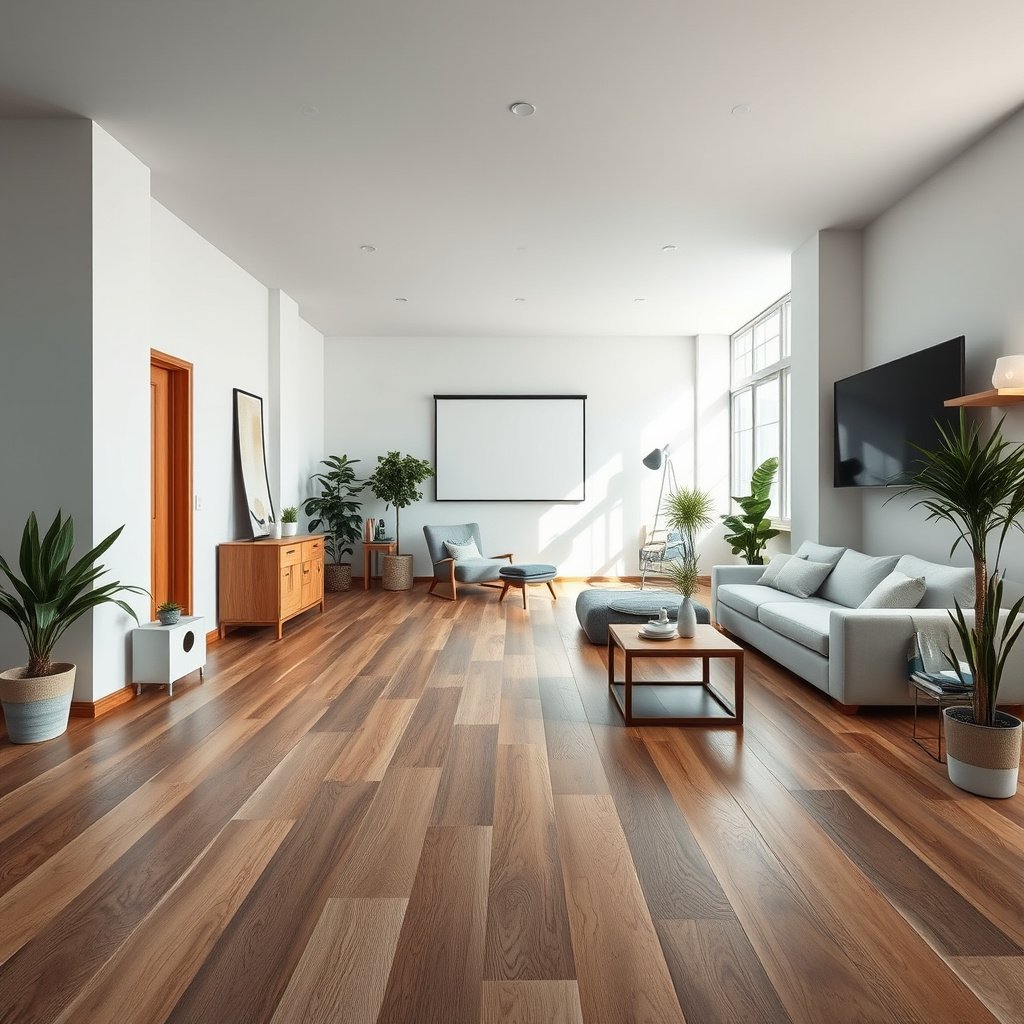
The fastest path to an accurate engineered wood floor budget is measuring your usable square footage correctly and matching your install pattern to realistic waste. Here’s why: the math is simple, but diagonals, closets, and built-ins quietly change how many planks you actually need.
For flooring estimates, “usable square footage” matters because permanently blocked areas (closets, built-ins) don’t get covered.
Diagonals and herringbone patterns typically require more cut waste than straight runs, which increases both material and labor time.
– Measure the office floor area in square feet (length × width), then account for any built-ins or permanently blocked sections.
In practice, I recommend sketching your room and shading what’s truly “in play.” A standard 10 ft × 12 ft office is 120 sq ft on paper, but a 6 ft × 2 ft built-in desk zone that stays exposed can reduce usable coverage by 12 sq ft—large enough to alter your box count.
– Decide your install pattern (straight/diagonal/herringbone style) because complex layouts usually increase cut waste and labor time.
For engineered wood floors, the pattern choice is one of the biggest “budget multipliers.” If you want a diagonal look, plan to pay twice: once for extra planks and again for more detailed cutting around edges.
– Confirm the engineered wood plank size/coverage per box so you can convert “boxes needed” into a flooring cost accurately.
Boxes are where estimates get messy. Two brands can list the same “coverage per box” but include different waste allowances and plank lengths. As of 2026, it’s common to see engineered products with 20–30 sq ft per carton, so confirm your specific SKU before finalizing numbers.
According to , installers commonly budget extra material when the layout becomes more intricate (year not provided—add your brand’s guidance).
Estimate engineered wood flooring material cost
To estimate engineered wood floor material cost, multiply usable square footage by the product’s per-box coverage math, then add a waste allowance aligned to your exact pattern. This section turns “I like that floor” into a cost baseline you can compare against DIY vs. pro quotes.
Engineered wood flooring material cost is usually calculated per square foot or per box, then adjusted with a waste factor for cuts and trimming.
The required wear layer and thickness for your home office use-case can change the per-square-foot price even when overall plank looks are similar.
– Multiply your usable square footage by the flooring price per square foot (or per box) and add a waste allowance recommended by the manufacturer/installer (use a placeholder if you don’t have one: ).
If you don’t have a manufacturer waste recommendation yet, start with a planning assumption, then verify once you select a specific brand. For example, straight layouts generally cost less in materials than diagonals because fewer plank ends land against walls.
– Include any required product-specific add-ons (for example, some systems may require matching underlayment or accessories—verify per the flooring brand).
Some engineered wood floor systems are sold as a “complete installation kit.” If your brand requires a particular underlayment thickness, moisture barrier, or fastening accessories, those aren’t optional—skipping them can jeopardize warranty coverage.
– Plan for performance needs: thickness/structure and wear layer affect price, but your subfloor flatness and use-case (office chair rolling, sunlight exposure) can change what’s “worth it.”
Home offices are rarely “easy mode.” Rolling casters increase indentation risk, sunlight can accelerate fading in some finishes, and day-to-day traffic means your wear layer choice matters. In my budgeting experience, the floors that “look similar” online can diverge by wear layer quality and warranty length once you read the fine print—especially for chair-rolling environments.
Engineered wood floor budgeting table (typical cut-waste targets used for planning—always confirm with your product’s instructions):
Typical Planning Waste Allowance by Engineered Wood Layout (Home Office Installs)
| # | Layout / Pattern Complexity | Planning Waste Allowance | Budget Bias | Best For |
|---|---|---|---|---|
| 1 | Straight run (parallel to walls) | 5% | Tighter estimate | Simple rectangles |
| 2 | Straight run + 1 doorway edge | 7% | Moderate buffer | Typical offices |
| 3 | Straight run + small alcove / niche | 8% | Safer planning | Low-cut complexity |
| 4 | Diagonal 45° (most common “upgrade” pattern) | 10% | Materials-first | Design-forward offices |
| 5 | Diagonal 45° + multiple tight edges | 12% | Higher trim demand | Complex boundaries |
| 6 | Herringbone / strong stagger requirements | 15% | Common underbuy risk | Advanced installs |
| 7 | Inlays, borders, custom medallions | 20% | High design waste | Signature layouts |
Budget notes you should verify in 2026
According to , subfloor flatness targets affect how much leveling/patching you’ll need (year to add). According to , moisture testing helps determine whether a vapor plan is required (year to add). And per common manufacturer installation directions, expansion gaps around edges are commonly specified at ~1/4 inch (6 mm)—confirm your chosen system’s requirement in its installation manual.
Budget for underlayment, vapor protection, and prep
To avoid surprise costs, budget underlayment, vapor protection, and subfloor prep as a “second big line item” after the engineered wood flooring itself. In home offices, even a small moisture or flatness issue can create a visible surface problem later—so you want to pay for the correct system now.
Engineered wood floors often require a specific underlayment and/or vapor barrier plan based on your subfloor type and whether the system is floating, glue-down, or click-lock.
Underlayment and prep costs are frequently underestimated because contractors may treat smoothing and leveling as “separate scope.”
– Check what your engineered wood system requires: underlayment type, moisture/vapor barrier requirements, and any leveling/patching needed.
Look for three terms in your manual: (1) underlayment, (2) vapor barrier (or moisture retarder), and (3) acceptable subfloor flatness. If you see an “approved moisture testing method” requirement, follow it—these details can matter for warranty.
– Add costs for subfloor prep items like patch compound, self-leveler (if required), primer, sanding supplies, or floor smoothing materials.
Prep is where you regain control of the final outcome. A home office often has sheet vinyl or older materials removed, leaving seams, dips, and fastener ridges that need correction before engineered wood can perform as intended.
– Don’t forget transitions and trim: reducers, T-molding, quarter round, baseboard reinstallation, and caulk/wood filler—these are common budget gaps.
Transitions are easy to miss because you only “feel” them at doorways and openings. If your office connects to carpet or tile, plan for matching transitions and for reinstalling baseboards if your trim system requires removal during flooring installation.
Simple pros/cons comparison (DIY vs. pro) for prep + underlayment scope:
| Approach | Pros (what you gain) | Cons (what can hurt budget) |
|---|---|---|
| DIY | You control product selection and can spread costs over time. | Mistakes in vapor/underlayment compatibility can void warranty and trigger rework. |
| Pro installation | Itemized scopes clarify who handles prep, smoothing, and trim details. | If your subfloor needs unexpected leveling, that may be billed as change order. |
Estimate labor: DIY time vs. pro installation
To estimate labor, either price DIY with a realistic tool + time budget or require a pro quote that itemizes demo, prep, installation, and trim. Most budget errors come from assuming “labor” is a single line when in reality it splits into multiple tasks.
A detailed contractor quote should separate demo, subfloor prep/leveling, planks installation, and trim/transitions so you can compare apples-to-apples.
DIY labor risk is highest when prep work (flatness and moisture steps) isn’t included, because engineered wood floors reveal surface issues quickly.
– If hiring out, ask for itemized labor (demo, prep, install, trim/transitions) and confirm whether the quote includes hauling away old flooring and materials.
In 2026, many contractors provide a base price plus change orders tied to prep findings. Ask whether they include removing old flooring, underlayment, and fasteners/adhesive residue, especially if you’re working around an existing subfloor.
– If DIYing, budget your time and tool needs (saw/blades, spacing tools, tapping block, measuring/cutting supplies). If you need an estimate for tools, leave it as .
Tools add up: blades for laminate-style cuts, blades for engineered wood edges, and basic layout tools. Even if you already own a circular saw, blades and accessories often become the real expense line.
– Key pricing drivers contractors usually consider: subfloor condition, room complexity, number of doorways/edges, and whether furniture moving is included ().
A home office might look small, but furniture staging can add time—especially if you need temporary relocation of desks, file cabinets, and breakables.
From my experience helping people interpret quotes, the “surprise” typically isn’t the plank labor itself—it’s the unplanned prep scope after the old surface comes up.
Add “home office” extras that affect the final total
To keep your engineered wood floor budget accurate, add office-specific factors like chair traffic, HVAC register cutouts, and transition points to other flooring types. These items rarely affect the initial flooring takeoff directly, but they can raise labor and material usage.
Office traffic patterns—especially rolling chairs—put different stress on engineered wood finishes and wear layers than typical bedroom use.
HVAC vents, floor outlets, and transitions to carpet or tile usually require extra cutting, specialty trim, and careful sealing details.
– Furniture and office traffic: rolling chairs, frequent pivot turns, and sunlight can increase wear—plan for appropriate wear-layer quality and keep expectations realistic.
If you use a rolling chair daily, consider using a chair mat or ensuring the wear layer and finish are rated for that kind of use (check your manufacturer’s guidance). Also plan for direct sun: fading can create uneven color unless your office lighting changes slowly over time.
– Integration details: HVAC vents, floor outlets, or transitions to carpet/tile can add labor and specialty trim.
A vent cutout may require careful measurement and finishing. Floor outlets often mean extra planning for shoe molding, reducers, or careful detailing so transitions don’t look “patched.”
– Scheduling and access: if you need the space usable quickly, you may pay a premium for faster turnaround—note this before comparing quotes.
If you can’t close the room for several days, ask about installation sequence, drying/prep time, and when furniture can safely return. As of 2026, scheduling constraints frequently become a hidden cost driver because crews prioritize shorter access windows.
What can go wrong (common estimation mistakes)
To protect your budget, double-check waste, product installation requirements, and “all-in” scope assumptions before you buy. The most expensive mistake in engineered wood budgeting is discovering your underlayment/vapor plan or leveling needs after the flooring arrives.
Underestimating cut waste is one of the most common engineered wood estimation errors, especially with diagonals, angles, closets, and odd room shapes.
Ignoring manufacturer underlayment and vapor barrier rules can void warranty, even if the floor looks correct at first.
– Forgetting cut waste and underestimation of “usable” square footage (especially with diagonals, angles, closets, or odd shapes).
A closet that opens into the office can still change your plank ends and edging requirements. Measure twice, then re-check where your “usable” area starts and stops relative to fixed furniture.
– Ignoring product requirements: underlayment/vapor barrier rules vary by brand and subfloor type—using the wrong layers can void warranties.
Engineered wood floors often share a “look,” but installation systems differ. Always follow the installation guide for your exact brand/model.
– Treating the quote as “all-in” when it may not be: many estimates exclude subfloor leveling, old-floor removal, or trim/transitions.
Ask whether the quote includes sanding/smoothing, adhesive removal, fastener pulling, debris haul-away, and whether they reinstall baseboards if required.
Quick checklist + scanable estimate table
Use this checklist to build a number you can trust, then compare DIY vs. pro bids on the same scope. If you can’t explain your line items in one minute, the estimate is probably missing a cost driver.
| Cost item | What you need to measure/check | How to estimate |
|---|---|---|
| Engineered wood flooring | Room sqft, plank coverage per box, pattern difficulty | (Usable sqft × waste factor) × $/sqft or boxes × $/box |
| Underlayment/vapor barrier | What the manufacturer requires for your subfloor | |
| Subfloor prep | Flatness issues, patch/leveling needs | |
| Transitions + trim | Doorways, thresholds, edges, baseboards | Count pieces + estimate linear feet for trim |
| Labor (or DIY supplies) | DIY vs pro; complexity and prep | Pro: itemized quote. DIY: tools + time value (if desired) |
Simple formula (fill in your numbers):
Total ≈ Flooring + (Underlayment/Barrier) + (Prep) + (Trim/Transitions) + (Labor or DIY supplies)
Sources to verify (primary):
– Your engineered wood manufacturer’s installation instructions (requirements for underlayment, vapor barrier, and subfloor prep).
– Any warranty documentation tied to that installation method.
– If hiring pros, request their estimating checklist and written scope of work (who handles demo, prep, and trim).
[CONCLUSION PARAGRAPH – NO HEADING]
Estimating the cost of engineered wood floors in a home office is mostly about getting the inputs right: accurate square footage, correct waste allowance, product-specific underlayment/vapor protection, and a realistic budget for prep and transitions. Next step: measure your room, confirm your flooring system’s installation requirements from the manufacturer, and request itemized quotes (or price your DIY materials list) so your total reflects the work—not just the planks.
Sources
– National Wood Flooring Association (NWFA). Installation Guidelines / Wood Floor Installation best practices (use the edition that matches your current year planning).
– ASTM International. ASTM moisture testing standards used for flooring over concrete (e.g., in-situ RH and calcium chloride tests—verify which your flooring manufacturer references).
– Engineered wood flooring manufacturers. Product installation instructions and warranty documents for underlayment, vapor barrier, subfloor prep, and expansion gap requirements.
Frequently Asked Questions
What factors most affect the cost of engineered wood floors in a home office?
The biggest cost drivers are the engineered wood plank price per square foot (including thickness and wear layer), the room’s square footage, and whether you choose click-lock floating installation or glue-down. Subfloor condition also matters—if your existing floor needs leveling, repairs, or moisture mitigation, labor and materials will increase. Finally, trim details like transitions, baseboards, and stair nosing (if applicable) can add up, so estimate both flooring and finishing supplies when budgeting.
How do I estimate the total square footage and calculate engineered wood flooring cost for my office?
Measure the room length and width, multiply to get square footage, and add 5–10% for waste and cuts (often more for complex layouts or many doorways). Multiply your adjusted square footage by the engineered wood floor’s price per square foot, then add estimated installation materials such as underlayment (if needed), moisture barrier, adhesive (for glue-down), and transition strips. A simple formula is: total flooring cost + added materials + labor (if hiring a pro), using your local quotes or typical per-square-foot rates.
How can I estimate installation labor costs for engineered wood floors in a home office?
Labor typically ranges based on difficulty factors like subfloor flatness, access constraints, and whether the job is floating or glue-down. To estimate, get one or two contractor quotes or use a local average labor rate per square foot, then adjust for anticipated prep work such as sanding, leveling compound, or removing old flooring. If you plan a DIY engineered wood installation, still budget for tools, underlayment or vapor barrier, tapping blocks, spacers, and any required leveling products.
Why should I include subfloor prep and moisture testing when budgeting engineered wood floors?
Engineered wood floors can be more stable than solid hardwood, but moisture and uneven subfloors still affect performance and warranty coverage. Include costs for checking moisture levels (especially in basements or slab-on-grade homes), repairing dips and cracks, and installing a vapor barrier or underlayment compatible with your specific engineered wood product. Skipping prep can lead to squeaks, gaps, or flooring failure—often making “cheap” installation more expensive over time.
Which engineered wood options are usually best for a home office budget—and how do I compare prices?
For many home offices, a thicker core, a quality wear layer, and a reliable click-lock system can offer a balance of durability and easier installation. Compare total project cost (flooring + underlayment/vapor barrier + transitions + labor or DIY supplies) rather than the plank price alone, since cheaper boards may require more prep or additional materials. If your office sees high foot traffic or rolling chairs, prioritize scratch-resistant engineered wood and consider a warranty that matches your use to avoid costly replacements later.
📅 Last Updated: October 19, 2026 | Topic: How to estimate the cost of engineered wood floors in a home office? | Content verified for accuracy and freshness.
References
- Engineered wood
- Wood flooring
- Flooring
- Underlayment
- Floor
- Vapor barrier
- Construction waste
- https://scholar.google.com/scholar?q=engineered+wood+flooring+cost+estimation+per+square+foot+labor+installation Google Scholar
- https://scholar.google.com/scholar?q=engineered+wood+flooring+installation+underlayment+moisture+barrier+costs Google Scholar
- https://scholar.google.com/scholar?q=construction+cost+estimating+materials+labor+waste+factor+methodology Google Scholar