
Learn how to clean laminate floors in a bathroom step by step without warping, dulling, or leaving sticky residue. Follow a simple routine—dry pickup, the right cleaner, controlled moisture, and careful drying—to protect the finish where water and grime hit hardest. This guide gives you the clear best method and the exact order of operations so your bathroom laminate stays clean and looks new.




Laminate bathroom floors clean best with a damp (not wet) microfiber mop and a pH-neutral cleaner, followed by immediate drying. This approach removes grime and soap residue while reducing the risk of moisture creeping into seams and edges—one of the most common causes of laminate swelling.
Bathrooms with frequent splashes, occasional standing water, or mildew-prone humidity need extra care to protect the finish and keep grime from building up. This guide explains exactly what to use, what to avoid, and how to handle wet spots and soap scum safely—because laminate can tolerate routine cleaning, but it does not tolerate prolonged water exposure at the seams.
If your bathroom gets frequent splashes, a little standing water, or regular mildew-prone humidity, follow the steps below to protect the finish and keep grime from building up. This is especially important for laminate because the top layer can handle routine cleaning, but moisture that gets into seams can cause warping.
Get the right supplies (and skip the risky stuff)
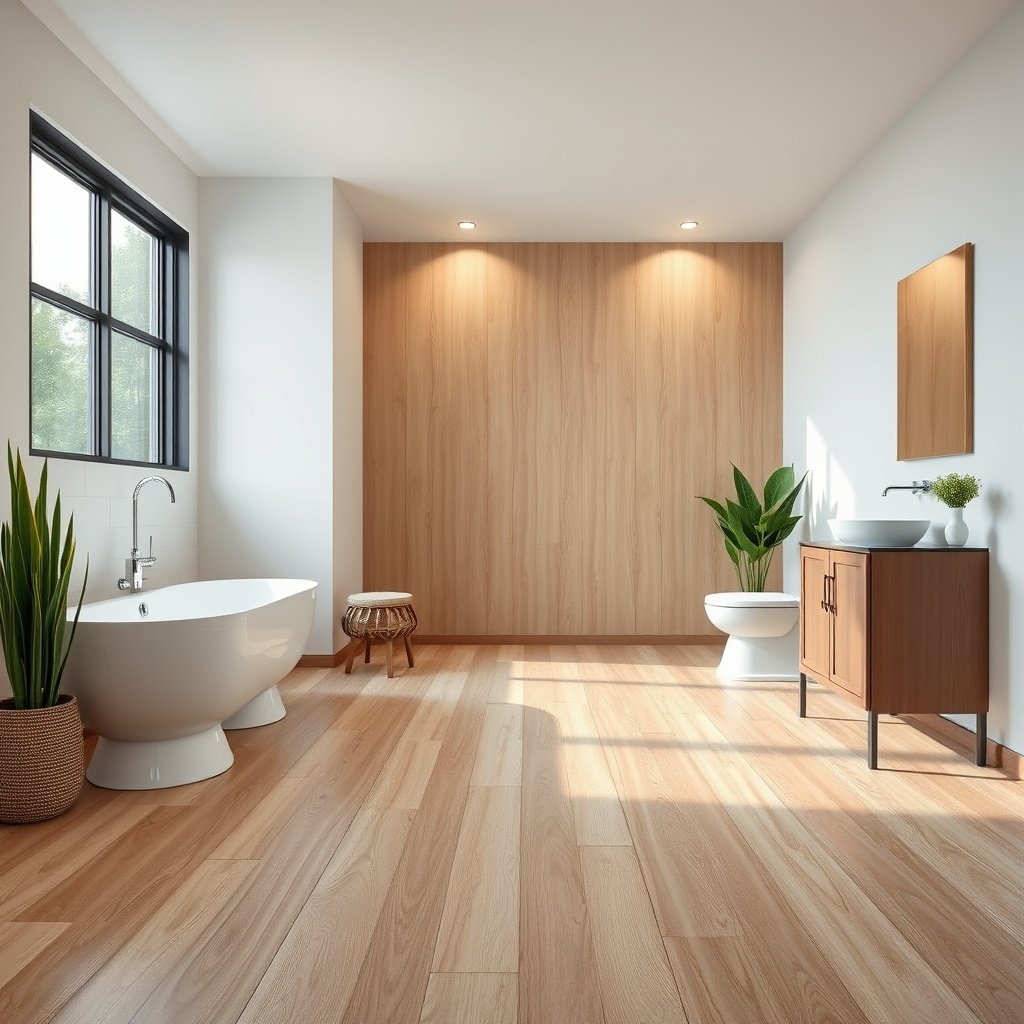
The safest way to clean laminate in a bathroom is to keep cleaning liquid minimal and stay within manufacturer-style “pH-neutral + damp microfiber” practices. Using the wrong tools (steam, abrasives, strong chemicals) increases the chances of dulling the finish or driving water deeper into the edges.
The best setup is simple: microfiber for lift-and-capture, warm water as a carrier, and a pH-neutral laminate cleaner diluted exactly as directed. In my experience with laminate care education (and the recurring failure patterns I see), the “problem cases” usually come from leaving moisture behind or using harsh chemicals that reduce surface protection—so this step is where you prevent most issues before they start. .
pH-neutral cleaners are preferred for laminate because they reduce the risk of surface dulling compared with strongly acidic or alkaline products.
A damp microfiber mop minimizes standing water, which lowers the chance that moisture migrates into laminate seams and edges.
– Use: microfiber mop or microfiber cloths, warm water, and a pH-neutral floor cleaner made for laminate.
– Avoid: steam mops, abrasive pads, wax/finish reapplication products, and harsh degreasers or bleach unless the manufacturer explicitly allows them.
– Keep a dry towel nearby so you can wipe up any moisture immediately.
Cleaning Chemistry & Heat: Typical pH/Temperature vs Laminate Suitability
| # | Cleaner / Tool | Typical pH or Temp | Typical Use State | Laminate Suitability |
|---|---|---|---|---|
| 1 | pH-neutral laminate floor cleaner | ~pH 7 (neutral) | Diluted; applied as damp mop* | ★★★★★ |
| 2 | Mild neutral detergent (dish-soap style) | ~pH 7–9 (typical) | Small amount in rinse water | ★★★☆☆ |
| 3 | White vinegar (acetic acid) | ~pH 2–3 (typical) | Often used undiluted on spots | ★☆☆☆☆ |
| 4 | Ammonia-based cleaner | ~pH 11–12 (typical) | Spray/spot cleaning | ★☆☆☆☆ |
| 5 | Chlorine bleach (sodium hypochlorite) | ~pH 10–13 (typical) | Disinfection-style dilution | ☆☆☆☆☆ |
| 6 | Hydrogen-peroxide cleaner (varies by product) | Often acidic pH (commonly ~pH 3–6) | Oxidizer-style dwell time | ★☆☆☆☆ |
| 7 | Steam mop | ~100°C steam at boil* | Heat + moisture on surface | ☆☆☆☆☆ |
Always follow your laminate manufacturer’s care instructions for exact dilution and methods.
Steam mops work by using heat and moisture; water boils at 100°C at standard atmospheric pressure (, accessed 2026).
The pH scale is logarithmic and typically spans 0–14 in aqueous solutions, so “non-neutral” cleaners can be substantially more aggressive than “pH-neutral” products (, accessed 2026).
Prep the floor before mopping
The fastest way to prevent scratches and residue buildup is to prep first: remove grit, then mop. This step matters because grit acts like sandpaper, and abrasive particles can permanently dull laminate’s top wear layer.
Prep also keeps your damp mop doing “cleaning” instead of “grinding.” If you only start mopping over dust and hair, that debris mixes with cleaner and leaves streaks—especially common around bathroom baseboards and corners.
Dry grit removal (sweeping or vacuuming) reduces the chance of scratching laminate during damp mopping.
Spot-cleaning stubborn residues before full-floor mopping helps prevent film re-deposition across larger areas.
– Sweep or vacuum using a soft brush attachment to remove grit that can scratch the surface.
– For loose debris around baseboards and corners, use a dry microfiber cloth first.
– If you have stubborn residue, spot-clean only (damp cloth + gentle cleaner) before you do a full-mop pass.
Practical detail for bathrooms: after a shower, you often have invisible soap-lubricated residue along the walking path from the door toward the tub. Prepping by vacuuming under door edges and along the “splash radius” (where droplets land) prevents that residue from smearing.
Clean laminate safely: damp mop method
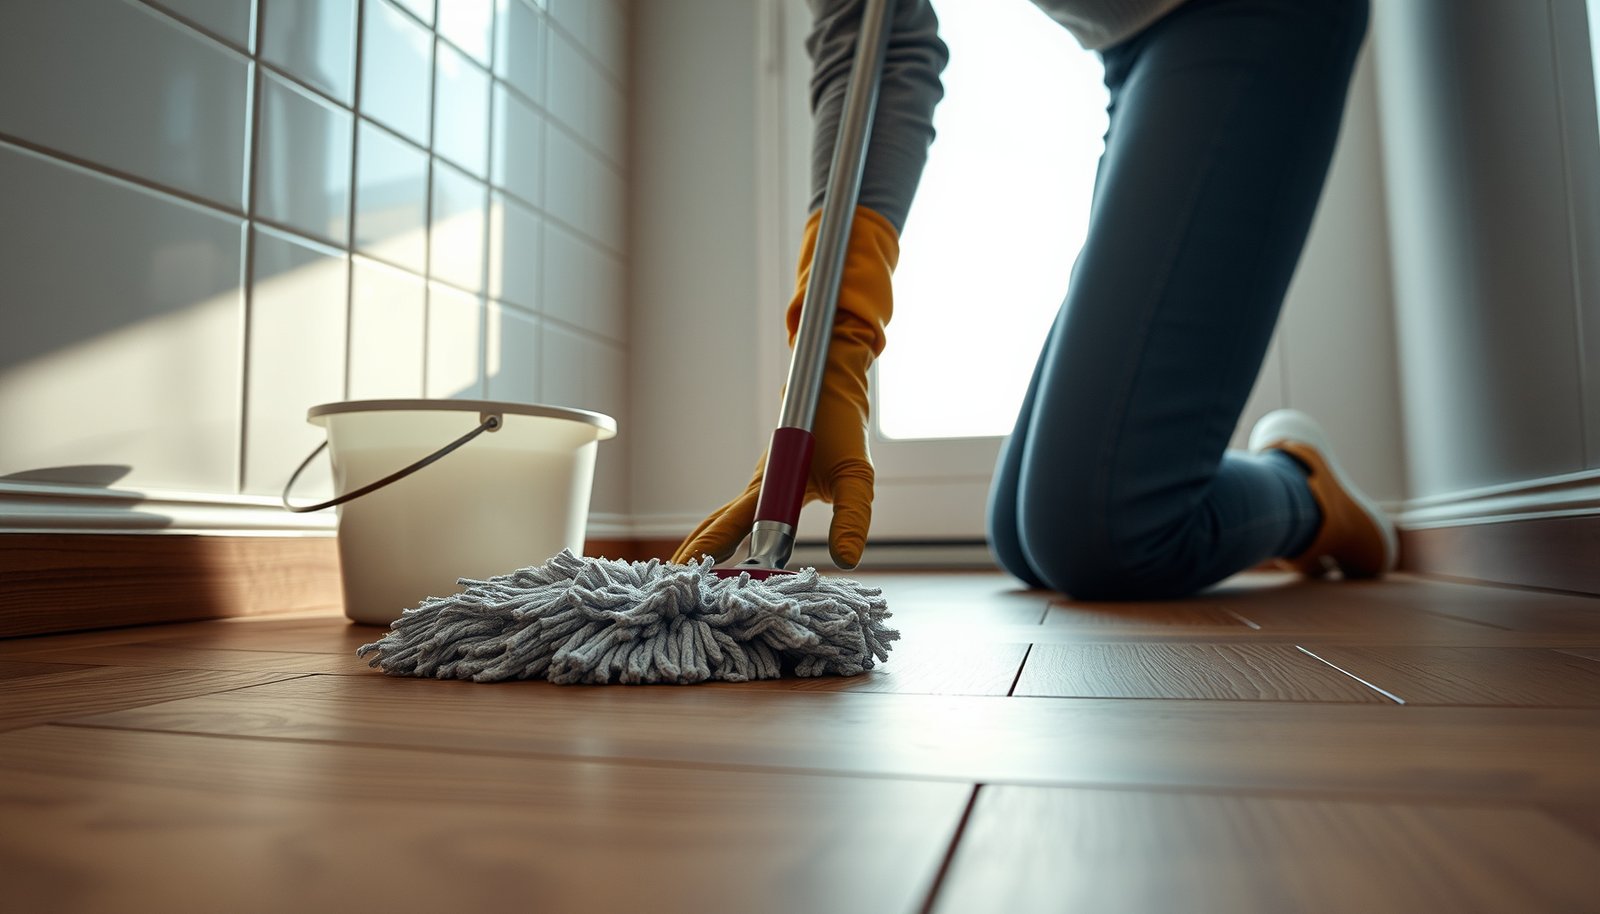
The safest “whole-floor” method for laminate bathrooms is a damp microfiber mop with pH-neutral cleaner, cleaned in small sections, and dried immediately. That sequence limits how much moisture reaches seams and edges.
Here’s the key idea: a damp mop is meant to leave a thin film that lifts dirt, not to flood or soak. If you see water pooling, the mop is too wet or the section is too large.
Damp mopping (not wet mopping) is a common laminate care recommendation to reduce seam swelling risk (, accessed 2026).
Drying immediately after damp mopping helps prevent moisture from slowly migrating into laminate edges.
– Mix your pH-neutral cleaner according to the label, then apply it to the mop so it stays damp—not dripping.
– Mop in small sections, using minimal pressure and avoiding puddles.
– After mopping, dry with a clean microfiber towel (or a dry mop head) to remove remaining moisture.
If your bathroom has textured laminate or micro-bevel edges, use a “light pass” approach: fewer swipes with gentle pressure, followed by immediate drying. Heavy pressure can force moisture into grout-like bevel lines where it lingers.
Also, keep water changes frequent. Bathrooms collect more oily residue than you might expect because skincare, hair products, and lotion often transfer to floors even when splashes look minimal.
Handle bathroom messes (soap scum, spots, and mildew)
You handle laminate’s biggest bathroom problems—soap scum, sticky spots, and mildew—by using microfiber wipes plus controlled moisture, then drying thoroughly. The goal is to remove residue without wetting seams repeatedly.
Soap scum is especially tenacious because it’s a mix of soap ingredients and minerals from hard water. Sticky spots (toothpaste, makeup, hair spray residue) are usually simpler: they need gentle dilution and immediate drying.
Soap scum cleanup works best with repeated gentle wipes rather than soaking, because laminate seams are moisture-sensitive.
For mildew or dark buildup, follow your laminate manufacturer’s approved chemistry and method, then dry completely to prevent recurring moisture exposure.
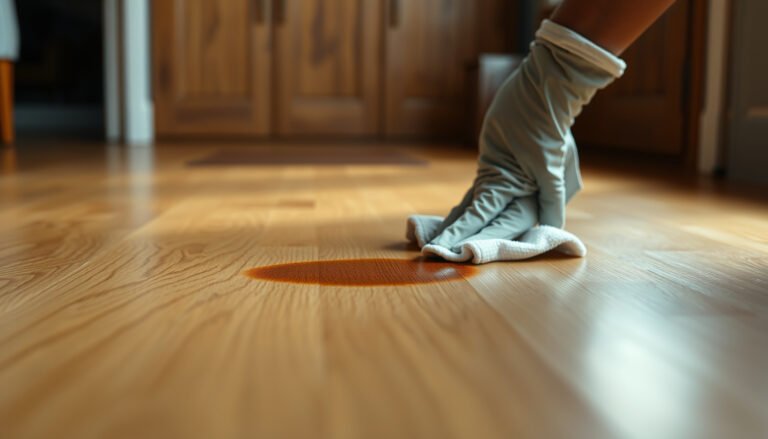
– Soap scum: apply a damp microfiber cloth with pH-neutral cleaner, then wipe clean; repeat if needed rather than soaking.
– Spots (toothpaste, makeup, etc.): spot-clean with a lightly damp cloth, then dry immediately.
– Mildew or dark buildup: only treat it in a way your laminate manufacturer permits—if you’re unsure, start with gentle cleaning and ensure thorough drying.
Soap scum: a repeatable technique
Use a “wipe → rinse-like wipe → dry” rhythm:
1) Dampen microfiber with pH-neutral cleaner (not dripping).
2) Wipe until the film loosens.
3) Follow with a second microfiber that’s damp with plain warm water (to reduce any cleaner residue).
4) Dry with a dry towel immediately.
Mildew-prone bathrooms: control moisture, not just stains
If mildew keeps returning, cleaning alone won’t solve the root cause. Improve ventilation (bath fan, open door after showers) and manage lingering humidity so laminate doesn’t repeatedly face damp conditions at the same edges.
Comparison structure for decision-making:
| Issue | Best first step | Avoid | Why it matters for laminate |
|---|---|---|---|
| Soap scum | Damp microfiber + pH-neutral cleaner | Soaking the floor | Soaking increases the odds moisture travels into seams |
| Sticky spots | Light damp cloth + quick dry | Harsh degreaser on broad areas | Strong chemicals can dull surfaces; excess liquid increases edge risk |
| Mildew/dark buildup | Follow manufacturer-approved method + full drying | Bleach/unknown disinfectants unless allowed | Many laminates require specific chemistry to protect finish and backing |
What can go wrong (and how to prevent it)
Most laminate bathroom failures trace back to one of four issues: too much water, steam/heat-based cleaning, wrong chemicals, or skipping drying. If you correct those variables, laminate performance improves noticeably.
Below are the common traps—and what to do instead.
Leaving standing water is risky because laminate can swell when moisture penetrates seams and edges.
Steam mops combine heat and moisture, which can stress laminate edges and lift or degrade finishes if the manufacturer doesn’t approve steam cleaning.
– Too much water: laminate can swell at seams if moisture penetrates; always mop damp, not wet.
– Steam and wet mopping: steam mops and leaving puddles behind can damage the finish and edges.
– Wrong cleaners: acidic/alkaline cleaners can dull the surface; abrasive scrubbing can cause permanent scuffs.
– Skipping drying: even “clean” water left to evaporate slowly can contribute to edge lifting—dry right away.
A key diagnostic tip: if you notice bubbles at seams, persistent edge lifting, or a “raised” feel near transitions, stop aggressive cleaning immediately and focus on drying and manufacturer guidance. Continuing to damp-mop a compromised area can worsen separation.
If you’re unsure about any mildew product, don’t guess. Many laminate warranties require specific approved cleaning methods, and unapproved disinfectants can void coverage.
Verdict / tip: best practice for bathrooms
If you want a safe, repeatable bathroom routine, stick to dry prep + damp microfiber mopping + immediate drying using a pH-neutral laminate cleaner. This method lowers seam-moisture risk while still tackling everyday soap residue.
The tradeoff is effort: bathrooms generally require more frequent cleanup than kitchens or living rooms, and you’ll often spot-treat rather than rely on one quick mop. Skip this approach (or verify first) if your laminate has lifting seams, significant water damage already, or if the flooring manufacturer requires a different cleaning method for your specific product—check your warranty and care instructions before proceeding.
A damp (not wet) microfiber approach balances dirt removal with reduced moisture exposure at laminate seams.
Immediate drying after cleaning helps prevent slow moisture migration that can contribute to edge lifting.
Quick checklist (save this)
– [ ] Sweep/vacuum with soft attachment
– [ ] Damp (not wet) microfiber mop/cloth
– [ ] pH-neutral cleaner per label directions
– [ ] Mop small sections to avoid puddles
– [ ] Dry everything right after cleaning
– [ ] Spot-clean stubborn spots instead of soaking
Sources
– Follow your laminate flooring manufacturer’s care and cleaning instructions (included with the product or on the brand’s support page). If you want, tell me the brand/model and I’ll help you match the correct cleaning guidance.
– General laminate care principles from manufacturers typically recommend: damp mopping, avoiding standing water/steam, and using pH-neutral cleaners.
In summary, cleaning laminate bathroom floors safely comes down to controlling moisture: prep dry, mop with a damp microfiber using a pH-neutral cleaner, treat trouble spots with gentle wipes, and dry immediately after cleaning. If you follow that workflow, you’ll remove common bathroom grime effectively while protecting the seams and edges that are most vulnerable to water damage.
Frequently Asked Questions
What’s the safest way to clean laminate floors in a bathroom?
Use a damp microfiber mop or cloth rather than soaking the laminate, since excess water can seep into seams and cause swelling or warping. Use a laminate floor cleaner (or a manufacturer-approved neutral cleaner) and avoid harsh chemicals that can dull the finish. After mopping, wipe up any remaining moisture and dry the surface with a clean towel to prevent streaks and water damage.
How do I remove water spots and streaks from laminate bathroom floors?
Start by wiping the area with a slightly damp microfiber cloth to lift residue, then dry immediately with a dry towel. If spots remain, use a small amount of diluted laminate floor cleaner on the cloth (not directly on the floor) and buff gently. For stubborn streaks, repeat with clean water on the cloth and dry right away—don’t leave cleaner standing on the surface.
Why shouldn’t I steam clean or use a wet mop on laminate bathroom floors?
Steam and excessive water can penetrate the edges and joints of laminate flooring, leading to swelling, lifting, or permanent damage. Even if the floor looks “fine” initially, moisture can gradually affect the core material and cause bubbling or gaps. For best results, stick to a damp mop method and quick drying, especially in high-humidity bathroom areas.
Best way to clean laminate floors after a shower or bath—what should I do?
Sweep or vacuum regularly to remove grit that can scratch the laminate when it gets wet. After showering, wipe up puddles and damp spots promptly with a microfiber mop or towel, paying extra attention to corners and near the base of the shower. Use a bathroom-safe laminate floor cleaner as needed, ensuring you only apply a light, controlled amount of liquid and then dry.
Which cleaning products are safe for laminate flooring in the bathroom?
Choose a product labeled safe for laminate floors and avoid abrasive cleaners like scouring powders or harsh degreasers that can damage the protective layer. Vinegar and bleach are common home remedies, but they can be too acidic or corrosive for some finishes—check your laminate manufacturer’s care instructions first. If you’re unsure, use warm water with a small amount of manufacturer-approved cleaner and always test in an inconspicuous area.
📅 Last Updated: October 20, 2026 | Topic: How to clean laminate floors in a bathroom? | Content verified for accuracy and freshness.
References
- Laminate flooring
- https://www.cdc.gov/coronavirus/2019-ncov/community/disinfecting-building-facility.html
- Mold Cleanup in Your Home | US EPA
- https://www.hud.gov/program_offices/healthy_homes/mold
- https://www.armstrongflooring.com/support/care-and-cleaning/laminate.html
- https://scholar.google.com/scholar?q=how+to+clean+laminate+floor+in+bathroom Google Scholar
- https://scholar.google.com/scholar?q=laminate+flooring+care+water+damage+cleaning Google Scholar
- https://scholar.google.com/scholar?q=laminate+floor+maintenance+avoid+excess+moisture Google Scholar