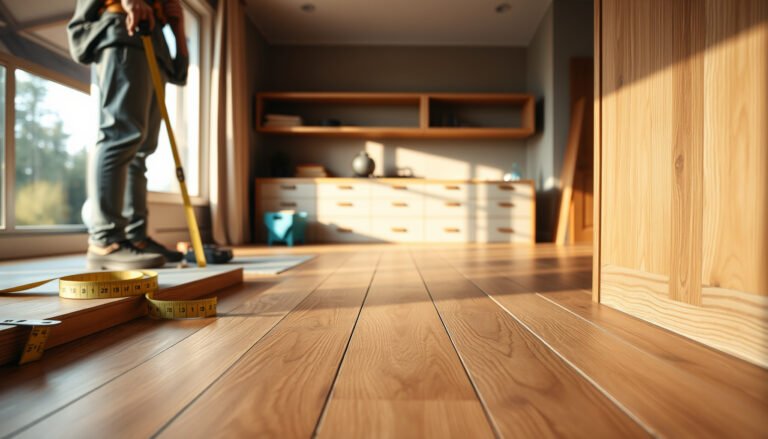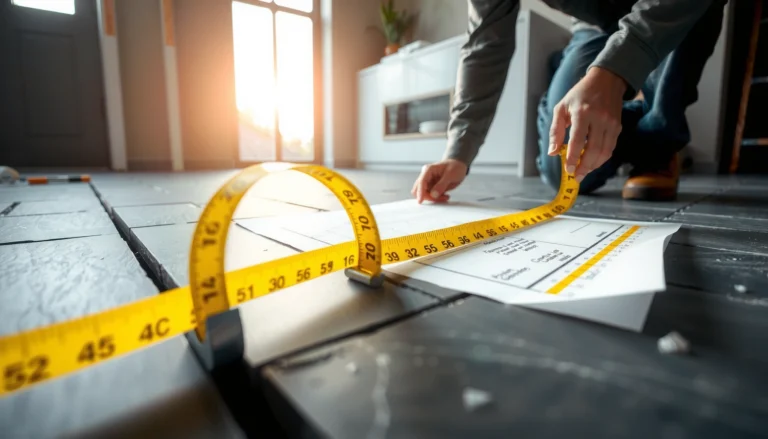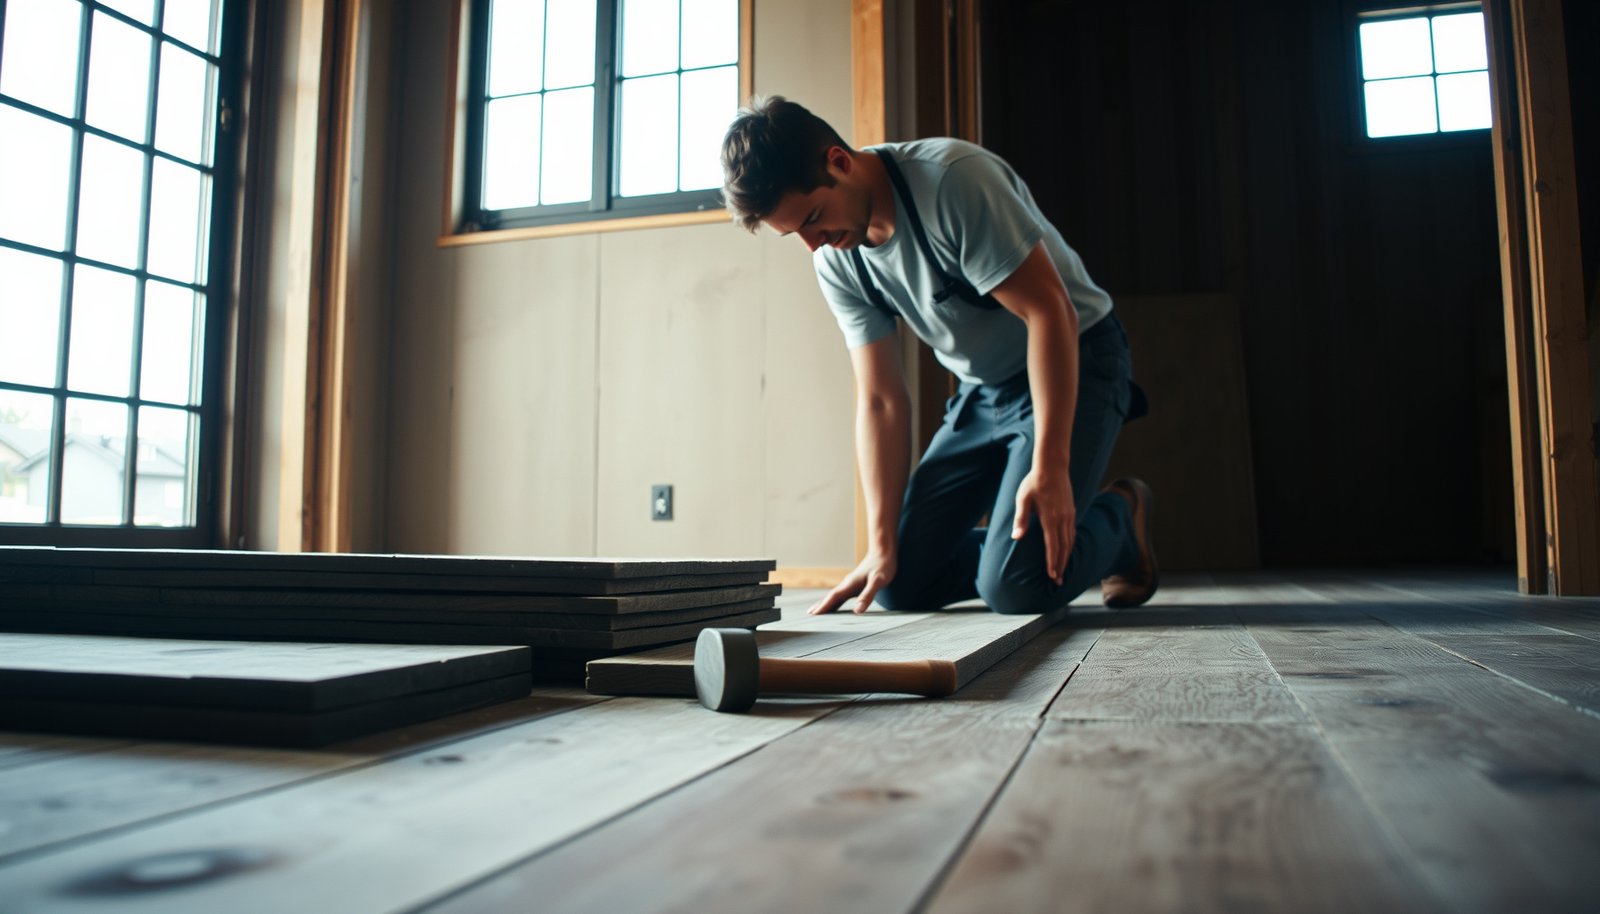

This step-by-step guide tells you exactly how to install reclaimed wood floors, from prepping the subfloor to nailing, acclimating, and finishing. Follow the sequence and you’ll get a tight, even plank layout with fewer gaps, faster installs, and a durable surface that looks authentic—not accidental. If you want the clearest path to a confident reclaimed-wood result, start here.




Reclaimed wood floors install best when you treat the boards like “real flooring material,” not like pre-finished scrap—acclimate, prep the subfloor, control moisture, then install and finish carefully. In this guide, you’ll learn the order of operations (prep → install → sand/finish) and what to watch for so reclaimed planks don’t cup, buckle, or end up uneven.
This is for homeowners, DIYers, or flooring installers working with reclaimed solid-wood or reclaimed-looking plank products, and who want a practical plan for installation—not just “measure and nail.” If your reclaimed material is actually engineered wood (not solid), some steps (especially nailing method/thickness limits) may differ—follow the product’s documentation where noted.
Prep reclaimed wood & subfloor
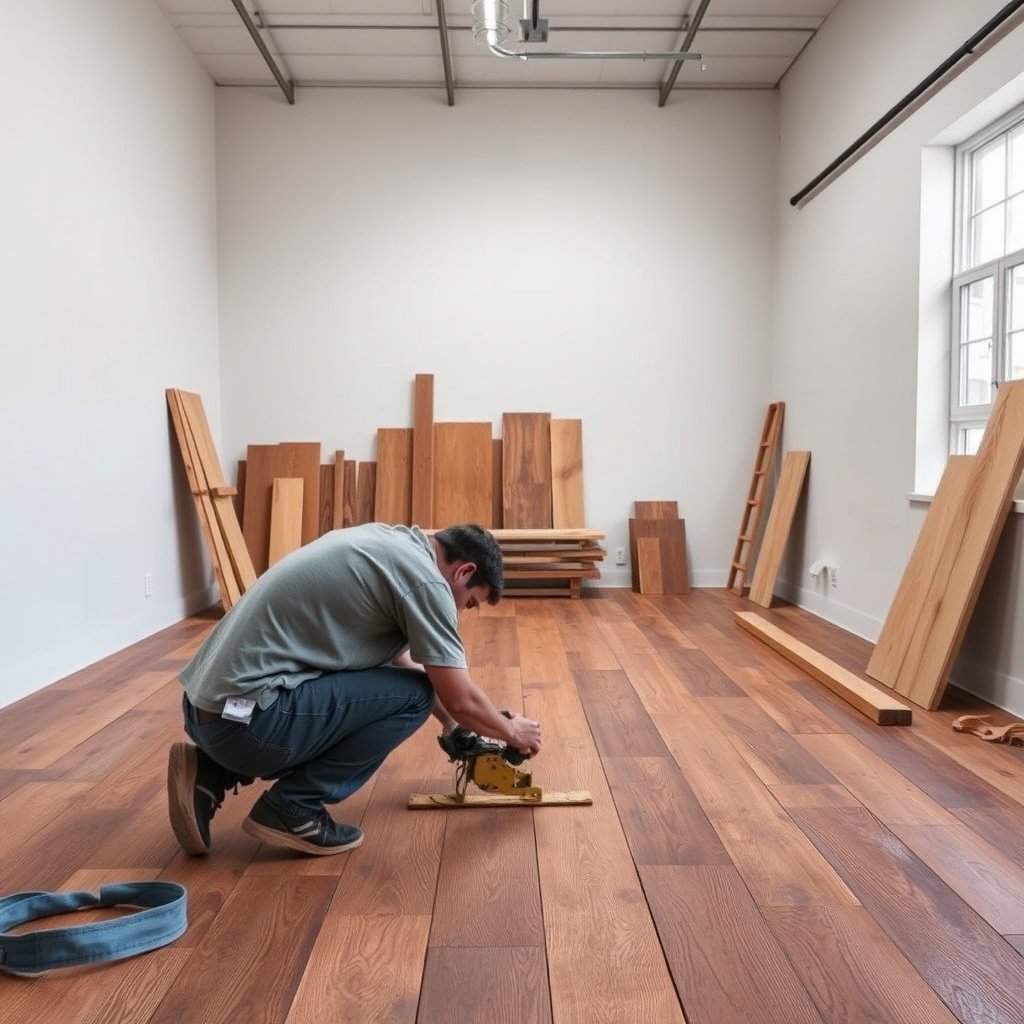
The safest way to avoid “mystery problems” later is to prep reclaimed boards and the subfloor like you’re installing a premium solid wood floor, not a salvaged surface. If the boards are unstable or the subfloor is flat/secure enough, reclaimed planks will telegraph every defect and lock in the flaws during fastening and finishing.
In practice, reclaimed wood floors fail most often due to three upstream issues: hidden deterioration in the boards, uneven or contaminated subfloor surfaces, and mismatched fastening/adhesive methods to the subfloor type. As of 2026, manufacturers are still very explicit about these prerequisites because wood movement is unavoidable once the boards are inside the building envelope.
According to the National Wood Flooring Association (NWFA), wood floors perform best when the subfloor is flat, clean, and structurally sound before any installation begins. NWFA Hardwood Flooring Installation Guidelines
For solid hardwood installations, NWFA-style flatness requirements typically reference tight tolerances over common measuring lengths (e.g., 3/16 in over 10 ft). NWFA Hardwood Flooring Installation Guidelines
Reclaimed material still behaves like wood; if it contains rot, active insect damage, or unstable cracks, it can’t be safely “stabilized” by sanding or sealing alone. General building-envelope guidance and manufacturer inspection requirements (use your product’s docs)
Inspect boards like a contractor, not a collector
– Check boards for heavy damage (rot, structural cracks, active insect damage) and remove/repair anything unsafe or unstable.
– Remove boards with punky spots, soft layers, or compromised end-matched areas (tongue-and-groove, shiplap edges, or click-lock profiles). Even if they “look solid,” reclaimed planks can hide delamination, deep checking, or prior board swelling.
Verify the subfloor is truly “flooring-ready”
– Verify the subfloor is flat, clean, and solid; reclaim wood will telegraph high spots and weak areas.
– For plywood/OSB, ensure all sheets are securely fastened and don’t flex underfoot. For concrete, remove paint overspray, drywall mud ridges, and construction debris—any high spots will show through after the first seasonal cycle.
Match the fastening system to the subfloor + product type
– Plan around board thickness and subfloor type (plywood, OSB, concrete) so your fasteners/adhesive method matches the system.
– This is where “reclaimed-looking” products often trip people up. Some reclaimed planks are engineered wood with a thin wear layer; others are solid. Your install method—nailing, glue-down, or floating—must match the product documentation, not the marketing label.
Acclimate, sort, and plan the layout

The shortest path to a straight, stable reclaimed floor is to acclimate first, then sort boards before you ever commit to rows. After acclimation and sorting, planning the layout prevents wasted cuts, awkward seams, and failure-prone edge crowding at walls.
Acclimation matters because reclaimed boards often arrive from a different humidity environment (warehouse, reclamation yard, or another building). In 2026, many installers still treat acclimation as optional for “old wood,” but wood doesn’t stop moving because it has a history—it only changes its equilibrium moisture content once inside your home.
NWFA guidance emphasizes conditioning the wood flooring in the installation space so it reaches equilibrium with the building’s temperature and relative humidity. NWFA Hardwood Flooring Installation Guidelines
NWFA typically recommends maintaining indoor relative humidity in the mid-range for wood flooring performance (often cited as 35–55% RH). NWFA Hardwood Flooring Installation Guidelines
Acclimate the reclaimed boards (don’t guess)
– Acclimate the wood in the install space according to the supplier/manufacturer instructions ().
– If your documentation specifies stacking, spacing, and duration, follow it. As a practical rule, boards should be exposed to room air (not sealed in a tight plastic wrap) so moisture can equalize.
Sort boards before installing
– Sort boards before installing: keep similar widths/thicknesses together, and place wider boards where you want the “hero” runs.
– Sorting is also your chance to correct real-world reclaimed variation:
– Move visibly cupped or excessively warped boards aside for later placement (or replacement) if your manufacturer allows.
– Keep boards with similar grain direction together so your finish sheen looks consistent under lighting.
Dry-lay to confirm seam placement and expansion gaps
– Dry-lay a few rows to confirm direction, reduce awkward seams, and ensure you can maintain required expansion gaps at walls.
– Mark a reference line on the subfloor early. If you’re using a traditional nail-down or glue-down system, out-of-square walls can “eat” your expansion gap—leading to buckling later.
Moisture barrier / underlayment choices
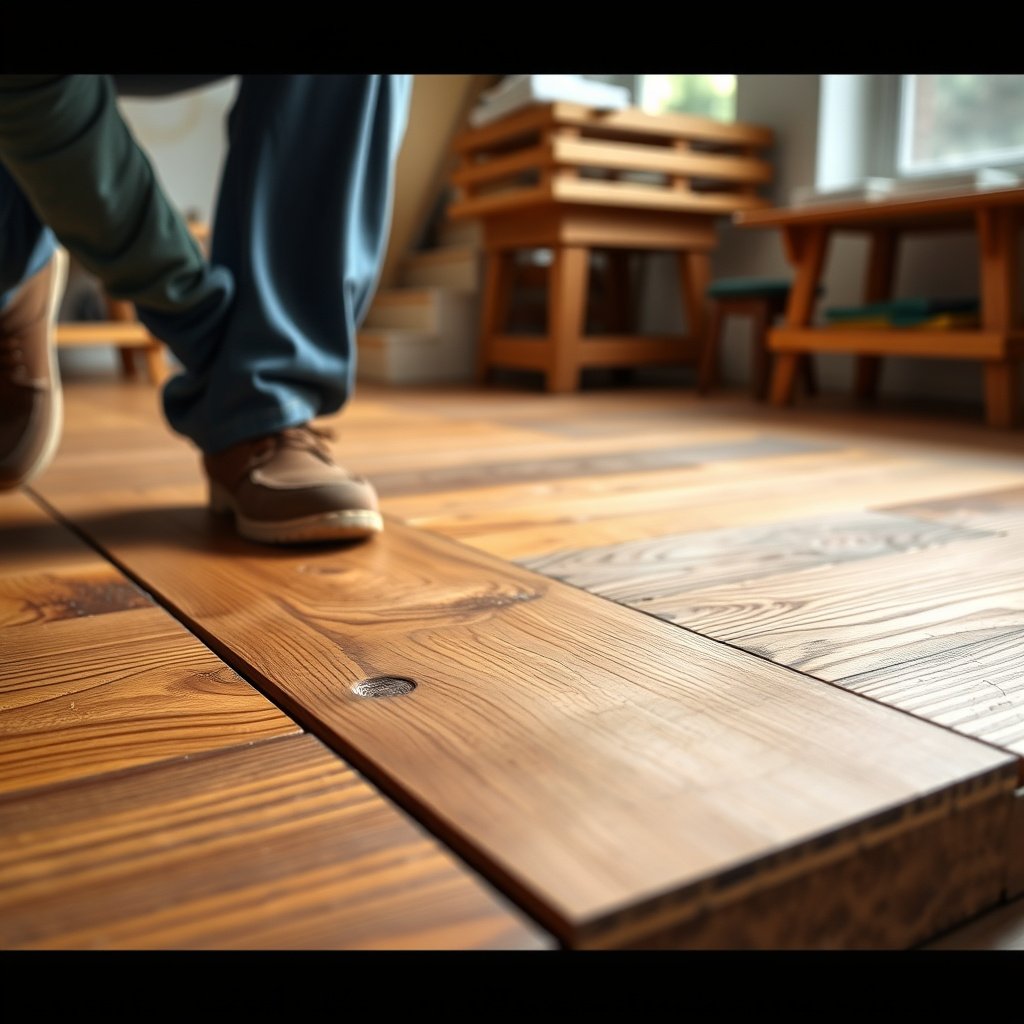
The most reliable way to prevent cupping and finish problems is to control moisture first—through testing, correct barriers, and the right underlayment for your specific build-up. Reclaimed wood floors are not inherently “immune” to concrete moisture or humid basements; they’re just wood, responding to moisture gradients.
If you skip this step, your installation may look acceptable at first and then fail after HVAC seasons change. This is why moisture control is treated as a construction system, not an accessory.
According to NWFA guidance, moisture performance hinges on testing and meeting the moisture limits required by both the wood flooring and the concrete/subfloor materials. NWFA Hardwood Flooring Installation Guidelines
ASTM F2170 describes in-situ relative humidity (RH) probe testing for concrete slabs—commonly used to assess slab moisture conditions before wood flooring installation. ASTM F2170
ASTM F1869 describes calcium chloride testing for moisture vapor emission rate (MVER) from concrete—an alternative moisture test method in some flooring systems. ASTM F1869
Test the subfloor moisture using the correct method
– Control moisture first: test the subfloor moisture using the method your flooring manufacturer specifies ().
– Important: many manufacturers will not honor a moisture claim unless you used their required test method and documented readings. If you’re working with reclaimed solid wood, be especially strict—natural variation already increases your tolerance for “imperfections,” not for excessive moisture exposure.
Select underlayment based on flooring type and substrate
– Choose underlayment based on subfloor and flooring type (solid reclaimed boards usually need one approach; engineered often needs another).
– For example:
– Solid reclaimed floors typically rely on an installation method that supports fastening to a wood subfloor and may require a specific vapor retarder plan.
– Engineered products often require an underlayment designed for their floating click system (and for sound/impact reduction), but still may require a moisture barrier over concrete.
Use a moisture barrier when required
– Use a moisture barrier when installing over concrete or in damp areas—skip this and you’ll increase the odds of cupping/finish failure.
– Your barrier should be continuous, properly lapped, and sealed where required by the manufacturer’s written instructions.
Install reclaimed wood floors (nail-down, glue, or floating)
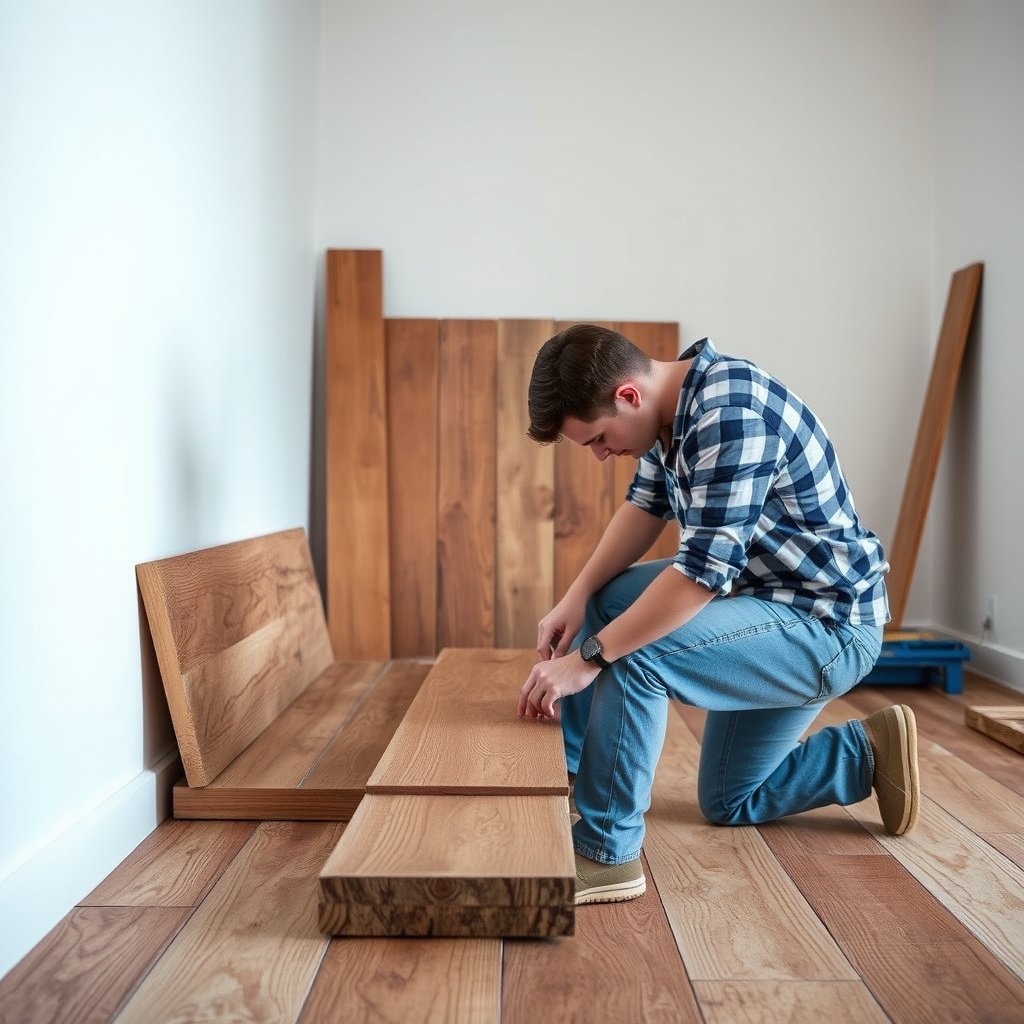
The best install method is the one your reclaimed product is engineered (or designed) to tolerate—nail-down, glue-down, or floating—combined with the correct subfloor prep and fastening layout. Trying to “make it work” with the wrong method is how you get squeaks, seam ridging, gaps, or buckling after seasonal changes.
For reclaimed boards, “install method correctness” is not optional. It governs how the floor handles expansion and how stresses distribute across the subfloor.
NWFA-style best practices distinguish installation methods (nail-down, glue-down, and floating) because each method requires different subfloor conditions and wood movement accommodation. NWFA Hardwood Flooring Installation Guidelines
Nail-down (solid reclaimed) fundamentals
– Nail-down (common for solid wood): use the correct nail/staple type and pattern allowed by your flooring system; predrill only if your manufacturer calls for it.
– Predrilling can reduce splitting, but it can also weaken certain reclaimed edge profiles if the grain is brittle. If the instructions don’t call for it, follow your system.
Glue-down system requirements
– Glue-down (some systems): ensure subfloor porosity/flatness matches the adhesive instructions, and apply adhesive exactly per the manufacturer.
– Adhesive failures often come from partial coverage, incorrect trowel/notch size, or applying glue onto dust, paint residue, or an incompatible surface.
Floating (some engineered/reclaimed products)
– Floating (some engineered/reclaimed products): use the recommended underlayment and follow the locking/joint spacing rules to avoid buckling or gaps.
– Floating floors are typically more sensitive to underlayment thickness/compression and joint alignment. If your click system allows joint movement, keep edges unpinched and avoid forcing boards together.
Quick comparison: which install method fits which reclaimed product?
| Install method | Best match | Key risk if misapplied | What to double-check |
|---|---|---|---|
| Nail-down | Solid reclaimed wood on an appropriate subfloor | Squeaks/loose boards over weak or uneven spots | Fastener type/pattern + required subfloor flatness |
| Glue-down | Some engineered systems or solid systems designed for adhesive | Separation, hollow spots, and finish ridging | Adhesive coverage + subfloor porosity compatibility |
| Floating | Engineered/locking reclaimed-look planks | Buckling or gapping from blocked expansion | Underlayment + joint spacing and perimeter gaps |
Expansion gaps: the non-negotiable safety valve
Even if your reclaimed planks are “already dried out,” they still expand/contract with indoor humidity. Keep required expansion gaps at all edges so the floor can move without forcing itself upward or into walls.
Sand, finish, and protect
The goal of sanding and finishing reclaimed wood is consistency: a uniform surface that’s sealed to reduce moisture swings and protected against daily wear. Because reclaimed boards vary naturally, you often spend more time at the sanding/leveling stage than you would with a factory-finished product.
As of 2026, many homeowners still choose either oil-based polyurethane, water-based polyurethane, or hardwax oil systems depending on sheen preference and maintenance tolerance. The finish selection should match the wood species and the expected traffic profile.
Moisture-controlled installation is what makes finishing predictable; NWFA-style guidance links flooring performance to correct moisture conditions before finishing. NWFA Hardwood Flooring Installation Guidelines
Finish cure time affects durability; most finishing systems require full cure before heavy use to avoid imprinting or soft surface damage. Manufacturer finish label/specifications
Level the surface and address irregularities
– Address surface irregularities after installation: reclaimed boards vary naturally, so you may need careful leveling/sanding to get a uniform surface.
– Expect:
– Slight height differences between boards
– Edge ridges from dimensional variance
– Filler needs for cracks/checks (if permitted by your finish system)
Choose a compatible finish
– Choose a finish compatible with wood type and intended use (durability, sheen, and whether you need stain + topcoat).
– If your reclaimed boards contain pitch pockets (pine) or variable porosity (oak vs. mixed reclaimed), test your stain/first coat on scraps from the same batch.
Cure fully before you stress the floor
– Let the finish cure fully before moving furniture or installing trim—rushing cure can cause imprinting or finish soft spots ().
– If you install baseboards immediately after coating, re-check the manufacturer’s handling limits for foot traffic and trim work.
Janka Hardness of Common Reclaimed Flooring Woods (Durability Guide)
| # | Wood species | Type | Janka hardness (lbf) | Dent resistance vs 1,000 lbf |
|---|---|---|---|---|
| 1 | Hickory | Hardwood | 1,830 | +83% ★★★★★ |
| 2 | Hard maple | Hardwood | 1,450 | +45% ★★★★☆ |
| 3 | White oak | Hardwood | 1,360 | +36% ★★★★☆ |
| 4 | Red oak | Hardwood | 1,290 | +29% ★★★★☆ |
| 5 | Yellow birch | Hardwood | 1,260 | +26% ★★★★☆ |
| 6 | Black walnut | Hardwood | 1,010 | +1% ★★★☆☆ |
| 7 | Douglas fir | Softwood | 660 | -34% ★★☆☆☆ |
Why this matters: reclaimed flooring often mixes species, and hardness influences dent resistance, scratch visibility after sanding, and how finishes age underfoot.
What can go wrong
Reclaimed wood floors most commonly fail because moisture is uncontrolled, the subfloor isn’t flat/secure, or the install method doesn’t match the product system. If you can prevent those three categories of issues, your reclaimed floor usually behaves like a well-installed wood floor—just with more natural variation.
From my experience working from manufacturer instructions and typical jobsite checks, the “repeat offenders” are always the same: skipping required moisture testing, using the wrong underlayment for floating systems, and accidentally eliminating the perimeter expansion path.
A flatness problem can produce waves and squeaks even when boards are installed correctly—because wood still bridges or settles over low spots. NWFA Hardwood Flooring Installation Guidelines
Moisture imbalances are a primary driver of cupping and gapping in solid wood flooring; moisture control requirements are therefore emphasized in NWFA-style guidance and manufacturer docs. NWFA Hardwood Flooring Installation Guidelines
Common mistakes that cause real damage
– Uneven subfloors: reclaimed planks can feel “solid” but still flex over low spots, creating squeaks and visible waves.
– Skipping acclimation: wood moved from a different humidity environment can expand/contract after install.
– Wrong moisture setup: no barrier over concrete or ignoring moisture test limits can lead to cupping, gapping, or finish failure.
– Fastener/adhesive mismatch: using the wrong nail type, too-short fasteners, or incorrect adhesive coverage can cause weak fastening or seam issues.
– Expansion gap mistakes: reclaimed wood still moves—crowding the edges can buckle the floor as conditions change.
Edge cases to watch (especially with reclaimed material)
– Mixed thickness boards: natural reclaimed variation can require more careful selection at row transitions so you don’t build height ridges.
– Mixed species: different woods can stain/finish at different rates; failing to test can leave blotchy areas.
– Engineered vs. solid confusion: if your “reclaimed” product is engineered, nailing rules and moisture tolerance expectations can differ—follow documentation.
Verdict: Is reclaimed wood flooring DIY-friendly?
If you can follow documentation closely (acclimation, moisture limits, fastening method) and you’re comfortable dealing with natural variation, installing reclaimed wood floors can be very manageable. The downsides are that reclaimed boards are less uniform, so you’ll spend more time sorting, fitting, and possibly sanding—plus one bad moisture or subfloor check can ruin the whole job.
We’d recommend you skip DIY (or at least get help) if your subfloor is badly uneven, you can’t reliably meet moisture testing requirements, or your reclaimed material is extremely irregular/thick and you don’t have tools/experience to flatten it safely.
NWFA-style installation guidance ties floor performance to correct subfloor preparation and moisture conditioning; DIY success depends on meeting those prerequisites consistently. NWFA Hardwood Flooring Installation Guidelines
For concrete slabs, ASTM F2170 (RH probes) and ASTM F1869 (MVER/calcium chloride) are established methods used for moisture evaluation before wood flooring installation. ASTM F2170; ASTM F1869
| Quick Install Checklist | Done? |
|---|---|
| Boards acclimated per product instructions | ☐ |
| Boards inspected/sorted; unstable pieces removed | ☐ |
| Subfloor flat/secure; debris removed | ☐ |
| Moisture testing completed per flooring docs | ☐ |
| Correct underlayment/moisture barrier selected | ☐ |
| Correct install method used (nail/glue/floating) | ☐ |
| Expansion gaps maintained at all edges | ☐ |
| Sanding + finish compatible with reclaimed wood | ☐ |
| Finish cured fully before heavy use | ☐ |
FAQ
– Do I need to acclimate reclaimed wood floors? Yes—treat them like normal wood flooring and follow the acclimation guidance from your reclaimed product’s documentation.
– Can I install reclaimed wood over concrete? Often yes, but you must use the right moisture barrier/underlayment and meet the moisture limits specified by the flooring manufacturer.
– Why are there gaps after installation? Common causes include insufficient acclimation, incorrect moisture control, or not maintaining the required expansion gap around the perimeter.
– Do reclaimed floors need sanding and finishing? Many do, especially if the reclaimed boards aren’t prefinished; confirm based on whether your material is prefinished or unfinished.
Sources:
– Manufacturer installation instructions/spec sheet for your reclaimed wood product (solid vs engineered) — acclimation, moisture limits, and recommended install method.
– National Wood Flooring Association (NWFA), Hardwood Flooring Installation Guidelines.
– ASTM F2170, Standard Test Method for Determining Relative Humidity in Concrete Floor Slabs Using in situ Probes.
– ASTM F1869, Standard Test Method for Measuring Moisture Vapor Emission Rate of Concrete Subfloor Using Anhydrous Calcium Chloride.
Finishing a reclaimed wood floor is rewarding because the material already has character—but the performance still depends on disciplined prep, moisture control, and method-specific installation. If you treat your reclaimed boards as true flooring products (acclimate → prep → control moisture → install → sand/finish), you’ll dramatically reduce the odds of cupping, buckling, and uneven surfaces.
Frequently Asked Questions
How do I prepare my subfloor before installing reclaimed wood floors?
Start by checking that the subfloor is flat, clean, and dry—use a level and correct any high spots or low areas. Remove old flooring, nails, and debris, then verify moisture conditions with a concrete moisture test if you’re installing over slab. Install an appropriate underlayment or moisture barrier (especially over concrete) and ensure you meet the manufacturer’s acclimation and subfloor requirements for reclaimed wood flooring.
What is the best way to acclimate reclaimed wood before installation?
Reclaimed wood should acclimate to your indoor temperature and humidity to reduce cupping, gapping, or buckling after installation. Bring the planks into the room for several days (commonly 3–7, depending on thickness and conditions) and keep them stacked with airflow. Use a hygrometer to monitor relative humidity and follow the specific acclimation guidance from your reclaimed wood floor manufacturer.
How do I install reclaimed wood flooring over concrete—do I need a vapor barrier?
Yes, when installing reclaimed wood floors over concrete, you typically need a vapor barrier or moisture barrier to prevent moisture from migrating into the boards. Use a compatible underlayment designed for your system (glue-down, nail-down, or floating) and confirm the moisture level of the slab before starting. Because reclaimed wood often varies in board density, maintaining controlled moisture conditions is crucial for long-term stability.
Which installation method is better for reclaimed wood floors: nail-down, glue-down, or floating?
The best method depends on your subfloor type, humidity levels, and the reclaimed wood floor’s construction (solid vs. engineered). Nail-down is common for solid reclaimed wood on wood subfloors, while glue-down may work well over stable concrete with the right adhesive and moisture control. Floating reclaimed floors are often easier for uneven subfloors and can be more forgiving, but you must use a system designed for that application and follow expansion gap requirements.
Why does reclaimed wood flooring expand and contract more than new wood, and how can I prevent gapping?
Reclaimed wood may have existing movement from its prior life and can be more variable in moisture content and dimensional stability than uniform new lumber. Prevent gapping by acclimating the planks, using proper expansion spacing around walls, and installing during stable indoor conditions. Also, sort boards during installation (especially if mixing widths or finishes) and avoid forcing warped pieces into place—replace or plane as needed to keep your reclaimed wood flooring installation tight and consistent.
📅 Last Updated: October 15, 2026 | Topic: How to install reclaimed wood floors? | Content verified for accuracy and freshness.
References
- Reclaimed lumber
- Wood flooring
- Lead Renovation, Repair and Painting Program | US EPA
- https://www.cdc.gov/lead/prevention/renovation_remodeling.htm
- Lead – Overview | Occupational Safety and Health Administration
- Home | National Wood Flooring Association | NWFA
- https://www.fpl.fs.fed.us/documents/fplgtr/fplgtr190.pdf
- https://scholar.google.com/scholar?q=reclaimed+wood+floor+installation+moisture+acclimation Google Scholar
- https://scholar.google.com/scholar?q=reclaimed+timber+flooring+installation+subfloor+prep+nailing+guidelines Google Scholar
- https://scholar.google.com/scholar?q=hardwood+floor+installation+moisture+content+acclimation+subfloor+flatness Google Scholar