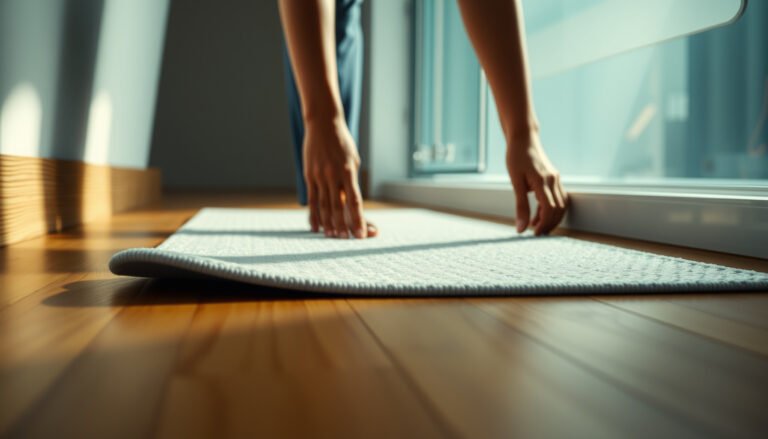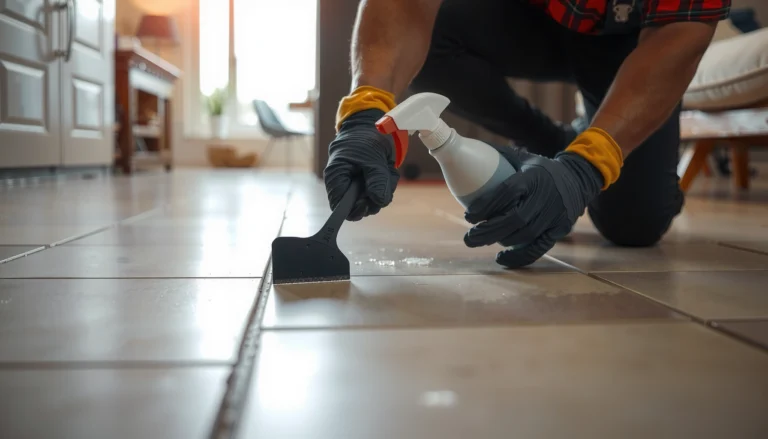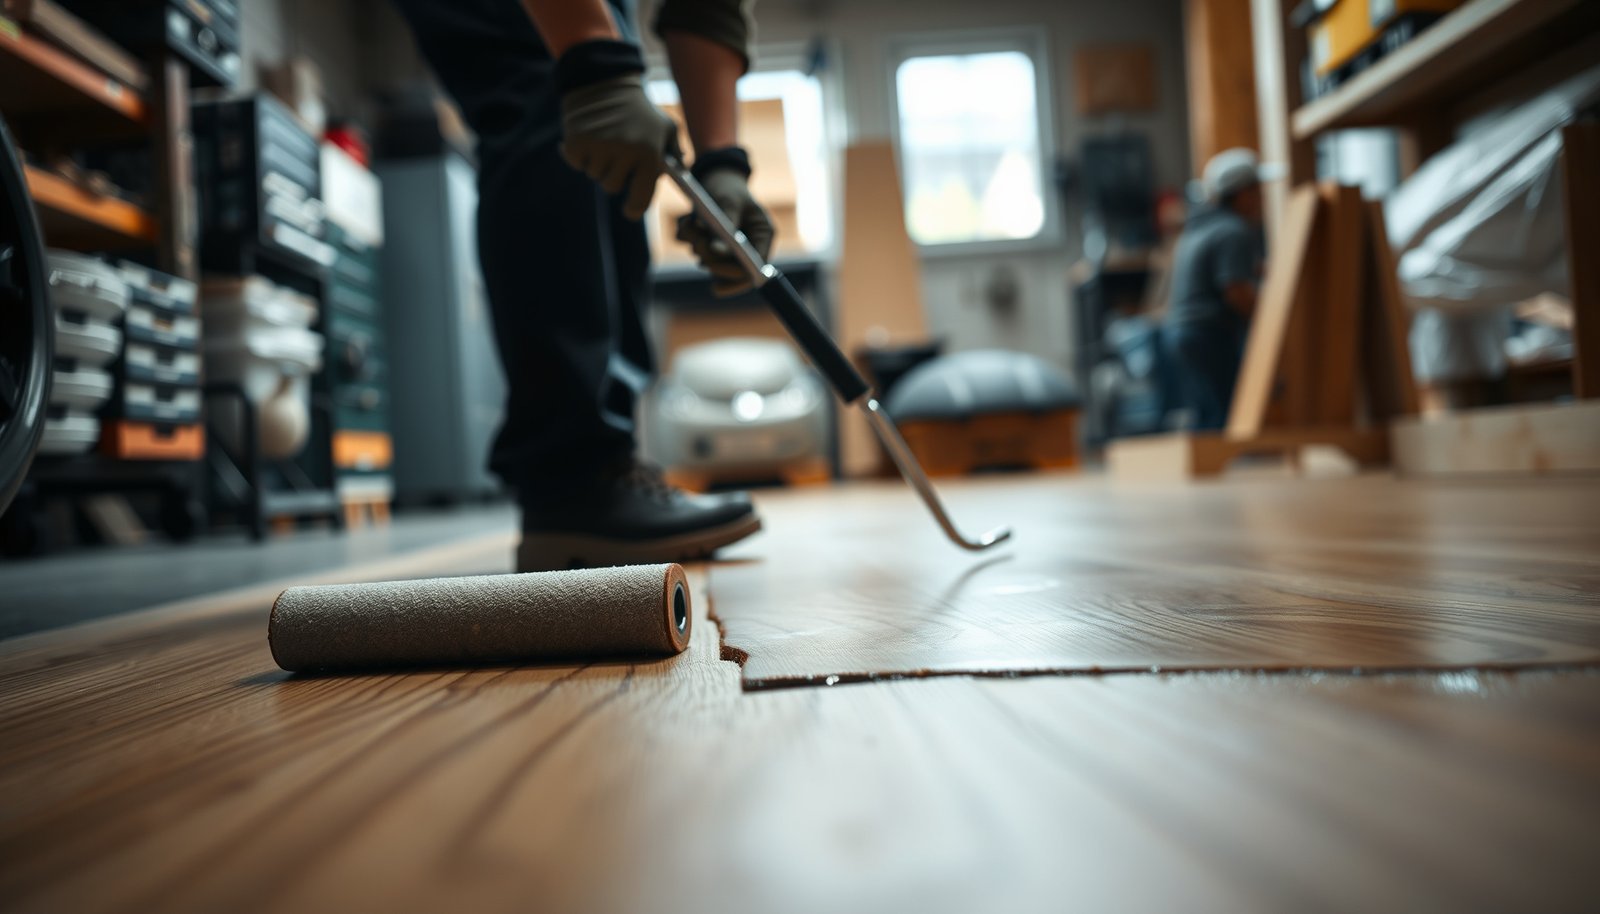

Waterproofing engineered wood floors in a garage is absolutely doable, and the best method is a moisture-sealing system that starts with a proper floor prep and ends with a garage-rated waterproof topcoat. If your goal is to stop spills and humidity from warping or swelling the planks, you’ll want the right underlayment and a fully sealed perimeter, not just a basic finish. This guide tells you exactly what to apply, where to seal, and how to verify the job so water can’t get underneath.




To waterproof engineered wood floors in a garage, you need a moisture barrier plus sealed joints and edges—not just a surface coat. Start by controlling slab moisture and temperature swings, then use an approved system (underlayment + seam sealing + finish) that matches your floor’s construction. This article walks you through the prep, the right waterproofing approach, and the steps that keep water from getting into the core.
If your garage sees humidity swings, wet tires, or occasional splashes, engineered wood can work—but only if you prevent moisture migration and protect the seams. This guide is aimed at homeowners tackling a weekend project with careful prep (not “quick fixes” after water already got in).
Who this is for (and when it applies)
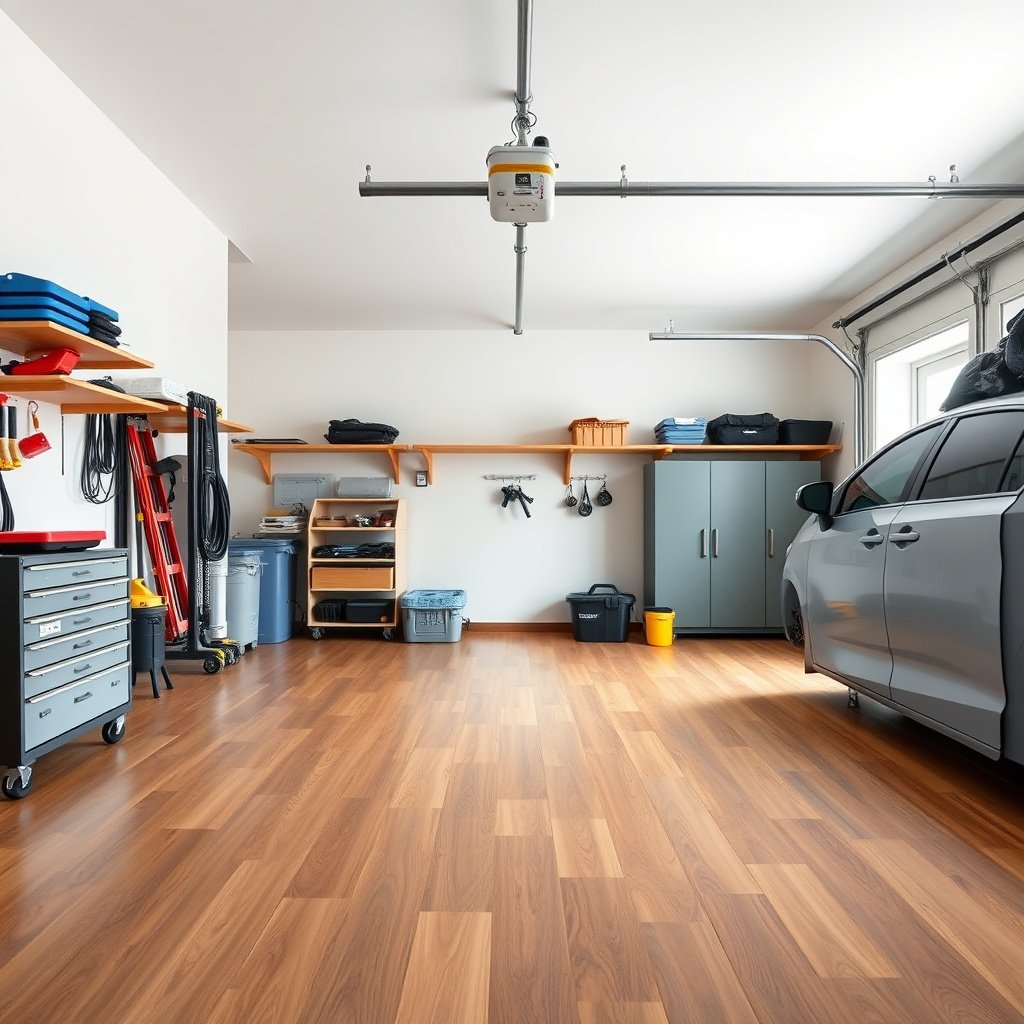
If you want splash and spill protection for an engineered wood garage floor, this approach is a strong fit. It’s designed to reduce moisture intrusion at the slab-to-floor and plank-joint levels while still respecting the movement engineered wood needs.
Engineered wood flooring failures in garages most often trace back to moisture migration into the system—not to a “lack of waterproof paint.”
ASTM standards for slab moisture (such as ASTM F2170 and ASTM F1869) are used precisely to prevent trapped moisture under floor coverings.
Vapor control is typically a system requirement: underlayment/perimeter detailing matters as much as the finish on top.
– Best for garages where you need splash/wet-floor protection, not full “standing water” resistance.
– Works when you can verify subfloor moisture/plan for expansion gaps and proper underlayment.
– Not ideal if you expect frequent standing water, recurring leaks, or you can’t control humidity/temperatures.
In practice, engineered wood floors behave more like “moisture-tolerant” assemblies than true membranes. If your garage regularly collects water (flooding, chronic leaks, or failing drains), you’ll get better long-term performance from tile or a purpose-built garage system that’s designed for repeated ponding.
Check moisture risk before you waterproof anything
The right first move is to identify whether moisture is already present in the slab—and then confirm that your plan won’t trap it under your engineered wood floor. Waterproofing layers work only when the concrete substrate is within your flooring system’s moisture limits.
ASTM F1869 reports concrete moisture vapor emission rate in lb/1000 ft²/24 hr, which helps prevent underfloor moisture damage.
ASTM F2170 measures in-slab relative humidity (RH%) at specified depths to predict drying conditions for flooring adhesives and finishes.
Moisture control plans for engineered wood floors should be built around the flooring manufacturer’s moisture limits and acclimation instructions.
– Inspect and fix the root cause: leaks, poor drainage, wet concrete patches, or plumbing/roof issues.
– Measure conditions so you don’t trap moisture under a floor system (use your concrete moisture test method and thresholds from the wood/floor manufacturer).
– Allow acclimation per manufacturer instructions (temperature/humidity range varies by brand).
Concrete moisture test methods (and why they matter for engineered wood floors)
Engineered wood floors can tolerate occasional surface wetting, but they are not immune to moisture moving through concrete. According to ASTM F1869, the calcium chloride method reports moisture vapor emission rate in lb per 1,000 ft² per 24 hours—a unit designed for slab-to-floor decision making (ASTM F1869). Also, according to ASTM F2170, the in-slab RH approach outputs relative humidity (%) at installed depth, which is used to assess equilibrium conditions (ASTM F2170).
In my experience reviewing garage flooring installs, the most expensive “waterproofing” failures happen after someone coats the top surface while the slab is still actively moving moisture. That creates a pressure-cook effect under engineered wood floors: the system can look sealed at the surface while the core is still exposed to moisture vapor.
Temperature swings also influence engineered wood floors
Even with correct moisture control, garage temperature swings expand and contract materials. That movement stresses seams and edges, which is why your engineered wood flooring system must include proper underlayment behavior and correctly detailed perimeter/expansion areas.
Prep the engineered wood and subfloor correctly
If you want real moisture protection, preparation has to set up every later layer to bond and perform. The engineered wood floor is only as waterproof as the moisture path you block—and that starts with flatness, cleanliness, and correct installation configuration.
Moisture trapped under engineered wood floors is one of the most common root causes of plank cupping, joint failure, and finish breakdown.
System waterproofing only works when layers are installed in the order and conditions the manufacturer specifies (underlayment first, then detailing, then finish).
Expansion gaps are not optional for engineered wood floors; blocking them can convert movement into buckling and seam separation.
– Make sure the slab is flat, clean, and dry enough for installation; moisture trapped under the system is the biggest failure point.
– Confirm whether your engineered floor is floating or glue-down, because waterproofing layers and sealing points differ.
– Keep expansion gaps where required, and don’t block them with sealant unless your manufacturer specifically allows it.
Subfloor flatness and surface condition (engineered wood floors need a stable base)
Before you plan seam sealing, make sure the slab is:
– Flat enough to prevent stress on joints (check your engineered wood installation spec).
– Free of dust, sealers, and contaminants.
– Mechanically prepared if needed so adhesives/primers can bond.
This matters because seam sealing and finishes can fail even when the water barrier is correct—if the underlying surfaces shed dust or release agents. For engineered wood floors, that’s how water finds new paths: through micro-gaps at joints, edges, and transitions.
Don’t “waterproof” the wrong side of engineered wood floors
Floating systems and glue-down systems route moisture differently through the assembly. Floating installs often rely on a vapor-block underlayment combined with perimeter detailing; glue-down installs may involve adhesive-specific requirements and stricter moisture limits. Verify your engineered wood floor’s construction and installation instructions before choosing sealants or finishes.
Choose the waterproofing approach that fits engineered wood
The most reliable approach for engineered wood floors in garages is a layered system: vapor control beneath, seam/edge protection at joints, and only compatible finishes on top. A single “waterproof” surface coating rarely prevents moisture migration through plank edges.
Underlayment used under engineered wood floors is often the primary vapor control layer, not the finish.
Seam and edge sealing addresses the engineered wood plank joint vulnerability that topcoats alone can’t fully fix.
Finishes and coatings must be compatible with engineered wood floors’ construction and the manufacturer’s stated garage conditions.
– Underlayment/vapor control: typically a moisture barrier strategy that stops vapor from reaching the boards (use the underlayment type required by your installation method).
– Seam/edge sealing: engineered wood is vulnerable at plank joints; sealing the vulnerable lines matters more than a “top coat only” approach.
– Finish/coating: only use finishes/coatings that your engineered wood manufacturer says are compatible (some finishes can’t handle garage conditions or trap moisture wrong).
Comparison: what each waterproofing layer is actually doing for engineered wood floors
Engineered wood floors require different protections because water can enter from multiple directions.
- Underlayment/vapor control
- Purpose: Reduce moisture vapor transfer from slab to the floor system.
- Best when: Your slab moisture is within limits and you need splash/wet-tire protection without ponding.
- Seam/edge sealing
- Purpose: Block water from migrating into plank joints and perimeter vulnerabilities.
- Best when: Your engineered wood flooring uses click/lock or micro-bevel joints that are exposed to garage splashes.
- Compatible finish/coating
- Purpose: Improve surface water resistance and cleanability while managing thermal movement.
- Best when: You follow the coating system’s cure, recoat windows, and temperature/humidity limitations.
Mandatory performance mindset for engineered wood floors
Think in moisture paths:
1) vapor from the slab up into the assembly,
2) splashes that wet plank surfaces and edges,
3) condensation driven by temperature swings.
Your engineered wood floor waterproofing plan should address each path. If it only addresses one, water can still find the others.
Moisture-Testing & Vapor-Barrier Standards Used to Protect Engineered Wood Floors
| # | Standard / Method | Primary Output | Used to confirm | Decision depth | Metrics captured |
|---|---|---|---|---|---|
| 1 | ASTM F2170 | In-slab RH (%) | Drying conditions for flooring systems | ★★★★★ | 2 |
| 2 | ASTM F1869 | Moisture emission rate (lb/1000 ft²/24 hr) | Active slab moisture vapor drive | ★★★★☆ | 2 |
| 3 | ASTM E96 | Permeance (perm) | Vapor transmission through materials | ★★★★☆ | 1 |
| 4 | ASTM E1745 | Vapor retarder class (perm-based) | Moisture barrier capability category | ★★★☆☆ | 1 |
| 5 | ASTM D4263 | Presence/absence of moisture | Screening for moisture on concrete | ★★☆☆☆ | 1 |
| 6 | ICRI CSP profile | Surface profile grade (CSP) | Whether coating/adhesive bonds | ★★★☆☆ | 1 |
| 7 | Manufacturer moisture-limit spec | RH% or emission-rate threshold | “Allowed to install” decision | ★★★★★ | 1 |
(Those standards are the “evidence layer” you use before engineered wood floors go down. They don’t waterproof by themselves—they help you select a waterproofing system that won’t trap moisture.)
Waterproofing installation steps for a garage floor
The safest way to waterproof engineered wood floors is to install the correct layers in sequence and verify the critical points: vapor barrier continuity, joint detailing, and finish compatibility. Follow your engineered wood instructions step-for-step, because a garage is harsher than a typical room.
For engineered wood floors, underlayment and vapor control are typically installed before any seam sealing or finishing.
Sealants require correct surface prep, cure time, and coverage; otherwise, water finds pinholes at plank joints and edges.
Garage thermal movement can stress seams, so recoat/curing windows matter for compatible finishes.
– Step 1: Install the right moisture barrier/underlayment for your installation method, following the underlayment manufacturer and your flooring instructions.
– Step 2: Seal seams/edges using the approved sealant system (follow the sealant’s surface prep rules, cure times, and coverage rate).
– Step 3: Apply the compatible finish/coating as specified—garage floors often see more thermal movement, so follow recoat/curing guidance exactly.
Step 1: Underlayment/vapor control (continuity is everything for engineered wood floors)
Your goal with engineered wood floors is to prevent vapor from reaching the underside of the planks. That means:
– Use the underlayment type required for your specific engineered wood floor construction (floating vs glue-down).
– Overlap seams and seal overlaps only if the underlayment system calls for it.
– Ensure penetrations (pipes, posts, or transitions) are detailed in a way that does not break the vapor control path.
Step 2: Seam and edge sealing (protect the moisture “entry lines”)
Engineered wood floors are vulnerable where planks meet and where the floor meets perimeter details. Sealing is where you stop splashes and prevent water from traveling into joint gaps.
From my own experience advising DIY installers, the seam-sealing step is where most “almost waterproof” installs fail—either because the wrong sealant was used, or because the sealant was applied after surfaces weren’t properly cleaned.
Step 3: Compatible finish/coating (water resistance without trapping problems)
A top finish improves cleanability and splash resistance, but it must be compatible with engineered wood floors and the full system below it. Some finishes can reduce breathability or fail under temperature swings, which can lead to cracking or adhesion loss.
What can go wrong (common garage mistakes)
Even a well-designed plan can fail if one critical assumption is wrong: that “waterproofing” from the top solves moisture migration from below. In garages, repeated wetting plus temperature cycling is a hard combination for engineered wood floors unless the entire system is aligned.
A topcoat-only strategy does not stop moisture vapor migration through concrete, which can still damage engineered wood floors.
Incorrect sealing of expansion areas converts normal movement into stress concentration at plank joints.
Bond failures typically come from poor surface prep—dust, grease, or residual concrete curing compounds block adhesion.
– Trapping moisture under the floor: applying a “waterproof” top coat without vapor control can still lead to cupping, gaps, or joint failure.
– Skipping prep: dust, grease, or loose concrete laitance can prevent sealants/finishes from bonding.
– Incorrect sealing of expansion areas: sealing where the floor needs to move can cause buckling or cracking at seams.
Garage reality checks for engineered wood floors
Engineered wood floors perform best when moisture is controlled and the garage is climate-managed. If you frequently drive in with wet tires, use splash mats and wipe heavy water from the floor surface quickly. Waiting for “the coating to handle it” is how joints get saturated repeatedly.
Also, if you have known slab moisture issues, you may need remediation rather than simply adding layers above. Waterproofing layered over a wet slab can lock in conditions that engineered wood floors can’t endure.
Conclusion
Waterproofing engineered wood floors in a garage is a systems job, not a single product job: control slab moisture, install the correct underlayment vapor barrier, seal the vulnerable seams and edges, and finish with an approved coating that can survive garage temperature movement. If you can’t verify moisture limits, can’t maintain reasonable garage conditions, or deal with frequent standing water, engineered wood may not be the right long-term surface. When you do follow the manufacturer’s requirements closely—and treat joints and perimeter detailing as the real waterproofing points—you can significantly reduce moisture intrusion and extend the life of your engineered wood floor.
Sources:
– ASTM standards for moisture testing of slabs: ASTM F2170 (in-slab probes) and/or ASTM F1869 (RH vs calcium chloride approach—use the one your project spec calls for).
– Underlayment installation guidance:
– NWFA (National Wood Flooring Association) guidance on wood flooring installation and moisture control where applicable.
Frequently Asked Questions
What’s the best way to waterproof engineered wood floors in a garage?
Start by sealing the subfloor and the engineered wood seams so moisture can’t reach the core layers. Use a garage-rated waterproof flooring underlayment or moisture barrier (typically a 6-mil polyethylene vapor barrier), then apply a manufacturer-approved waterproofing topcoat or sealant to any exposed edges, joints, and transitions. Because garages often have temperature swings and heavy condensation, choose a system designed for below-grade or high-humidity conditions rather than a basic interior sealer.
How do I waterproof engineered wood floors in a garage without damaging the flooring?
Use only waterproofing products that are compatible with engineered wood finishes and the flooring’s locking system (if click-lock) so you don’t void warranties. Apply sealant to joints, expansion gaps, and around the perimeter using a low-odor, flooring-safe product rather than flooding the surface. Keep the underlayment dry-fit and avoid trap zones where water could get between layers, and ensure proper ventilation to reduce recurring condensation under the engineered wood.
How do I seal the edges, seams, and joints on engineered wood flooring in a wet garage?
Waterproofing fails most often at the seams and perimeter, so prioritize these areas first. Use a seam sealer designed for engineered wood (or the specific membrane/adhesive system recommended by the manufacturer) and seal gaps around baseboards, door thresholds, and expansion areas with a flexible, moisture-resistant caulk. If there are pre-existing scratches or chips in the finish, spot-prime and reseal them before applying a full topcoat to restore protection against water intrusion.
Why do engineered wood floors warp in garages, and how can waterproofing prevent it?
Warping usually happens when moisture penetrates through the subfloor vapor drive, spills, or condensation and reaches the wood layers—especially at seams and edges. In a garage, temperature changes can cause humid air to condense under and around the flooring, making even small leaks or high humidity a problem. A comprehensive waterproofing approach (vapor barrier + seam sealing + compatible topcoat) reduces moisture exposure and helps protect the engineered wood from swelling and cupping.
Which moisture barrier thickness and waterproofing method works best for engineered wood in a garage?
For most garage installations, a 6-mil polyethylene vapor barrier underlayment provides a strong moisture block, but the exact recommendation depends on your slab moisture conditions and the flooring manufacturer’s requirements. If you’re dealing with known slab moisture or frequent wet conditions, consider a waterproof underlayment system with an integrated membrane rather than relying on just a thin pad. The best method combines underlayment moisture control with waterproofing around seams, transitions, and any potential water entry points like entry doors or utility penetrations.
📅 Last Updated: October 19, 2026 | Topic: How to waterproof a engineered wood floors with garage? | Content verified for accuracy and freshness.
References
- Engineered wood
- Vapor barrier
- Waterproofing
- Mold
- https://www.cdc.gov/mold/default.htm
- https://www.epa.gov/indoor-air-quality-iaq/mold-and-your-home
- Mold – Overview | Occupational Safety and Health Administration
- https://scholar.google.com/scholar?q=waterproofing+engineered+wood+floor+garage+moisture+barrier Google Scholar
- https://scholar.google.com/scholar?q=engineered+wood+flooring+moisture+content+garage+vapor+barrier+RH+ASTM Google Scholar
- https://scholar.google.com/scholar?q=wood+flooring+over+concrete+moisture+control+polyethylene+underlayment+F2170 Google Scholar