
If you want to prevent water damage to laminate floors in a workshop, the winning strategy is strict moisture control: keep spills off the surface immediately and stop wet air from lingering with proper ventilation and dehumidification. This guide answers how to protect laminate during the real risks—mopping, cooling water, condensation, and tracked-in moisture—so seams don’t swell, edges don’t lift, and bubbles don’t appear. Follow these practical steps to keep your floor looking solid, even when workshop life gets messy.




If you keep water and moisture from reaching laminate seams—then clean spills fast—you’ll prevent most water damage in a workshop. Use floor protection where wet work happens, control humidity, and seal or manage edges so water can’t travel beneath the planks.
This guide is for workshop owners and DIYers dealing with mops, wet tools, condensation, and occasional spills—especially if your laminate isn’t designed for full immersion. The steps focus on prevention and quick response, not repairs after damage has already spread.
Start with the right setup: block splashes and runoff
Stop water at the source by using waterproof protection in the exact zones where workshop activity throws water. In most real-world failures, laminate water damage starts as splash and runoff that eventually finds seams, joints, and transitions.
Workshop laminate floors usually fail from where water travels, not just how much water you see. So the practical setup is about controlling trajectories—mops, sink refills, hose drips, and rinse water—before it reaches seams.
Water-related laminate failures most commonly occur at seams and transitions where moisture can migrate underneath planks.
Preventing runoff means improving the “wet work geometry”: mats under wet tools and trays under hoses keep water from crossing into seam areas.
– Put a waterproof mat or runner in “high-risk” zones (bench areas near tools, sink areas, and any place you refill or drain equipment). Choose a mat with a lip or non-curling edge so it doesn’t lift and become a water trap.
– Create a drip path: position trays/buckets under hoses, and keep hoses off the floor where possible. If you can reroute hoses so drips land in a container, you reduce the chance of water wicking into joints.
– Avoid letting wash water spread—squeegee or absorb first, then finish cleaning. In my experience helping workshop owners troubleshoot laminate issues, the fastest improvement usually comes from moving from “wet mopping as a default” to “blot/squeegee first, then only lightly dampen.”
To make the prevention workflow more “repeatable,” treat it like a risk-control loop using a simple Plan–Do–Check–Adjust approach: plan where water could land, do the mat/drip setup, check weekly for lifted mat edges or frequent wetting spots, then adjust before the problem repeats.
Manage moisture at the source (humidity + condensation control)
Control the workshop’s indoor humidity and condensation risk so moisture doesn’t keep returning to laminate floors repeatedly. This matters because laminate is sensitive to sustained moisture exposure—even when you never flood the surface.
Even if you’re careful with spills, workshop humidity can spike during wet tool use, sink draining, humidifier/dehumidifier swings, or cold-season temperature changes. Condensation is particularly sneaky: it can form on cold pipes or metal tool bodies, then drip onto the floor near seams.
According to the U.S. EPA, maintaining indoor relative humidity between 30% and 50% helps reduce conditions that support mold growth (U.S. Environmental Protection Agency (EPA), Mold & Moisture guidance, ).
According to the CDC, mold can start growing within 24–48 hours under favorable moisture conditions (CDC, Mold & Dampness guidance, ).
According to ASHRAE moisture-control guidance in ASHRAE Fundamentals, condensation occurs when indoor air temperature drops to the dew point for the prevailing humidity (ASHRAE Fundamentals, ).
Condensation control is moisture prevention: even “dry-looking” laminate can be affected if water forms as droplets on tools or plumbing and then runs to seams.
Humidity targets are most effective when paired with airflow near the floor; stagnant air lets local condensation persist.
– Reduce workshop humidity using ventilation (fans/exhaust) during and after wet tasks. Run ventilation longer than the wet task itself; moisture lingers in air and on cool surfaces after you stop using the sink or rinsing tools.
– Target condensation: insulate cold pipes/water lines and keep airflow moving near the floor surface. Insulation reduces the chance that tool bodies or nearby surfaces become cold enough to drive condensation.
– If your workshop gets damp seasonally, consider tracking indoor humidity with a basic hygrometer (). If you don’t have a manufacturer target, use a conservative comfort-and-moisture band and adjust based on condensation behavior.
Condensation Risk for a Workshop at 20°C (Relative Humidity → Dew Point)
| # | Indoor RH at 20°C | Dew Point (°C) | Condensation on 10°C Surface? | Dry Margin vs 10°C Surface (°C) |
|---|---|---|---|---|
| 1 | 30% | 1.88 | No | 8.12 |
| 2 | 35% | 4.06 | No | 5.94 |
| 3 | 40% | 5.98 | No | 4.02 |
| 4 | 45% | 7.70 | No | 2.30 |
| 5 | 50% | 9.27 | No | 0.73 |
| 6 | 55% | 10.67 | Yes | -0.67 |
| 7 | 60% | 11.98 | Yes | -1.98 |
Note: This table uses dew-point relationships (psychrometrics) for water vapor; verify with your local conditions and any manufacturer guidance for laminate floors as of 2026.
Protect seams and edges (where water usually gets in)
Your best “seal” strategy is to protect laminate seams and perimeter edges in ways the laminate manufacturer actually allows. In most workshops, water gets in at joints, transitions, and the perimeter—so prevention has to be detailed there, not just “water-resistant.”
Laminate boards are typically “click-lock” or tongue-and-groove, and moisture can migrate through the smallest pathways if water remains wet long enough. The perimeter is also critical because expansion gaps and transitions can create routes under the plank edges if they’re handled incorrectly.
Manufacturer installation details for underlayment and perimeter spacing exist to manage moisture and expansion; deviating from them increases seam/edge water risk.
Transitions and thresholds control where water can go—good edge management prevents migration under planks even when a spill happens.
– Follow the manufacturer’s instructions for underlayment and perimeter spacing—most failures happen at seams and transitions. Pay special attention to moisture barrier requirements under laminate if the workshop is on/near concrete.
– Use compatible edge/transition protection (reducers, thresholds, and caulking details) only as allowed by the laminate manufacturer. The goal is to block lateral water travel without trapping moisture in a way that interferes with expansion or drying.
– Don’t rely on “general sealants” unless your specific product approves them; wrong compounds can void warranties or create new failure points. ()
Here’s a practical contrast table you can use to decide how to treat transitions—especially doorways and sink-adjacent openings—without creating new moisture traps:
| Transition/Edge Approach | Best for | Moisture Risk if Done Wrong |
|---|---|---|
| Manufacturer-specified underlayment + correct perimeter gap | Whole-room baseline protection | Low (if followed exactly) |
| Approved threshold/reducer at wet-work doorway lines | Redirecting water away from seam lines | Medium (depends on installation + gap) |
| “Waterproof caulk” everywhere (unknown compatibility) | None (laminate-specific) | High (warranty + trapped moisture risk) |
Clean the right way: fast spill response + proper techniques
Clean fast, but don’t flood—because laminate water damage is driven by time and contact at seams, not by your cleaning “effort.” The most effective habit is immediate blotting/absorption and then only lightly damp follow-up.
When water gets to laminate seams, it can travel by capillary action (wicking) and work its way into the core or underlayment area. That’s why “soak and scrub” is risky in a workshop with mops, rinsing, and wet-tool storage.
Quick blotting reduces wet contact time at laminate seams, which is the limiting factor for swelling and delamination risk.
Lightly damp cleaning is fundamentally different from leaving standing water; standing water near joints increases moisture migration.
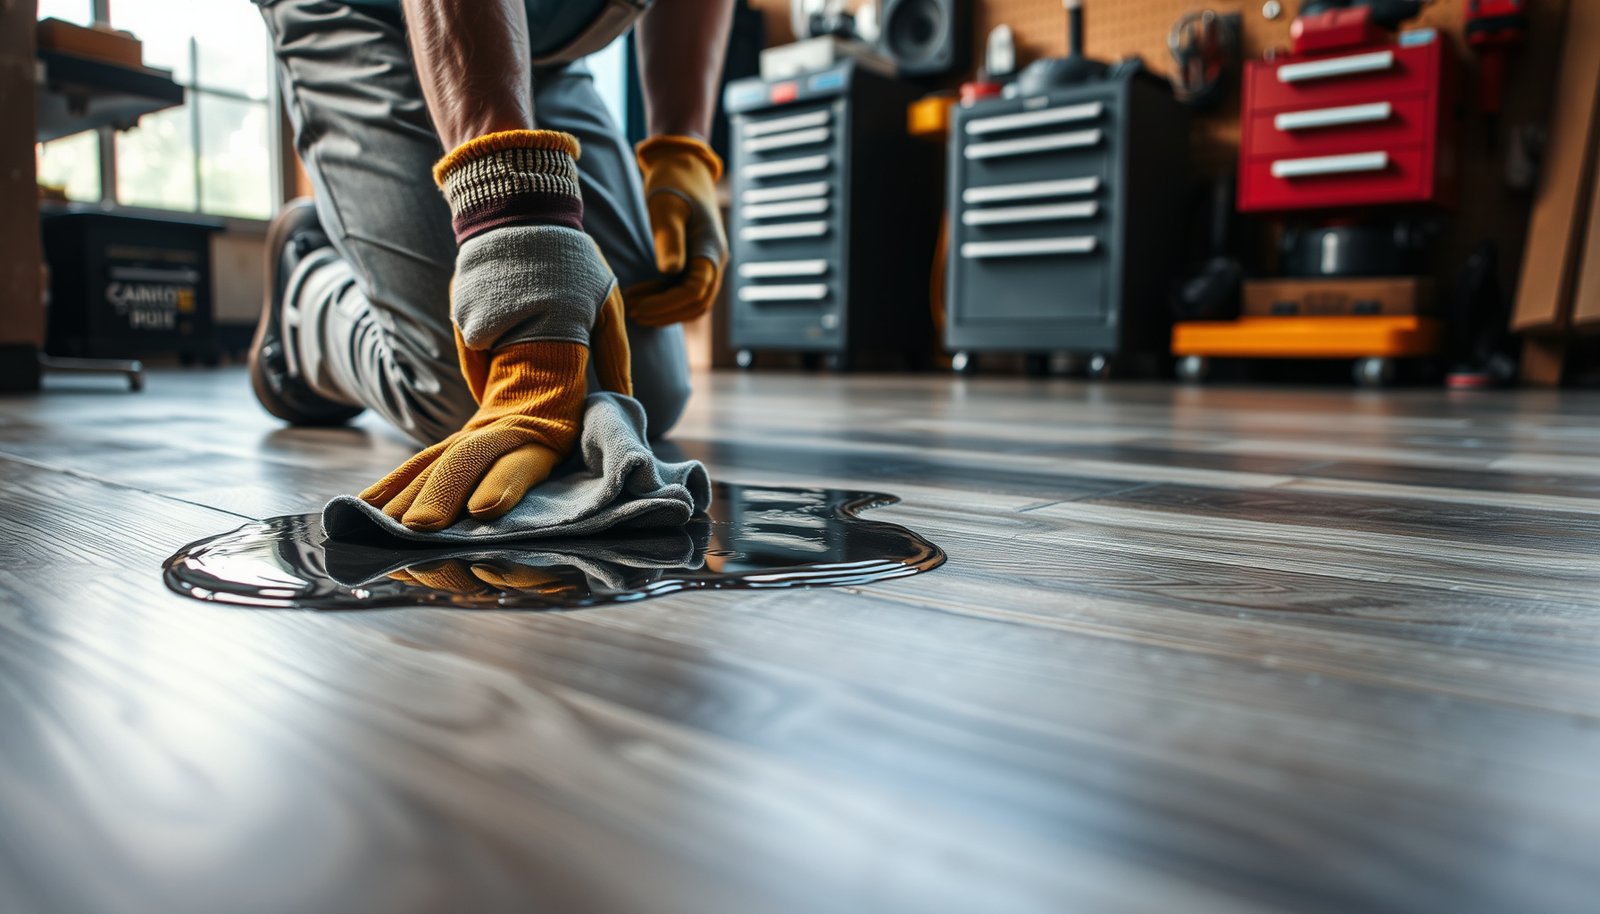
– Treat spills immediately: blot/sop first, then use a damp (not wet) cloth or mop and dry the area. Work from the outer edge of the spill inward to prevent spreading across a seam line.
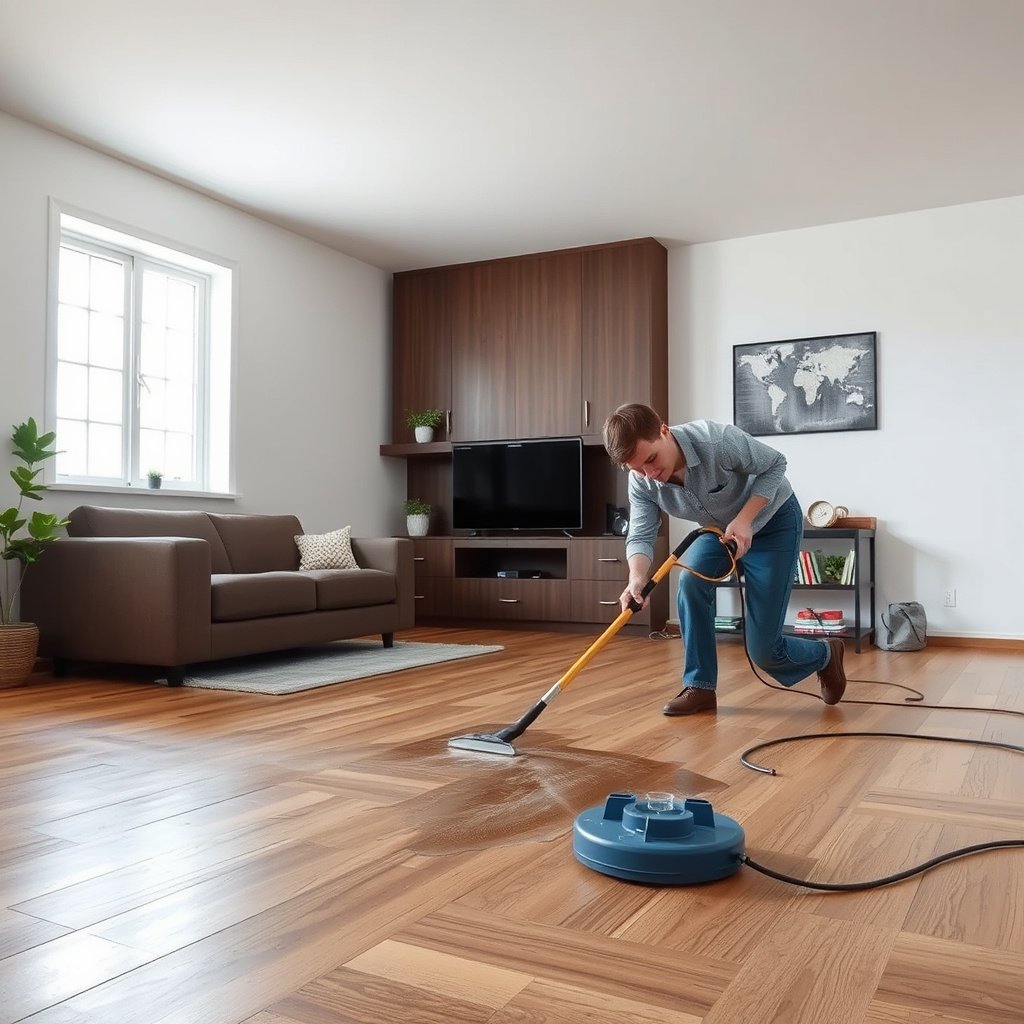
– Avoid soaking: don’t flood the floor during cleaning, and don’t let standing water sit near seams. If you use a spray cleaner, apply to the cloth—not directly across the seams.
– For routine cleaning, use methods the laminate maker allows (e.g., dry microfiber dusting and lightly damp cleaning), and never use harsh flooding or steam approaches unless explicitly permitted. ()
If you want a simple decision rule for laminate floors in a workshop: if your cleaning method leaves water visible on the surface after you finish, it’s too wet. As of 2026, most laminate manufacturers still recommend keeping maintenance “damp-controlled,” not “wet-mop controlled.”
What can go wrong (common workshop mistakes and edge cases)
Even with good matting, workshop reality introduces moisture sources you can miss—like condensation drips and small leaks. The most expensive failures start small: a wet rag, a slow hose leak, or condensation landing at a transition.
Workshop mistakes tend to cluster around three patterns: repeated micro-wetting (water comes back often), hidden pathways (water travels under edges/transitions), and cleaning practices that unintentionally create moisture retention.
Hidden leaks and condensation can wet laminate floors repeatedly without obvious puddles, leading to gradual seam swelling over time.
Steam cleaning increases moisture exposure; unless the laminate manufacturer explicitly permits it, steam is a common route to swelling and separation.
– Steam cleaning or “wet mopping” that leaves moisture behind can swell/delaminate core layers over time. Steam also warms surfaces, and when cool, condensation can form again near seams.
– Water trapped at edges (doorways, around cabinets, under transitions) spreads without visible puddles. You may see the symptoms later—edge lifting, slight cupping, or a recurring damp smell.
– Oversights with underlayment: missing moisture barrier where required (or incompatible underlayment) can increase risk. In workshop environments, underlayment compatibility isn’t optional; it affects how moisture behaves under laminate floors.
– Leaks you don’t see: small drips from hoses, condensation on tools, or wet rags left on the floor can be enough. The workshop habit to break is “temporary placement of wet items on the laminate.”
– Warranty limitations: some laminate brands won’t cover water damage or will restrict claims if sealing/underlayment rules weren’t followed. ()
If your workshop often experiences prolonged damp conditions (for example: frequent wash-down, regular standing water, or unavoidable flooding), laminate may be a mismatch even with perfect technique.
Verdict / tip: prevention works best, but don’t over-seal blindly
A practical prevention plan—matting for wet zones, controlled humidity/condensation, and immediate spill blotting—reduces the biggest causes of laminate water damage. The downside: laminate can still fail if water repeatedly reaches seams or edges, and some sealing methods can be incompatible or void warranties.
As of 2026, the most reliable strategy for laminate floors in a workshop is “route water away + limit contact time + follow manufacturer-approved details.” Skipping one part (like correct underlayment or approved transition handling) can undo the value of aggressive spill cleaning.
Who should skip relying on laminate: workshop owners who routinely create prolonged wet floors, cannot control seasonal condensation, or already have frequent leaks they haven’t solved. In those scenarios, switching to a flooring type rated for those moisture conditions (or addressing the moisture source first) is usually the safer business decision than trying to seal around physics.
Most laminate water damage prevention comes from controlling where water goes and how long it stays—especially at seams and transitions.
Over-sealing can be counterproductive if it traps moisture or conflicts with the manufacturer’s underlayment and expansion requirements.
Quick checklist (scan/save)
– [ ] Waterproof mat/runner in wet-work and tool-drip areas
– [ ] Fast blotting of spills; no soaking or standing water
– [ ] Ventilation during/after wet tasks; reduce humidity spikes
– [ ] Protect transitions/edges per manufacturer guidance
– [ ] Use manufacturer-approved cleaning methods only
– [ ] Fix leaks and drips immediately; keep wet rags off the floor
If you do only one thing for laminate floors in a workshop, do it immediately after a spill: blot, dry, and prevent seam contact.
If you do only one long-term change, do it at the moisture source: humidity and condensation control reduce repeated wetting cycles.
Sources
Bottom line: preventing water damage to laminate floors in a workshop is mostly about blocking seam access (mats, drip control, transitions), reducing moisture cycles (humidity/condensation management), and acting immediately (blot, dry, and stop the source). If you expect repeated wet conditions beyond what laminate instructions permit, treat flooring choice and moisture control as the same problem—not separate projects.
Frequently Asked Questions
What’s the best way to prevent water damage to laminate floors in a workshop?
Start by controlling the source of moisture—use floor mats at every entry and wipe up spills immediately to prevent standing water. In a workshop, add a moisture barrier (like an appropriate underlayment) and keep humidity stable with a dehumidifier if needed. For heavy traffic areas, consider water-resistant rugs or runner mats to reduce wear and exposure.
How can I protect laminate flooring from leaks and spills around tools and machinery?
Position drip trays under machines that use coolant, oil, or water and keep hoses off the floor when possible. Use absorbent shop pads near wet processes (e.g., cleaning, pressure washing, or blade rinsing) and keep a bucket and mop readily available for fast cleanup. If liquid does get on the laminate, dry the area quickly and check the edges and seams where water can seep underneath.
Why does laminate flooring fail when it gets wet, and what signs should I watch for?
Laminate can swell or warp because water can penetrate the core through seams, end joints, or damaged edges, even if the top layer looks intact. Watch for bubbling, cupping, gaps between planks, or a soft/spongy feel near joints—these often indicate moisture has reached the underlayment. Catching water intrusion early helps limit irreversible swelling and expensive replacement.
How should I choose underlayment to reduce the risk of water damage on laminate floors?
Choose an underlayment designed for moisture protection and verify it’s compatible with your laminate’s installation method and thickness. Look for vapor barrier features (often rated in perm levels) to limit moisture migration, especially if your workshop has concrete slabs. Proper installation matters too—tape seams correctly, avoid punctures, and ensure the underlayment is flat so water isn’t trapped at high or low spots.
Which routine maintenance steps help keep laminate floors water-safe in a high-risk workshop?
Sweep regularly to remove grit that can trap moisture and scratch the surface, then clean with a laminate-safe cleaner and a damp (not wet) mop. Avoid soaking methods like steam mops or leaving wet cloths on the floor, and promptly dry any puddles with towels. Periodically inspect caulk lines at transitions and along walls, and replace damaged boards quickly to prevent water from migrating through gaps.
📅 Last Updated: October 24, 2026 | Topic: How to prevent water damage to laminate floors in a workshop? | Content verified for accuracy and freshness.
References
- Laminate flooring
- Vapor barrier
- https://www.energy.gov/energysaver/controlling-indoor-humidity
- https://www.epa.gov/mold/moisture-control-and-mold-prevention
- https://www.cdc.gov/mold/default.htm
- https://www.who.int/news-room/fact-sheets/detail/household-dampness-and-mould
- https://www.hud.gov/program_offices/healthy_homes/mold
- https://scholar.google.com/scholar?q=laminate+floor+water+damage+prevention Google Scholar
- https://scholar.google.com/scholar?q=laminate+floor+vapor+barrier+underlayment+moisture Google Scholar
- https://scholar.google.com/scholar?q=indoor+humidity+control+prevent+flooring+damage+mold+dampness Google Scholar