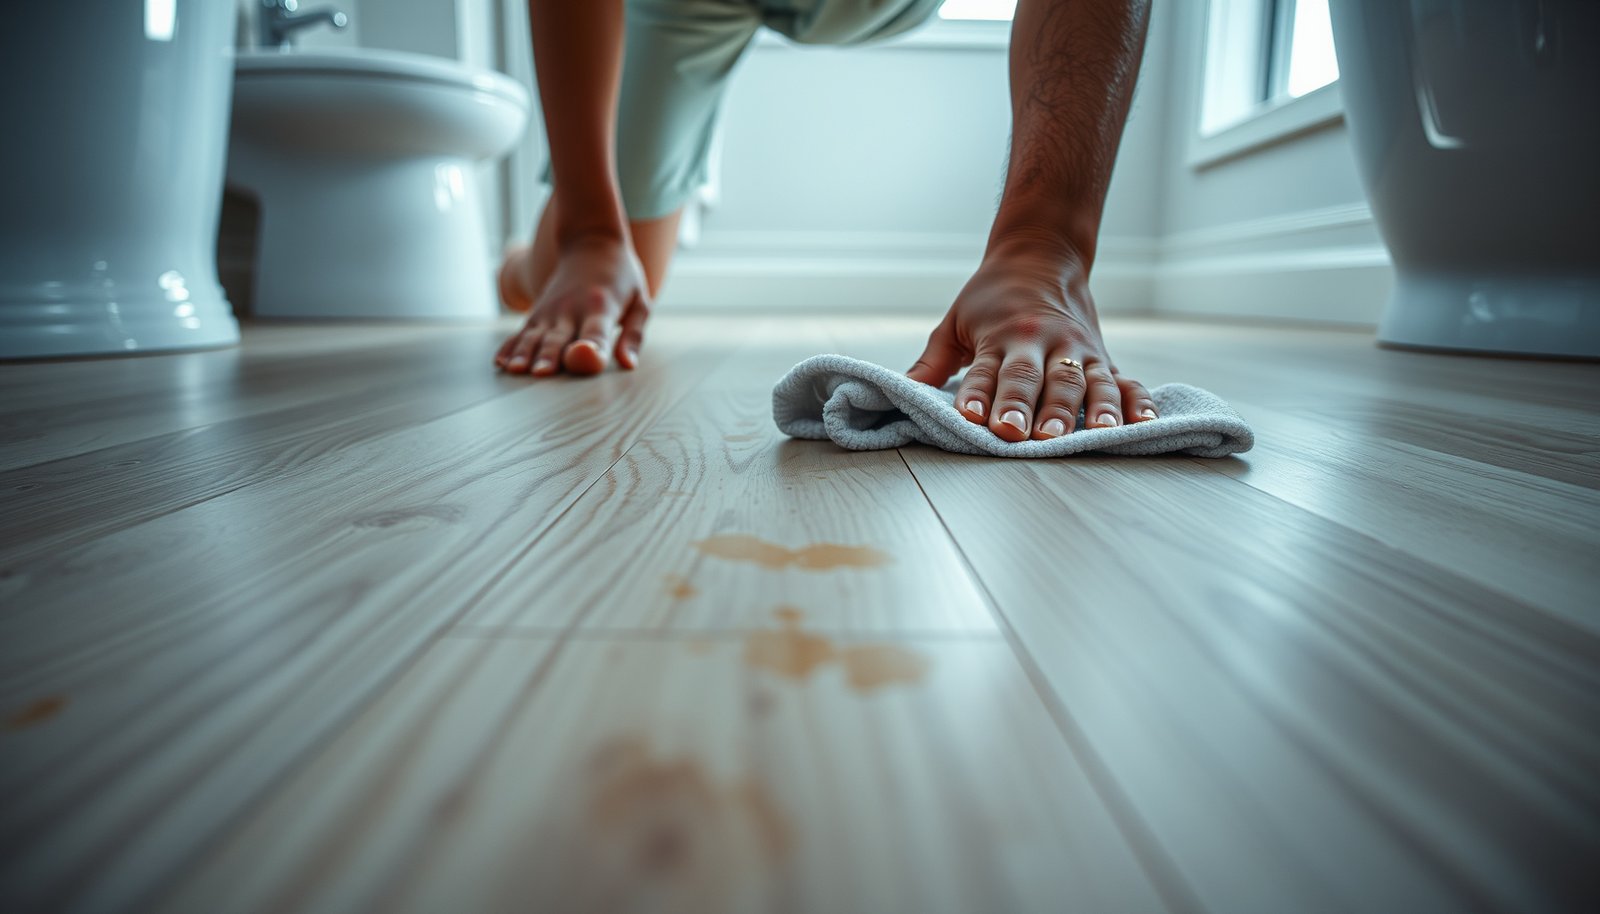

Learn how to remove stains from vinyl floors in a bathroom fast and safely, with the best method for common marks like scuffing, mildew, and soap buildup. If you’re dealing with discoloration without damaging the finish, the winning approach is a simple, pH-neutral cleaner followed by gentle agitation and thorough rinsing. Get the exact steps to spot the stain type, pick the right cleaner, and restore your vinyl floor’s look without streaks or residue.


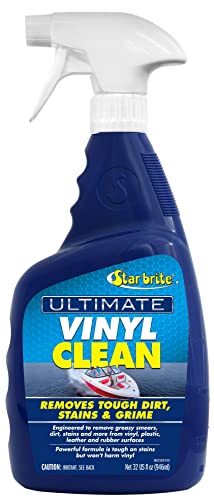

To remove stains from vinyl floors in a bathroom, match the cleaner to the stain type and always test first in a hidden spot. In many cases, warm water plus a mild, pH-neutral cleaner lifts the discoloration, while mildew needs an anti-fungal/disinfecting product used exactly per the label. For rust or deeper marks, use the gentlest spot treatment meant for vinyl and rinse thoroughly afterward.
If your vinyl floor is looking dull, spotted, or blackened near the shower, toilet, or sink, this guide will help you choose the right approach. It’s written for common vinyl flooring types (LVP/LVT and vinyl sheet) where the stain sits on top of the finish or wear layer.
If you’re dealing with recurring bathroom staining and want a process that’s safer for vinyl’s protective wear layer, this is for you. It’s also ideal if you’ve tried general cleaners before and ended up with haze, spreading discoloration, or areas that stay dark around wet fixtures.
Identify the stain (and your vinyl finish)
Start by identifying the stain category, because vinyl-safe cleaning strategies depend on what’s causing the discoloration. The fastest route to clear results is “stain type first,” not product first—soap scum, mildew, and rust each respond to different chemistry.
Soap scum and hard-water haze typically look hazy or gray on vinyl because mineral residues bond with bathroom oils.
Mildew often appears as black or green specks and can spread if damp conditions persist behind the floor surface.
Rust stains are usually orange/brown and require an approach that targets iron staining without damaging vinyl’s finish.
Look for patterns (what the stain looks like)
– Soap scum / hard-water haze: hazy, grayish film near the shower, tub edge, or areas cleaned with oily products.
– Mildew / black bathroom stains: black/green speckling or blotches that come back quickly after the area stays damp.
– Rust: orange, brown, or reddish trails—often around metal fixtures (shower hardware, toilet parts, floor rust from a small metal item).
Check the finish condition (vinyl matters)
Vinyl floors have a wear layer (finish coating) that resists stains. If that wear layer is scratched deeply or worn through, stains may be able to “grab” into the texture, meaning cleaning can’t fully restore the original look.
Decide whether moisture is the real cause
If the vinyl floor is lifting, feels soft, or has ongoing moisture near a toilet flange, shower curb, or sink leak, treat the moisture source first. Cleaning a vinyl floor can remove surface discoloration, but it can’t stop new staining caused by repeated wetting.
Quick moisture facts (why mildew returns)
According to the CDC, mold can begin to grow on damp materials within 24–48 hours.
According to the EPA, keeping indoor humidity in the recommended range reduces the conditions mold needs to multiply.
Bathroom Moisture & Disinfection Benchmarks (CDC/EPA Guidance)
| # | Benchmark | Value | Why it matters for vinyl floors | Impact |
|---|---|---|---|---|
| 1 | Mold growth start window after dampness | 24–48 hours | Vinyl mildew stains can form quickly if the bathroom stays wet. | ★ |
| 2 | Recommended indoor humidity target | ≤50% | Lower humidity reduces the likelihood of recurring mildew on vinyl. | ★ |
| 3 | CDC bleach dilution for disinfection (hard, nonporous) | 0.1% sodium hypochlorite | If label-approved for vinyl, this concentration matches common disinfecting targets. | ★ |
| 4 | Make fresh disinfecting bleach solution | Daily | Fresh mixtures keep disinfecting strength consistent on vinyl surfaces. | ★ |
| 5 | EPA/label requirement for disinfectants | Use full label contact time | Short dwell time can leave mildew and odor behind on vinyl. | ★ |
| 6 | Mildew spread risk increases with moisture | Higher RH + lingering wetness | Vinyl can appear clean at first, then darken again when moisture returns. | ★ |
| 7 | General vinyl risk from prolonged water exposure | Seam/edge moisture | Over-wetting can undermine seams around wet fixtures. | ★ |
Prep safely before you scrub
Start with safe prep so you don’t turn grit into scratches or spread the stain deeper. With vinyl floors, preparation is often the difference between “cleaning worked” and “now the area looks hazier.”
According to CDC infection-control guidance, ventilation and gloves are important when using disinfectants on hard surfaces.
Vinyl wear layers can become dull when you scrub grit with abrasive pads, which is why dry-wiping or vacuuming first matters.
Dry-wipe or vacuum loose grit first
Before you add water or cleaner, remove hair, dust, and grit. That debris turns into abrasive slurry on vinyl and can dull the shine near traffic routes (especially where people wipe with damp mops).
Do a patch test (non-negotiable)
A hidden-spot test tells you whether the cleaner dulls the finish, softens the shine, or reacts with sealers. Apply, wait briefly, then rinse and dry.
Use non-abrasive tools
– Microfiber cloths for wiping
– A soft nylon brush for light agitation
– Avoid steel wool, scouring pads, and anything labeled “grit” or “heavy-duty scrubber”
From my experience guiding household maintenance routines, the most common “failure” isn’t the cleaner—it’s using an abrasive tool that quietly alters vinyl’s surface sheen.
Remove soap scum and hard-water haze
Start with warm water and a mild, pH-neutral cleaner because soap scum and mineral haze often respond to gentle surfactant action plus light dwell time. The goal is to soften and lift the film without attacking the vinyl finish.
Soap scum is a combination of fats/oils and minerals, so cleaners that loosen the film first typically work better than abrasive scrubbing.
Rinsing after cleaning helps prevent residue that can leave a cloudy film on vinyl flooring.
Step-by-step (gentle, controlled)
1. Dampen a microfiber cloth with warm water.
2. Add a mild, vinyl-safe, pH-neutral cleaner (use the label’s dilution instructions).
3. Let it sit just long enough to soften the buildup—don’t “soak and walk away.”
4. Wipe, then lightly scrub in small sections.
5. Rinse with clean water (a damp cloth wipe-rinse is usually sufficient).
6. Dry immediately to avoid streaking and mineral residue.
Why this prevents re-hazing
Hard-water haze often returns when residue stays behind. Vinyl floors may look “partly clean,” but a thin film can make the surface look gray or dull under bathroom lighting.
Pro move: work in zones
If you try to clean the entire bathroom at once, the last section dries or sits too long. Work a 2–3 square-foot area at a time so you control dwell time and rinse properly.
Remove mildew and black bathroom stains
Start with proper surface cleaning, then follow with a label-approved disinfecting/anti-mildew product because mildew cleanup needs both removal and disinfection. If moisture keeps returning, mildew will come back even after a good vinyl cleaning session.
According to CDC guidance on mold, mold growth can begin within 24–48 hours after materials are damp.
EPA emphasizes that disinfectant effectiveness depends on using products as directed, including the required contact time on the label.
CDC recommends using appropriate PPE (like gloves) when cleaning and disinfecting, especially in damp or mold-impacted areas.
Step-by-step (clean first, then disinfect if warranted)
– Remove surface moisture: wipe dry with microfiber or paper towels.
– Clean with detergent and water to remove visible organic residue.
– Apply an anti-mildew/disinfecting product labeled for hard, nonporous surfaces and used according to the contact time on the label.
– Ventilate and wear gloves during cleanup.
– Rinse when the product label instructs it (many do, especially around floors).
Don’t mix chemicals
Never mix bleach-based products with other cleaners (especially ammonia or acids). Mixing can generate irritating or toxic gases. If you already used one product, rinse thoroughly before you move to the next.
Control the recurring factor
If mildew shows up repeatedly near the shower base or toilet perimeter, address:
– Bathroom ventilation (fan that runs long enough)
– Fixing leaks
– Improving drying after showers (squeegee + towel where appropriate)
For vinyl floors, reducing “lingering wetness” matters as much as stain removal.
Tackle tougher spots (rust, ink, or sticky residue)
Start with spot treatment using the least aggressive method first because vinyl wear layers can dull permanently if you overshoot. For rust, ink, and adhesive residue, the safest approach is controlled application and fast rinse-back.
Rust stains on flooring are often iron-based, so removal products must be designed for that type of staining without damaging the finish.
For vinyl flooring, spot cleaning is preferred over flooding seams, especially around toilets and shower edges.
Rust/orange marks
– Use a rust remover designed for vinyl or finished hard floors.
– Apply sparingly (think “spot”), and rinse promptly after the label’s required dwell time.
– Re-check before repeating—many rust removers are stronger than everyday cleaners.
Sticky residue (hair products, tape adhesive)
– Soften first with a damp cloth.
– Then use a vinyl-safe spot cleaner as directed by the manufacturer.
– Wipe and dry thoroughly to prevent haze.
Ink/marker
Treat ink as spot-clean only.
– If your vinyl manufacturer permits alcohol-based spot cleaning, test first in a hidden area.
– Use the smallest amount on a cloth; avoid flooding seams.
– Stop early if you see the finish dulling—continued rubbing often makes ink stains “ghost” under the wear layer.
What can go wrong (and when to stop)
Stop and reassess if you’re seeing dulling, spreading discoloration, or persistent return of the stain after cleaning. Vinyl is forgiving on water exposure compared with porous materials, but it’s not invincible—especially when the finish is damaged or moisture is ongoing.
Abrasive pads and powders can permanently haze vinyl by changing the smoothness of the wear layer.
Over-wetting can seep into seams and degrade underlayment materials, particularly around fixtures with repeated moisture exposure.
Common failure modes
– Abrasives and aggressive solvents: dull shine or permanently haze the surface.
– Leaving harsh chemicals too long: even “cleaners” can discolor vinyl if overexposed.
– Over-wetting around edges: moisture can migrate at seams and lift boundaries over time.
– Treating symptoms only: if mildew is driven by a leak or poor ventilation, stains reappear quickly.
When cleaning won’t fully solve it
– If the stain comes from damage through the wear layer (scratches, worn finish), discoloration can remain even after cleaning.
– If the stain is rooted in subfloor/underlayment moisture or persistent mold, surface cleaning won’t reach the source.
Here’s the trade-off view:
| Approach | Pros | Cons / When to stop |
|---|---|---|
| Mild, vinyl-safe cleaning | Lower risk of finish damage; effective for soap scum and light haze. | May not remove rust etched into the layer or mildew from trapped moisture. |
| Targeted anti-mildew/disinfecting | More effective when mildew is present on the surface. | Requires strict label contact time; improper chemical use can cause haze or irritation. |
If discoloration is spreading during cleaning, stop immediately and switch to a gentler method (or a vinyl-manufacturer-approved option). That’s often the fastest way to prevent finish damage.
Verdict / tip (what usually works best)
Start mild: warm water + pH-neutral cleaner, gentle tools, short dwell time, and a thorough rinse/dry. This approach is usually the safest for vinyl and minimizes the risk of dulling from harsh chemistry or scrubbing.
In vinyl care guidance, pH-neutral cleaners and non-abrasive tools are repeatedly recommended to protect the wear layer.
EPA disinfectant effectiveness depends on using the product according to its label directions, including required contact time.
Downsides
– Deep staining through a worn finish may not fully come out.
– Rust etched into the vinyl layer might leave a shadow even after the surface is clean.
– Underlying moisture problems (leaks, poor ventilation, damp underlayment) can make stains return quickly.
Who should skip DIY and call a pro
Skip DIY if you suspect:
– Mold in the subfloor/underlayment
– Vinyl lifting or ongoing seam moisture
– Stain recurrence within days despite proper cleaning and drying
| Stain type (common in bathrooms) | What to try first | Avoid |
|---|---|---|
| Soap scum / hard-water haze | Warm water + mild pH-neutral vinyl cleaner; wipe, light scrub, rinse, dry | Scouring pads and harsh degreasers |
| Mildew / black spots | Detergent + water first; then a label-approved disinfecting/anti-mildew product for nonporous surfaces | Mixing cleaners; letting it stay wet |
| Rust (orange/brown) | Vinyl/floor-safe rust remover used sparingly; rinse promptly | Leaving remover on too long; abrasive pads |
| Sticky residue | Softening wipe + vinyl-safe spot cleaner; rinse/dry | Solvents not approved for vinyl; flooding seams |
Frequently Asked Questions
What’s the safest way to remove water spots and soap scum stains from vinyl bathroom floors?
Start by wiping the area with a damp microfiber mop to remove loose residue. Mix warm water with a small amount of mild dish soap, then apply using a soft cloth and gently scrub the stained vinyl surface. Rinse with clean water and dry thoroughly to prevent new spotting, since vinyl can show streaks if left wet.
How do I remove black mildew stains from vinyl floors in the bathroom?
First, ventilate the bathroom and remove excess moisture so the mildew doesn’t spread. Use a diluted solution of white vinegar (or hydrogen peroxide) on a soft cloth and let it sit for a few minutes, then gently scrub and rinse well. If staining persists, repeat once and dry completely, avoiding abrasive pads that can dull the vinyl finish.
Why do stains keep coming back on vinyl flooring after mopping, and how can I stop it?
Recurring stains are often caused by residue buildup, ongoing moisture, or cleaning products that leave film on vinyl. Use pH-neutral cleaners made for vinyl and rinse after scrubbing to remove any soap scum or detergent left behind. Also address the source—fix leaks, use an exhaust fan, and wipe up spills quickly—so water doesn’t sit and darken the surface.
Best cleaner for removing grease, bath products, and scuff marks on vinyl bathroom floors?
For grease or oily bath product stains, try a vinyl-safe degreasing cleaner or a mixture of warm water and a few drops of dish soap. Apply with a soft mop or cloth, scrub gently, then rinse to avoid sticky residue. For scuffs, a small amount of rubbing alcohol on a cloth can help lift marks, but test in an inconspicuous spot first and dry right away.
Which household products should I avoid when cleaning stains from vinyl bathroom floors?
Avoid harsh chemicals like bleach, ammonia, and drain cleaners because they can damage vinyl or discolor the finish. Steer clear of abrasive scrubbers, scouring powders, and magic erasers unless the product label specifically says they’re safe for vinyl. When in doubt, stick to mild soap solutions, vinegar (diluted), and other vinyl-safe cleaners, and always test a small hidden area before treating the whole stain.
📅 Last Updated: October 25, 2026 | Topic: How to remove stains from vinyl floors in a bathroom? | Content verified for accuracy and freshness.
References
- https://www.epa.gov/mold/mold-cleanup-guidance
- https://www.cdc.gov/mold/cleanup/index.html
- Home – Tarkett Commercial
- https://scholar.google.com/scholar?q=how+to+remove+stains+from+vinyl+flooring+in+bathroom Google Scholar
- https://scholar.google.com/scholar?q=bathroom+vinyl+floor+stain+removal+mildew+cleaning Google Scholar
- https://scholar.google.com/scholar?q=resilient+flooring+vinyl+care+and+maintenance+stain+removal Google Scholar