
Learn how to prevent water damage to engineered wood floors in a garage with a clear, practical playbook that works in real conditions. If you want the shortest path to protection, focus on controlling moisture at the source, sealing vulnerable edges and seams, and using quick-dry cleanup to stop swelling before it starts. Follow these steps and you’ll keep your engineered wood stable—even when garage spills, tracked-in rain, or humidity spikes show up.



Water damage to engineered wood floors in a garage is mostly prevented by stopping moisture at the source and drying spills fast—before water can reach the seams or underlayment. Here’s the practical approach: fix leaks, control humidity, block tracked-in water at the door, and clean up immediately so moisture can’t linger long enough to soak through the flooring system. In 2026, garages still fail engineered wood primarily because water finds edges, expansion space, and underlayment pathways—so the job is to close those pathways early.
If your garage gets wet from rain tracking in, car washing, seasonal humidity, or occasional leaks, these steps are for you. The advice also fits most engineered wood floors—but always confirm your specific flooring manufacturer’s installation and moisture limits, since warranties often depend on them.
Map the moisture risks in a garage
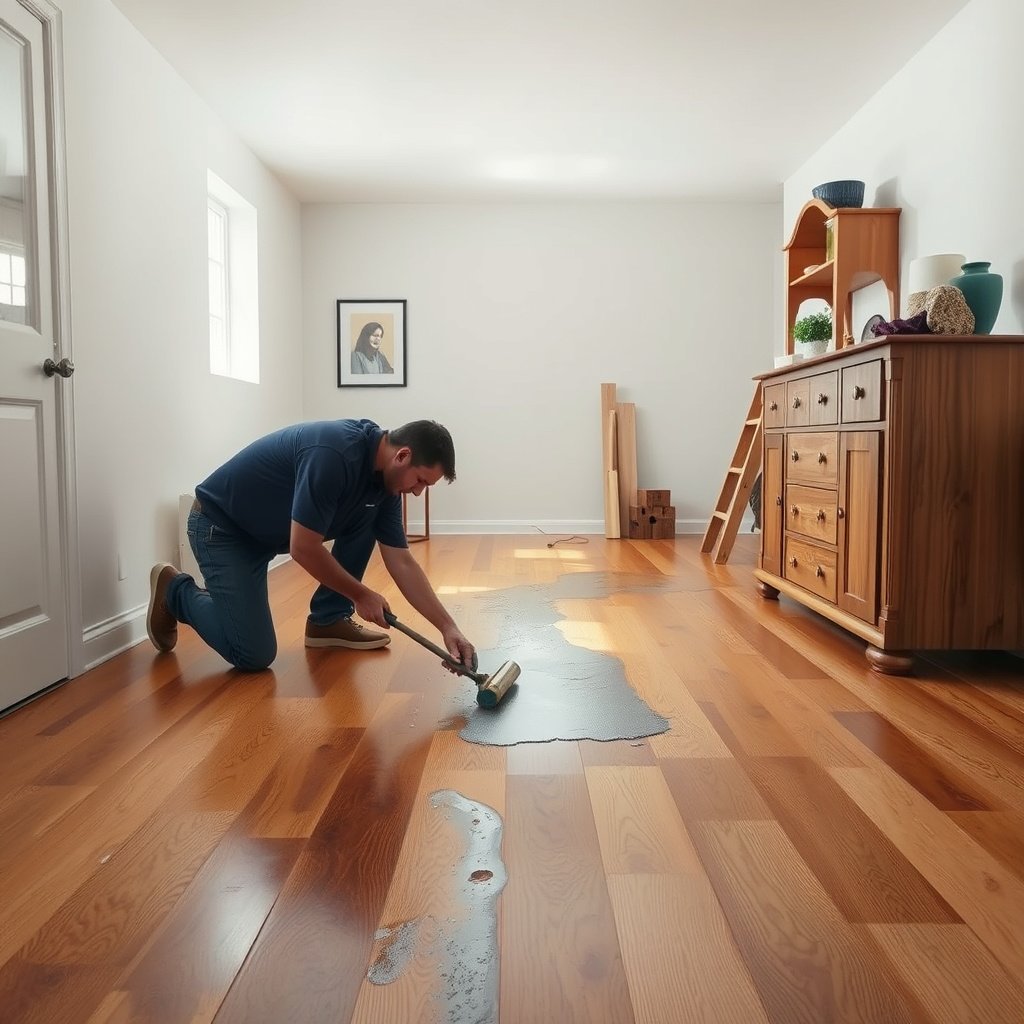
The fastest way to prevent engineered wood floor damage is to identify where water enters the system (and where it can hide). Once you map moisture risks in your garage, you can target the exact entry points—especially wheel splash zones, edges, and any area that stays damp after storms.
Moisture that damages engineered wood floors rarely arrives “uniformly.” Instead, it moves along concrete surface water, cracks, and pooled areas, then concentrates at seams, transitions, and perimeter gaps. As of 2026, the most common failure pattern we see in real garages is water repeatedly touching the same narrow bands—near doors and along the floor perimeter—until the finish breaks down and seams swell.
ASTM F2170 is designed to measure in-situ relative humidity (RH) in concrete using probes installed at specified depths.
ASTM F1869 reports moisture vapor emission rate (MVER) in a unit commonly expressed as lb/1,000 sq. ft. over 24 hours.
Engineered wood floors are vulnerable when moisture reaches seams and edges because water can migrate beneath the surface and through the flooring system assembly.
– Identify the likely sources: roof leaks, sweating/damaged concrete, overflowing meltwater, sprinkler overspray, or frequent wet floor mopping.
– Look for entry paths: wheel splash zones near doors, gaps at expansion space, and edges where water can pool.
– Check seasonal behavior: garages often swing in temperature and humidity, which can move moisture even without visible puddles.
What to inspect first (and what you’re looking for)
Start at the “wet pathway,” not the floor finish. For engineered wood floors in garages, that typically means checking door thresholds and the concrete slab surface for ponding after rain or snowmelt, then tracing outward to roof/gutter issues and any appliance that can add humidity (including water from car washing or draining a hose indoors).
Pay attention to corners and edges. Expansion space and transitions are intentional gaps, but water can still wick into these areas if it repeatedly wets them. If you notice damp concrete smell after weather events, that’s a clue that moisture is moving under engineered wood floors even when the surface looks dry.
Stop water before it reaches the floor
The most reliable protection for engineered wood floors is to stop moisture at the source—because surface protection can’t undo constant wet exposure. In practice, you win when you fix leaks, manage drainage, and reduce tracked-in water so the floor system isn’t repeatedly challenged.
This is where many garage owners underestimate risk: even short, frequent wetting cycles can outperform one “big flood” in cumulative damage. Engineered wood floors are designed to handle normal indoor humidity swings, but garages routinely experience outside moisture and temperature changes that drive condensation and drying cycles.
Here’s the key logic: if water reaches the engineered wood floor assembly, it can travel through seams, along board edges, and toward any underlayment interfaces. Preventing water arrival is the simplest way to reduce how often those pathways get activated.
If slab moisture is elevated, cleaning the surface alone cannot prevent engineered wood floor damage because moisture can persist within the concrete.
Calcium chloride testing (ASTM F1869) quantifies moisture vapor emission rate, helping determine whether slab moisture conditions may exceed flooring requirements.
In-situ RH probes (ASTM F2170) are used to evaluate slab moisture conditions that may affect wood flooring performance.
– Fix leaks and drainage problems first (roof, gutters, door seals, hose bibs, and floor drains), since “floor protection” can’t compensate for constant moisture exposure.
– Add effective barriers at the door: a properly sized exterior mat at the entrance and a heavier-duty indoor mat to reduce tracked water and grit.
– Improve garage airflow and humidity control (venting/dehumidifier as needed) to reduce how long moisture lingers in the air and on surfaces.
Source control vs. “just protect the finish” (what works better for engineered wood floors)
| Approach for engineered wood floors | Pros | Cons / limits |
|---|---|---|
| Stop water at the source (leaks + drainage) | Reduces repeated wetting at seams and edges | May require repairs (roof/door seals/concrete drainage) |
| Rely on rugs/coatings after water arrives | Can reduce surface contact with water | Water can still wick into seams; many warranties restrict “extra coatings” |
In 2026, the practical takeaway for engineered wood floors in garages is straightforward: do moisture source control first, then add barriers and airflow as the second layer.
Protect the surface, seams, and edges
The next best defense for engineered wood floors is to prevent direct wet contact and stop spills from traveling to seams and perimeter gaps. If water can’t reach those pathways, the flooring finish can last much longer—even with occasional tracked-in moisture.
Surface protection should be treated as a “last line,” not the primary system. Mats and rugs help, but water trapped under them can still move laterally and remain in contact long enough to harm engineered wood floors. The goal is controlled exposure plus fast removal of any liquid.
Engineered wood floor damage accelerates when water persists at seams and edges because those locations allow moisture to penetrate and migrate.
Matting can reduce tracked-in water, but moisture can remain under mats if they aren’t dried or lifted after wet weather.
Many engineered wood warranties restrict applying unapproved sealants or coatings, since they can interfere with the product’s designed finish system.
– Use floor mats and area rugs in high-splash zones (near the garage door and where tools/wet equipment are stored) to prevent direct water contact.
– Keep spills contained: wipe immediately, then dry the area thoroughly—especially along seams and any perimeter gaps.
– Don’t rely on “extra coatings” unless the floor manufacturer approves them; many engineered wood finishes and warranties have restrictions.
Cleanup technique that actually protects engineered wood floors
When spills happen, fast response matters more than “what you use.” For engineered wood floors in a garage, the most effective sequence is: remove liquid with a clean absorbent, then dry with airflow (a fan is often more reliable than re-mopping), and finally confirm that moisture isn’t lingering near seams or at transitions.
Avoid “soaking” the area during cleanup. Even if the surface looks dry quickly, the underside/edge zone can remain damp—especially in garages where temperature drops at night and moisture condenses.
Installation steps that reduce moisture damage
The most preventable failures for engineered wood floors start before the first board is installed. The right underlayment system, correct moisture testing, and proper acclimation decide whether moisture has a pathway into the flooring assembly.
Installation is where garage owners often get tripped up by “close enough” substitutions. Engineered wood floors typically require a specific underlayment approach (or sometimes no underlayment) based on the manufacturer’s testing and system design. In 2026, this matters because warranty coverage commonly depends on following the approved installation details exactly.
ASTM F710 provides installation practice guidance for wood flooring, including installation environment and handling considerations.
ASTM moisture testing methods like F1869 (calcium chloride) and F2170 (in-situ RH) exist specifically to evaluate slab moisture conditions before installing moisture-sensitive flooring.
Using the manufacturer’s approved underlayment/vapor strategy helps prevent unintended moisture pathways that can affect engineered wood floor performance.
– Follow the engineered wood’s approved underlayment system (or lack of one) and ensure it’s installed as directed—mismatched underlayment is a common cause of warranty disputes.
– Manage slab and moisture conditions before installing: use the moisture testing method your flooring instructions specify (often based on ASTM standards).
– Respect expansion/contraction requirements so water doesn’t get channeled into tight areas where boards can cup or seam gaps can open.
Moisture testing you can plan around (and why units matter)
When you compare moisture results for engineered wood floors, focus on the test method and its output units. ASTM F1869 results are not interchangeable with ASTM F2170 results, even though both aim to evaluate concrete moisture conditions. For a garage, this distinction is crucial because slab moisture conditions can drive long-term risk.
For planning purposes, here are key moisture-test data points that your installer and you can align on:
– According to ASTM F2170, in-situ RH testing reports relative humidity (RH) as a percentage at the probe depth.
– According to ASTM F1869, calcium chloride testing reports moisture vapor emission rate (MVER) in a unit commonly expressed as lb/1,000 sq. ft. over 24 hours.
– According to ASTM D4442, wood moisture content is determined using an oven-dry method and expressed as a percentage of oven-dry mass.
7 Concrete & Wood Moisture Tests Commonly Referenced in Flooring Systems
| # | Standard / Method | What it Measures | Output Form | Decision Support |
|---|---|---|---|---|
| 1 | ASTM F2170 | In-situ concrete RH at depth | % RH (percent) | ★★★★★ |
| 2 | ASTM F1869 | Concrete MVER (moisture vapor emission) | MVER (lb/1,000 sq. ft. per 24 h) | ★★★★★ |
| 3 | ASTM D4442 | Wood moisture content | % MC (oven-dry mass basis) | ★★★★☆ |
| 4 | ASTM E96/E96M | Water vapor transmission of materials | Perms (water vapor permeability) | ★★★★☆ |
| 5 | ASTM D4263 | Presence of moisture using plastic sheet | Qualitative observation | ★☆☆☆☆ |
| 6 | ASTM F710 | Installation practice for wood floors | Method guidance (not a moisture metric) | ★★★☆☆ |
| 7 | ASTM C920 | Elastomeric joint sealant performance | Sealant properties (spec compliance) | ★★☆☆☆ |
The point of this table for engineered wood floors in garages is practical: your moisture testing method determines what “good” looks like, so align your test outputs with the flooring manufacturer’s specified acceptance criteria.
Maintenance and what to do after spills or leaks
The best way to avoid long-term engineered wood floor damage is to maintain a “dry-first” workflow and treat any spill like a potential seam intrusion. If water gets into the flooring edges or joints, you keep drying until the area is dry to the touch and stable.
In garage environments, spills often happen during routine tasks: rinsing mud from boots, draining a hose, thaw cycles, or accidental overflows. The risk is not only standing water—it’s the time moisture remains available to wick into seams. As of 2026, your maintenance routine should assume that garage humidity and tracking will keep challenging the floor system.
Many wood flooring care instructions emphasize that mopping should not leave standing water, because moisture can migrate to seams and edges.
After moisture exposure, drying must continue until the area is fully dry, not just visibly dry on the surface.
Re-checking areas after thaw cycles matters because condensation and renewed concrete moisture can occur even if the surface looks unchanged.
– Adopt a “dry first” routine: dry sweep or vacuum regularly, then use only lightly damp mops if your manufacturer permits it—never soak.
– After any spill, remove liquid fast, then dry; if water gets into seams or under the edges, continue drying until the area is dry to the touch.
– Re-check high-risk areas after weather events (heavy rain, snowmelt, thaw cycles) and watch for persistent dampness, odor, or finish breakdown.
A realistic spill response for engineered wood floors
When water lands on engineered wood floors, start with removal—not smearing. Use absorbent towels, then run a fan to increase evaporation across the surface. If the spill came near seams, transitions, or perimeter gaps, spend extra time there; that’s where moisture hides.
If a leak is ongoing, treat engineered wood floors as secondary to stopping the source. From there, drying time depends on ventilation and humidity conditions in the garage.
What can go wrong (common mistakes and limits)
If you want engineered wood floors to last in a garage, avoid the common traps that keep moisture present even when the surface seems fine. The big failures come from trapped moisture under mats, incorrect cleaning methods, and installation choices that create hidden moisture pathways.
The most expensive mistake is assuming that “the finish looks okay.” Engineered wood floors often show delayed symptoms: slight seam swelling weeks later, soft spots along edges, or odor from moisture trapped under materials. That delay is exactly why good maintenance and moisture mapping matter.
Moisture trapped under rugs or mats can continue to affect engineered wood flooring even when the walking surface appears dry.
Heat or steam cleaning can drive moisture into joints because moisture moves under temperature-driven conditions, increasing risk for wood flooring assemblies.
Using unapproved sealants/coatings can void warranties or interfere with an engineered wood floor’s designed finish system.
– Trapped moisture under rugs or mats: even if the surface looks dry, water can remain underneath and harm the flooring over time.
– Over-mopping or “steam cleaning”: many engineered floors are not meant for standing water, and heat/steam can drive moisture into joints.
– Ignoring slab moisture: if the concrete is releasing moisture, surface cleaning alone won’t prevent damage—test and address it before installation.
– Applying unsupported sealants or resurfacing products: some coatings can void warranties or trap moisture in ways that worsen damage.
Who should skip engineered wood floors in a wet garage?
Engineered wood floors can struggle in garages that regularly experience flooding, recurring roof/pipe leaks, or prolonged high humidity with poor airflow. If you can’t fix the moisture source or your garage routinely gets wet during storms, you may want a moisture-tolerant alternative surface (or at minimum, an approved moisture mitigation plan) rather than relying on engineered wood alone.
Verdict + scan-ready checklist
The safest approach to protect engineered wood floors in a garage is straightforward: keep the garage dry, stop water at the entrance, and clean up immediately—then align your installation and maintenance with your flooring manufacturer’s moisture guidance. The downside is that this typically requires proactive moisture management (humidity control, better entry mats, and consistent cleanup), and you’ll need to follow the approved underlayment/vapor strategy closely to protect your warranty.
Quick checklist (save this)
| Task | Why it matters | Done? |
|---|---|---|
| Fix roof/door/floor leaks immediately | Prevents continuous moisture exposure | ☐ |
| Use exterior + interior mats at the garage entry | Cuts down tracked water | ☐ |
| Keep a dry-sweep + lightly damp (only if allowed) cleaning habit | Avoids soaking joints | ☐ |
| Dry spills immediately; focus on seams and edges | Water sits → damage accelerates | ☐ |
| Follow the flooring’s approved underlayment/installation system | Prevents moisture pathway issues | ☐ |
| Confirm slab moisture using the manufacturer-required ASTM method | Avoids “good looking now” failures later | ☐ |
Frequently Asked Questions
What are the most common causes of water damage to engineered wood floors in garages?
Water damage usually comes from wet mops and steam cleaning, leaking vehicles (oil and coolant mixed with water), overflowing gutters, and heavy condensation from temperature changes. Garage floor spills that aren’t wiped quickly can seep through seams and edges, especially if the floor is installed over a concrete slab with moisture. Frequent “tracking in” snow, rain, or wet shoes also keeps the surface saturated long enough to affect the core materials and finish.
How do I properly seal engineered wood floors to reduce water damage in a garage?
Start by using a garage-appropriate installation method that includes a moisture barrier over the concrete slab, followed by correct sealing at joints and around the perimeter. After installation, choose a compatible sealant or finish (urethane-based is often used for durability) and reapply it as recommended to maintain water resistance. Seal any expansion gaps or transitions with a flexible, water-resistant filler so liquid can’t migrate into edges. Always follow manufacturer instructions because incompatible sealers can trap moisture or void warranties.
How can I manage moisture and humidity in my garage to protect engineered wood flooring?
Use a hygrometer to monitor indoor relative humidity and aim for stable conditions rather than wide swings, since condensation drives moisture problems. Run a dehumidifier or HVAC/space heater as needed, and keep airflow moving under and around the floor area. If the garage sits over damp concrete, ensure the moisture barrier is in place and consider a vapor barrier system designed for slabs. Preventing persistent humidity is key because even “small” exposure over time can degrade engineered wood layers.
Which cleaning methods are safest for engineered wood floors in a garage?
Avoid steam mops and soaking cleaners—use a microfiber dust mop and a slightly damp cleaner made for engineered wood instead of flooding the surface. Wipe spills immediately and dry the area thoroughly, including along seams and near the baseboards. Use mats or absorbent rugs at doorways and near where vehicles typically park to reduce tracked-in water. For stubborn marks, follow the floor’s care guide and never apply harsh chemicals that can damage the protective finish.
What’s the best way to prevent water intrusion from leaks or wet vehicles in a garage?
Fix leaks promptly and use drip trays or absorbent mats under vehicles to stop water and fluids from reaching the engineered wood. Add entrance mats and consider a floor-safe anti-slip mat system so tracked moisture is captured before it reaches the planks. For standing water events (rain runoff, sprinkler over-spray, or appliance leaks), remove the water quickly and dry the area—extended exposure can cause cupping, swelling, or seam separation. Keeping a “rapid response” kit (towels, wet/dry vacuum, and fans) helps limit damage before it penetrates through the finish.
📅 Last Updated: October 19, 2026 | Topic: How to prevent water damage to engineered wood floors in a garage? | Content verified for accuracy and freshness.
References
- Engineered wood
- Vapor barrier
- https://www.cdc.gov/mold/prevention/index.html
- https://www.epa.gov/mold
- F2170 Standard Test Method for Determining Relative Humidity in Concrete Floor Slabs Using in sit…
- F1869 Standard Test Method for Measuring Moisture Vapor Emission Rate of Concrete Subfloor Using …
- https://scholar.google.com/scholar?q=engineered+wood+floor+garage+moisture+vapor+barrier+prevention Google Scholar
- https://scholar.google.com/scholar?q=ASTM+F2170+in-situ+relative+humidity+concrete+slab+wood+flooring+installation Google Scholar
- https://scholar.google.com/scholar?q=wood+flooring+moisture+damage+prevention+dehumidification+humidity+control Google Scholar