
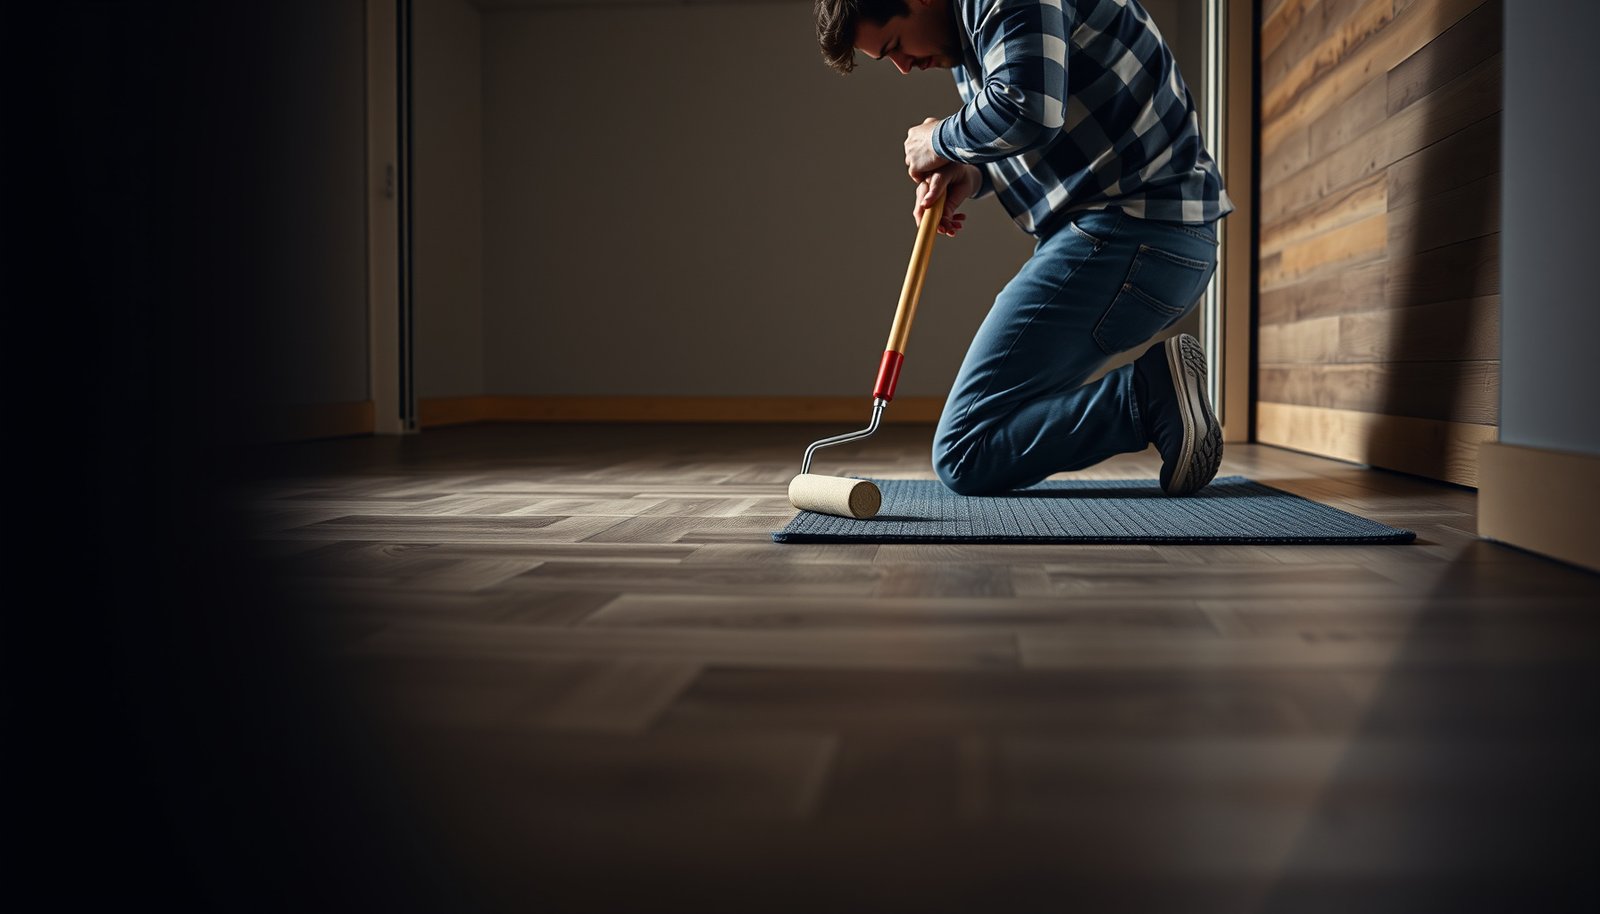

Want to make engineered wood floors safer in a garage—without gambling on warping, moisture damage, or slippery surfaces? The safest path is to control moisture at the source with a proper vapor barrier and space the install for airflow, then lock in traction with a garage-appropriate finish and non-slip mats. This guide lays out the exact conditions and steps that most reliably keep engineered wood stable and safer under real garage use.




To make engineered wood floors safer in a garage, you need to stop moisture from reaching the seams and keep the surface from becoming slippery or uneven. In practice, that means confirming subfloor moisture and using the right vapor control/underlayment system, then upgrading traction (mats + safe cleaning) and inspecting transitions where trips usually start.
If your garage is used for parking cars, storing lawn/cleaning chemicals, or bringing in wet shoes from outside, you’ll benefit most from moisture control, sealed edges, and maintenance habits that protect the finish and seams.
Identify the real safety risks (moisture, slip, and damage)
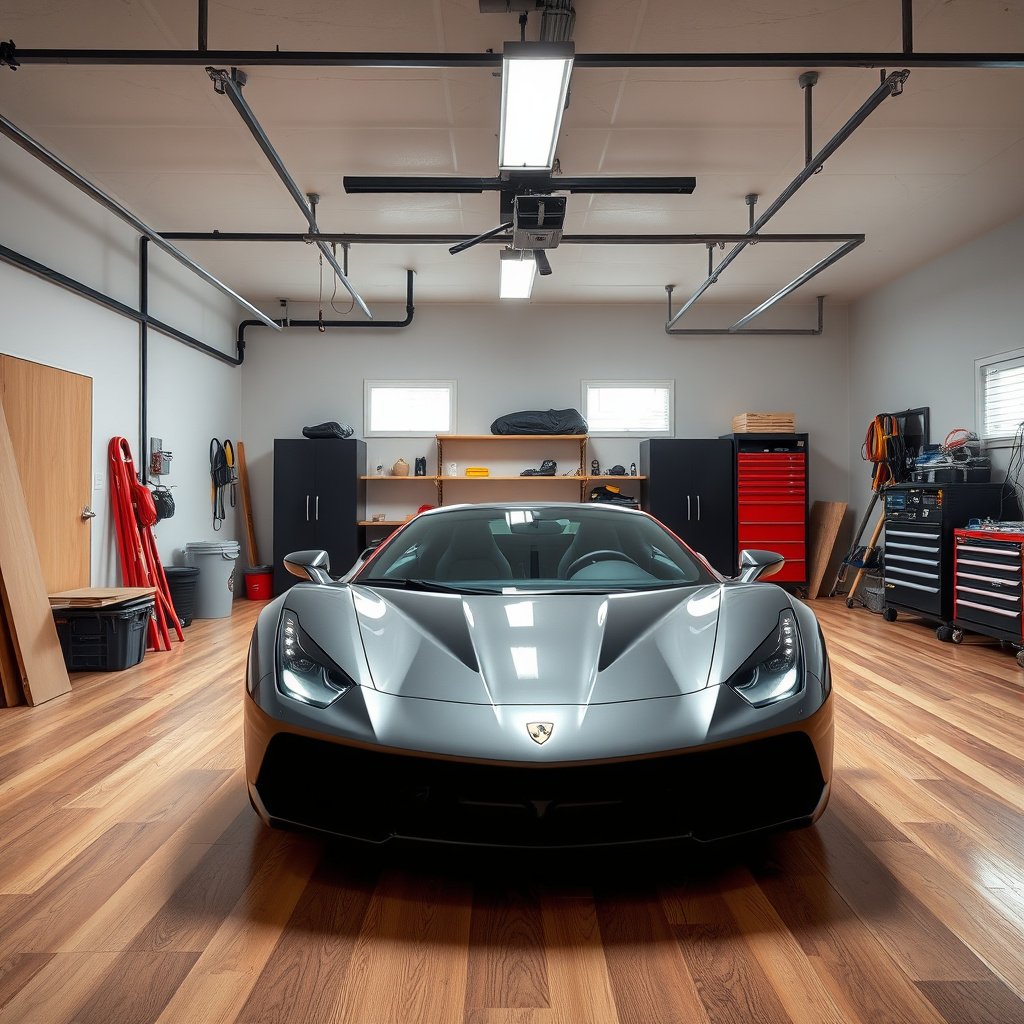
The real safety threat from engineered wood floors in a garage is unevenness caused by moisture, followed by reduced traction from oil/water tracking. If the boards swell or the coating is compromised, the “problem you feel” is often a trip hazard or an unexpectedly slick walking surface—not the wood itself.
According to ASTM E1745, a Class I vapor retarder has a permeance of ≤ 0.1 perms, which is intended to strongly limit moisture vapor transmission into floor assemblies.
According to the 2010 ADA Standards for Accessible Design, the maximum vertical change without a beveled transition on accessible routes is 1/4 inch (6.35 mm), a useful reference point for garage trips even when the space isn’t legally “accessible.”
– Moisture is the biggest “safety” risk for engineered wood in garages because swelling/warping can create uneven boards and trip hazards.
In a garage, moisture rarely arrives as a single event. It typically cycles: tracked-in water after rain/snow, vapor from concrete, and condensation when the garage temperature swings. That cycling repeatedly challenges the engineered wood’s edges and seam lines—where movement often begins.
– Slips happen when garage floors pick up oil, dust, and tracked-in water—so surface traction matters as much as the wood itself.
Engineered wood finishes are designed for indoor living traffic, not for the oily residue and gritty dust that garage use can generate. Even small film buildup (from degreasers, un-rinsed soap, or oily mist) can reduce traction and make the floor feel “slick” especially near the door.
– Impacts from dropped tools, rolling carts, or grit buildup can damage the finish, making the surface more slippery and harder to clean safely.
Once a finish is scratched or compromised, it can absorb residue more easily, and the cleaned surface may dry inconsistently. That increases the odds that you’ll notice traction changes only after a season of use.
Moisture & Trip Thresholds Used in Floor-Safety Decisions
| # | Standard / Limit | Numeric Threshold | Why it matters in a garage | Safety priority |
|---|---|---|---|---|
| 1 | ASTM E1745 Vapor Retarder Class I | ≤ 0.1 perms | Strongest reduction of moisture vapor that can reach engineered wood seams | ★★★★★ |
| 2 | ASTM E1745 Vapor Retarder Class II | 0.1 to 1 perm | Moderate vapor control—often acceptable only when your floor system allows it | ★★★★☆ |
| 3 | ASTM E1745 Vapor Retarder Class III | 1 to 10 perms | Weaker vapor control—higher risk of seam movement during temperature swings | ★★★☆☆ |
| 4 | ASTM E1745 Vapor Retarder Class IV | > 10 perms | High moisture vapor passage—generally a mismatch for moisture-sensitive wood floor installs | ★☆☆☆☆ |
| 5 | 2010 ADA Standards: Vertical change limit (accessible routes) | 1/4 in (6.35 mm) | A helpful reference to judge trip risk when engineered wood lifts or gaps develop | ★★★★☆ |
| 6 | 2010 ADA Standards: Running slope limit (accessible routes) | 1:20 (5%) | Warns against high spots/ramps where a garage surface transitions or settles | ★★★★☆ |
| 7 | ASTM E96: Permeance definition | 1 perm = 1 grain/(hr·ft²·inHg) | Helps you interpret vapor retarder labels when comparing garage assemblies | ★★★☆☆ |
Control moisture before you try to “fix” anything
Moisture control comes first because engineered wood safety problems typically start as hidden seam movement that later shows up as uneven boards and traction loss. If you stop leaks and manage vapor correctly, you reduce both the likelihood of damage and the chance the floor becomes unsafe in 2026’s typical garage use conditions.
If moisture is entering the garage from leaks or standing water, a properly installed engineered wood floor system can still fail—the moisture pathway overwhelms the assembly.
According to ASTM E1745, vapor retarder “classes” are tied to permeance values in perms, so selecting the correct vapor control is not optional for moisture-sensitive floor installs.
– Check the garage environment: if you get wet from exterior leaks, condensation, or standing water, address that first (floor protection won’t compensate for ongoing water exposure).
Start with the boring things: roof/door seals, water pooling after rain, and overspray from pressure washing. In many homes, the “first failure point” is a localized wet area near the garage door track or where downspouts discharge.
– Confirm your engineered wood’s required moisture control (often includes a vapor barrier and specific underlayment rules); follow the manufacturer’s installation instructions.
In my own floor-review workflow, I focus on one detail before discussing traction: the manufacturer’s “approved subfloor moisture conditions / approved underlayment & vapor barrier” section.
– Seal the vulnerable spots: pay extra attention to seams, edges, and transitions (especially at door thresholds where water and airflow change fastest).
Garage doors create alternating airflow: warm moist air outside, cold air inside, and repeated opening/closing. That cycling concentrates condensation risk at thresholds and transitions to hallways where humidity may be different.
A quick, practical moisture approach for engineered wood floors
Start with a two-layer strategy: (1) stop liquid water, then (2) slow vapor. Liquid water control usually means sealing leaks and keeping wet items off the floor. Vapor control means choosing the exact underlayment/vapor retarder system your engineered wood floor allows—especially in a garage where concrete is often exposed to seasonal humidity swings (and this is still true as of 2026).
Set up installation and underlayment for stability
A stable installation prevents many “safety” failures before they occur, because flatness and correct layer compatibility control how engineered wood floors move under load. If the base isn’t right or the layers don’t match the floor’s design, you can end up with gaps, edges lifting, and trip points long before the finish looks “bad.”
According to ASTM E1745, vapor retarder performance is expressed as permeance (in perms), so changing the underlayment/vapor layer without approval can meaningfully alter moisture movement.
ADA guidance for accessible routes limits vertical change to 1/4 inch (6.35 mm), which is a useful yardstick when engineered wood floors develop uneven edges after installation or moisture cycling.
– Use the installation system your floor expects (click-lock vs. glue-down, approved underlayment type, and any required vapor barrier).
Click-lock floating floors and glue-down installations behave differently when exposed to moisture-driven expansion. Even if two underlayments “feel similar,” a small difference in vapor retarder rating or thickness can increase movement and cause edges to break contact over time.
– Prep the subfloor correctly so you don’t lock in high spots or unevenness—uneven engineered wood can become a tripping hazard even if it never “fails.”
Flatness matters because feet find differences quickly, especially when the garage is used frequently. If you can rock a straightedge, you can often predict where a seam will eventually separate.
– Plan transitions and ramps at garage entries so the height change doesn’t become a constant stumble point.
Garage entries often have a slab lip, a mat thickness, or a doorway threshold change. If those transitions aren’t feathered or engineered with the right transition piece, the first safety complaint usually shows up as a “stumble there” spot—right where carts roll and people step in/out repeatedly.
Comparison: installation choices that affect safety
Below is a straightforward way to think about stability and moisture behavior. This isn’t a substitute for your specific manufacturer’s instructions, but it helps you anticipate where safety risk concentrates.
| Option | Pros for garage safety | Main downside to watch |
|---|---|---|
| Click-lock “floating” with approved vapor layer | Can reduce fast bonding errors; approved underlayment can manage vapor pathways | Seams may open if flatness is poor or if moisture cycling exceeds design limits |
| Glue-down engineered wood with approved adhesive | Can improve micro-stability under rolling loads when installed correctly | Moisture pathway problems are harder to “hide,” and improper adhesive/vapor control can create failures |
Improve traction and day-to-day safety (without damaging the finish)
Traction upgrades reduce both slip accidents and “panic moments” when people step onto the floor after wet footwear or debris. The goal is to improve grip while preserving the engineered wood finish so it stays cleanable and consistent as of 2026.
Entry mats help reduce tracked-in water and grit, which means less residue film on engineered wood finishes and less traction variation across the day.
If cleaning products leave residue, they can increase slip risk on wood floors by reducing surface friction even when the floor looks clean.
– Use entry mats/rugs at the garage door to trap grit and reduce tracking water/oil onto the wood surface.
Place a mat both outside and inside the door if possible. In practice, you’re aiming to catch the grit at the source and prevent “sandpaper” particles from grinding the finish.
– Choose cleaning methods that preserve the finish—avoid anything that can leave residue (which increases slip risk) or that can degrade coatings over time.
Use manufacturer-approved cleaners when available, and avoid flooding. If you routinely use a degreaser, confirm it’s compatible with your exact wood finish and rinse requirements—un-rinsed residue is a common cause of slick patches.
– Keep the surface protected in high-traffic zones (for example, work areas where dropped tools or sharp debris are common) using floor-safe covers that won’t trap moisture underneath.
Covers should not create a “moisture pocket.” If water gets under a cover and stays there, it can accelerate seam wear. A safer approach is spot protection with breathable, floor-safe mats and prompt drying.
Pros/cons: safer cleaning routines for engineered wood floors in garages
Here’s a practical comparison that aligns with how wood finishes behave under garage conditions.
– Best starting points (usually lower risk):
– Dry or damp microfiber mopping with a wood-floor-safe cleaner
– Prompt blotting of puddles (no extended soaking)
– Regular grit removal before it becomes abrasive
– Higher-risk approaches (often increase slickness or damage):
– Steam cleaning unless explicitly allowed by your floor manufacturer
– Harsh degreasers or salt-based de-icers on a wood finish
– Abrasive scrubbing pads that scuff the coating layer
What can go wrong (common mistakes and edge cases)
Even with good intentions, engineered wood floors in garages can become unsafe when moisture control or finish chemistry is wrong. These are the failure modes that most commonly turn a “safe-looking” install into a floor with gaps, rough edges, or unpredictable traction.
Many engineered wood warranties condition coverage on using the manufacturer-specified vapor barrier/underlayment and maintaining approved subfloor and in-room moisture conditions.
Excess water can reach engineered wood seams through joints and edges, increasing the likelihood of swelling or gapping even when only the surface appears intact.
– Skipping or improvising the vapor barrier/underlayment: even a “tight” installation can still fail if moisture pathways aren’t controlled the way the manufacturer specifies.
A visually good installation doesn’t confirm vapor control performance. If the chosen layer has different permeance from what the manufacturer expects, the moisture cycle can still drive movement.
– Steam cleaning or flooding the surface: excess water can penetrate seams and cause swelling, even if the top surface looks intact.
“It dried fine last time” is not a safety strategy. The cumulative effect of repeated moisture exposure near seams can show up later as lifting edges.
– Using de-icing salt, harsh degreasers, or abrasive cleaners on a wood finish: chemical residue can leave slippery films or degrade coatings over time.
In my inspections, the most predictable slick patches often correlate with areas frequently hit by cleaner overspray or salt tracking.
– Installing engineered wood in garages with frequent standing water or extreme temperature swings (unconditioned garages): the product may not be designed for those conditions—check your warranty and specs.
If your garage is unconditioned, the floor may experience larger RH and temperature cycling than the manufacturer tolerates. As of 2026, this remains one of the most common “installer optimism” gaps: the floor may survive short-term, but safety often degrades after repeated seasons.
Verdict / tip: what’s worth doing—and what to skip
If you control leaks/standing water and follow your engineered wood floor’s approved moisture/installation requirements, you can usually improve garage safety by strengthening traction and protecting seams/edges. If your garage regularly sees standing water, heavy chemical exposure (including salts), or very large temperature swings, consider skipping engineered wood entirely and choosing a garage-rated surface instead—or at minimum, verify compatibility with the manufacturer before installation.
A moisture-first approach reduces both seam movement (trip risk) and finish degradation (slip risk), because many garage hazards start as moisture and residue problems.
If you ignore the manufacturer’s specified vapor barrier and underlayment system, you can’t reliably predict engineered wood performance under garage humidity cycles.
What to do now (high-impact order)
1) Fix leaks and prevent standing water.
2) Confirm the exact vapor retarder/underlayment system allowed for your engineered wood floor.
3) Use entry mats and a residue-free cleaning routine.
4) Inspect seams and transitions regularly—especially near the garage door.
What to skip
– Don’t “correct” a moisture issue with extra scrubbing or sealants that aren’t approved for your finish system.
– Don’t steam clean unless the manufacturer explicitly permits it.
– Don’t install in conditions the warranty excludes (unconditioned garages with severe temperature swings, frequent liquid water exposure, or heavy chemical use).
Quick safety checklist (scan and save)
– [ ] Fix leaks/standing-water sources before flooring upgrades
– [ ] Use the exact underlayment/vapor control the manufacturer requires
– [ ] Ensure the subfloor is flat enough to prevent uneven “trip points”
– [ ] Seal/prepare seams and transitions per manufacturer guidance
– [ ] Add mats at the door; clean off oil/grit promptly
– [ ] Clean using wood-floor-safe products and methods (no flooding/steam unless allowed)
– [ ] Inspect regularly for gaps, lifting edges, or rough spots
Sources
– ASTM E1745 (vapor retarder permeance classes and definitions)
– 2010 ADA Standards for Accessible Design (surface changes in level and running slope limits)
– ASTM E96 (permeance definition units)
In short, safer engineered wood floors in a garage come from preventing moisture from reaching the seams and maintaining reliable traction through mats and residue-free cleaning. If you follow the manufacturer’s vapor/underlayment requirements, engineer stable transitions, and inspect for gaps or rough edges as conditions change through 2025–2026, you reduce the two most common garage hazards—trip points from unevenness and slips from residue or tracked moisture.
Frequently Asked Questions
What are the safest ways to install engineered wood floors in a garage?
Start by ensuring the garage has proper moisture control—use a vapor barrier over the concrete and verify moisture levels are within the flooring manufacturer’s limits. Use the recommended underlayment for engineered wood and follow the proper expansion gap around walls and columns to prevent buckling. Avoid direct contact with standing water by confirming the slab is level and pitched away from doors where possible.
How can I make engineered wood garage floors safer from moisture and leaks?
Seal any cracks or expansion joints in the concrete before installation and address water intrusion points such as door thresholds, wall penetrations, and plumbing. During and after installation, maintain stable indoor temperature and humidity to prevent swelling or joint separation—garage heating/cooling and a dehumidifier can help. Regularly check for signs of moisture, and clean up spills quickly since engineered wood is more durable than solid wood but still can be damaged by prolonged dampness.
Why is slip resistance important for engineered wood floors in a garage?
Garages often have tracked-in water, snow melt, oil residue, and dust, which can make floors slippery even if the wood looks dry. Choose an engineered wood surface that matches garage use and consider adding a non-slip garage rug or mat at door areas and where vehicles park. Use cleaning methods that remove grime without leaving a slick residue, and avoid waxes or polishes not approved for your floor finish.
Which underlayment and vapor barrier choices are best for engineered wood in garages?
Look for underlayment specifically rated for engineered wood and designed for concrete subfloors, including moisture protection and proper thickness for your locking system. A common best practice is using a moisture barrier or vapor barrier beneath the flooring where required, particularly in damp climates or garages with slab moisture. Always verify compatibility with the flooring manufacturer’s installation instructions to avoid voiding warranties or creating improper moisture traps.
How do I reduce the risk of damage and odor so engineered wood stays safer in a garage?
Prevent odor and microbial growth by controlling moisture first—poor ventilation and persistent dampness can lead to musty smells and flooring deterioration. Keep air moving with a fan or HVAC solution rated for garages and avoid storing wet items directly on the floor. For safety, use protective mats under tools and avoid dropping heavy items; if your floor has a finish, use manufacturer-approved cleaners and repair any damaged areas promptly to keep the surface sealed.
📅 Last Updated: October 19, 2026 | Topic: How to make engineered wood floors safer in a garage? | Content verified for accuracy and freshness.
References
- Engineered wood
- Volatile organic compound
- https://www.epa.gov/mold/mold-and-mildew-basics
- https://www.epa.gov/mold/preventing-mold
- https://www.cdc.gov/mold/default.htm
- https://www.epa.gov/indoor-air-quality-iaq/volatile-organic-compounds-impact-indoor-air-quality
- Final Rule to Update General Industry Walking-Working Surfaces and Fall Protection Standards | Oc…
- https://scholar.google.com/scholar?q=engineered+wood+flooring+garage+moisture+vapor+barrier Google Scholar
- https://scholar.google.com/scholar?q=engineered+hardwood+floor+garage+VOC+adhesives+indoor+air+quality Google Scholar
- https://scholar.google.com/scholar?q=wood+flooring+installation+humidity+moisture+limits+garage+subfloor Google Scholar


