
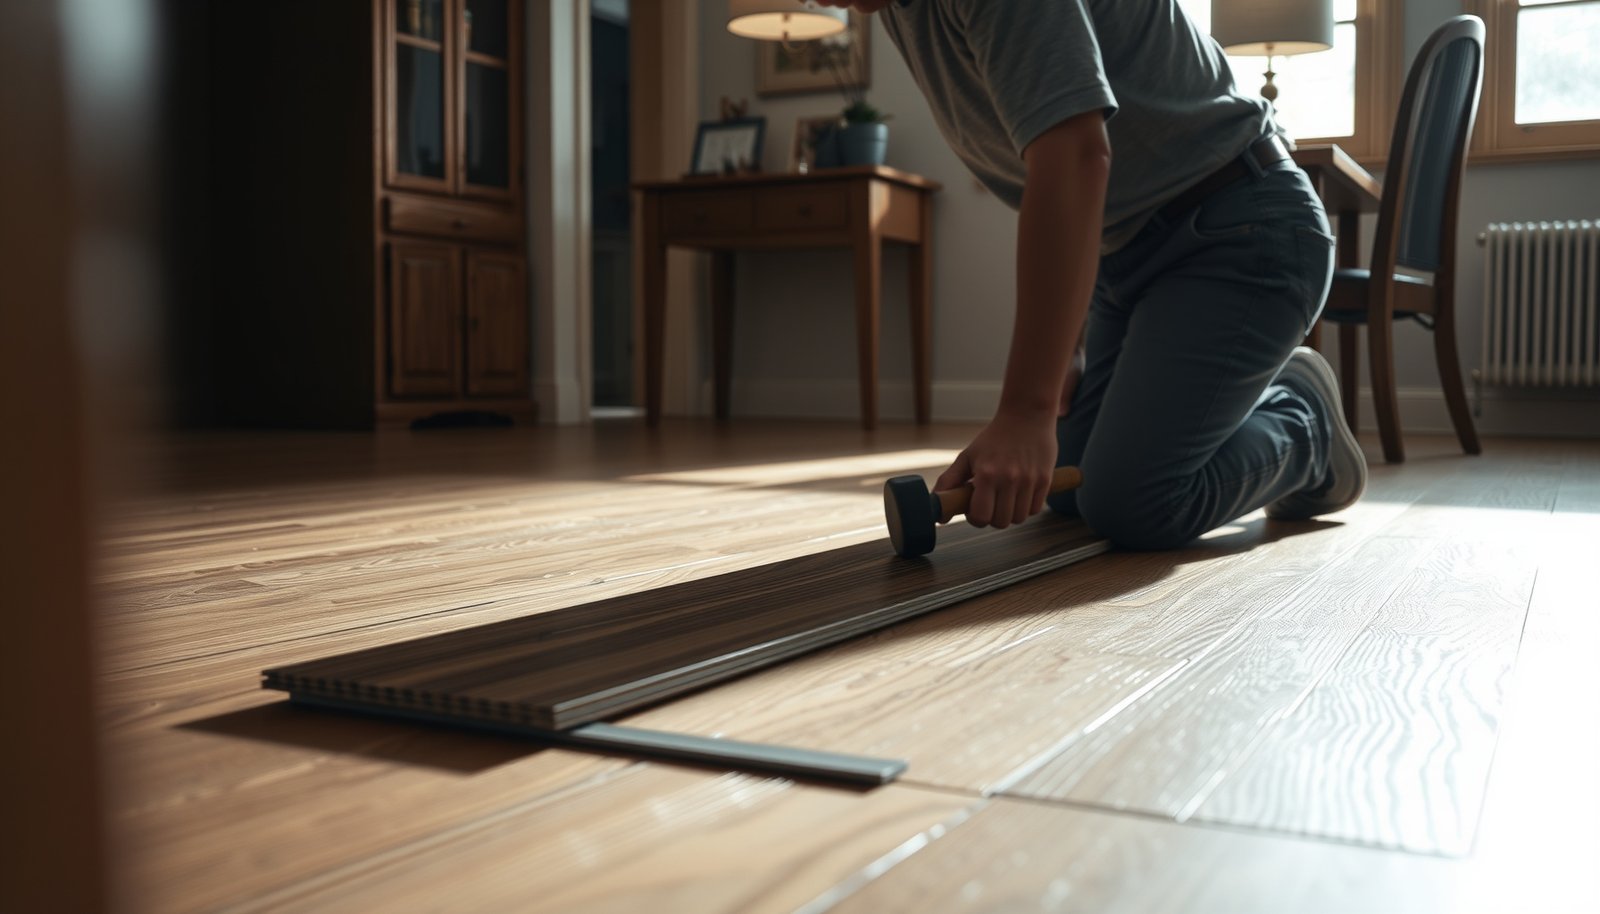

Learn how to install transitions around laminate floors in a dining room—without gaps, tripping hazards, or messy edges. This guide delivers the clear winning approach for matching transition profiles to your doorway and floor height, so the seams look tight and hold up under regular foot traffic. If you’re choosing between common trim types, you’ll get the exact steps to install the right one the first time.




Install laminate floor transitions by measuring the exact gap and height difference first, then fastening the transition to the subfloor (not the floating boards) so the laminate can still expand. When you do it in that order—layout → prep → correct profile → correct fastening—you avoid binding, visible steps, and edge wear in a high-traffic dining room.
If your dining room has laminate meeting tile, hardwood, carpet, or another room with a slightly different floor height, transitions are what prevent uneven edges and help cover the expansion gap. The steps below are for the common “floating laminate” setup where panels need room to move.
Choose the right transition type (match your floor changes)

Choose a transition profile that matches both the material you’re meeting and the height change at the seam. The fastest way to get a professional look is to treat “which floor is adjacent?” and “is the seam level or stepped?” as the two deciding factors—before you buy.
A transition for a floating laminate floor should cover the seam and expansion gap while allowing the laminate planks to move; fastening should be to the subfloor or base, not into the floating boards.
Many manufacturer installation guides emphasize selecting a profile (reducer, T-molding, end-cap, or stair nose) appropriate to the height difference at the joint, rather than forcing one profile to “make it work.”
As of 2026, the most common dining-room transition planning errors are mismatched profile height (visible steps) and improper fastening (laminate binding).
Identify the floor edge you’re transitioning to
Start by mapping every boundary in your dining room:
– Laminate to tile (often a reducer or matching-height profile)
– Laminate to hardwood (often T-molding or reducer, depending on height)
– Laminate to carpet (often an accessory transition designed to taper into carpet)
– Laminate to another laminate run (often a T-molding or flush transition depending on elevation)
Repeat this planning for each doorway and each “micro-joint” (like where flooring runs under a pantry opening).
Use the right profile for level vs. stepped height changes
A “flush/level” transition is intended for minimal height differences; a raised transition (or reducer designed for a gap) is intended to bridge a height step. If your adjacent floor is higher, you typically need a profile that drops down gradually; if your adjacent floor is lower, you typically need the profile that rises to match.
Confirm the transition system won’t lock the boards
Floating laminate systems rely on perimeter and seam expansion space, plus an underlayment that allows board movement. Some transition track systems (especially those with channels) can accidentally interfere with how planks expand if installed in the wrong place or if the track sits too high.
Before committing, confirm this detail in your exact manufacturer documentation for both:
– your laminate flooring (floating installation + expansion gap guidance)
– your transition profile/track system (fastening method + how it interacts with floating floors)
Transition-type comparison (quick selection logic)
| Feature | Reducer (flush/step bridge) | T-molding (centered joint cover) | End-cap / threshold-style cover | Carpet-to-hard surface transition |
|---|---|---|---|---|
| Height difference | Designed to bridge a level-to-step change | Used when a joint needs a centered cover, often bridging smaller elevation differences | Used for the free end (not a center splice) | Tapers or grips to meet carpet pile |
| Seam coverage | Covers the edge line while keeping a smooth step | Covers both sides of a centered gap | Protects a plank end against chipping | Prevents carpet edge fray and awkward chair strikes |
| Floating compatibility | Typically fastened to subfloor; confirm track height clearance | Typically fastened to subfloor/base; centered over the seam | Typically attached to the base at the end | Usually secured to the substrate, not into the floating boards |
| Dining traffic friendliness | Good chair-glide when the step is gradual | Good for frequent entry points (doorways) | Good for open-ended runs (alcoves/closets) | Good for chair transitions from carpet to hard flooring |
| Visual profile | Usually low-profile and smooth | Often most “intentional” looking at doorways | Sleek protective cap; can be very noticeable if color mismatched | Tapered transition line into carpet |
| Typical fastening method | Track or subfloor screws (system-dependent) | Screws/anchors through flange depending on model | Surface mount or base attachment | Surface mount with grip into carpet or underlay depending on design |
| Common mistake | Using flush reducer where a real step exists | Covering a seam that needs expansion space in another direction | Using an end-cap where you actually need a centered joint cover | Over-compressing carpet or leaving a gap you can catch a chair on |
| Best For | Bridging height changes smoothly | Doorways and centered seams | Protected plank ends against chipping | Carpet-to-laminate transitions without snags |
Measure and plan your expansion gap before you cut
Measure first—every transition decision depends on getting the expansion gap right. For floating laminate in 2026, the rule that prevents buckling is simple: the transition must cover the gap without physically pinching the boards.
Floating laminate installation requires maintaining an expansion space at the perimeter and at specified joints; covering that space with the correct transition prevents visual gaps without eliminating movement.
Measure both the doorway/joint width and the height difference between floors so the transition profile does not force the laminate into a tighter-than-permitted clearance.
Dry-fitting transition pieces before fastening is usually the difference between a seamless seam and a repair-worthy misalignment.
Locate the exact perimeter and end expansion gap
Your laminate manufacturer specifies the required expansion gap for:
– the perimeter around the room
– ends where laminate stops or meets another flooring system
Plan your transition location so it covers the seam and doesn’t shift your board edges into a too-tight clearance.
Measure the joint width and the distance between surfaces
In dining rooms, you often have:
– an entry doorway leading to hallways
– a kitchen threshold nearby
– a step down/up between rooms
Use a tape measure and feeler gauge (or shim stock) to measure the distance between the top surfaces of adjacent floors. Then measure the width of the joint you’re covering—especially if you’re working around a door jamb.
Dry-fit pieces and mark cut lines
Dry-fitting is where you “earn” a clean result:
– Place the transition profile near the seam
– Confirm the visible edges line up with the laminate face
– Mark cut lines on the profile (or planks) based on real placement—not guesswork
If you dry-fit and the profile pinches even slightly, that is a warning sign that your expansion gap plan needs adjustment.
Common Laminate Floating Expansion-Gap Conversions (Metric ↔ Inches)
| # | Gap (mm) | Gap (in) | Typical transition role | Chair-snags risk |
|---|---|---|---|---|
| 1 | 4 | 0.157″ | Minimal perimeter clearance; often needs exact compliance | ★☆☆☆☆ |
| 2 | 5 | 0.197″ | Small gaps; visible seams possible if profile doesn’t fully cover | ★★☆☆☆ |
| 3 | 6 | 0.236″ | Common “tight” clearance; transitions must fit precisely | ★★☆☆☆ |
| 4 | 8 | 0.315″ | Frequent “balanced” clearance when paired with matching profile coverage | ★★★☆☆ |
| 5 | 10 | 0.394″ | Roomier clearance; typically safer for seasonal movement | ★★★★☆ |
| 6 | 12 | 0.472″ | Higher clearance; needs transition with enough cover width | ★★★★☆ |
| 7 | 15 | 0.591″ | Very generous clearance; transition cover becomes critical for aesthetics | ★★★★★ |
Note: This table shows precise unit conversions and a practical “chair-snags risk” heuristic based on how tight seams tend to become when cover width is imperfect—not a manufacturer warranty.
According to NIST, 1 inch equals exactly 25.4 mm (1959).
Prep the subfloor and test-fit the transition
Prep is where transitions succeed or fail in a dining room. A flat, clean mounting surface ensures the transition sits correctly—without rocking that can create a catch for chair legs or casters.
For transition tracks and base-mount profiles, the subfloor must be firm and clean at the attachment zone so the hardware doesn’t loosen or tilt under dining-room traffic.
Dry-fitting lets you verify that the transition profile height matches the laminate face and that fastening points won’t push boards into the expansion gap.
When alignment is locked with fasteners, repositioning often requires patching; testing fit first is the lowest-cost fix.
Ensure the subfloor is flat, firm, and clean
Before you place any transition track or surface-mount trim:
– Remove dust and adhesive residue in the attachment area
– Check for high spots (they can lift one side of a transition)
– Check firmness—transition hardware needs a stable substrate
If your dining room includes old adhesive or patch compounds, address them before installing transitions. Unstable substrate is one of the most common causes of “uneven transitions.”
Dry-fit the transition profile to confirm height
Hold the transition profile at the seam and compare its top surface to:
– the laminate surface
– the adjacent flooring surface (tile/hardwood/carpet)
If the transition sits too high, chairs will catch. If it sits too low, you may see an edge and chip buildup.
Check alignment before fastening
Plan your fastening order so you can still adjust:
– Dry-fit and mark reference points
– Fasten one side, re-check alignment, then complete fastening
Fastening too early is how small layout errors become permanent.
Install transitions step-by-step (without pinning the laminate)
Install the transition using the exact fastening method specified for that profile system, while keeping the laminate’s movement space intact. In 2026, the “success formula” is consistent: attach to the subfloor/base, not to the floating boards.
Most transition systems are secured to the subfloor or base surface; securing into the floating laminate boards can restrict movement and lead to buckling.
Track-based transitions typically require attention to track height and placement so the floating laminate doesn’t bind against the profile during seasonal expansion.
A post-install walk test with chair legs and casters can quickly reveal a hidden lip that would otherwise become a recurring dining-room nuisance.
Follow your transition’s fastening method
Transition systems vary:
– Track systems: a track is screwed or anchored to the subfloor, and the cover locks later (system-dependent)
– Surface-mount trim: the base is attached to the floor/border, and the cover plate is installed on top
– Click-in or accessory systems: the profile snaps in, but the base still needs correct subfloor support
Install transitions at the right time
Most installers fit transitions after the laminate is laid so the profile can cover the exact seam location while maintaining proper clearance. However, some track systems require the track to be installed before the boards go in.
Use the manufacturer’s order-of-install instructions for:
– your laminate flooring system
– your specific transition/track profile
Keep the laminate’s movement space intact
The most important practical step is to verify you are not “pinching”:
– Do not push boards against a rigid track/edge
– Keep the expansion gap visible where required
– Ensure underlayment thickness doesn’t create a mismatch that forces compression at the seam
Walk-test the final transition with dining furniture
Because dining rooms are full of chair movement, you should test:
– chair legs sliding across the seam line
– rolling casters if you use them
– quick pivots near doorways
A transition that feels smooth for a foot can still snag a chair wheel at a slightly different angle.
Track-mounted vs surface-mounted transitions (parseable comparison)
| Criteria | Track-mounted | Surface-mounted |
|---|---|---|
| Typical use | Center seams and multi-floor joints | Edges/threshold areas and many doorway covers |
| Installation timing | Often requires track placement before/around board install | Often installed after laminate for precise seam coverage |
| Risk of binding | Higher if track height/position conflicts with floating clearance | Lower when base is correctly located and boards aren’t compressed |
| Subfloor flatness impact | Greater—track must sit correctly across the joint | Moderate—still sensitive, but often easier to align cover plate height |
| Best fit for chair traffic | Good when step profile is correct | Good when top lip is kept flush and not too tall |
| Rework difficulty | Often harder if track placement is off | Often easier to adjust by repositioning trim/base |
| Compatibility with underlayment variation | More sensitive to thickness changes at the joint | Still sensitive, but cover height can be easier to match |
| Fastener dependence | Track anchors define stability | Base attachment defines stability |
| Most common failure | Transition “pinches” or creates a lip due to clearance mismatch | Visible seam or edge wear from imperfect height matching |
| Best for DIY confidence | Only if you follow system instructions precisely | Often more forgiving for first-timers |
| Verdict | Choose when the manufacturer calls for the track method and you can keep clearance exact | Choose when you want simpler alignment and lower binding risk |
What can go wrong (and how to avoid it)
Transitions fail when the laminate is treated like a fixed floor system instead of a floating one. Most problems show up as movement-related issues (buckling or lifting) or traffic-related issues (chair snags and edge chipping).
If a transition pinches a floating laminate edge, seasonal expansion can cause buckling or separated joints.
Uneven subfloor conditions can create a “hinge” effect at one side of a transition, especially when track systems depend on a consistent mounting surface.
Choosing the wrong transition profile for the height difference can leave visible steps or a gap that becomes an abrasive chair-edge contact point.
Pinched edges
If your transition sits over a too-small expansion gap, the laminate can’t move. The result is typically:
– mid-joint lifting
– rubbing at the seam
– squeaks that worsen as materials acclimate
To avoid this:
– confirm your expansion gap requirement in the laminate manual
– confirm your transition system’s intended clearance behavior
Uneven transitions
Fastening onto a non-flat subfloor can create a lever action at the joint. In dining rooms, this becomes visible quickly because chairs constantly apply lateral force.
Fix by:
– removing high spots before install
– using leveling/patching where needed (and allowing cure time per product instructions)
Wrong profile choice
Using a flush transition when the adjoining floor is actually higher can create:
– a noticeable step
– a chair-catching lip
– edge abrasion at the laminate boundary
Solution: re-check the height difference and swap to the correct profile type rather than “compressing” to fit.
Verdict: when this DIY approach works (and when to skip it)
A DIY laminate-transition installation works well when you can measure accurately, keep a consistent expansion gap, and use the correct fastening method for your transition system. Skip DIY (or involve a pro) when the subfloor is significantly uneven, movement is unpredictable, or the transition involves complex custom thresholds where alignment is hard to recover after fastening.
If you can’t maintain the laminate’s movement space because the transition mounting conflicts with the floating system, the safer choice is a qualified installer following the manufacturer’s method.
When dealing with old slab conditions, hidden debris, or difficult doorway geometry, subfloor preparation and precise transition placement often determine the final outcome more than the profile brand.
From a practical standpoint, the two “I would call a pro” triggers are:
1) Subfloor uncertainty: if you suspect widespread unevenness, moisture issues, or problematic adhesive remnants
2) Complex geometry: irregular door jamb heights, multiple floor level changes within a short run, or unusually tight clearances
Quick checklist (scan before you start)
– Confirm the laminate is a floating installation and you have the required expansion gap.
– Identify the correct transition type for the floor meeting point.
– Measure the gap/doorway width and dry-fit transition pieces.
– Prep subfloor: flat, clean, and solid where the transition attaches.
– Install using the transition’s specified fastening method—don’t pinch laminate edges.
– Walk-test with chair legs/casters if applicable to ensure no catches.
The simplest success test for laminate transitions is a chair-leg/caster walk test—if it catches once, it will catch repeatedly.
Correct expansion-gap planning prevents the most common transition failure: buckling caused by restricted movement at seam edges.
Sources
In the end, the cleanest laminate transition around dining-room seams comes from disciplined planning: pick the right profile for the height change, measure and preserve the expansion gap, prep a flat mounting surface, and fasten the transition to the substrate—not the floating boards. If you do those steps in order and verify the seam with real chair/caster traffic, you’ll get the professional look you want without risking buckling or annoying catches in daily use.
Frequently Asked Questions
What is the best transition type for laminate flooring in a dining room?
The best transition depends on what your laminate meets—tile, carpet, hardwood, or another laminate height. For dining rooms, a flush “T-molding” or a reducer is often preferred when the surfaces are at similar heights, since it reduces trip risk under chairs and traffic. If you have a height difference, use a “reducer” transition to smoothly blend levels without stressing the laminate edge. Always match the transition profile to the floor heights to keep movement and gaps minimal.
How do you install a transition strip between laminate flooring and tile in a dining room?
Start by checking the laminate expansion gap along the perimeter and between flooring areas so the transition doesn’t pinch the planks. Test-fit the transition strip and confirm the tile and laminate height alignment; use a reducer if there’s a difference. Install the base/track (if the strip has one) according to the manufacturer, ensuring it’s level and secured to the subfloor, not the laminate. Finally, lay the laminate up to the transition leaving the recommended expansion space, then snap or screw down the top cap for a tight, clean edge.
How can I trim laminate flooring so it fits perfectly under a doorway or threshold transition?
Measure the opening carefully and mark the plank so the transition can cover the cut edge cleanly while still respecting the laminate’s expansion gap. Use a fine-tooth jigsaw or table saw blade rated for laminate to reduce chipping, and dry-fit multiple times before fastening anything. If the threshold requires a clean straight line, use a guide or straightedge to keep the cut square. Leave the correct gap at the edges even near doorways, since transitions can’t replace required expansion space.
Why do transitions around laminate floors sometimes lift or create gaps, and how do I prevent it?
Lifting and gaps usually happen when the transition is fastened too tightly, when the expansion gap is blocked, or when the subfloor isn’t flat. In a dining room, frequent chair movement and heavy traffic can expose poor alignment, especially if the transition isn’t anchored securely. To prevent issues, install transitions to the subfloor (where required), keep the laminate’s perimeter gap clear, and ensure the floor is level before installation. Using the correct transition size and fastening method for your specific laminate system also helps maintain a smooth joint over time.
Which tools and materials do I need to install laminate floor transitions neatly and securely?
Plan on having a tape measure, pencil/marker, utility knife, spacers for the expansion gap, and a saw suited for laminate (often a jigsaw or fine-tooth table saw blade). You’ll also need the correct transition track or base (if included), screws/nails recommended by the transition manufacturer, and a straightedge for accurate cuts. For clean results, use a pry bar or tapping block for fitting the laminate close to the transition area without damaging edges. Finally, keep a level and possibly a flush-cutting tool on hand to ensure the transition sits flat for a professional look.
📅 Last Updated: October 20, 2026 | Topic: How to install transitions around laminate floors in a dining room? | Content verified for accuracy and freshness.
References
- Laminate flooring
- Threshold
- MohawkFlooring
- https://www.armstrongflooring.com/commercial/en-us/support/install.html
- https://scholar.google.com/scholar?q=laminate+floor+transition+strip+installation Google Scholar
- https://scholar.google.com/scholar?q=laminate+floor+expansion+gap+threshold+doorway+installation Google Scholar
- https://scholar.google.com/scholar?q=laminate+flooring+transition+reducers+between+rooms+installation+guide Google Scholar


