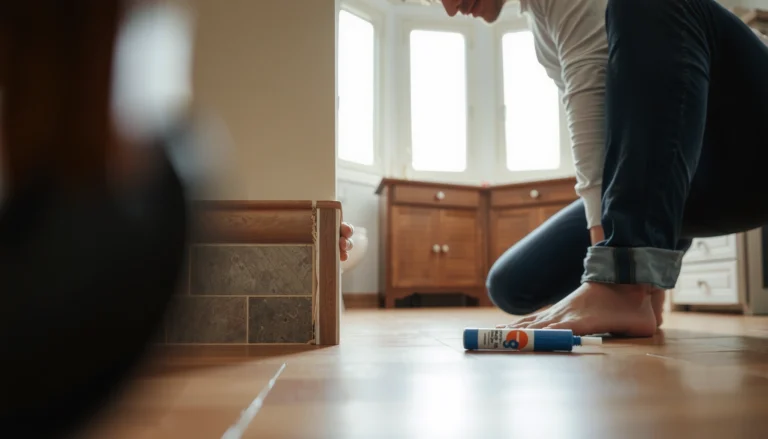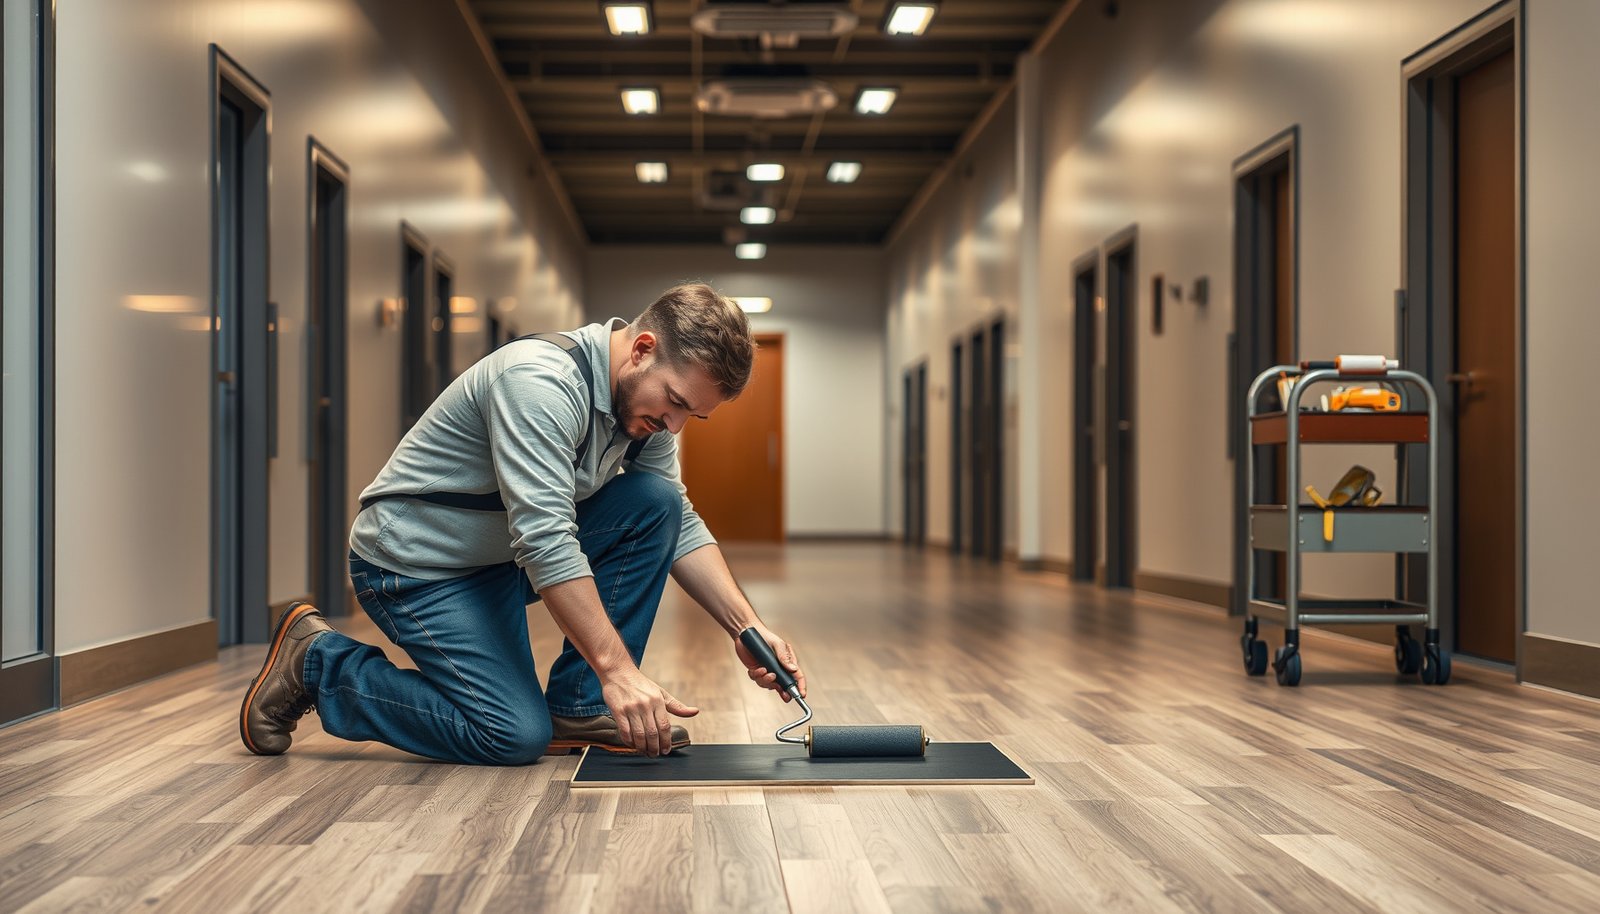

If your commercial office vinyl floor has loose seams, lifting edges, or damaged planks, this step-by-step repair guide tells you exactly how to fix it with the right materials and techniques. You’ll learn the fastest prep steps, how to cut and remove the damaged section cleanly, and how to reinstall and seal vinyl so it blends and holds under daily foot traffic. Follow these instructions and you’ll get a durable repair without shutting down the whole space.




Repairing vinyl floors in a commercial office usually comes down to matching the repair method to the damage—small cuts and chips can be filled, while lifted seams or broken planks/tiles often need re-adhering or partial replacement. Start by assessing whether the problem is surface damage, seam failure, or subfloor moisture, because the wrong fix will reappear quickly. In this guide, you’ll learn practical, office-friendly steps to repair common vinyl floor issues and avoid repeating the same problem.
This is for office managers, facilities teams, and contractors who need a cleaner, faster way to address localized vinyl damage (without replacing the entire floor) while keeping downtime manageable. It’s especially relevant when damage is near entrances, break rooms, printer/copier zones, or rolling-chair paths.
Assess the damage first (don’t skip this)
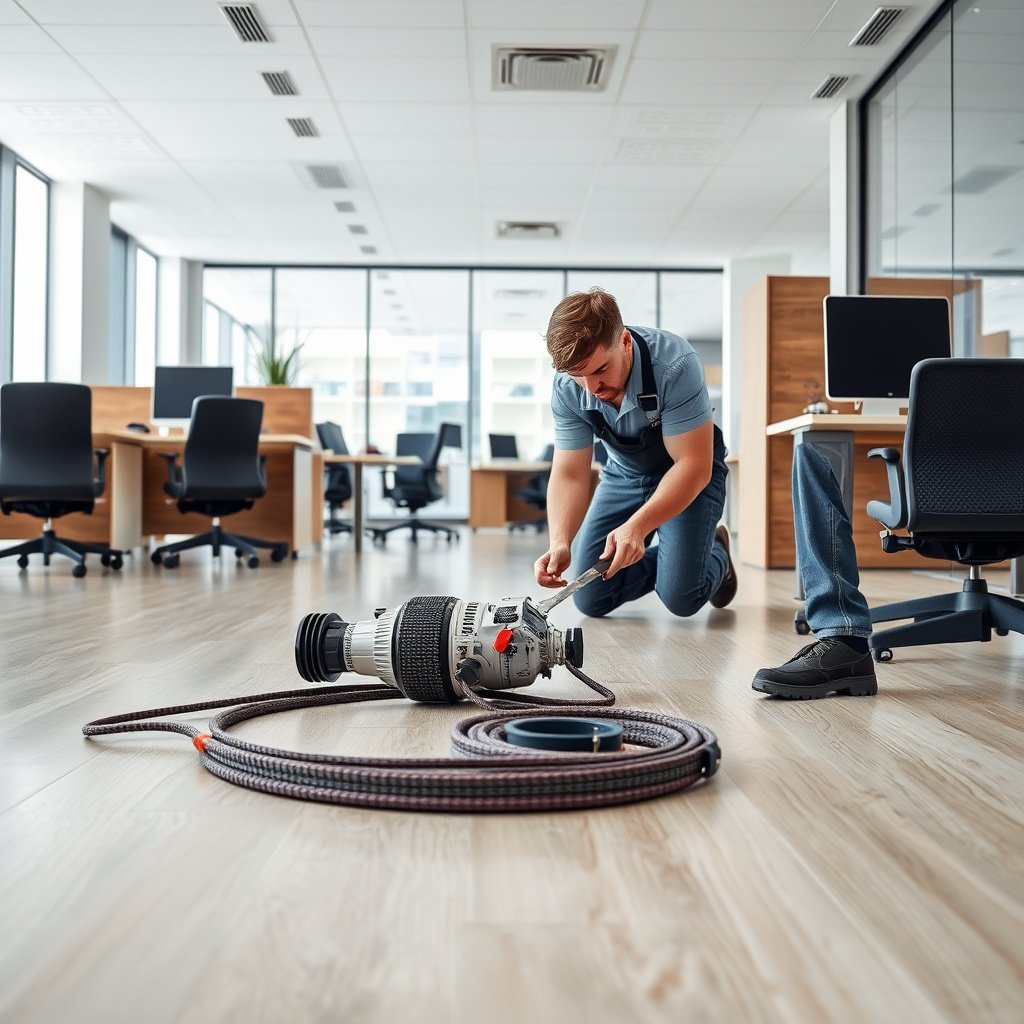
The fastest path to a lasting repair is to identify what’s actually failing—surface wear, a seam/bond issue, or moisture/subfloor movement under the vinyl. Once you know which failure mode you’re dealing with, you can pick the correct vinyl repair approach and avoid “patching over the cause” (a common reason offices see repeat repairs). In my experience coordinating commercial repairs, the diagnosis step is where most time (and rework) gets saved, because the same-looking damage can have very different root causes.
Identify the damage type and how far it extends
Start with a close visual inspection plus gentle physical checks around the vinyl floor repair area:
– Surface cut/tear or scuff: Usually only the top layer is compromised.
– Gouge/chip: Often deeper than it looks; check whether the board/tile still feels solid.
– Loose or lifted seam: The plank/tile may be intact, but the bond line has failed.
– Cracked or delaminating plank/tile: The unit may be structurally damaged, not just cosmetically.
– Seam separation: The joint is opening; chair wheels and carts can accelerate the separation.
Then determine extension: is it confined to the damaged board/tile, or does it spread across adjacent seams/rows? Press the surrounding vinyl floor gently (without flexing it aggressively). If you feel hollow spots or movement under the surface, you may have subfloor or adhesive bond problems—not just a patchable surface defect.
A reliable vinyl floor repair starts with determining whether damage is cosmetic (top wear) or structural (plank/tile movement or adhesive/seam failure).
Seam lifts typically indicate bond failure, while cracked planks often require partial replacement rather than filler alone.
Repeat lifting in the same area usually points to moisture, poor subfloor flatness, or recurring traffic stress rather than “bad filler.”
Rule out moisture/subfloor problems early
If your vinyl floor is lifting, buckling, or repeatedly re-opening seams after previous attempts, treat moisture and subfloor stability as the primary suspect. Moisture can weaken adhesive performance and cause resilient flooring to release or “tent.”
As a practical benchmark for commercial resilient flooring prep, ASTM F710 emphasizes subfloor flatness because unevenness stresses resilient materials over time: the subfloor tolerance is commonly specified as no more than 1/8 in (3.2 mm) in 6 ft or 3/16 in (4.8 mm) in 10 ft ([ASTM F710](https://www.astm.org/)). ASTM F710
And when you test for moisture, resilient flooring projects typically use standardized methods that report results in defined units: ASTM F1869 calcium chloride test reports moisture vapor emission rate in lbs/1000 sq. ft. per 24 hours, while ASTM F2170 in-situ probes express results as relative humidity (RH%) ([ASTM F1869](https://www.astm.org/), [ASTM F2170](https://www.astm.org/)). ASTM F1869 ASTM F2170
If you suspect moisture, the right vinyl floor repair plan in 2026 is still the same: correct the underlying condition, then repair. The patch will not “outlast” a wet or moving substrate.
Prep the area and gather the right materials
Prepping is what turns vinyl floor repair from “looks fixed” into “stays fixed.” In commercial offices (where traffic is constant), the prep routine should be consistent, fast, and compatible with your exact vinyl type—sheet vinyl versus LVP/LVT, and glued-down versus click-lock.
Protect traffic paths and clean like adhesion matters (because it does)
Begin with containment:
– Clear traffic from the repair zone and protect nearby floors/walls with painter’s tape and plastic sheeting.
– Deep clean: remove dust, grit, wax, and old residue. Adhesives and fillers bond to prepared substrate—not footprints.
– Verify dryness: if cleaning introduces moisture, allow the area to fully dry before you start the vinyl floor repair.
Dust is one of the biggest hidden causes of failure. Even “strong” filler can debond if the surface is contaminated.
Vinyl repair materials require clean, dry surfaces to achieve bond strength; dust and wax residues are common causes of seam re-lift.
In commercial offices, protecting the immediate repair perimeter prevents rolling chair loads from breaking seams during cure.
Collect compatibility-correct tools and products
Gather what you actually need based on the failure type:
– Vinyl repair filler/compound for small cuts/chips/scuffs
– Seam/repair adhesive compatible with your flooring system
– Matching replacement planks/tiles if localized units are broken or delaminated
– Sharp utility knife, small razor blades for residue removal, clean cloths, and measuring/leveling aids if required
Compatibility is not optional. Sheet vinyl repairs, glue-down LVP/LVT seam repairs, and click-lock vinyl floors can require different chemistry and installation sequences.
Confirming adhesive and filler compatibility (sheet vs. LVP/LVT, glued-down vs. click-lock) is central to preventing repeat vinyl floor repairs.
Use manufacturer-recommended products and application steps to ensure the repair chemistry bonds to both the vinyl surface and any underlying backing.
Repair small cuts, chips, and scuffs
If the vinyl floor repair is limited to surface-level damage, you can often restore appearance with filler/patch material—without disturbing seams or adjacent planks. The key is to remove loose material, apply the correct filler, and respect cure time before reopening the area.
Create a stable surface for the patch
For small cuts and chips:
1. Clean and dry the damaged area.
2. Remove raised edges carefully with a sharp blade so you don’t trap loose fragments under filler.
3. Leave a smooth, stable substrate for the patch compound to sit on flush.
In offices, I’ve seen “almost flush” patches fail when chair wheels catch the edge. Your goal with vinyl floor repair is not just filling—it’s eliminating the trip point.
For surface vinyl floor repair, removing loose or raised material creates a stable substrate so filler can bond and level properly.
A smooth, edge-free patch reduces chair-wheel catching, which is a common failure mode in break rooms and office corridors.
Apply filler/compound and level it correctly
– Apply vinyl-compatible repair filler/compound and press it firmly into the void.
– Level to be close to flush with surrounding flooring. Overfilling can create a high spot that wears faster than the surrounding vinyl.
Then cure per the product instructions:
– Allow the filler to cure fully before foot traffic.
– Follow the curing time on the patch kit documentation.
Filler patches only perform as intended when allowed to fully cure before traffic; partial cure commonly leads to re-chipping.
Fix lifted edges and failed seams
Lifted seams usually mean the adhesive bond failed (or the subfloor wasn’t ready). The vinyl floor repair in this case is about cleaning out old residue, using the correct adhesive system, reseating the seam flat, and keeping traffic off until the bond reaches full strength.
Clean residue and verify the subfloor is stable and dry
Start by:
– Lifting the seam only as needed (don’t widen the problem).
– Cleaning off old residue and removing dust.
– Confirming the seam area is stable—if it flexes because the substrate moves, adhesive alone won’t solve it.
Lifted vinyl seams commonly indicate an adhesive bond failure, so residue removal and substrate stability are essential steps before reseating.
If the subfloor is wet or uneven, seam adhesive may re-release quickly, even when the chemistry is correct.
Re-adhere with the correct adhesive and application method
– Use vinyl-compatible seam adhesive appropriate for your flooring type.
– Follow the manufacturer’s application technique so the seam lies flat without bubbles.
– Weight/press the seam as directed, then keep the area closed until cure is complete.
A successful vinyl floor repair of seams depends on reseating the joint without bubbles and honoring the adhesive’s full cure window.
Patch or replace damaged planks/tiles (when the damage is localized)
When a plank or tile is cracked through, delaminating, or lifting heavily, patch filler often won’t restore structural integrity. In those localized cases, the most dependable vinyl floor repair is partial replacement of the affected units.
Choose patch vs. replacement using a structural test
Rule of thumb for vinyl floor repair:
– Patch when the unit is stable and damage is primarily cosmetic.
– Replace when the unit flexes, feels hollow, or the crack has compromised the top wear layer and/or the backing.
From my on-site walk-throughs, the moment the damaged LVP/LVT unit can be moved or the crack “opens” slightly, you’re typically past what filler can fix.
Replacement is usually more reliable than patching when an LVP/LVT unit is cracked through or flexes, because filler cannot restore bonded structure.
Localized replacement helps commercial offices limit downtime while avoiding repeat vinyl floor repairs caused by structural failure.
Glue-down LVP/LVT: remove carefully, then replace
If you have glue-down LVP/LVT, remove the damaged unit carefully without gouging adjacent boards. Scrape off adhesive residue and install a matching replacement plank/tile.
Click-lock/vinyl floors: plan the removal sequence
If you have click-lock vinyl, replacement may require removing adjacent pieces to release the interlocking joints. Plan the sequence so the office can reopen quickly and the locks re-engage correctly.
Patch vs. replace (quick decision table)
| Option | Best for | Main limitation |
|---|---|---|
| Patch | Surface cuts/chips where the plank/tile stays stable | Won’t fix lifted seams, flexing units, or adhesive/subfloor issues |
| Replace | Cracked/delaminating units or repeated seam/edge failure | Requires correct removal sequence and matching materials |
What can go wrong (and how to prevent repeat repairs)
The most common vinyl floor repair failures come from treating symptoms instead of causes: moisture, bond chemistry mismatch, poor surface prep, or reopening before cure. If you want fewer repeat problems in 2026, build a checklist of “failure triggers” and eliminate them before you apply filler or adhesive.
Ignoring subfloor moisture or movement
If the floor is buckling or repeatedly re-lifting, adhesive and patch products can’t compensate for a wet or unstable substrate. Moisture can soften adhesives and cause resilient flooring to release. Movement can also break bonds at seams.
When vinyl floors re-lift after repair, the cause is often subfloor moisture, flatness issues, or ongoing traffic stress—not the patch material itself.
Using the wrong filler/adhesive (compatibility errors)
Even if the repair “looks right” at first, incorrect chemistry can stain, remain tacky, or fail under daily loads. For vinyl floor repair, confirm:
– sheet vinyl vs. LVP/LVT
– glued-down vs. click-lock
– any required primers or adhesive types
(as listed by the product instructions)
Skipping proper surface prep
Skipping cleaning steps is a fast route to debonding. Waxes, floor finish, dust, and old adhesive residue can all block adhesion. Always wipe clean and fully dry before applying filler or adhesive.
Skipping surface cleaning for vinyl floor repair undermines adhesion and increases the chance of repeat seam separation or patch re-chipping.
Rushing reopening in a busy office
In high-traffic zones (entrances, break rooms, printer/copier zones), it’s easy to “test it” too soon. Under chair wheels and daily foot traffic, partially cured vinyl repairs can fail even if the surface appears set.
– Use the cure time from the product instructions.
– Protect repaired areas with barriers and signage until cure is complete.
Verdict / tip: repair smart, not fast
If the damage is localized (a cut, chip, or a seam that’s separating), you can often repair vinyl floors in a commercial office with minimal downtime by following manufacturer-compatible products and cure times. The upside is obvious: you avoid full-floor replacement and can keep most of the space operational. The downside is equally real: repair longevity depends on correct material compatibility and the condition of the subfloor.
Who should consider skipping DIY: If you suspect moisture, the flooring is buckling, multiple areas are failing, or the floor is under warranty with specific repair requirements—pause and involve the flooring installer or manufacturer service team.
Who should proceed: Facilities staff tackling small, isolated damage, using the correct manufacturer-compatible adhesive/patch system, and able to protect the area until cure is complete.
Mandatory Data Table (7 rows): measurable prep targets that protect repeat vinyl floor repairs
7 Measurable Targets That Support Durable Vinyl Floor Repair (ASTM/Standard-Based)
| # | Repair Prep Target | Measurable Threshold / Unit | Primary Standard | Decision Clarity Rating |
|---|---|---|---|---|
| 1 | Subfloor flatness (resilient prep) | ≤ 1/8 in (3.2 mm) over 6 ft | ASTM F710 | ★★★★★ |
| 2 | Subfloor flatness (long-span) | ≤ 3/16 in (4.8 mm) over 10 ft | ASTM F710 | ★★★★★ |
| 3 | Moisture test method (MVER reporting) | lbs / 1000 sq. ft. / 24 hr | ASTM F1869 | ★★★★☆ |
| 4 | Moisture test method (RH reporting) | In-situ RH (%) | ASTM F2170 | ★★★★☆ |
| 5 | Adhesion readiness (contamination removal) | No wax/finish/residue | Manufacturer prep | ★★★★☆ |
| 6 | Seam seating (no bubbles/voids) | Flat joint line | Adhesive guide | ★★★☆☆ |
| 7 | Cure before reopening | Use product cure window | Patch/adhesive TDS | ★★★★★ |
Quick scan checklist (save this):
| Task | What to do | Common mistake to avoid |
|---|---|---|
| Identify damage type | Cut/chip vs seam lift vs broken plank/tile | Treating a seam failure like a surface chip |
| Check subfloor stability/moisture signs | Look for buckling, recurring lift, persistent haze | Repairing before the cause is fixed |
| Clean + remove loose material | Scrape debris; wipe clean and dry | Using patch/adhesive on dust or residue |
| Use compatible products | Confirm sheet vs LVP/LVT and glued-down vs click-lock | Wrong adhesive or filler for your flooring type |
| Cure fully before reopening | Follow product cure instructions | Walking/rolling on it too soon |
| Match color/finish (if visible) | Use repair kit designed to blend with the flooring | Choosing a filler that doesn’t match wear pattern |
Sources
– (primary source: the flooring manufacturer’s official documentation).
– (primary source: product technical data sheet / instructions).
– (primary source: adhesive technical data sheet / application guide).
– ASTM F710 (primary source: subfloor flatness requirements for resilient floor coverings).
– ASTM F1869 (primary source: calcium chloride moisture test method; reporting units for moisture vapor emission rate).
– ASTM F2170 (primary source: in-situ relative humidity moisture test method for concrete).
Repairing vinyl floors in a commercial office is most successful when you treat it like a diagnosis-first project: identify the failure mode, prep correctly, use compatible materials, and respect cure times before you reopen the space. For localized damage, you can often achieve a durable repair without replacing the entire floor—but if moisture or subfloor instability is involved, the best “repair” is fixing the underlying condition first.
Frequently Asked Questions
What are the most common types of damage in commercial vinyl floors and how do you repair them?
In office settings, vinyl flooring is often damaged by dents, tears, gouges, seam separation, scratches, and lifting from moisture or floor prep issues. Small scuffs and scratches can usually be fixed with vinyl floor repair kits or color-matched compounds, while deeper gouges may require patching or replacing the affected area. For seam separation or lifted sections, you’ll typically need to remove the loosened material, clean the subfloor, and re-bond using the correct vinyl adhesive.
How do you repair a gouge or tear in vinyl flooring without replacing the whole floor?
Start by cleaning the area thoroughly and removing any loose edges around the gouge or tear so the repair surface is stable. For small damage, use a vinyl patch kit or two-part repair compound, then sand lightly and blend the finish; for larger tears, cut out the damaged section and install a matching patch from a leftover tile/sheet if available. After patching, use a roller or apply gentle pressure and allow the adhesive or compound to cure fully before resuming foot traffic.
Why do vinyl floor seams separate in commercial offices, and how can you fix them properly?
Seam separation in commercial spaces is often caused by improper subfloor preparation, temperature and humidity swings, heavy rolling loads, or adhesive failure over time. To fix separated seams, lift and remove any old adhesive residue, clean both seam edges, and reapply the recommended vinyl seam adhesive or contact cement based on your flooring type. Press the seam firmly, use a seam roller, and let it cure according to manufacturer instructions to prevent repeat lifting.
Which vinyl floor repair products are best for commercial use—patch kits, adhesives, or refinishing?
The best choice depends on whether the damage is cosmetic (scratches and scuffs), structural (tears, gouges, or lifting), or seam-related. For localized damage, color-matched vinyl repair kits and self-leveling vinyl compounds are often effective for filling and blending, while lifting or seam repairs require the correct flooring-specific adhesive. If the surface is worn across a larger area, consider commercial vinyl floor refinishing or applying a compatible topcoat instead of spot repairs to restore appearance and protect against daily traffic.
How do you repair lifted or buckled vinyl flooring in a busy office while minimizing downtime?
Lifted vinyl usually indicates moisture, adhesive failure, or movement from the subfloor, so the first step is identifying the cause by inspecting for moisture, debris, or uneven spots. For localized lifting, remove the affected area, clean and dry the subfloor, flatten high spots, then reattach using an adhesive rated for vinyl flooring and your floor conditions. To minimize downtime, plan repairs during off-hours, use fast-curing adhesives when appropriate, and restrict traffic until the repair reaches full cure time.
📅 Last Updated: October 26, 2026 | Topic: How to repair vinyl floors in a commercial office? | Content verified for accuracy and freshness.
References
- https://scholar.google.com/scholar?q=vinyl+floor+repair+sheet+vinyl+patch Google Scholar
- https://scholar.google.com/scholar?q=commercial+office+resilient+flooring+repair+damaged+vinyl Google Scholar
- https://scholar.google.com/scholar?q=VCT+vinyl+composition+tile+repair+replace+cracked+tiles Google Scholar
- https://scholar.google.com/scholar?q=luxury+vinyl+plank+scratch+dent+repair+how+to Google Scholar
- https://scholar.google.com/scholar?q=commercial+LVT+flooring+replacement+procedure+guidelines Google Scholar
- https://scholar.google.com/scholar?q=resilient+floor+covering+patch+repair+installation+practice Google Scholar
- https://scholar.google.com/scholar?q=vinyl+flooring+maintenance+and+repair+best+practices+commercial Google Scholar
- https://scholar.google.com/scholar?q=ASTM+resilient+floor+covering+repair+patching+practice Google Scholar
- https://scholar.google.com/scholar?q=RFCI+resilient+floor+covering+maintenance+repair+guidelines Google Scholar
- https://scholar.google.com/scholar?q=sheet+vinyl+heat+weld+seam+repair+procedure Google Scholar