
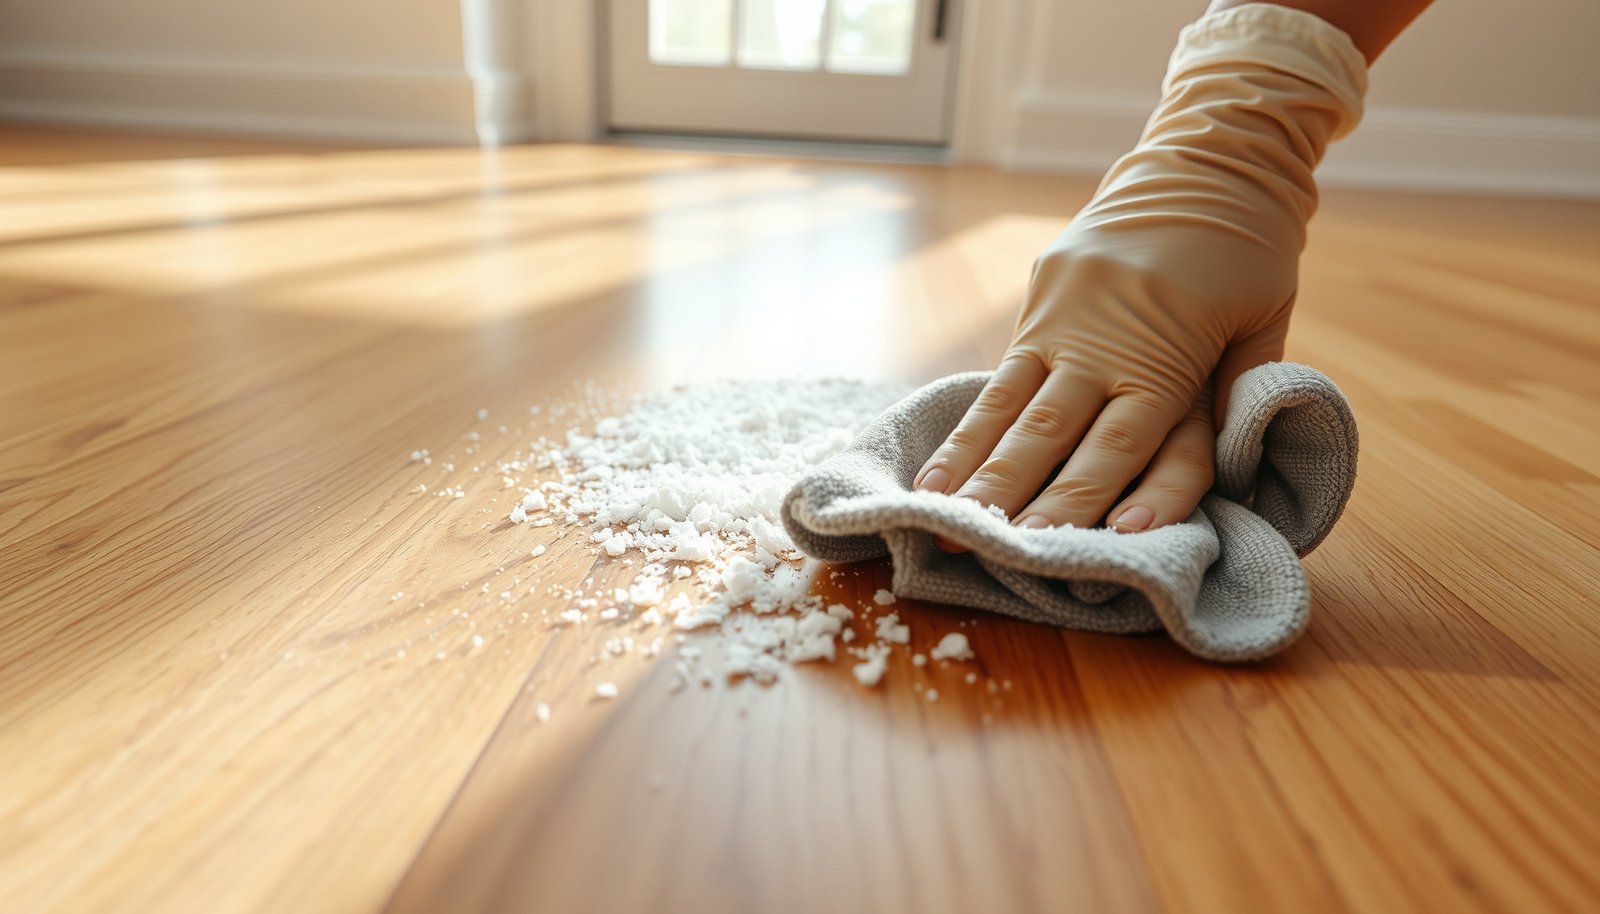

Salt residue on hardwood floors is safest to remove by dissolving it with clean, warm water, rinsing away the dissolved salts, and drying immediately—then addressing any remaining dullness with a hardwood-safe cleaner. Avoid soaking or wet-mopping, because standing water can damage the finish and swell wood; this is especially important as of 2026 when winter tracking is most common.


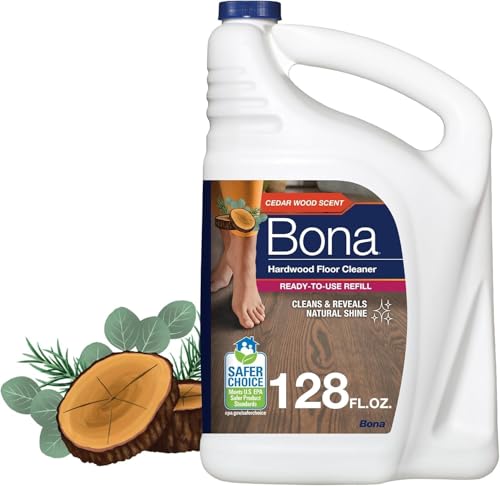
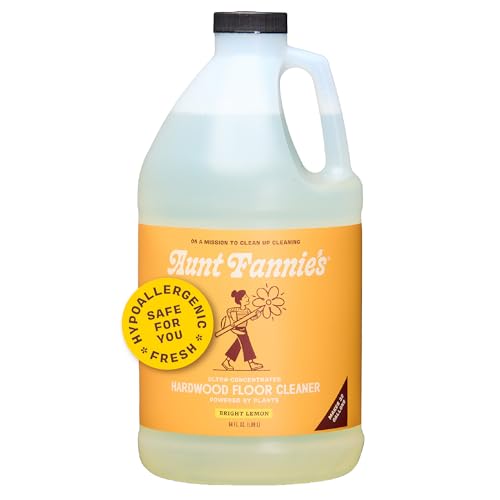
If you’ve tracked in road/entry salt, seen white crusty spots near doors, or noticed streaking after winter melt, this step-by-step sequence helps you clean without stripping the finish or making the sheen worse. You’ll learn the safest order of operations, what materials to use, and how to prevent salt marks from coming back.
This is for you if you’ve tracked in road/entry salt, dealt with white crusty spots near doors, or noticed streaking after winter melt. It’s especially useful when you want to clean hardwood without stripping or worsening the sheen.
Quick prep before you scrub
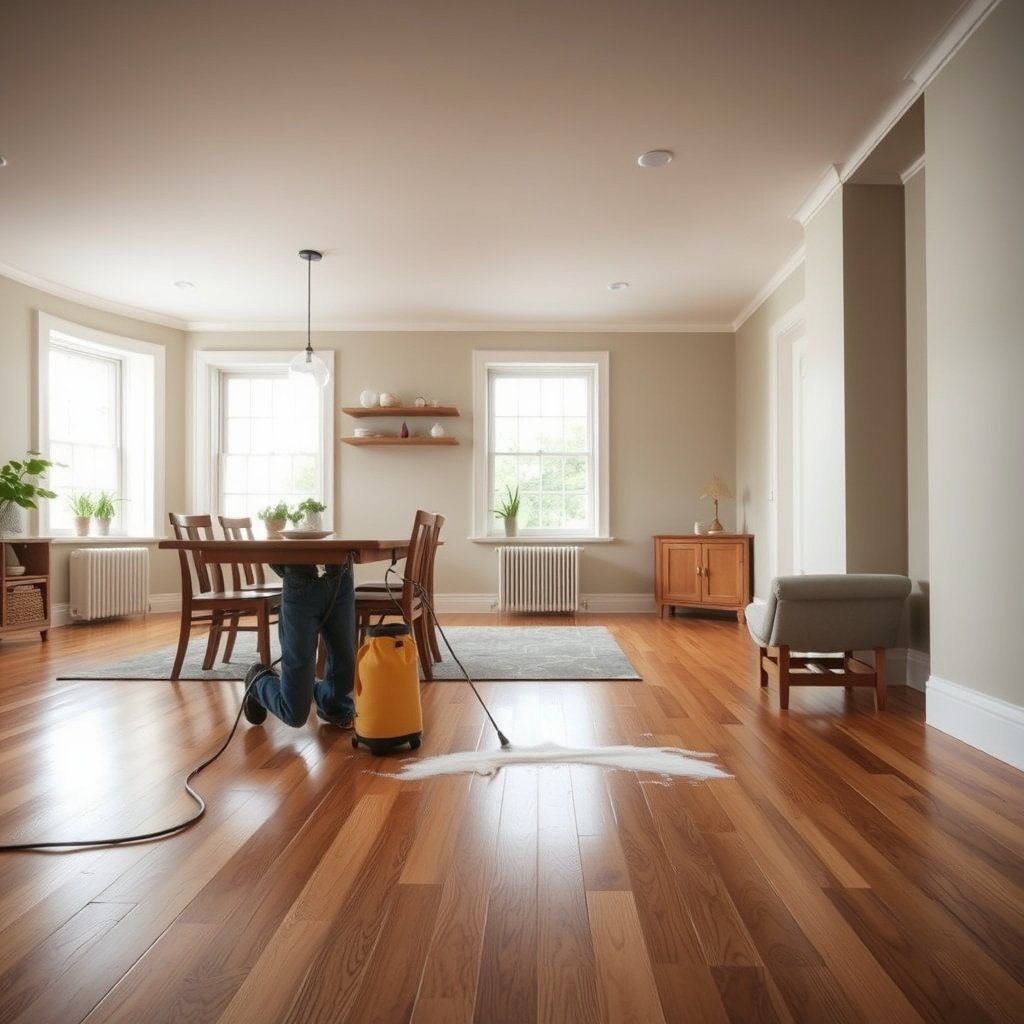
The goal here is to remove loose grit first so you don’t grind salt crystals into the finish—this is the fastest way to prevent permanent scuffs on hardwood. For best results (and to keep repairs from turning into refinishing), prep matters as much as the cleaning product.
– Sweep or vacuum loose salt crystals so you don’t grind grit into the finish.
– Use a soft-bristle broom or a vacuum attachment with a brush head; stop if you notice the crystals are stuck to a soft, peeling area of finish.
– Check whether the residue is raised/crusty or just a whitish haze, so you know whether you’re dissolving or lifting.
– Crusty, raised spots are usually salts or brine residue that have crystallized.
– A flatter white haze is often dissolved salts left behind after prior cleaning, or light finish dulling from repeated moisture exposure.
Safe removal steps for salt residue
The safest approach is a “dissolve → rinse → dry” sequence, because salt residue is water-soluble and the residue that stays behind is what causes re-spotting. As of 2026, this is still the recommended moisture-controlled method across most flooring care practices.
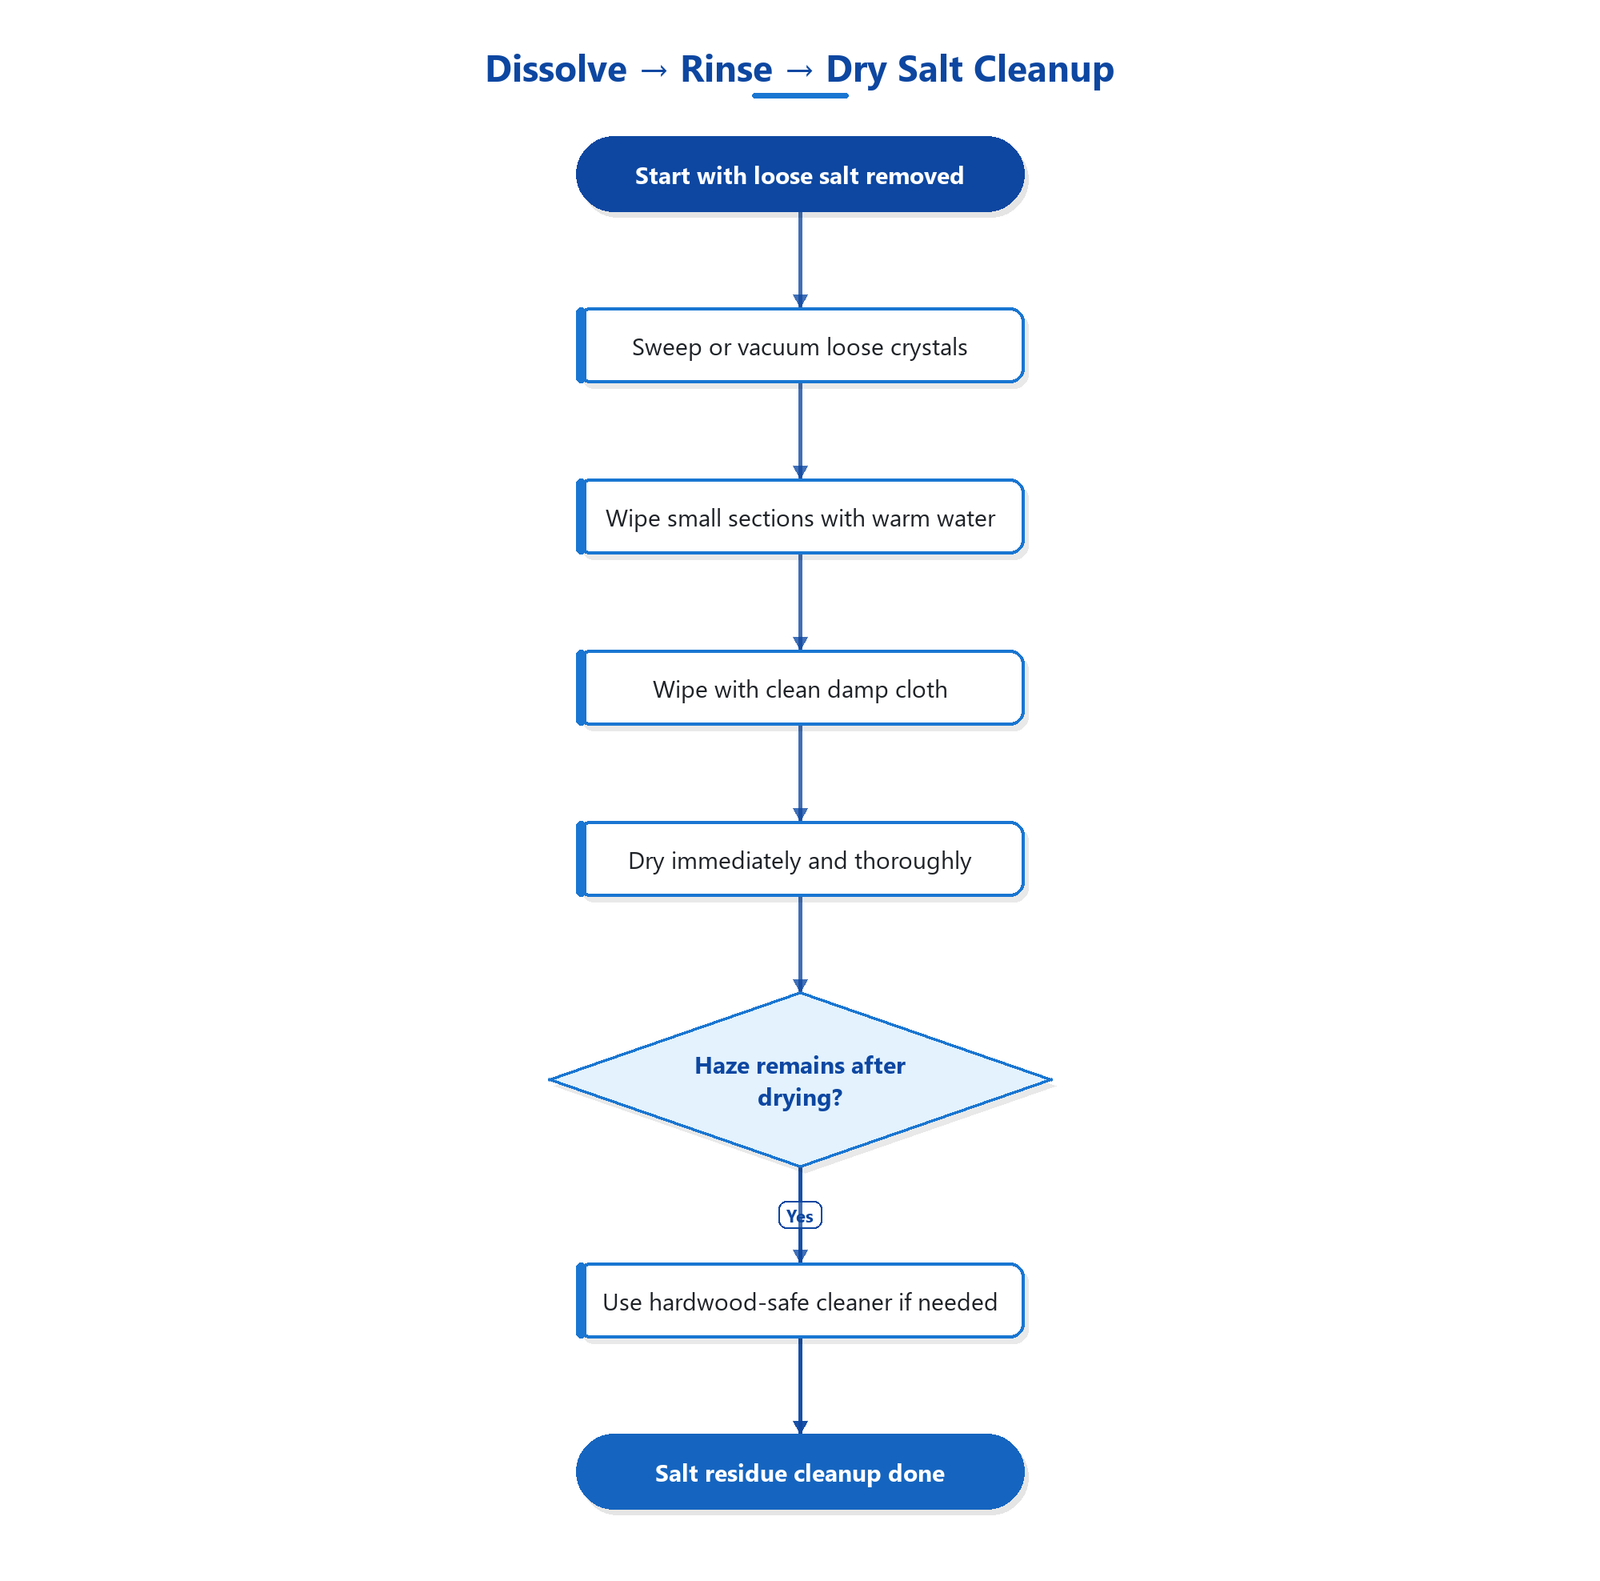
– Dampen a microfiber cloth with warm (not hot) water and wipe small sections to dissolve residue.
– Warm water speeds dissolution. For example, sodium chloride solubility increases with temperature—according to NIST Chemistry WebBook, NaCl dissolves to about 359 g/L at ~20°C and about 391 g/L at ~50°C (temperatures used vary by test method, but the trend is consistent).
– Work in small sections (one doorway width at a time) so the cloth does the dissolving and you can immediately follow with a rinse and drying pass.
– Rinse by wiping with a second cloth dampened with clean water (to avoid leaving dissolved salts behind).
– Salt doesn’t “evaporate away” once dissolved; dissolved salt moves with the water and can re-crystallize as the surface dries.
– Use clean water in a separate bucket or rinse the cloth frequently to prevent re-depositing residue.
– Dry immediately with a dry towel, then let the area air-dry with airflow (fan or open window) and no wet mopping.
– Drying matters because water exposure is cumulative. Wood swelling and finish failure risk rise with moisture; the “fiber saturation point” for wood is commonly cited as ~30% moisture content, after which further moisture primarily increases risk rather than normal dimensional change (per USDA Forest Service, Wood Handbook).
– Airflow (not heat) helps the remaining moisture leave the surface layer without creating puddles.
What “warm” means in practice
Warm means “comfortable to your wrist,” not steaming or hot enough to soften the finish. If your hardwood has an oil-based finish, even moderate heat can make the finish more vulnerable to smearing. Keep the cloth damp, not dripping—standing water is the step most likely to cause long-term dulling or swelling near seams.
How Different Common Winter Salts Dissolve in Warm Water (Relative)
| # | De-icer ingredient | Residue you may see | Typical tracking behavior | Warm-water dissolution ease |
|---|---|---|---|---|
| 1 | Calcium chloride (CaCl₂) | Fast-dissolving crystals / light hazing | Often clears quickly, still needs rinsing | ★★★★★ |
| 2 | Magnesium chloride (MgCl₂) | White crust or faint film | Dissolves readily; re-spots if rinsing is skipped | ★★★★☆ |
| 3 | Calcium magnesium acetate (CMA) | Smudgy residue or mild haze | Usually clears with warm damp wiping; rinse still matters | ★★★★☆ |
| 4 | Sodium acetate (NaC₂H₃O₂) | Film-like haze (less “rocky”) | Dissolves well, but can streak if not rinsed | ★★★☆☆ |
| 5 | Urea (carbamide) | Very light residue; may appear as damp haze | Highly water-soluble; needs full dry to avoid filming | ★★★☆☆ |
| 6 | Potassium chloride (KCl) | White crystals / chalky haze | Dissolves moderately; rinsing prevents re-spotting | ★★☆☆☆ |
| 7 | Sodium chloride (NaCl, “rock salt”) | Crusty white spots near doors | Typical “dissolve + rinse + dry” scenario | ★★☆☆☆ |
For stuck crust or stubborn white spots
If warm-water wiping doesn’t fully remove the haze or crust, use gentler, controlled moisture plus a hardwood-safe cleaner—never abrasive scrubbing. This section focuses on not damaging the finish while still lifting residue.
– Use a barely damp cloth plus gentle, light pressure—don’t scrub aggressively if the finish is soft or worn.
– If salt is embedded in old wear-through, aggressive scrubbing can turn a removable spot into permanent surface texture.
– Keep wiping in the same direction and change cloths often so you’re not dragging loosened grit back across the floor.
– If a haze remains, try a hardwood floor cleaner specifically labeled for your finish type, following the label directions.
– The key is finish compatibility. A cleaner that’s safe for polyurethane may not be safe for waxed or oil-finished floors.
– If you’re unsure whether your hardwood has wax, oil, polyurethane, or varnish, start by checking the original care documentation you still have—or contact the flooring manufacturer.
– Skip abrasive pads; even “light” scrubbing can dull polyurethane or scratch sealed finishes.
– Micro-scratches scatter light and make the area look permanently “cloudy,” which is what people often mistake for remaining salt residue.
Here’s a quick decision comparison for stubborn salt marks:
| Method | Pros | Cons / watch-outs |
|---|---|---|
| Warm damp microfiber + rinse cloth | Dissolves salts without attacking most finishes | Requires immediate drying to prevent re-spotting |
| Hardwood-safe cleaner (finish-labeled) | Targets lingering haze after salts are removed | Wrong formulation can dull, streak, or soften coatings |
| Abrasive pads / scrub brushes | Can remove visible deposits quickly | High risk of scratching and permanent sheen loss |
What can go wrong (and how to avoid it)
The most common failure is leaving dissolved salts behind or introducing too much water, which leads to recurring spots and permanent dullness. As of 2026, avoiding “over-wetting” is still the difference between a clean spot and a finish repair.
– Soaking the floor: puddles or repeated wet passes can seep into seams and cause swelling or finish failure.
– Hardwoods have micro-gaps and seams; standing water migrates before you notice it.
– Rubbing salt grit around: leaving grit in place before wiping can create permanent scuffs.
– That’s why the prep step (sweep/vacuum first) exists—salt crystals behave like tiny abrasives under a wet wipe.
– Using the wrong cleaner: vinegar, harsh degreasers, and all-purpose cleaners can damage coatings—especially on older varnish or oil-based finishes.
– Many floors have protective systems where chemical residues change how light reflects, causing persistent dulling rather than true “salt.” If the cleaner isn’t explicitly approved for your finish type, pause.
– Missed edges: salt near baseboards, door thresholds, and gaps can keep reappearing unless you remove it from those areas too.
– Salt migrates when the same doorway is used repeatedly; a few missed millimeters along edges can “feed” new crusts after each melt-and-track cycle.
A quick note on realism: sometimes what looks like “salt” is actually finish wear. From a practical standpoint, in many homes the visible crust lifts with warm-water wiping, but the surrounding dull patch stays—meaning the finish was already compromised before the salt arrived. If that’s your situation, you’ll need finish restoration guidance from your flooring manufacturer, not just salt removal.
Verdict: what to do (and who should skip this)
This approach is usually the safest DIY option because it dissolves salts, rinses away what dissolves, and dries immediately—minimizing moisture exposure while preserving the finish. The sequence matters more than the specific cloth or brand, and it’s designed to prevent salt marks from coming back.
That said, there are clear “stop” conditions. If your floor is unfinished, heavily damaged, or the finish is already failing (soft, gummy, peeling, or flaking), pause and follow your floor manufacturer’s care guidance or have a pro assess it—adding more damp cleaning can spread existing finish problems. Also skip this method if you’re dealing with widespread water damage already present under rugs or near wet-entry points; salt removal won’t fix the underlying moisture issue.
Salt residue cleanup checklist (scan/save)
Use this checklist for a consistent, low-risk process every winter season:
– [ ] Sweep/vacuum loose salt crystals
– [ ] Wipe with warm water on a microfiber cloth (small sections)
– [ ] Wipe again with clean, damp cloth (rinsing)
– [ ] Dry immediately and thoroughly
– [ ] Use only a hardwood-safe cleaner if haze remains
– [ ] Avoid abrasives and avoid soaking/wet mopping
Sources
– NIST Chemistry WebBook (sodium chloride solubility vs. temperature data)
– USDA Forest Service, Wood Handbook—wood swelling and fiber saturation concepts
– If you know the brand/model of your floor or its finish, use that documentation as the primary source for what’s safe to apply.
In short, the right order—dissolve with warm water, rinse with clean water, dry immediately—removes salt residue without over-wetting your hardwood. If haze remains after salts are gone, switch to a cleaner that’s explicitly safe for your finish type, and don’t rely on abrasives or acidic products. This “clean-remove-rinse-dry” discipline is what keeps winter entry marks from returning, even as seasonal melt continues through 2026.
Frequently Asked Questions
What’s the safest way to remove salt residue from hardwood floors?
Start by blotting up any remaining moisture, then sweep or vacuum the dry salt crystals to avoid scratching the finish. Mix a small amount of mild dish soap with warm water, wring the cloth well, and gently wipe the affected area. Immediately follow with a clean damp cloth (water only) to remove soap, then dry thoroughly with a microfiber towel to prevent water spotting or dulling.
How do I get salt stains off hardwood floors without damaging the finish?
Salt residue can leave a white film, especially if it soaked into the finish edges. Use warm water with a few drops of pH-neutral cleaner and apply it lightly with a barely damp microfiber cloth—don’t flood the floor. If the residue remains, repeat in small sections and buff dry; for persistent marks, use a hardwood floor cleaner recommended for your specific finish rather than harsh chemicals or abrasive pads.
Why does salt leave residue or white haze on hardwood floors?
Road salt (and water used to melt it) can bring minerals that dry on top of the floor’s finish, creating a chalky salt haze. If moisture penetrates seams, joints, or worn spots in the finish, it can cause lingering discoloration even after the salt is gone. That’s why quick cleanup and thorough drying are key to preventing ongoing residue and potential finish damage.
What’s the best solution for removing salt buildup near doorways or entry mats?
Clean the area in two steps: first remove loose salt (sweep/vacuum), then wipe with a mixture of warm water and a small amount of gentle, pH-neutral floor cleaner. Concentrate on the edge where salt accumulates, and keep the cloth damp—not wet—to avoid swelling or finish breakdown. Dry immediately and consider adding a high-absorbency doormat to reduce how often salt residue forms.
Which products should I avoid when cleaning salt residue off hardwood?
Avoid vinegar, bleach, ammonia, and abrasive scrubbing pads, since they can damage the hardwood finish and increase dullness or discoloration. Don’t use steam cleaners or soak the floor, as extra moisture can lead to warping, cupping, or trapped salts in the wood. Stick to pH-neutral hardwood floor cleaners, mild soap solutions, and microfiber cloths, and always dry completely after cleaning.
📅 Last Updated: October 31, 2026 | Topic: How to get salt residue off hardwood floors? | Content verified for accuracy and freshness.
References
- Efflorescence
- 404 Error
- https://www.bruce.com/education/cleaning-hardwood-floors
- https://www.armstrongflooring.com/care-and-cleaning/hardwood-floor-care.html
- Resources | NWFA
- https://scholar.google.com/scholar?q=how+to+remove+salt+residue+from+hardwood+floors Google Scholar
- https://scholar.google.com/scholar?q=de-icing+salt+residue+on+wood+floor+cleaning Google Scholar
- https://scholar.google.com/scholar?q=white+haze+on+wood+floor+cleaning+salt+minerals Google Scholar
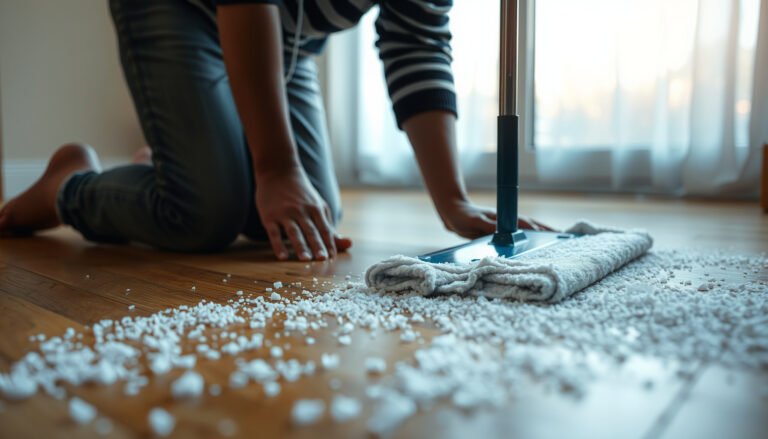

[…] floors and lift salt residue without damaging the finish? Start by removing dry debris, then use a pH-neutral hardwood cleaner with minimal moisture, wiping in the grain and rinsing only with a barely damp cloth if your […]