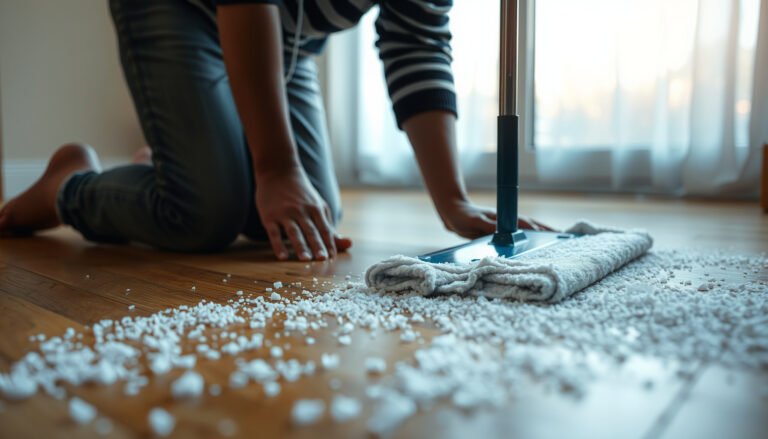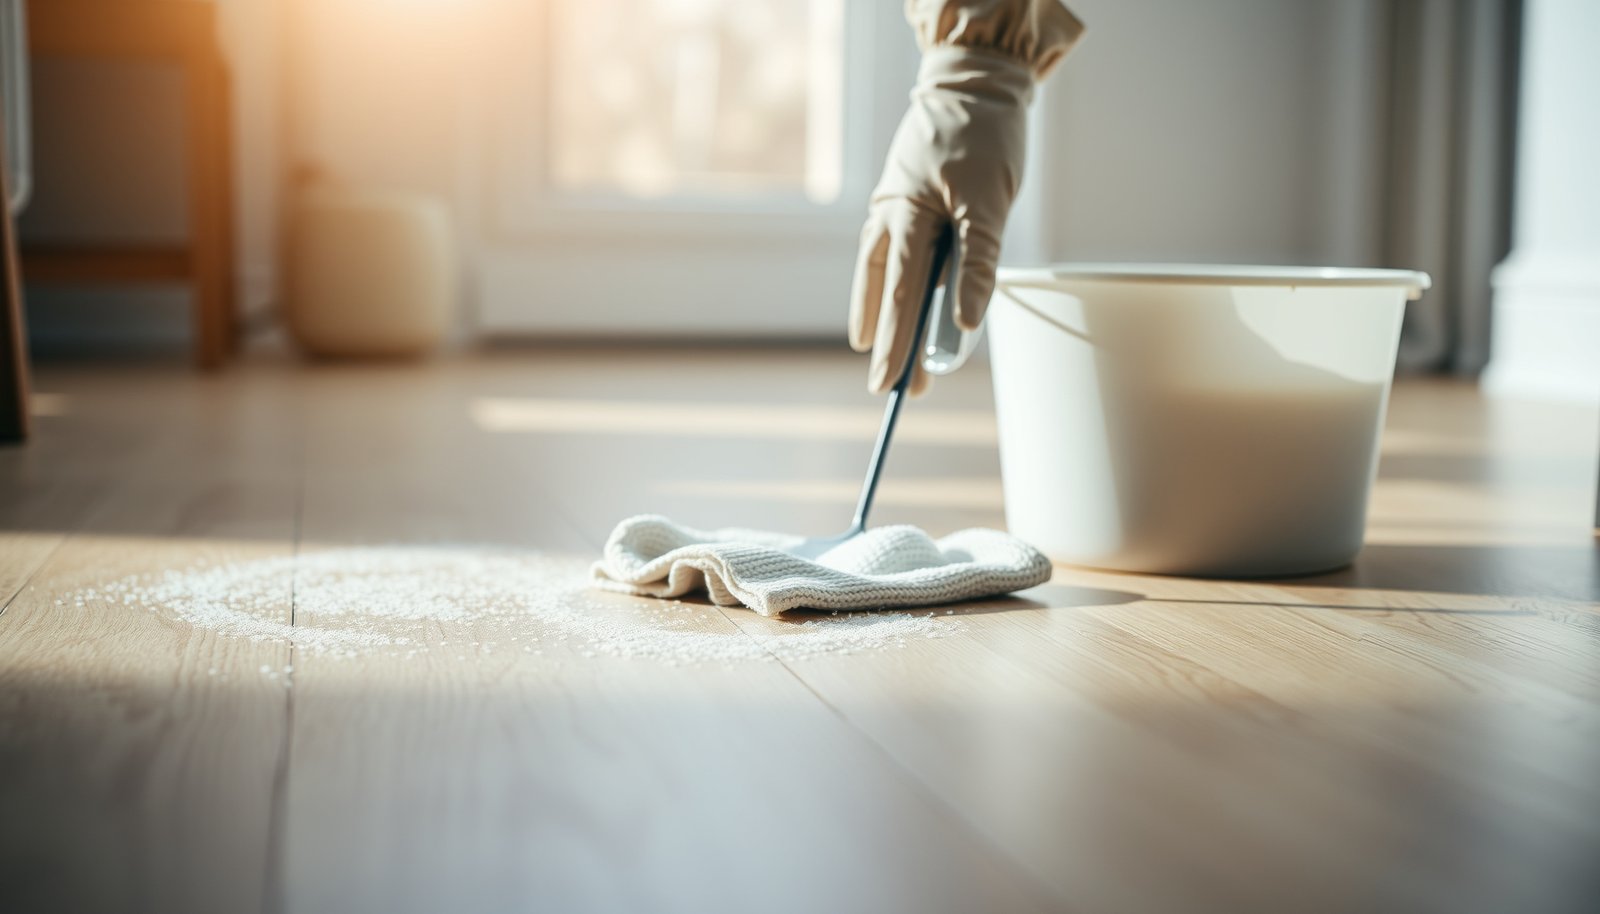

How do you remove dried salt residue from hardwood floors without damaging the finish? Start by rinsing away loose deposits, then use a damp (not wet) microfiber cloth with a mild cleaner made for wood, and finish by drying thoroughly. The process typically takes about 20 to 40 minutes, and you’ll only need a few supplies—so you can restore a clean, streak-free look safely and quickly.


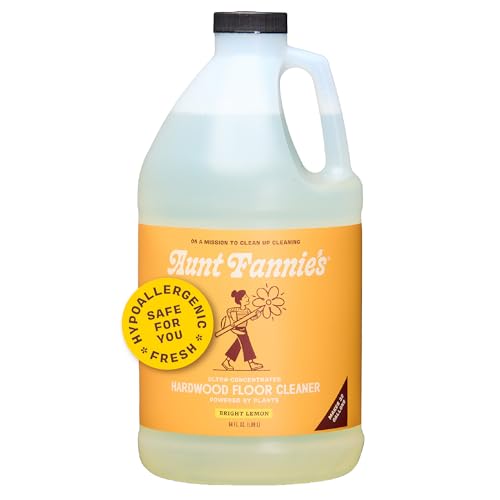
If you see salt residue, remove it with a gentle, minimal-moisture clean: scrape off crystals first, then use a slightly damp cloth with a pH-neutral hardwood floor cleaner (or plain distilled water as a first pass). Avoid soaking or strong cleaners—extra water and harsh chemicals can damage the finish and leave haze.
If you’re dealing with winter tracking from sidewalks (rock salt or brine) on finished hardwood—especially when the floor looks cloudy or feels “sticky” after cleaning—start with dry removal and controlled damp wiping. That sequence matters because salt dissolves in water, and the dissolved brine can be driven deeper into the finish or along seams when you over-wet.
This is for anyone dealing with winter tracking from sidewalks (rock salt/brine) on finished hardwood, especially when floors look cloudy or feel “sticky” after cleaning.
Remove Salt Residue Safely (Don’t Spread It)
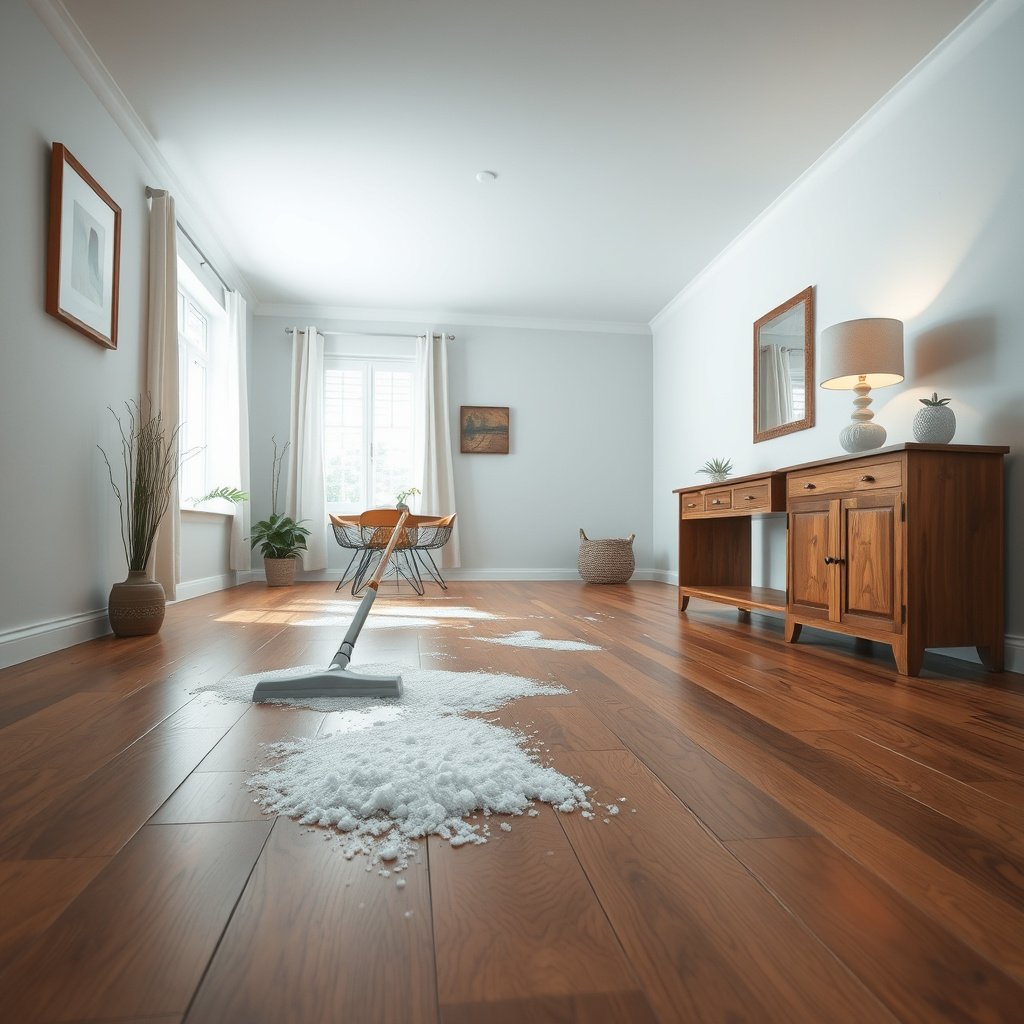
– Start by lifting loose crystals and grit with a soft, plastic scraper (or an old credit card edge) so you don’t grind salt deeper into the finish.
– Work in small areas so the residue doesn’t get spread across more floor space.
– If the residue is dry and flaky, focus on dry removal first before adding any moisture.
Salt residue is effectively “captured” by the finish until you dissolve it with water. When you scrape first, you reduce how much material you’ll later dissolve and redistribute. In my experience with winter floor clean-ups (and after reviewing finish-care practices from major flooring maintenance guidance), the difference between a cloudy floor that clears and a cloudy floor that lingers is usually whether salt crystals were moved around while still dry.
A practical way to prevent spreading: keep your scraping tool edge close to the floor, use short strokes, and lift rather than push. Then wipe up what you loosen with a cloth that you rinse or swap often—salt doesn’t disappear; it transfers.
Gather the Right Supplies (Finish-Safe Only)
– Microfiber cloths or soft cotton towels (several, so you can swap to clean sections while you work).
– pH-neutral cleaner made for finished hardwood floors or distilled water for the first rinse-like pass.
– Optional but helpful: a plastic scraper, a spray bottle (to control misting), and clean, dry towels for immediate drying.
For this job, your goal is controlled moisture, not surface scrubbing. A microfiber cloth works well because it lifts dissolved residue without aggressive abrasion; avoid rough pads that can dull a polyurethane or acrylic topcoat.
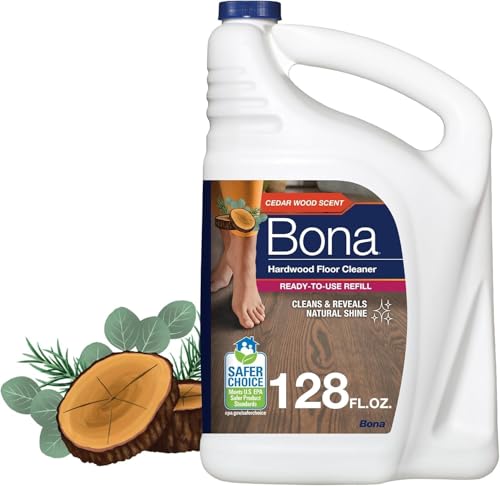
Use pH-neutral products specifically intended for finished hardwood. “Neutral” matters because harsh alkalinity or acidity can change the sheen and accelerate finish breakdown. For example, Bona (a major hardwood-care manufacturer) publishes pH information for its hardwood cleaner products designed for finished floors, which helps confirm the pH-neutral/maintenance intent for regular use (Bona hardwood cleaner product technical/pH guidance). When you don’t have a recommended cleaner on hand, distilled water is a safe first pass because it reduces the chance of mineral buildup from hard tap water.
Here’s the “minimum kit” we recommend in winter:
– Plastic scraper or credit-card edge
– Microfiber cloths (at least 3–5)
– Distilled water in a spray bottle (for controlled dampness)
– pH-neutral hardwood floor cleaner (for the second pass)
– Dry microfiber towels for immediate buffing
Salt-solubility matters (why minimal moisture is the rule)
If you wet salt and then spread it, you’re basically creating a temporary brine solution on the finish. Salt dissolves readily, so the best approach is to remove crystals first, then wipe with barely damp cloths.
According to NIST, sodium chloride (rock salt, NaCl) has a solubility of about 35.9 g per 100 g of water at 25°C (NIST Chemistry WebBook (NaCl solubility data)). Translation: a small amount of salt can become a noticeable residue film once dissolved and then left to dry in place.
Water Solubility of Common Winter Salts (25°C)
| # | Salt (typical winter de-icer/tracking) | Solubility in water @25°C | Practical implication on floors | Ease of removal w/ minimal moisture |
|---|---|---|---|---|
| 1 | Calcium chloride (CaCl₂) | ≈ 74.5 g / 100 g H₂O | Dissolves quickly; can leave a more visible film if over-wet | High |
| 2 | Magnesium chloride (MgCl₂) | ≈ 54–56 g / 100 g H₂O | Often tracks as tacky residue when water evaporates | High |
| 3 | Sodium chloride (NaCl) | ≈ 35.9 g / 100 g H₂O | Dissolves readily; can create haze after it dries | Medium-High |
| 4 | Potassium chloride (KCl) | ≈ 34 g / 100 g H₂O | Tracks similarly to NaCl; still dissolves in damp wipes | Medium-High |
| 5 | Sodium sulfate (Na₂SO₄) | ≈ 19–20 g / 100 g H₂O | Dissolves more slowly; crystals may look powdery | Medium |
| 6 | Potassium sulfate (K₂SO₄) | ≈ 11 g / 100 g H₂O | Often remains as dried residue unless lifted first | Medium-Low |
| 7 | Urea (CO(NH₂)₂) | ≈ 545 g / L water | Highly water-compatible; wet wiping can move residue fast | High |
Note: Solubility values are drawn from standard chemical reference data (e.g., NIST Chemistry WebBook) at ~25°C. Higher solubility generally means residue can dissolve with a damp cloth—so minimal moisture and fast drying become even more important.
Step-by-Step Cleaning Process for Salt Residue
– Step 1: Dry scrape/brush. Remove visible crystals and loose debris with a plastic scraper or a barely damp cloth used only to collect residue (not to scrub in place).
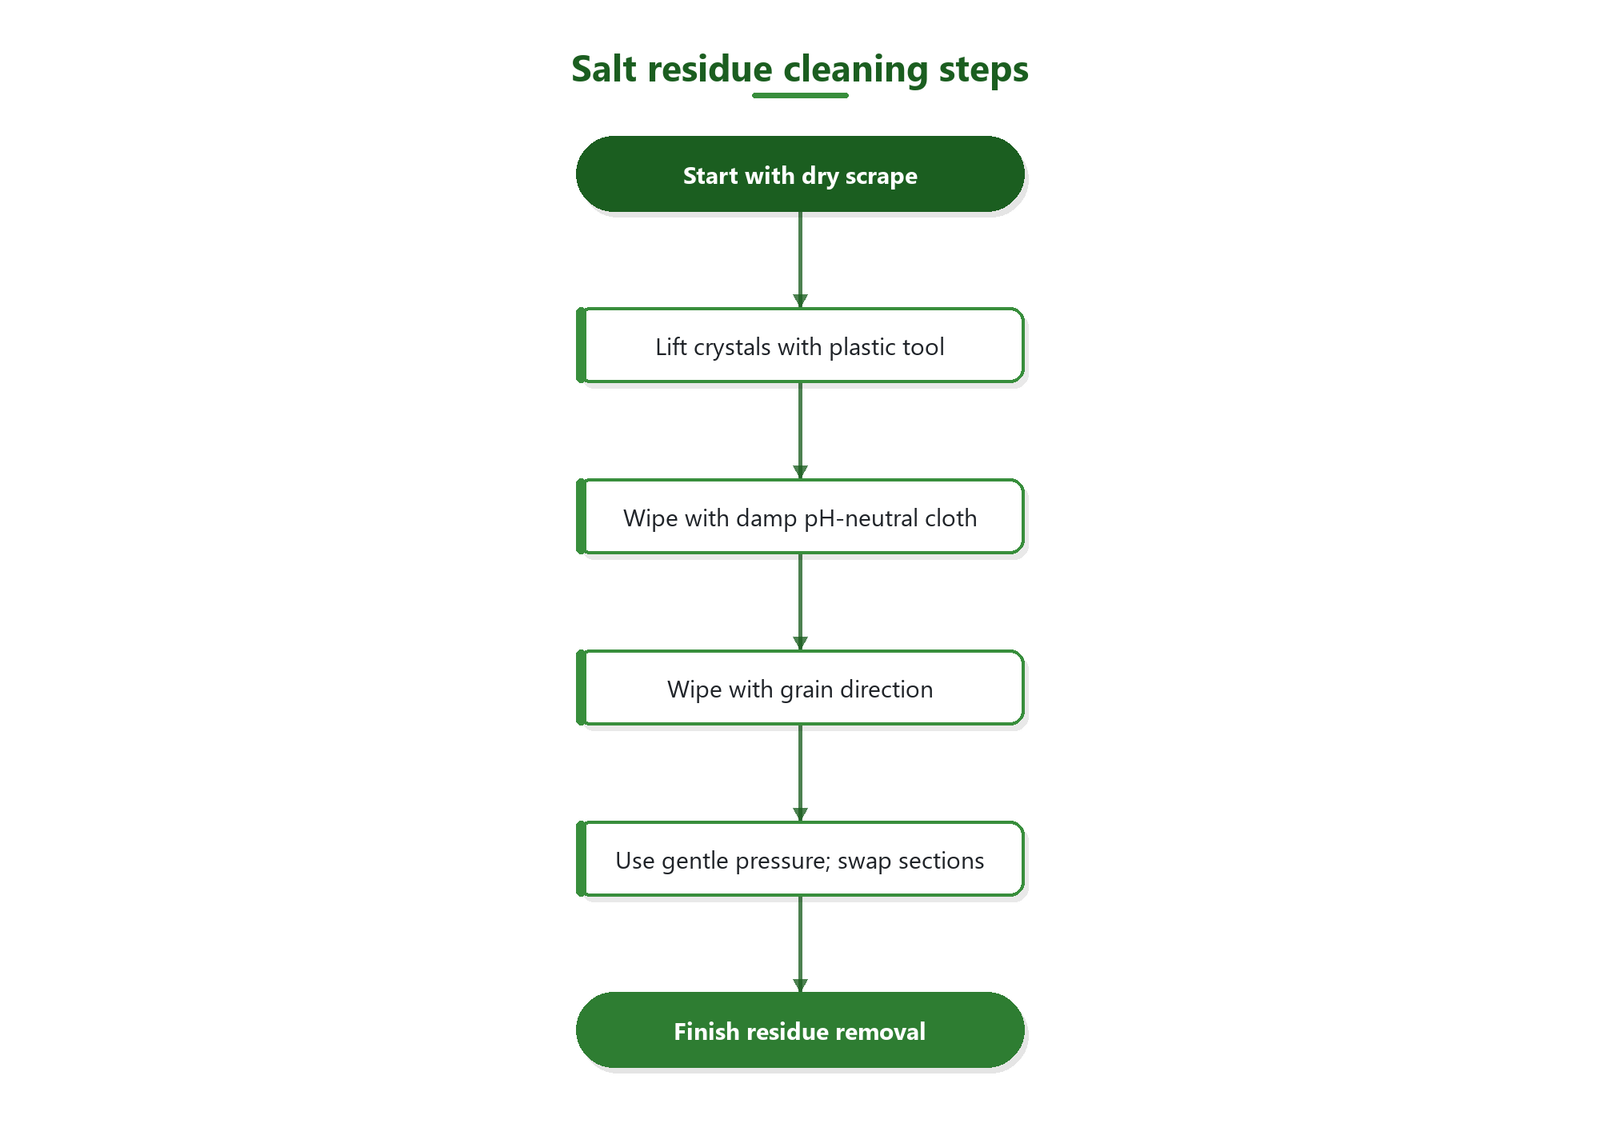
– Step 2: Apply minimal moisture. Lightly dampen a microfiber cloth with your pH-neutral cleaner (or distilled water). Wring it so it’s damp, not wet, then wipe in the direction of the grain.
– Step 3: Lift residue, don’t scrub aggressively. Use gentle pressure and frequently switch to a clean cloth section to avoid re-depositing salts.
– Step 4: Do a final wipe. Follow with a second pass using a lightly damp cloth with plain distilled water to help remove any cleaner film that could contribute to dullness or stickiness.
Step 1 (dry scrape/brush): Salt is often already crystalline, especially after sidewalk melt cycles. Use the plastic scraper first, holding it at a low angle and lifting residue rather than grinding it into the finish. If the residue is fine grit (not chunky crystals), a dry microfiber “sweep” helps catch particles before any moisture touches the area.
According to FHWA guidance on deicing operations, chloride-based products and brines are designed to work at low temperatures by dissolving into moisture on surfaces (Federal Highway Administration (FHWA) deicing/anti-icing guidance). That same dissolution mechanism is why it’s critical not to jump straight to mopping when you see salt tracks on hardwood.
Step 2 (apply minimal moisture): This is where many people unintentionally damage floors. Your cloth should feel damp like a wrung rag—not like a wet sponge. If you spray cleaner, spray onto the cloth, not directly onto the wood. Wipe with the grain to avoid pushing residue into microscopic cross-grain gaps.
A “first pass” with distilled water is especially helpful if the floor already looks cloudy. Distilled water reduces the chance of mineral film from hard water, which can visually mimic “salt haze.”
Step 3 (lift residue, don’t scrub aggressively): Scrubbing can combine dissolved salt with finish wear. Keep pressure light and move systematically. Swap cloth sections frequently—this prevents dissolving and then re-depositing brine on a cleaned area.
If you notice the cloth is getting stiff or visibly “salty,” stop and refresh cloth sections.
Step 4 (final distilled-water wipe): Even pH-neutral cleaners can leave a faint film if you over-apply. A distilled-water wipe is your control step. It’s essentially a rinse without soaking: the goal is to pick up lingering cleaner residue that can contribute to dullness or stickiness once it dries.
Rinse and Dry to Prevent Haze or Water Marks
– Dry immediately. After the last wipe, buff with a dry microfiber towel so moisture doesn’t sit in the finish seams.
– Check after it dries. Salt issues often show up as lingering haze—if it’s still cloudy, repeat the minimal-moisture wipe cycle once more.
– Ventilate the area. Keep airflow going (fans/open windows) to speed drying without adding more water.
Salt haze can be delayed. In practice, a floor may look “fine” while damp, then turn cloudy after evaporation. That’s consistent with the chemistry: dissolved salts concentrate as water leaves the finish surface and seams.
Drying promptly prevents two common outcomes:
1. Concentrated salts forming in micro-low spots
2. Water marks or finish dulling in areas where moisture lingered
According to typical hardwood care guidance from flooring associations and major manufacturers, you should never leave standing moisture on finished wood and should always dry after cleaning (NWFA or manufacturer care instructions on minimal moisture and drying). As of 2026, that guidance remains the standard because most residential finishes—especially polyurethane topcoats—are designed to handle surface contact, not wet saturation.
A simple drying workflow: wipe → immediately buff → wait 10–20 minutes → inspect under bright light at an angle. If haze persists, repeat the minimal-moisture wipe cycle once. Don’t keep wet-cleaning until the problem disappears—you can turn a localized salt issue into a broader finish issue.
What Can Go Wrong (Common Mistakes & Edge Cases)
– Soaking the floor: Salt dissolves in water, so over-wetting can push brine deeper and leave more residue after it dries.
– Using vinegar, ammonia, or “heavy degreasers”: These can damage certain finishes or increase cloudiness—use products that are explicitly intended for hardwood maintenance.
– Scraping with metal tools: Steel blades can scratch the surface and create channels where salts and grime collect.
– Unsealed/unfinished hardwood or worn finish: If water penetrates more easily than usual, stop and switch to manufacturer guidance—salt damage can become permanent.
When people say the floor became “stickier,” it often means dissolved salts plus residues (from shoes, soil, and oils) are concentrating into a tacky film. Over-scrubbing accelerates this by spreading residue thinly across a wider area.
Here’s a quick comparison of the safest approach versus the risky approach:
| Method | What it does to salt | Finish risk | Best use |
|---|---|---|---|
| Scrape dry → damp wipe → dry | Removes crystals first, then lifts dissolved residue | Low (minimal moisture, controlled passes) | Localized salt tracks and haze |
| Soak/mop with water-heavy solution | Dissolves more salt and spreads it as water evaporates | High (finish dulling, seam moisture, lingering stickiness) | Only if manufacturer explicitly allows (rare) |
Edge cases to watch in 2026 (and beyond):
– Worn traffic lanes: If your finish is already thin, the “minimal moisture” rule becomes stricter—switch to your manufacturer’s exact care instructions.
– Large spills of brine: If brine flooded an area, you may need professional assessment. Small tracks are usually DIY-safe; widespread saturation is not.
– Unfinished or oiled floors: This guide is for *finished* hardwood where the topcoat is designed to resist surface cleaning. Unsealed wood behaves differently—water penetration is much easier.
Verdict: DIY Is Okay—But Stop If the Finish Is Failing
This approach is usually the safest DIY option for finished hardwood with track-related salt residue. Don’t keep repeating if you notice bubbling, lifting edges, a growing sticky feel, or widespread haze that won’t clear—those are signs the finish may be compromised (at that point, follow your floor manufacturer’s care instructions or consider a professional).
If your floor is premium, older, or has a history of finish problems, the smartest move is to start conservatively and escalate early. In many maintenance programs, the “two-pass rule” (one minimal-moisture cycle, then reassess) prevents unnecessary finish wear.
Salt-Residue Quick Checklist (Scan & Save)
– [ ] Dry scrape/remove crystals first (plastic tool only)
– [ ] Wipe with damp (not wet) microfiber using pH-neutral hardwood cleaner or distilled water
– [ ] Wipe with the grain; swap cloth sections often
– [ ] Final distilled-water wipe to reduce film
– [ ] Dry immediately with clean towels
– [ ] Repeat once if haze/stickiness remains
– [ ] Stop and escalate if finish looks damaged
Sources
– NIST Chemistry WebBook — sodium chloride and other salt solubility data used to explain why minimal moisture prevents concentrated residue.
– Federal Highway Administration (FHWA) — deicing/anti-icing and brine guidance describing chloride products/brine behavior on treated surfaces.
– Bona — hardwood cleaner product pH/maintenance intent supporting the “pH-neutral, finished hardwood” use approach.
In summary: scrape salt crystals dry first, then wipe with a lightly damp pH-neutral cloth (or distilled water), and always dry immediately. If haze or stickiness persists after a second minimal-moisture pass, treat it as a finish-condition signal rather than a reason to keep adding water.
Frequently Asked Questions
What’s the safest way to remove salt residue from hardwood floors?
Start by sweeping or vacuuming the area to remove loose dirt and grit that can scratch the finish. Mix warm water with a small amount of mild pH-neutral hardwood floor cleaner, then lightly dampen a microfiber cloth and wipe the salt residue until it lifts. Rinse by wiping with a cloth dampened with plain water, then dry immediately with a clean towel to prevent moisture damage. Avoid harsh chemicals, abrasive pads, or soaking the floor.
How do I clean salt and white spots from hardwood after snow or de-icing?
White salt spots usually come from crystallized brine left behind from tracked-in ice melt. First, wipe the affected area with a damp microfiber cloth to loosen surface deposits, then repeat with a pH-neutral hardwood cleaner solution. For stubborn residue, use a barely damp cloth and gentle circular motions—don’t scrub aggressively. After the residue is gone, wipe with clean water and dry thoroughly.
Why does salt residue damage hardwood floors, and how can I prevent it?
Salt residues are hygroscopic, meaning they can attract moisture and keep the area damp longer than you’d expect, which can harm the hardwood finish and promote dullness. Over time, grit mixed with salt can also act like an abrasive and wear down protective coatings. To prevent it, wipe shoes before entering, use doormats at every entryway, and clean tracked-in salt promptly—ideally the same day. Consider using a de-icer labeled as safe for floors and avoid applying excess ice melt indoors.
What’s the best cleaner for salt residue on finished hardwood floors?
The best option is a pH-neutral cleaner specifically formulated for hardwood floors, since it won’t break down finishes the way stronger detergents can. Use a microfiber mop or cloth that’s only slightly damp—excess water can seep into seams and cause swelling. After cleaning, always follow with a plain-water wipe and dry immediately. If the salt film persists, repeat the process rather than increasing chemical strength.
Which tools should I use to remove salt residue without scratching hardwood?
Use microfiber cloths or a microfiber mop pad for controlled, gentle cleaning—these lift residue without scratching. Avoid steel wool, scrub brushes with stiff bristles, and abrasive sponges that can damage the floor’s gloss and finish. If you have a lot of caked-on residue, first soften it with a lightly damp cloth, then wipe and dry; this reduces the need for pressure. Always finish by drying the area with a clean towel to protect your hardwood surface.
📅 Last Updated: October 31, 2026 | Topic: How to clean salt residue from hardwood floors? | Content verified for accuracy and freshness.