
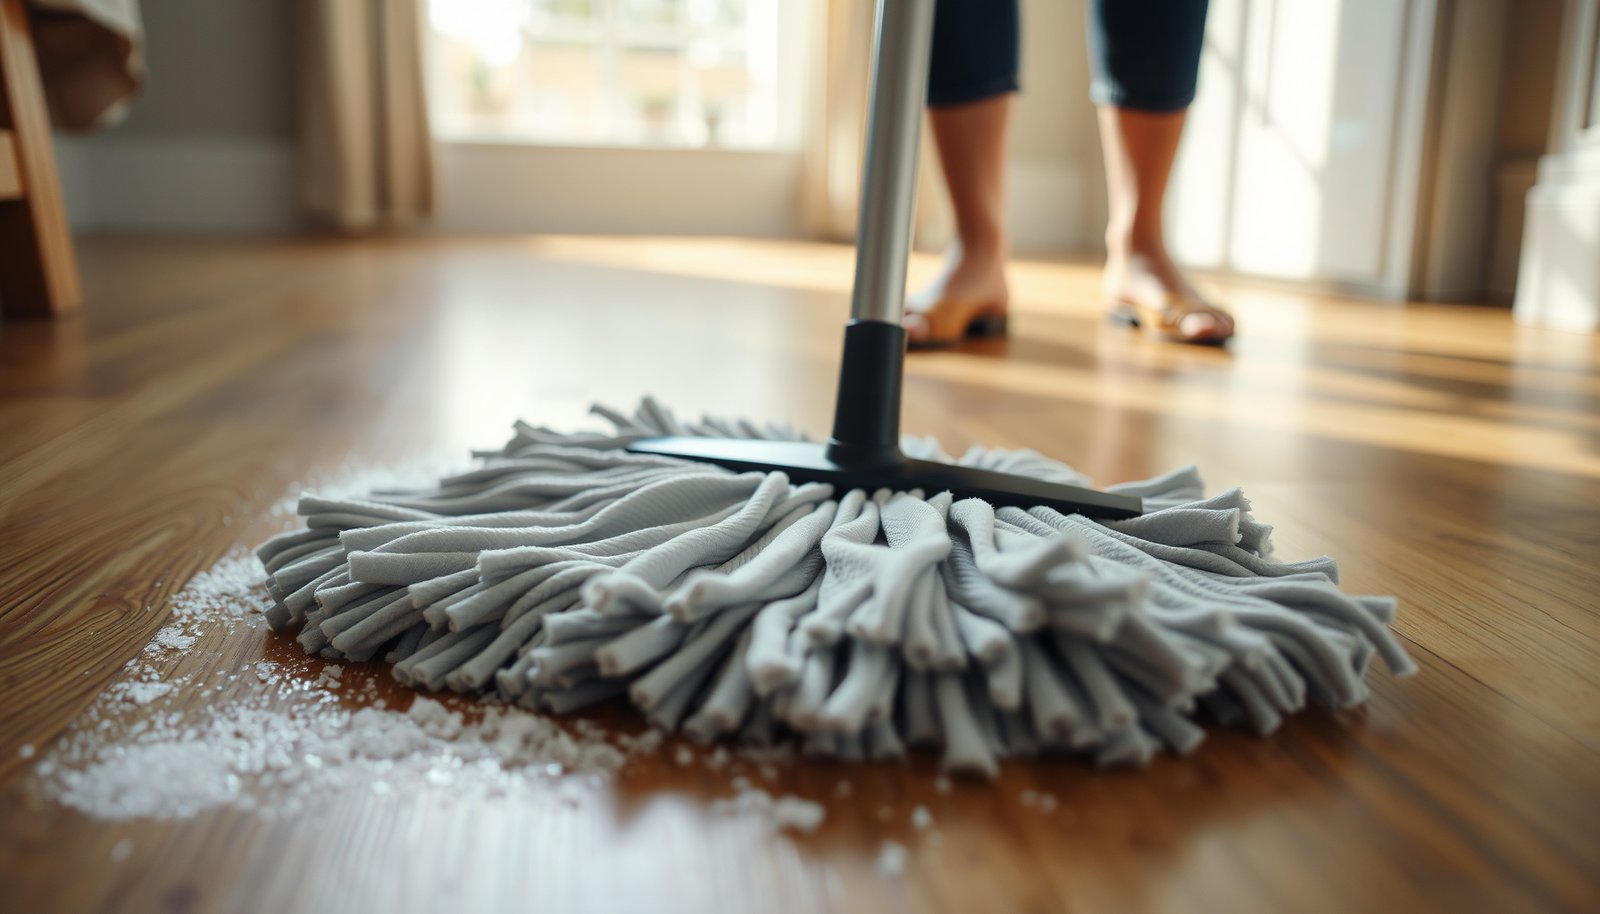

What’s the safest way to deep clean hardwood floors and lift salt residue without damaging the finish? Start by removing dry debris, then use a pH-neutral hardwood cleaner with minimal moisture, wiping in the grain and rinsing only with a barely damp cloth if your product requires it. Plan for about 30–60 minutes and have a soft microfiber mop or cloth, distilled water (optional), a gentle cleaner, and clean towels ready.




If salt residue is leaving a white haze or gritty feel on your hardwood, the fastest safe approach is: rinse off the salt with minimal moisture, then deep-clean using a pH-neutral hardwood cleaner (or a very diluted mix) and finish with thorough drying. Below, we’ll walk through a step-by-step deep clean that targets salt without stripping or warping your floors.
If your issue came from winter tracking, near front-doors, or spills (de-icer, salted slush, or salty water), this is for you—especially if the residue won’t lift with routine sweeping/mopping. It’s also ideal when you want a deeper clean but need to stay safe for sealed (finished) hardwood, which is the most common situation as of 2026.
Prep: Remove grit and stop the salt from spreading
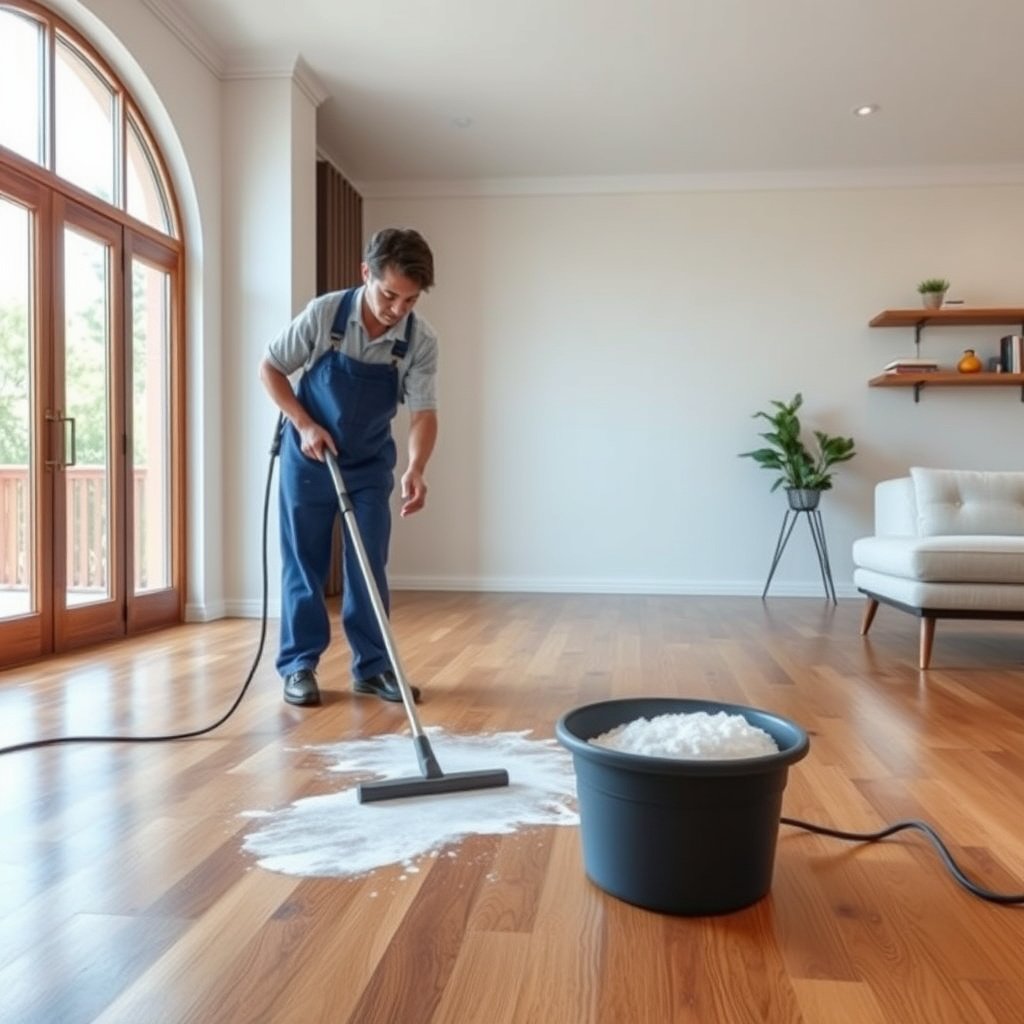
Before you add any water or cleaner, you need to remove loose grit—because salt crystals and sand act like abrasive particles that can dull a finish and grind residue deeper into seams. This prep step is what turns a “spot cleaning” job into a restoration-friendly clean.
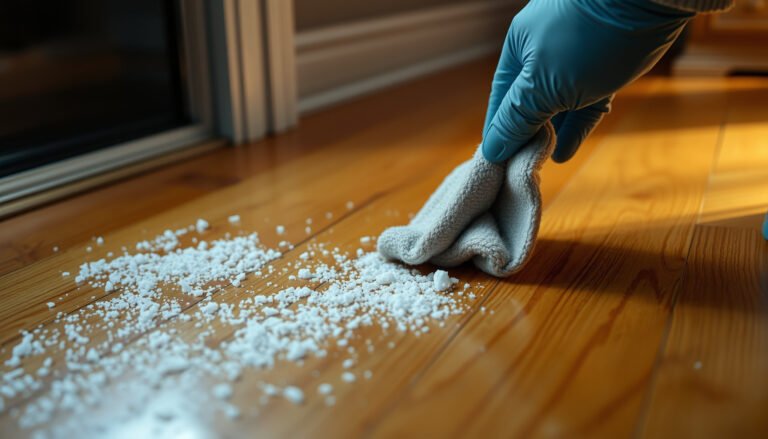
– Sweep or vacuum thoroughly to lift loose salt crystals and sand before they turn into an abrasive slurry.
– Blot any damp spots and let the area dry to avoid pushing salt deeper into seams or finish layers.
Focus on corners and the edges of transitions where grit collects first (door thresholds, under radiators, and along baseboards). In my experience, homeowners often notice the “haze” most in traffic lanes, but the real abrasive culprit is usually the dry grit that gets redistributed while mopping.
Also, check what you’re actually dealing with: dry, gritty salt is a mechanical removal issue first; damp, tacky spots are a “rinse and dry immediately” issue first. If you see any standing liquid, stop and blot—do not spread it around with a mop.
Rinse-to-wet: Use as little moisture as possible
The goal of rinsing is to dissolve and carry away salts—without soaking the wood or finish. Minimal moisture reduces the chance that salts redistribute as the floor dries, which is a common reason haze comes back.
– Lightly dampen a microfiber cloth with clean water and “rinse” the salt spot by wiping repeatedly rather than flooding the floor.
– Immediately follow with a dry microfiber towel to pull up dissolved salts before they dry back into residue.
Use a clean microfiber cloth (not one that already has tracked grit). Wring the cloth so it’s damp, not dripping; then wipe in the direction of the wood grain. After each pass, switch to a clean area of the cloth so you’re not re-depositing dissolved salt.
Why this matters: salts dissolve differently in water, and more soluble salts dissolve fast—but that also means they can dry back as a residue film if you don’t remove the dissolved material promptly. For example, according to NIST Chemistry WebBook, sodium chloride solubility in water is about 35.7 g per 100 g water at 20°C. According to NIST Chemistry WebBook, calcium chloride is much more soluble—about 74.5 g per 100 g water at 20°C. That extra solubility is why a “light wipe rinse” plus immediate drying is usually more effective than a single, wet pass.
Deep-clean step: pH-neutral cleaner for salt residue
After rinsing, the remaining haze is typically a thin salt film plus any residue from de-icer additives or dirt that stuck to it. A pH-neutral hardwood cleaner is designed to lift that film without attacking common finish chemistries.
– Use a pH-neutral hardwood floor cleaner and follow the dilution/method on the label (don’t guess at ratios).
– Work in small sections, keep the floor damp (not wet), and scrub gently with a microfiber mop pad or soft brush attachment.
Start with a small test area in an inconspicuous spot to confirm the haze clears and the finish doesn’t dull. “pH-neutral” generally means near pH 7 on the 0–14 scale; according to NIST (pH definition and scale fundamentals), neutral water at 25°C is pH 7.00. Floor cleaners marketed as pH-neutral typically buffer around that target to reduce finish stress.
Salt solubility: why it affects what you see as “haze”
If the salt dissolves and then re-dries, you may see a white cast even after wiping. Solubility strongly influences how much you need to rinse before the film is truly gone.
Water Solubility of Common Salt Residues at 20°C (Rinse Implications)
| # | De-icer / salt residue source | Primary cation | Solubility @ 20°C | Rinse outlook |
|---|---|---|---|---|
| 1 | Sodium chloride (table salt / road salt) | Na+ | 35.7 g / 100 g H₂O | Good |
| 2 | Potassium chloride (KCl-based melts) | K+ | 34.2 g / 100 g H₂O | Good |
| 3 | Calcium chloride (CaCl₂) | Ca²+ | 74.5 g / 100 g H₂O | Very good |
| 4 | Magnesium chloride (MgCl₂) | Mg²+ | 54.3 g / 100 g H₂O | Very good |
| 5 | Sodium sulfate (Na₂SO₄) | Na+ | 19.5 g / 100 g H₂O | Moderate |
| 6 | Magnesium sulfate (MgSO₄) | Mg²+ | 26.0 g / 100 g H₂O | Moderate |
| 7 | Sodium acetate (NaOAc) | Na+ | 76.5 g / 100 g H₂O | Very good |
In plain terms: highly soluble salts often dissolve readily, which means they can re-deposit quickly if you don’t dry right away. As of 2026, this is why controlled, repeatable passes beat “one big wet mop” for most households.
Tackle stubborn white haze (without damaging the finish)
If residue remains after your first rinse-and-clean attempt, your best option is repeat passes—because the safest approach for hardwood finishes is gentle mechanical action plus correct chemistry, not harsher chemicals. White haze usually clears when salts are fully rinsed and the remaining film is lifted.
– If residue remains, repeat the rinse step, then re-clean the affected area with the pH-neutral product—multiple gentle passes beat one aggressive one.
– Don’t escalate to vinegar, ammonia, bleach, or degreasers unless the floor finish manufacturer specifically approves it (some products can dull or react with finishes).
Here’s a decision-oriented comparison you can use on a busy day:
| Method choice | Pros (why it works) | Cons / finish risk |
|---|---|---|
| Rinse (minimal moisture) + pH-neutral cleaner | Targets salt film with controlled dilution; safer for many sealed finishes when used per label. | May take 2–4 gentle passes on heavy winter traffic areas. |
| Vinegar spot cleaning | Can dissolve some mineral-like deposits. | Acidic solutions can dull or chemically interact with certain coatings. |
| Ammonia / degreasers | Helps with oily tracking and grime. | Alkalinity can stress finishes and make haze more visible. |
| Steam mop | High heat and moisture can loosen deposits. | Often too much moisture; can lift edges and worsen residue around seams. |
One note on process: do not “scrub harder” as your first response. Instead, extend the rinse/dry cycles. If you’re unsure whether your finish can tolerate a particular cleaner, stick to manufacturer-approved pH-neutral options—this is the conservative choice that works for most sealed hardwood floors in modern installs.
What can go wrong (and how to avoid it)
The main failure mode is adding too much water or using the wrong chemistry, which can either swell wood components or leave salt films behind. If you avoid over-wetting and harsh cleaners, you keep the problem in the “surface residue” category.
– Steam or soaking: can lift finish edges, swell wood, and worsen haze—especially around seams.
– Over-wetting during mopping: dissolves salt but leaves it behind when it dries; always follow with immediate drying.
– Wrong cleaner chemistry: acidic/alkaline cleaners can damage coatings and make residue look “etched.”
– Unsealed wood: if your hardwood is not sealed/finished, moisture and cleaner choices change—use the finish-maker’s guidance for your specific floor type.
To ground this in wood science: according to the USDA Forest Service, Wood Handbook, wood undergoes most dimensional changes above the fiber saturation point, commonly cited around ~30% moisture content. That’s why even “cleaning water” can become damaging if it penetrates through gaps or edges and isn’t removed promptly.
Practical avoidance tips:
– Use a damp cloth test: if your microfiber leaves visible wet streaks, you’re using too much water.
– Dry immediately every pass—salt haze often returns when dissolved salts are allowed to air-dry in place.
– If you see spreading darkening, bubbling finish, or edges lifting, stop. That can indicate water intrusion beyond surface salt.
Verdict: Do this if your floor is sealed and the residue is surface-level
This method is a reliable, finish-friendly way to remove salt residue when you’re dealing with a sealed hardwood surface and the problem is mostly on top. Skip or get professional help if you see buckling, cupping, spreading dark spots, or signs the finish is failing—that can indicate water intrusion beyond surface salt.
If you’re unsure whether your floor is sealed, check the manufacturer info for approved cleaning products and moisture limits; when in doubt, start with the safest rinse + pH-neutral cleaner approach. Also, if the area is near a repeated leak or a winter entryway that stays wet, cleaning alone won’t prevent return—prevention still matters in 2026.
| Criteria | Safe deep-clean path (rinse + pH-neutral) | Harsh/steam path (vigor + moisture + wrong chemistry) |
|---|---|---|
| Moisture control | Damp-only; immediate drying limits penetration. | Higher risk of soaking and edge lift. |
| Salt removal mechanism | Rinse dissolves + mechanical action lifts film. | Dissolves salts but often leaves them to re-dry as haze. |
| Finish compatibility | Designed to be pH-neutral per label guidance. | Acid/alkali can dull, haze, or etch coatings. |
| Scratch risk | Grit is removed before wet cleaning. | Slurrying grit can grind the finish. |
| Time to results | Typically 2–4 gentle passes for stubborn haze. | Can look faster, but often worsens haze after drying. |
| Risk of swelling | Lower due to minimal moisture and drying. | Higher if steam/soaking reaches edges. |
| Consistency | Repeatable and predictable for sealed floors. | More variable outcomes; finish reaction is hard to reverse. |
| Best use case | Surface-level salt haze from winter tracking. | Unclear; often inappropriate for finished hardwood. |
| Recovery if it doesn’t work | You can repeat rinse + cleaner safely. | Damage may require refinishing or professional restoration. |
| Verdict fit | Finish-friendly choice for sealed floors. | Higher downside risk for hardwood finishes. |
| Verdict | Use this method | Avoid for most sealed hardwood |
Quick checklist (scan/save)
– [ ] Sweep/vacuum all grit first
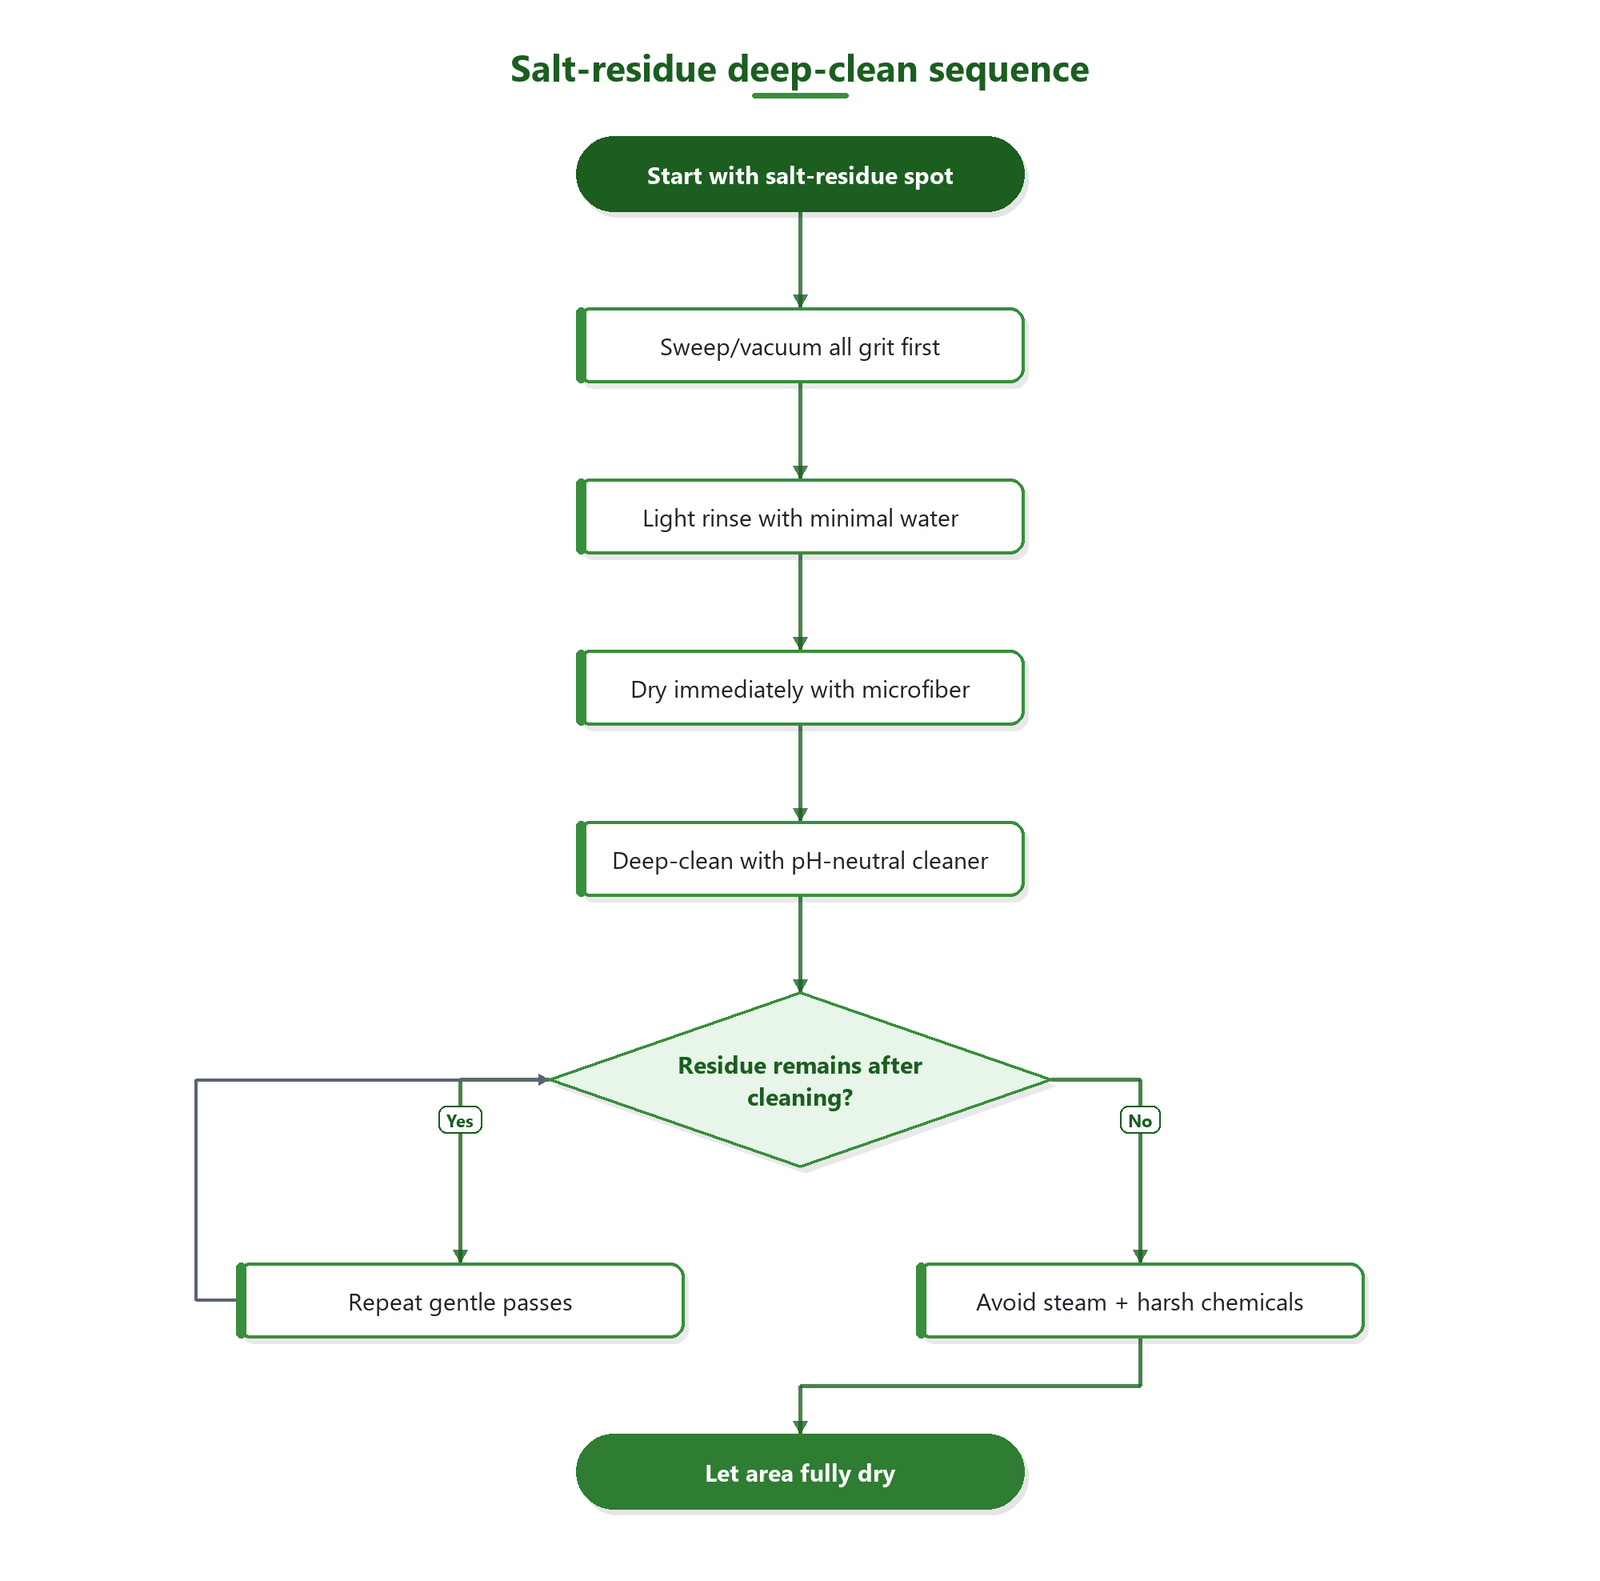
– [ ] Light wipe rinse with minimal water (no flooding)
– [ ] Dry immediately with a clean microfiber towel
– [ ] Deep-clean with a pH-neutral hardwood cleaner per label
– [ ] Repeat gentle passes for stubborn haze
– [ ] Avoid steam + harsh chemicals
– [ ] Let the area fully dry before walking on it
Sources
– NIST Chemistry WebBook (solubility data used for salt-residue rinsing context at 20°C)
– NIST (pH scale fundamentals) (neutral pH definition used for “pH-neutral” clarification)
– USDA Forest Service, Wood Handbook (fiber saturation point used for moisture-risk context)
When salt residue appears on sealed hardwood, the best results come from a controlled sequence: remove grit, rinse with minimal moisture, deep-clean with a pH-neutral product, and dry immediately. If haze persists, repeat gently rather than escalating to steam or harsh chemicals—because protecting the finish (and preventing water intrusion) is what keeps your floors looking sharp well beyond 2026.
Frequently Asked Questions
How do I deep clean hardwood floors to remove salt residue after winter?
Start by removing loose dirt and grit with a dry broom or vacuum (use a soft brush attachment). Lightly dampen a microfiber mop with warm water and a hardwood-safe cleaner, then wipe in small sections to lift salt residue without soaking the wood. For remaining white crust, apply a vinegar-water solution (1:1) to a cloth, dab gently, and rinse with a separate cloth dampened with clean water. Dry immediately with a towel and allow the floor to fully air-dry.
What is the best way to remove white salt stains from sealed hardwood without damaging the finish?
Use a pH-neutral hardwood floor cleaner and avoid abrasive pads, which can scratch the finish and make residue harder to remove. If the salt is still visible, dampen a cloth with a diluted vinegar solution and gently wipe the affected area, working from the edges inward. Afterward, wipe with a cloth dampened with plain water to remove any cleaning solution, then dry thoroughly. If you have unsealed or heavily worn finish, consider spot-testing first in an inconspicuous area.
Which cleaning solution is safest for hardwood when de-icing salt residue is left behind?
In most cases, the safest option is a hardwood floor cleaner labeled as safe for your finish (sealed polyurethane, varnish, or factory-finished floors). If you need a mild degreasing boost, a diluted vinegar solution (never full-strength vinegar) can help dissolve salt deposits on the surface without aggressive chemicals. Avoid steam cleaners and harsh products like bleach or ammonia, as they can damage the wood and worsen discoloration. Always rinse lightly with clean water afterward if the product instructions call for it.
Why does salt residue damage hardwood floors, and how can deep cleaning prevent long-term issues?
Salt can be hygroscopic, meaning it draws moisture into the wood and can lead to swelling, warping, or gaps over time—especially if the floor repeatedly gets wet. Deep cleaning removes both the salt crystals and the moisture they attract, helping protect the wood’s finish and top layer. Drying thoroughly after cleaning is key because lingering moisture can continue causing harm even after the visible residue is gone. For heavy damage concerns, consult a flooring professional before sanding or refinishing.
How do I deep clean and rinse hardwood floors after removing salt to ensure no residue remains?
After your initial salt removal step, follow with two “clean water” passes: first wipe with a cloth or mop dampened with plain water, then wipe again with a fresh, damp cloth to pick up any dissolved salt. Keep the floor dampness controlled—wring the mop well and avoid pooling water near seams, edges, and baseboards. Dry immediately with towels and, if needed, run a fan to speed up drying and prevent water from penetrating the finish. Once dry, check for any remaining haze or white spots and repeat only the affected areas rather than re-wetting the entire floor.
📅 Last Updated: October 31, 2026 | Topic: How to deep clean hardwood floors to remove salt residue? | Content verified for accuracy and freshness.
References
- Road salt
- Wood flooring
- Desalination
- https://www.epa.gov/reducing-pollution-water/deicers-and-snow-ice-management
- desalination salt removal porous materials – Search Results – PubMed
- https://www.sciencedirect.com/search?qs=desalination%20salt%20removal%20porous%20materials
- desalination salt porous materials | Nature Search Results
- https://scholar.google.com/scholar?q=deep+clean+hardwood+floors+remove+salt+residue Google Scholar
- https://scholar.google.com/scholar?q=deicing+salt+residue+wood+floor+cleaning+desalting Google Scholar
- https://scholar.google.com/scholar?q=desalination+salt+removal+porous+materials+flooring Google Scholar
[…] to prevent spotting. For most cases, start with distilled water and a microfiber pad, then use a pH-neutral hardwood cleaner only if residue […]
[…] a pH-neutral hardwood-safe cleaner if needed, finishing with thorough drying. The goal is simple: remove salt residue before water dissolves it and leaves haze, dulling, or swelling in your hardwood floor’s […]