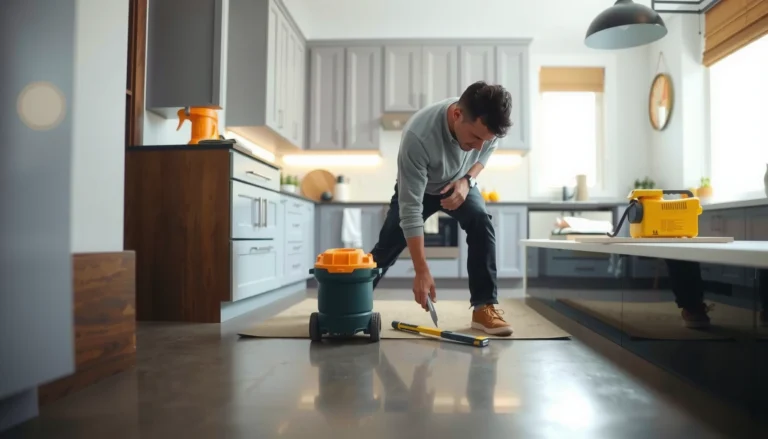
Preparing vinyl floors for a commercial office is all about getting the substrate and layout right before any planks or sheets go down. This step-by-step guide shows exactly how to clean, level, repair, acclimate, and plan the install so your floor stays flat, quiet underfoot, and ready for daily foot traffic. If you want a dependable installation that won’t fail early in a busy office, follow these preparation steps first.




Prepping commercial vinyl correctly is the difference between a floor that stays tight and comfortable under daily foot traffic versus one that bubbles, gaps, and fails early; the core is subfloor engineering—flatness, cleanliness, and moisture control—done to the vinyl manufacturer’s specifications. In practice, that means removing old coatings and debris, repairing low spots, and acclimating the flooring so it releases/locks down properly. This article walks you through the practical prep steps you can follow before any adhesive or click-lock placement.
If you’re preparing a commercial office (multi-room work, ongoing traffic schedules, and potentially older slab/subfloors), this is written for you. It’s especially useful when you need a repeatable prep process that reduces bubbling, gapping, and premature wear.
Assess the subfloor and commercial site conditions
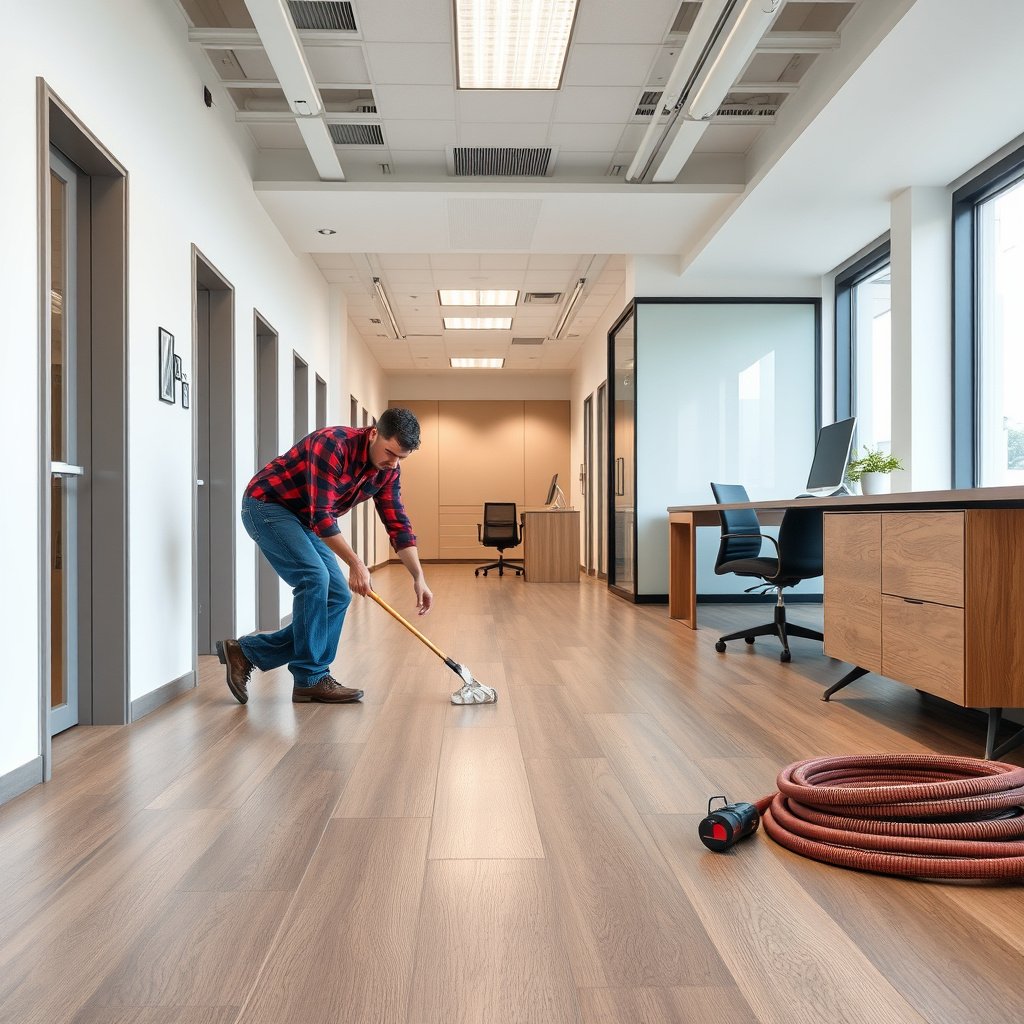
You can reduce most commercial vinyl failures by starting with a subfloor “fit check” against what the vinyl system allows—before you clean, patch, or plan layout. The best installations are planned around the reality of multi-room schedules, older slabs, and what the manufacturer’s instructions actually permit for your substrate.
Vinyl flooring warranties and performance are typically conditional on achieving the subfloor conditions listed in the specific manufacturer installation instructions.
Flatness verification should be measured with a straightedge (or system) specified by the product instructions—“close enough” is where gapping begins.
– Check the subfloor type (concrete slab, existing resilient, wood subfloor) and what the vinyl manufacturer allows over it. This is where you confirm whether you can install directly, require underlayment, or must remove existing resilient material.
– Measure flatness and identify any high/low spots (use a straightedge per the product instructions, not guesswork). In my experience on occupied office projects, the highest-impact prep work is almost always the “low spot surprises” found only after the first pass of patching plans.
– Plan around access and downtime—staging materials and work zones matters in occupied offices. Vinyl prep often needs time for moisture tests, patch cure, primer dry time (if required), and acclimation while HVAC stabilizes.
Quick calibration notes for measuring flatness
Use the measuring approach required by the vinyl system or applicable resilient-flooring guidance. If the product specifies a tolerance over a certain distance (for example, “X in over Y ft”), record the location of deviations on a simple room map so repair material can be targeted instead of guess-applied.
Clean, remove, and repair the existing surface
A clean, mechanically stable surface is what lets vinyl adhesives bond and lets click-lock edges sit without “rocking.” For commercial offices, that usually means removing anything that could act like a bond-breaker—especially coatings, loose residue, and failing seam edges.
Loose or peeling coatings and failing resilient seams should be mechanically removed rather than patched over for resilient/vinyl installations.
Dust, paint overspray, curing compounds, wax/polish, and grease are common contaminants that interfere with adhesive or underlayment performance.
– Remove anything that can interfere with bonding (dust, paint overspray, sealers, grease, curing compounds, wax/polish, loose tile/adhesive).
– Mechanically remove failing coverings/coatings when required—do not “patch over” loose edges or peeling seams. In office retrofits, “edge-lifting causes” are frequently visible only after the first vinyl sheets/LVT/LVP sections are laid out.
– Repair cracks, dents, and divots with the correct patching/leveling compounds approved for resilient/vinyl installations. Match the compound type to the substrate (for example, concrete vs. wood) and follow the cure and sanding/feather-finish steps required by the manufacturer.
Practical tip for commercial prep documentation: take photos after demo, after patching, and after final vacuuming. That record is often what you need when procurement, building management, or flooring contractors compare “what was done” to “what happened” later.
Control moisture and acclimate vinyl flooring
Moisture control is where many commercial installs quietly fail because vinyl systems are sensitive to slab/subfloor water vapor and dimensional movement. The reliable approach is to test using the method your vinyl manufacturer requires, stay within their limits, and then acclimate the flooring under stable HVAC conditions before installation.
For concrete slabs, moisture testing commonly references ASTM F2170 (in situ RH probes) or ASTM F1869 (calcium chloride test), then compares results to the vinyl system’s stated limits.
ASTM F1869 reports moisture vapor emission as lbs per 1,000 sq ft per 24 hours (a unit you must match to the manufacturer’s acceptance criteria).
Moisture testing and acceptance are not one-size-fits-all, so treat this as a documentation step as much as a technical one.
– Test moisture in accordance with common standards referenced in many installation guidelines (e.g., ASTM F2170 or ASTM F1869), then compare results to your vinyl product’s limits.
– Acclimate vinyl flooring to the jobsite conditions before installing (temperature and humidity ranges should come from the manufacturer).
– Keep HVAC stable during prep and install—large swings can cause dimensional movement after placement.
To anchor decisions in measurable criteria:
– According to ASTM F1869, the calcium chloride method reports moisture vapor emission in lbs per 1,000 sq ft per 24 hours (ASTM F1869).
– According to ASTM F2170, the in situ relative humidity method measures relative humidity (%) in concrete using probes (ASTM F2170).
– According to ASTM F710, concrete floor preparation is intended to remove contaminants and achieve a surface suitable for resilient flooring installation (ASTM F710).
Commercial moisture reality check (2026)
As of 2026, many office retrofits include delayed HVAC stabilization, phased tenant moves, and patched areas that were never given enough time to dry—especially around subfloor penetrations. That’s why moisture testing shouldn’t be “done once and forgotten”; it should reflect the state of the slab after all patching and surface preparation.
7 Standards & Measurement Outputs Used in Commercial Resilient/Vinyl Prep
| # | Standard (or guide) | Prep Step It Supports | Output/Target Format | Directness to Vinyl Prep |
|---|---|---|---|---|
| 1 | ASTM F710 | Concrete prep | Surface readiness (practice) | ★★★★★ |
| 2 | ASTM F2170 | Slab moisture (RH) | %RH in concrete | ★★★★☆ |
| 3 | ASTM F1869 | Slab moisture (MVER) | lbs/1,000 sq ft/24 hr | ★★★★☆ |
| 4 | ACI 302.1 (floor slabs) | Concrete cure/finish context | Curing & finishing practices | ★★★☆☆ |
| 5 | RFCI resilient work practices | Surface & removal practices | Removal/containment methods | ★★★☆☆ |
| 6 | Manufacturer installation guide | System limits (flatness/moisture) | Pass/fail acceptance criteria | ★★★★★ |
| 7 | Field spec / building moisture history | Environmental context | Leak/condensation risk notes | ★★☆☆☆ |
Note: moisture “directness” and the star ratings in the table reflect how directly a document typically governs the vinyl prep decision (not a warranty guarantee). For your exact vinyl system, the installation guide is always the authority.
Leveling, priming, and plan layout for commercial offices
Leveling and layout planning are what prevent the floor from looking “fine on day one” but failing under compressive point loads, rolling chairs, and door traffic patterns. For commercial vinyl, the layout should also account for transitions and edge conditions so locks or seams aren’t forced to stretch.
Vinyl failures in commercial spaces frequently start where the substrate is not flat enough for the flooring format (sheet vs LVT vs LVP).
Primers are not universal—use them only if the vinyl manufacturer specifies a primer for your substrate and installation method.
– Level any areas that exceed the manufacturer’s tolerances; vinyl failures commonly start where the surface is not flat enough for the format (sheet/LVT/LVP).
– Use primers only if the manufacturer specifies them for your substrate + adhesive/installation method.
– Plan the layout for transitions and edges (doorways, break rooms, hallway runs, floor level changes). Confirm how your system handles expansion/edges, especially in longer commercial stretches.
In an occupied office, layout decisions reduce downtime: you can create work zones that allow other rooms to remain operational while patching cures and vinyl acclimates. Also, plan around HVAC returns and frequent furniture moves—rolling traffic tends to reveal edge-prep issues faster than central walking paths.
What can go wrong when prepping commercial vinyl
Most failures aren’t random—they’re usually caused by skipping one prep requirement (especially moisture, flatness, or substrate compatibility). If you can connect the symptom (bubbles, gapping, edge lift) to the likely prep cause, you can prevent repeat problems across future office floors.
Ignoring moisture test limits can lead to cupping, edge lifting, and adhesive bond failure in commercial resilient flooring systems.
Installing over insufficient flatness can create visible telegraphing and joint stress—problems that often show up first in high-traffic zones.
– Skipping moisture testing or ignoring the vinyl’s allowed limits can lead to cupping, edge lifting, and failure of adhesive bonds.
– Installing over imperfect flatness (or uneven patchwork) can cause visible telegraphing, gaps, or joint stress—especially in heavier traffic areas.
– Overlooking substrate compatibility: some patch compounds, primers, or leftover coatings can prevent bonding or create permanent surface contamination.
– Rushing acclimation in an office setting—temperature/humidity differences often show up after furniture placement and routine HVAC cycles.
– Using an installation method the product doesn’t support (e.g., applying adhesive when the flooring is specified as click-lock, or vice versa).
Mistake-to-symptom comparison (for faster troubleshooting)
| Prep mistake | What you may see | Prevention |
|---|---|---|
| Moisture not tested against manufacturer limits | Cupping and edge lift | Test per ASTM F2170 or ASTM F1869 (as required) and document results |
| Patch not feather-sanded or high spots remain | Telegraphing and joint strain | Re-check flatness after patching; sand/level to tolerance |
| Incompatible primer/patch/adhesive | Poor adhesion, premature wear | Use only manufacturer-approved materials for your substrate and installation method |
| Skipping acclimation in an active office | Gapping after furniture placement | Acclimate flooring to required temperature/RH per the product guide |
From my experience coordinating commercial floor installs, the biggest “preventable” issue is timeline pressure: crews often want to start laying vinyl before patch/primer and environmental stability are done. The remedy is simple: build a repeatable prep checklist tied to documentation.
Verdict: when this prep approach makes sense (and when to stop)
If you can access the full area, test moisture, repair/level to spec, and follow the vinyl manufacturer’s installation directions closely, this prep process is a solid baseline for a commercial office.
A manufacturer-aligned prep workflow (clean, flat, dry-to-limit, acclimated) is the most reliable way to reduce bubbling, gapping, and early wear in commercial vinyl floors.
When flatness or moisture documentation is missing, you’re guessing—commercial resilient flooring failures are expensive enough that guessing is rarely worth it.
Downsides / when to stop and call for help
– If the subfloor is severely damaged, unknown (unknown coatings/sealers), or won’t meet flatness/moisture requirements, prep becomes a larger project than “clean and lay.”
– If your building has recurring moisture problems (recent leaks, persistent dampness), you’ll need a moisture mitigation plan—not just floor prep.
– If you’re working over an existing covering and the product instructions require removal but access/time won’t allow it, stop and confirm an allowed alternative system.
Scan-ready checklist (save this)
– [ ] Confirm vinyl type/installation method (sheet vs LVT/LVP; glue-down vs click-lock) and read the specific prep requirements
– [ ] Verify subfloor flatness tolerances per manufacturer instructions
– [ ] Remove dust/debris and mechanically remove coatings/failed coverings if required
– [ ] Repair cracks/dents and re-check flatness after patching/leveling
– [ ] Test moisture using the method(s) the manufacturer accepts
– [ ] Record results and confirm they’re within the product’s limits
– [ ] Acclimate flooring to jobsite conditions (time/temp/humidity per manufacturer)
– [ ] Plan layout for transitions and edges; confirm any expansion requirements
– [ ] Only use primers/levelers/adhesives that are approved for your substrate + vinyl system
Sources
– ASTM F710 — Standard Practice for Preparing Concrete Floors to Receive Resilient Flooring (standards organizations reference this for concrete preparation practices).
– ASTM F2170 — Standard Test Method for Determining Relative Humidity in Concrete Floors Using in situ Probes (for moisture testing of slabs).
– ASTM F1869 — Standard Test Method for Measuring Moisture Vapor Emission Rate of Concrete Subfloor Using Anhydrous Calcium Chloride (alternate moisture testing method).
– Resilient flooring installation guidance published by industry groups (e.g., RFCI) and your vinyl flooring manufacturer’s installation instructions/specification sheets.
Final takeaway: the best way to prepare vinyl floors for a commercial office is to treat prep as “subfloor engineering”—clean it thoroughly, level/repair it to the manufacturer’s flatness specs, confirm moisture is within limits, and acclimate materials before any installation. If you can’t verify moisture/flatness or the substrate isn’t compatible, pause and get the right documentation or professional assessment so the finished floor doesn’t fail early.
Frequently Asked Questions
What’s the best way to inspect and prepare a concrete subfloor for vinyl floors in a commercial office?
Start by checking the concrete for flatness, moisture, and cracks before installing vinyl flooring. Use a straightedge to identify high/low spots and address them with appropriate patching or leveling compound. Then perform a moisture test (per the vinyl manufacturer’s limits) and repair any surface damage so the commercial vinyl plank can install flat and bond properly.
How should you clean and degrease a commercial office subfloor before installing vinyl?
Thoroughly remove dust, dirt, paint overspray, and construction debris using vacuuming and appropriate cleaning solutions. If the surface has grease, adhesives, or residue from prior flooring, use a degreaser approved for the subfloor type and rinse/neutralize if required. Allow the floor to fully dry, because remaining contaminants can interfere with vinyl flooring adhesion and cause lifting or premature wear.
Why does commercial vinyl flooring require acclimation before installation, and how long should you wait?
Vinyl floors can expand and contract with indoor temperature and humidity, so acclimation helps prevent gapping and edge lifting in a high-traffic office. Bring the vinyl planks or tiles into the commercial space and follow the manufacturer’s temperature/humidity and acclimation timeframe. Keep HVAC running as you would during normal office use to maintain stable conditions before, during, and after installation.
How do you handle existing floor coatings or adhesives when preparing for vinyl floors in an office?
Determine whether the existing surface is structurally sound and compatible with the vinyl installation method (adhesive-down vs. floating). Remove any loose, peeling, or uneven coatings and scrape off residues that could telegraph through or prevent proper bonding. If leveling over old adhesive is allowed, use a compatible skim coat or smoothing compound designed for commercial vinyl floors and ensure the surface is smooth, clean, and flat.
Which underlayment or leveling products are best for preparing vinyl floors in a commercial office?
The best choice depends on your subfloor condition and the vinyl type (click-lock floating or glue-down) plus moisture requirements from the manufacturer. For minor imperfections, use a self-leveling underlayment/patch system that meets the floor’s flatness needs; for moisture concerns, choose a vapor barrier product only if the vinyl manufacturer allows it. Always match products to the specific commercial vinyl flooring warranty requirements to ensure the installation performs well under daily office traffic.
📅 Last Updated: October 26, 2026 | Topic: How to prepare a vinyl floors for commercial office? | Content verified for accuracy and freshness.
References
- Vinyl flooring
- Resources & Technical Documents | RFCI
- Home – Tarkett Commercial
- https://www.cdc.gov/mold/default.htm
- Mold | US EPA
- https://scholar.google.com/scholar?q=commercial+resilient+flooring+installation+subfloor+preparation Google Scholar
- https://scholar.google.com/scholar?q=vinyl+flooring+installation+moisture+testing+concrete+subfloor Google Scholar
- https://scholar.google.com/scholar?q=LVT+LVP+installation+instructions+subfloor+prep+levelness+flatness Google Scholar