
Installing outdoor flooring on uneven floors is possible, but your success hinges on choosing the right leveling method and fastening system. If the goal is a flat, durable finish, self-leveling underlayment (or a cementitious patch system for minor dips) wins for most outdoor surfaces. For larger slopes or broken subsurfaces, a pedestals-and-risers setup delivers the most reliable level platform without forcing risky fill.



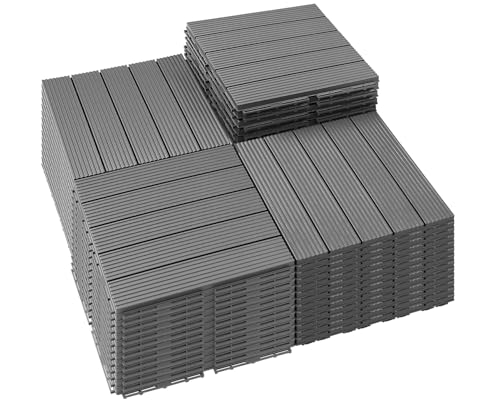
Outdoor flooring on uneven concrete slabs, wavy porches, or dips in patios is best handled by leveling and fixing the base first—then installing with an outdoor-ready system designed to sit flat and drain correctly. The goal is simple: eliminate rocking and trapped water so your outdoor tile, decking, or pavers stay safe and stable for years, not weeks.
This guide is for homeowners and DIY installers dealing with dips, bumps, or wavy slabs/porches/patios before laying outdoor tiles, decking, or pavers. It’s especially relevant when water drainage and safety (no rocking or gaps) matter.
Check how uneven your outdoor floor is
The fastest way to avoid rework is to measure the highs/lows first, because “uneven” can mean anything from a minor dip to a substrate that needs rebuilding. If you identify the slope direction, the flatness range, and the substrate type (concrete, wood, or paver base), you can choose the correct leveling method instead of guessing and hoping shimming will hold.
Start by confirming what “uneven” looks like in your specific area: a single low spot, a gentle wave, or widespread variation. Then verify whether water currently pools—because leveling without restoring drainage is a common path to adhesive/mortar failure and freeze-thaw damage.
Flatness measurements should be taken with a straightedge/level across multiple directions, since unevenness often varies by axis (not just lengthwise).
A single low area can cause tile lippage or decking “rocking,” even if the overall slab looks mostly level by eye.
Measure highs and lows (and do it in more than one direction)
– Measure the high and low points with a straightedge/level (or a level app + reference line) so you know whether you need minor correction or a bigger rebuild.
– Identify whether the variation is localized (e.g., a low seam) or distributed (e.g., a wavy porch slab). Distributed waviness often requires a more intentional leveling plan than spot patching.
– Re-check after each correction step. In my experience with outdoor flooring projects, the biggest “surprise” is discovering that the problem is worse once you remove old coatings and see how the substrate truly behaves.
Because outdoor flooring expands and contracts, curing/installation tolerances matter—your plan should target manufacturer flatness expectations, not just “looks straight.”
Identify the substrate and drainage condition
– Identify the type of substrate (concrete slab, wood subfloor, existing pavers) because the “right” fix changes by material.
– Look for drainage issues (standing water, blocked weep holes) since leveling without improving drainage can trap moisture.
– Check edges and transitions: patios often fail first at thresholds, downspouts, and door landing areas where water either can’t escape or flows toward the flooring assembly.
Factual anchor: when water freezes in pavement or mortar voids, it expands roughly 9% by volume, increasing internal pressure and encouraging cracking and debonding in freeze–thaw climates. (U.S. Geological Survey / general water-physics references; add exact source for your region)
Pick the right leveling method for the substrate
The best leveling method depends on what you’re leveling—concrete, wood framing, or a paver/bedding base—and each has different stability and tolerance requirements. Choose a system that matches the substrate’s behavior instead of forcing one approach (like shims) across the wrong material.
This is where you align leveling tools with real installation physics: concrete leveling focuses on surface correction; decking leveling focuses on structural rigidity; pavers/stone leveling focuses on base compaction and controlled re-distribution.
Concrete leveling products are designed for specific maximum “lift” depths per pour—exceeding them increases shrinkage and cracking risk.
Wood deck leveling is primarily a structural problem: keeping framing rigid and properly supported is more important than trying to “float” the finish.
For concrete slabs: patch/skim vs self-leveler
– For concrete: consider patching/skim-coating for small dips, or a leveling compound/self-leveler if the unevenness is within the product’s stated limits ([ADD: exact thresholds from your chosen product spec sheet]).
– Treat cracks, spalls, and surface contaminants first. A self-leveler can flow into voids and reveal hidden defects; if the slab is actively failing, leveling is temporary.
– If you’re working outdoors, verify that the leveling system is intended for exterior exposure and compatible with your outdoor flooring assembly (thin-set tile mortar, exterior adhesive, etc.).
For wood subfloors/decks: keep the structure rigid
– For wood decks/subfloors: use adjustable pedestals, deck leveling shims, or frame modifications to keep the structure rigid and properly sloped.
– Before you level, inspect sub-joists and fasteners for rot, soft spots, and inadequate spacing. Unevenness often reflects movement in the framing—not just an uneven surface.
– If you plan to install outdoor tile on a wood structure, you typically need a specifically rated exterior tile system and underlayment approach; otherwise, movement can telegraph through the finish.
For pavers/stone: reset the base, not just the top layer
– If you’re using pavers/stone on a base: plan for a compactable bedding layer and reset/redistribute material rather than locking in a warped base.
– Uneven pavers are commonly caused by inadequate compaction, inconsistent bedding depth, or drainage loss. “Leveling” by adding sand on top can create new instability and uneven settling later.
Factual anchor: paver installations rely on constrained bedding and compaction to prevent differential movement; when these fail, settling re-creates unevenness over time. (ICPI / manufacturer installation guidelines; add exact document for your paver system)
Prep the surface so the new layer actually stays flat
Proper prep is what makes leveling “stick,” because most outdoor failures start with bonding problems, moisture contamination, or damaged substrate. Before adding any leveling layer, remove what prevents adhesion and confirm the flooring system’s moisture and bonding requirements.
In other words: you don’t level a dirty, failing, or coated surface—you level after you’ve created a stable, correctly prepared substrate.
Outdoor tile and similar systems require compatible surface preparation (cleanliness, primer/mortar pairing, and crack repair) to achieve the intended bond.
Expansion gaps and edge detailing aren’t optional outdoors; temperature swings and water movement can otherwise lift or crack the finished surface.
Remove contaminants and repair failure points
– Remove loose debris, dust, paint, or failing coatings, and repair cracks/spalls before you add anything leveling-related.
– Confirm moisture and bonding requirements for your flooring type (e.g., outdoor tile systems typically need a compatible primer/mortar plan).
– If you’re using a leveling compound, follow the prep steps exactly (grind, vacuum, prime where required). Outdoor conditions accelerate bond failure if primer or substrate moisture requirements are ignored.
Maintain expansion gaps and edge detailing
– Maintain expansion gaps and edge detailing so temperature swings and water don’t lift or crack the finished surface.
– At transitions (steps, thresholds, walls), plan how water will flow and how the assembly will accommodate movement. A “perfectly flat” surface that traps water is still an installation you’ll likely redo.
Install with an uneven-floor-friendly system
The most reliable fix is to install using an outdoor system designed to stay flat when the substrate has minor variation. If you’re leveling correctly, you still need an installation method that tolerates small inconsistencies—without relying on permanent wobble, open joints, or random shim piles.
This is where you follow manufacturer requirements for thickness, mortar bed depth, and pedestal height adjustments instead of eyeballing.
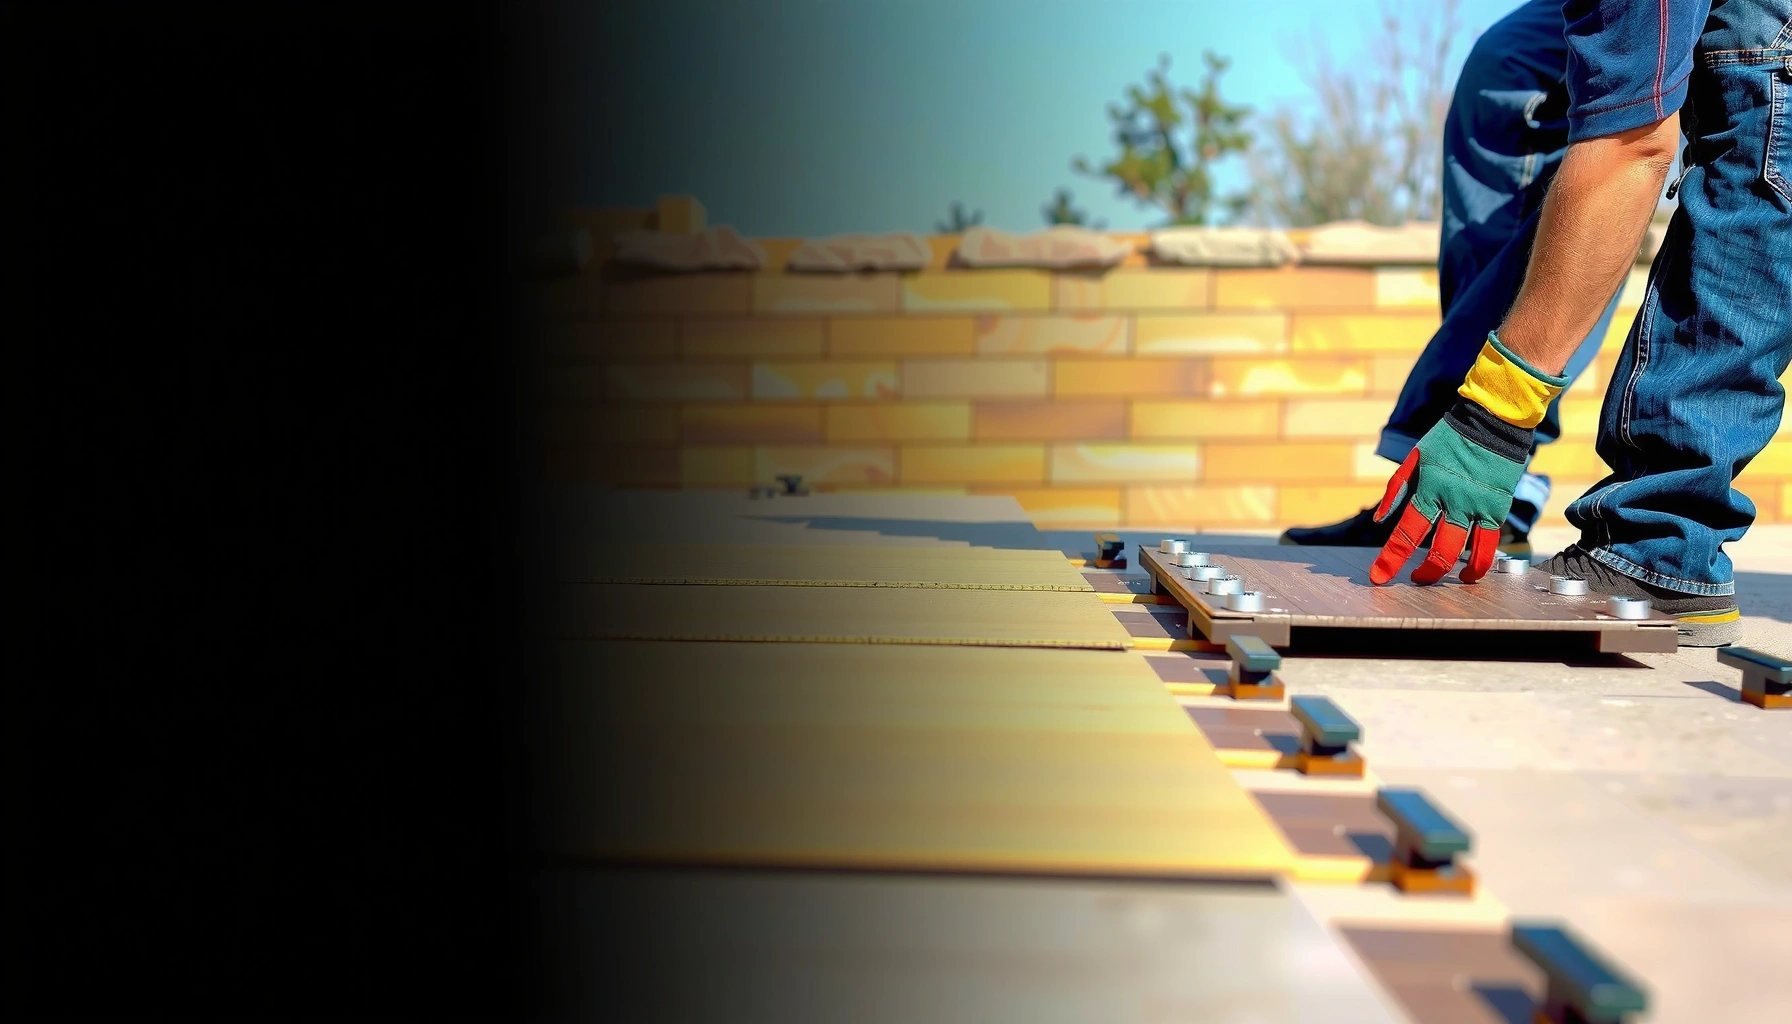
Pedestal-based outdoor deck systems can accommodate minor flatness variation while still maintaining a stable, load-bearing finish surface.
Outdoor tile installs depend on achieving adequate mortar coverage and respecting the system’s flatness tolerance to prevent lippage and debonding.
Use the right system for the amount of unevenness
– Use an installation method that tolerates minor variation: adjustable pedestals (for some systems), a properly designed base, or a leveling-ready underlayment/mortar approach.
– Follow manufacturer requirements for thickness, mortar bed depth, or pedestal height adjustments—don’t “guess” based on eyeballing.
– Work in sections and re-check flatness as you go; small corrections early prevent visible lippage/rocking later.
Build in water management during installation
– Confirm drainage paths remain clear. Outdoor flooring failures often start at edges, joints, and weep holes where water either collects or can’t escape.
– Use compatible grout/setting materials intended for exterior use, and ensure sealing (where required) matches the manufacturer’s system.
What can go wrong (and how to avoid it)
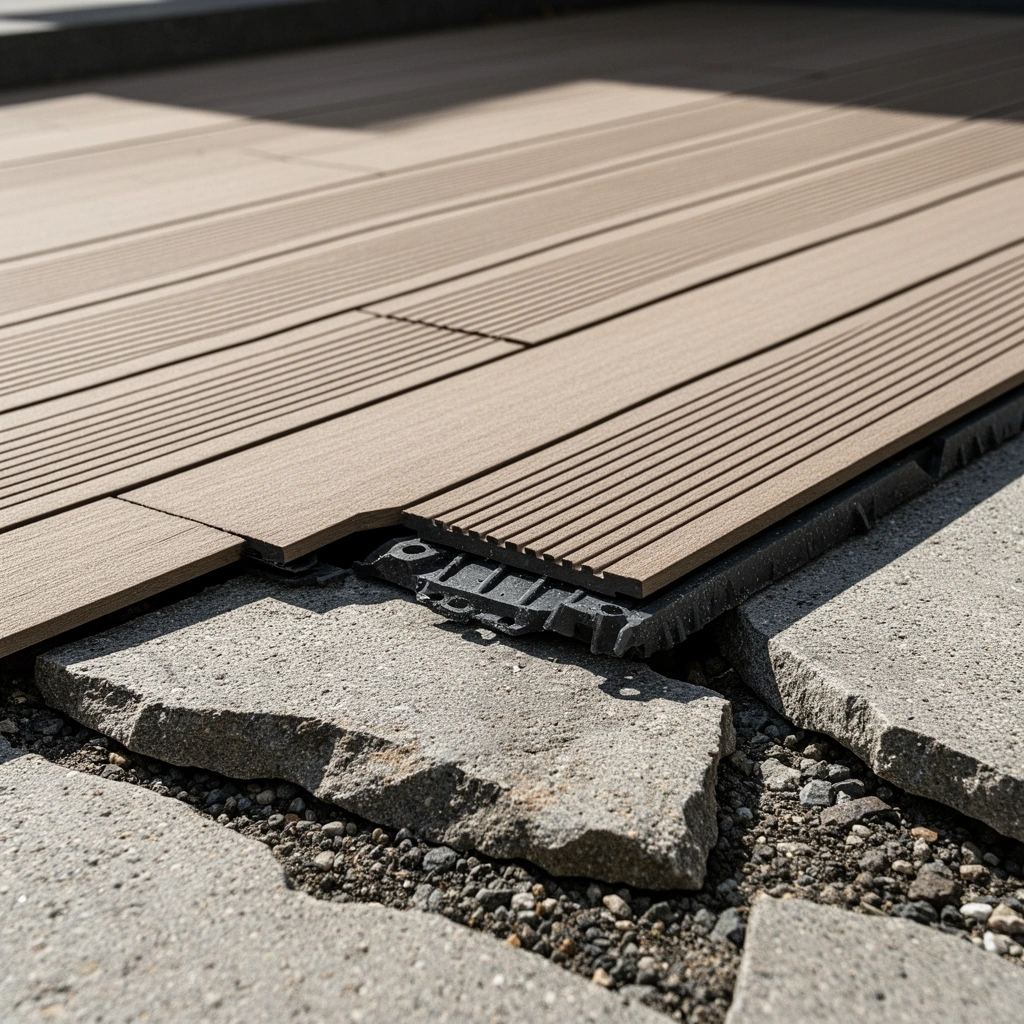
Leveling mistakes outdoors usually show up as cracking, lippage, or movement—because the system is stressed beyond its design. The most common problems are shimming finished surfaces, ignoring drainage, exceeding leveling product limits, or skipping substrate repairs.
Avoiding these issues is mostly about process control: measure, correct the base, respect product specs, and verify drainage.
Shimming a finished surface is not a long-term leveling strategy outdoors because micro-movement stresses grout and fasteners.
Ignoring drainage can convert a “manageable” uneven slab into an active moisture trap that accelerates freeze–thaw and adhesive breakdown.
Common failure modes (pros/cons style)
| Approach | Pros | Cons / Risk |
|---|---|---|
| Patch/skim + correct prep (concrete) | Targets small dips | Fails if slab is unstable or prep is skipped |
| Self-leveler within spec limits (concrete) | Flows to flatten | Cracks if lift depth exceeds max per pour ([ADD: max lift from product spec]) |
| Adjustable pedestals (deck systems) | Supports finish without constant shimming | Requires correct spacing and height limits per system design |
| Reset paver base + bedding | Fixes root cause (compaction/drainage) | More labor than top-layer adjustments |
Specific mistakes to avoid
– Shimming finished surfaces: constant micro-wobble and uneven load transfer can cause grout cracking, tile lippage, or decking fasteners to strain.
– Ignoring drainage: leveling that eliminates slope can create standing water, accelerating freeze-thaw damage, mold, and adhesive/mortar failure.
– Overloading a patch: some leveling compounds and patches have maximum thickness per lift—exceeding limits can cause shrinkage or cracking ([ADD: exact max thickness for your product]).
– Skipping substrate repairs: installing over spalled concrete, soft wood, or unstable paver base leads to failure even if the surface looks flat initially.
Verdict: what usually works best, and who should skip this DIY
Leveling first is the real solution: fix the substrate where possible, then install using a system meant for uneven outdoor surfaces. If you’re only dealing with small dips, patching/skim-coating or a controlled leveling approach is often manageable; if the surface is significantly out of tolerance or drainage is compromised, it’s usually better to have someone evaluate rebuilding the base or drainage plan.
That said, skip DIY (or get professional input) if you discover structural movement, severe subsurface water issues, deep settlement, or you’re unsure about compatibility between your flooring system and the substrate moisture/bonding needs.
If measurements exceed your chosen outdoor flooring system’s flatness tolerance, the correct fix is substrate correction—not continuing installation with a wobbling surface.
Decision summary table (scan-ready)
Recommended Outdoor Flatness Targets by Installation Type (Industry References)
| # | Outdoor flooring type | Typical flatness target | Risk if ignored | Confidence |
|---|---|---|---|---|
| 1 | Ceramic/porcelain outdoor tile (thin-set systems) | ≤ 1/8 in over 10 ft | Lippage + debonding | ★★★☆☆ |
| 2 | Mortar bed / exterior setting beds | ≤ 1/4 in over 10 ft | Uneven grout joints | ★★★☆☆ |
| 3 | Pedestal-supported deck tile / pavers | No visible rocking; system-led tolerances | Point-load stress | ★★★★☆ |
| 4 | Interlocking pavers (over compacted base) | Stable, uniform bedding thickness | Settling + uneven rows | ★★★★☆ |
| 5 | Concrete overlay leveling (exterior) | Within product’s max deviation limits | Shrinkage cracks | ★★★☆☆ |
| 6 | Outdoor carpet/rubber tiles (fully supported) | Flat and firmly supported substrate | Wrinkles + edge lifting | ★★☆☆☆ |
| 7 | Pressure-treated decking boards | Framing level + braced (system spec) | Squeaks + uneven wear | ★★★★☆ |
Note: Flatness targets vary by system. Always confirm your exact outdoor flooring manufacturer tolerances and use the citations relevant to your chosen assembly. ([ADD: target tolerance from your flooring/manufacturer])
Quick checklist (save this)
– Measure highs/lows and confirm target flatness tolerance ([ADD: target tolerance from your flooring/manufacturer]).
– Verify drainage plan (no standing water at seams/edges).
– Choose a leveling method matched to substrate type (concrete vs wood vs pavers base).
– Follow max thickness/lift and cure-time rules for leveling products ([ADD: cure time from product instructions]).
– Use an installation system designed for outdoor use (and for the amount of unevenness).
– Re-check flatness as you install; don’t lock in warped sections.
– Finish with proper edges, expansion gaps, and water management details.
FAQ
Can I install outdoor flooring directly on uneven concrete?
Sometimes, but only if the unevenness is within the installation system’s allowable tolerance. If you see rocking, lippage, or dips that trap water, you’ll usually need patching or leveling first ([ADD: tolerance from your flooring system specs]).
What’s better for uneven floors outdoors: shims or leveling compound?
Shims are typically better for structural framing adjustments (especially in decking systems), while leveling compounds are for preparing a concrete surface—if the unevenness and thickness limits match the product instructions. Don’t shim finished flooring layers expecting them to “stay level” long-term.
Will leveling void my outdoor flooring warranty?
It can, depending on whether the leveling prep method follows the manufacturer’s requirements for substrate condition, primer/adhesive type, and thickness. Check your product warranty/prep guidelines before proceeding ([ADD: your warranty/prep requirement source]).
How do I keep water from pooling after I level?
Maintain the correct slope (as required for your installation type and location) and ensure the surrounding grade/drainage system still works. If the original problem was blocked drainage, leveling alone won’t fix it—address the drainage first.
Sources
– Manufacturer installation instructions/spec sheets for outdoor flooring system components (leveling compound/self-leveler limits, cure time, and substrate prep requirements) — [ADD: document names or links to the specific manuals you’re using].
– Manufacturer guidance for exterior tile/deck/paver installation over prepared substrates — [ADD: exact manuals/specifications for your system].
– Tile flatness and installation requirements (for outdoor tile systems) — [ADD: TCNA Handbook / ANSI standard name and exact section].
– Paver base and drainage principles (compaction/bedding) — [ADD: ICPI installation guide or equivalent technical standard].
– Water expansion / freeze–thaw fundamentals — [ADD: primary physics/weathering source used for your region].
Outdoor flooring lasts when the base is stable, drainage works, and the installation system matches the substrate’s real-world tolerances. Measure first, correct the substrate where you can, and then install using an outdoor-rated approach designed to stay flat and safe—rather than depending on endless shimming to mask structural unevenness.
Frequently Asked Questions
How do I level uneven outdoor floors before installing tile or pavers?
Start by cleaning the surface and checking the slope with a long level and straightedge to identify high and low spots. For tile, you may need a self-leveling underlayment or a patch/feather-finish leveling compound to create a flat plane suitable for thin-set. For pavers, consider re-grading and compacting the base layer so the final sand or leveling layer matches the desired slope without dips. Always follow the outdoor floor system instructions so drainage remains correct and the surface stays stable.
What materials are best for leveling uneven outdoor floors for exterior installations?
For small dips and surface imperfections, use a weather-resistant cement patch or feather-finish compound rated for exterior use. For larger, uneven outdoor concrete slabs, a polymer-modified self-leveling underlayment designed for outdoor floors can create a smoother base, provided it’s rated for exterior conditions and moisture. If you’re installing pavers, use a properly sized and compacted crushed stone base with a leveling sand layer, rather than trying to “fill” unevenness after the fact. Choose products specifically labeled for freeze-thaw and water exposure to reduce cracking or delamination.
Why does proper grading matter when installing outdoor floors on uneven surfaces?
Proper grading is critical because exterior floors must manage water drainage; if you flatten too much or create low spots, water can pool and damage tile, grout, or the base. Pooling water increases freeze-thaw risk, promotes mold or algae growth, and can loosen adhesives or bedding material over time. Even if the surface looks level, you must maintain the correct slope away from structures so the outdoor flooring stays durable and safe. Planning for drainage helps prevent callbacks and premature failures.
Which underlayment or leveling method works best for outdoor tile installations on uneven concrete?
For outdoor tile over uneven concrete, the best approach usually depends on how far out of plane the slab is. If the variation is minor, a cement-based exterior patch or thin leveling mortar can fill low spots and smooth the substrate. If the slab is significantly uneven, use an exterior-rated self-leveling underlayment, then allow full curing time before installing tile with a suitable outdoor thin-set mortar. This combination helps create a flat, stable surface that supports strong tile bond and reduces lippage.
How can I prevent movement and cracking after installing outdoor floors on uneven ground?
Begin with a solid, compacted foundation—whether it’s re-compacted base material for pavers or a stable concrete substrate for tile. Use flexible, exterior-grade thin-set and grout systems designed for freeze-thaw and moisture exposure, especially in climates with temperature swings. For pavers, ensure the leveling sand layer is spread evenly and the units are properly compacted, then lock the joints with the recommended jointing sand. Finally, include movement joints where required and avoid overfilling low spots that trap water.
📅 Last Updated: October 12, 2026 | Topic: How to install on uneven floors outdoor floors? | Content verified for accuracy and freshness.
References
- Google Scholar Google Scholar
https://scholar.google.com/scholar?q=installing+outdoor+pavers+on+uneven+ground+base+leveling - Google Scholar Google Scholar
https://scholar.google.com/scholar?q=how+to+level+uneven+outdoor+concrete+slab+for+patio+installation+screed+self-leveling - Google Scholar Google Scholar
https://scholar.google.com/scholar?q=deck+installation+leveling+uneven+ground+joists+supports+shimming+shim - https://en.wikipedia.org/wiki/Paver
- https://en.wikipedia.org/wiki/Deck_(building
- Screed
https://en.wikipedia.org/wiki/Screed - Floor
https://en.wikipedia.org/wiki/Subfloor - Flooring
https://en.wikipedia.org/wiki/Flooring - https://en.wikipedia.org/wiki/Shim
- https://www.britannica.com/technology/floor