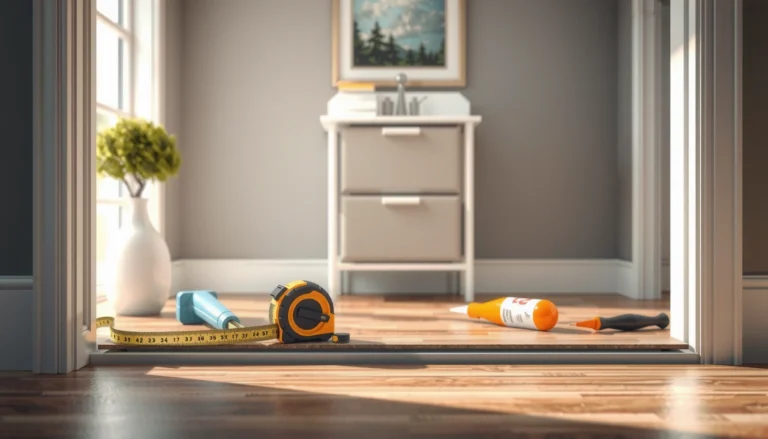

Want to install carpet tiles in a living room that look straight, feel comfortable, and stay put? This step-by-step guide shows the fastest reliable method to lay living room carpet tiles over your subfloor, from prepping the area to snapping chalk lines and cutting around edges. If you want a clean, no-drama installation with a finished look, you’ll know exactly what to do from start to finish.




Carpet tiles install best when you prep the subfloor carefully and plan your first row with a dry fit before applying adhesive—most “bad results” come from uneven floors or off-center layouts. Start by cleaning and checking flatness, dry-lay a few tiles to confirm direction and symmetry, then install row by row using the correct method for your tile backing (glue-down, loose lay, or peel-and-stick).
If you’re refreshing a living room floor with carpet tiles—whether for easier replacement, better sound comfort, or a design upgrade—this layout is for you. It’s especially useful if you’re doing it yourself and want to avoid common installation mistakes.
Choose Your Carpet Tile Type and Installation Method
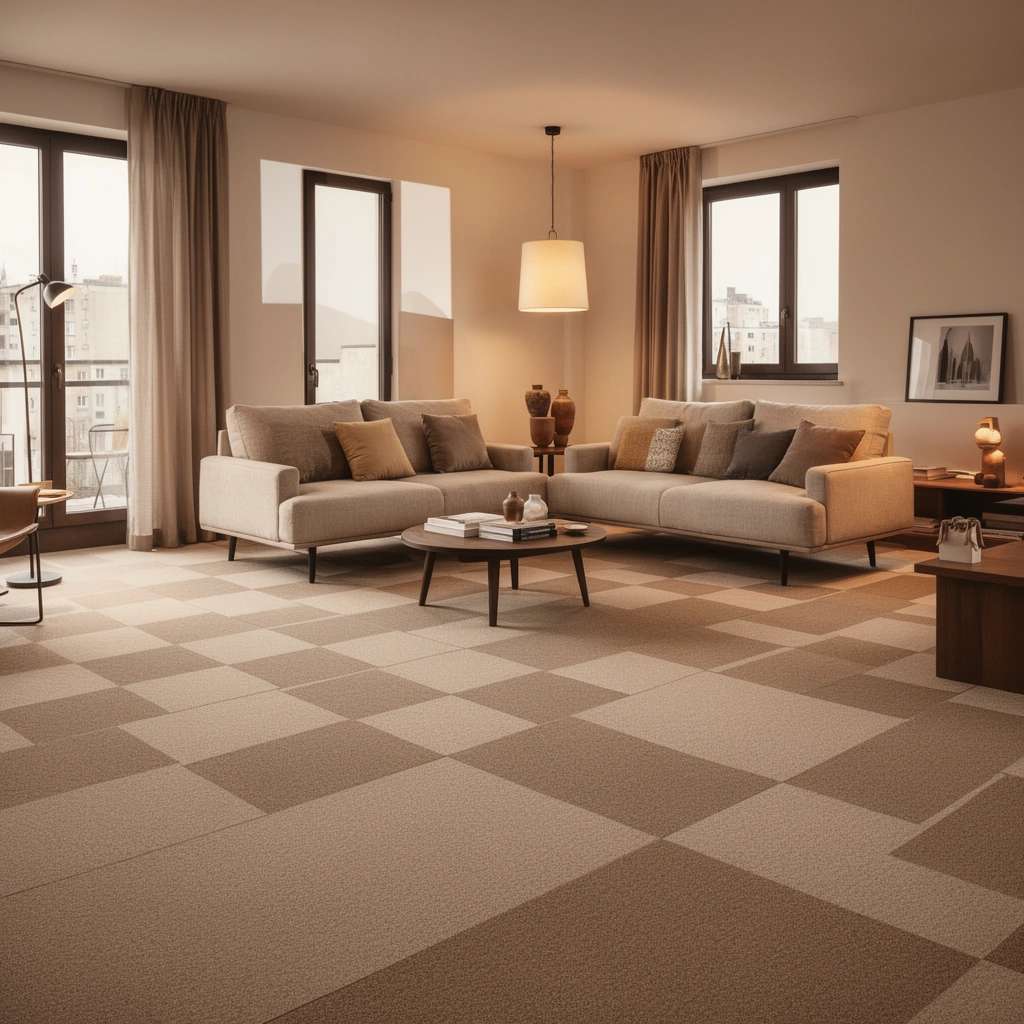
Choose the backing type first, because the install sequence changes depending on whether tiles are bonded, mechanically held, or self-adhered. Confirm directionality (some tiles have a face/nap direction) and match subfloor conditions to the manufacturer’s requirements before you start measuring.
Most carpet tile systems fall into three workflows: glue-down (adhesive bonded), loose lay (friction/underlayment-based), and peel-and-stick (pressure-sensitive adhesive).
If carpet tiles are directional, installing them in mixed orientations can create visible shading differences under living-room lighting.
Manufacturer specs for subfloor flatness and moisture conditions should take priority over general DIY guidance.
Before you buy tools or open adhesive, identify your exact tile system:
– Glue-down tiles require an approved adhesive, proper adhesive coverage, and clean placement timing.
– Loose lay tiles rely on friction and/or an underlayment system; you typically avoid adhesive unless the system calls for it.
– Peel-and-stick tiles use a pressure-sensitive backing; they still require a clean, dry surface and careful seam/edge pressure.
What “directionality” means in real rooms
Directional carpet tiles may be marketed as having a “nap,” “pile,” or “face direction.” Even if tiles look identical in a box, the fibers can reflect light differently depending on how you lay them. In a living room—where sunlight and lamp placement highlight texture—direction errors show up fast.
Subfloor conditions you must not guess on
Manufacturers commonly specify:
– Dry subfloor (moisture can affect adhesion and long-term performance)
– Clean subfloor (dust, paint overspray, and sealers can block bonding)
– Flatness tolerance (high spots can cause edges to lift; low spots can create ridges)
For resilient floor covering installations, a widely used flatness guideline is 3/16 in (≈4.8 mm) in 10 ft. This is commonly referenced in industry practices for resilient materials, including carpet tile installations. Resilient Floor Covering Institute (RFCI)
Prep the Living Room Floor (This Determines the Result)
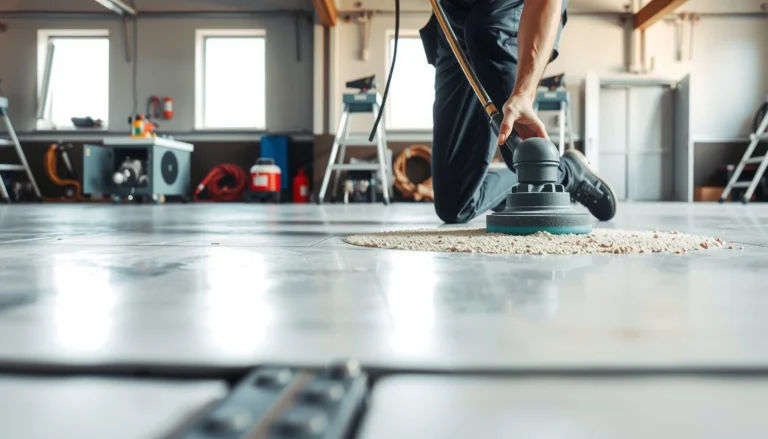
Prep is where the install is won or lost: if the subfloor is dirty, uneven, or damp, the tiles can shift, gap, or telegraph ridges. Clean thoroughly, confirm dryness and flatness, and only then start measuring for your layout.
Carpet tiles reveal subfloor imperfections because their edges and fiber bundles don’t “hide” bumps the way thick wall-to-wall carpet can.
Adhesive systems need a clean surface; dust and residue can break the bond at seams and corners first.
Flatness is checked across the full installation area, not just where the first row will sit.
Baseboards: remove or plan around?
The key decision is aesthetic and practical:
– If your layout requires tight symmetry at the perimeter, removing baseboards can make finishing cleaner.
– If you’re installing over a consistent edge and your plan accounts for baseboard coverage, you can often leave them in place and cut tile to fit neatly.
A common best practice is to follow the manufacturer’s edge finishing guidance and ensure your tile thickness and transition details won’t create trip hazards at doorways.
Clean and mechanically address problems
Before you dry fit:
– Sweep and vacuum until the floor is free of fine dust.
– Remove loose debris and scrape off old adhesive residue, paint overspray, drywall mud, and high-causing particles.
– Patch low spots and sand down high spots if your tile system calls for underlayment-free installs.
If you’re dealing with old adhesive, the safest move is to remove what you can and then follow the tile manufacturer’s requirements for residue levels. Residue you can’t remove can sometimes be a bonding killer.
Verify dryness and flatness (do this before adhesive)
Use whatever methods your situation supports:
– Moisture tests if your concrete slab or subfloor type requires it
– A straightedge (or laser level) to check flatness tolerance
Again, the exact tolerance depends on your tile system. As a baseline, industry flatness guidelines for resilient products commonly use 3/16 in in 10 ft RFCI.
Plan the Layout and Do a Quick Dry Fit
Plan so your first row looks intentional: you want balanced cuts, consistent direction, and no “tiny sliver” pieces near high-visibility walls. Measure, mark a centerline, and dry-lay at least a test area before you commit to adhesive.
A centerline layout helps prevent unbalanced “cut tile” widths that become visually obvious along long wall runs.
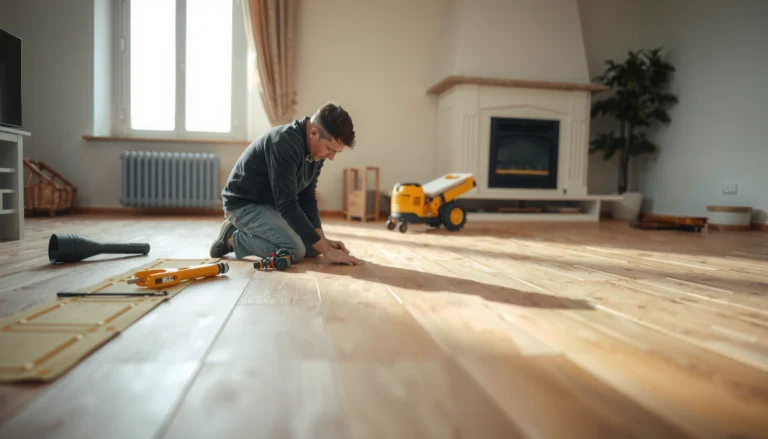
Dry-fitting lets you confirm direction, seam alignment, and how cuts will land around walls and doorways before any tiles are permanently set.
In directional carpet tile installations, dry fit is the last moment to correct orientation without rework.
Mark a centerline that matches your room’s visual axis
Measure the longest run and use those measurements to mark:
– A centerline along the room’s axis
– A perpendicular line if your pattern depends on cross-runs
In living rooms, the “main seating path” usually draws the eye. If the room isn’t perfectly square, choose a layout that keeps the most noticeable area—often the path from the doorway to seating—looking aligned.
Dry-lay a test area (more than just a few tiles)
Dry-lay at least one full “test area,” for example:
– One row across the room
– One column down from that row
– Enough tiles to see where cuts will land near walls and the entrance
When I plan carpet tile installs for clients, the dry fit typically saves time later because it reveals two predictable issues: (1) doors and transitions that force awkward cuts, and (2) directional shading mismatches that aren’t obvious until you view the fiber pattern under room light. [ADD: author’s specific observation about how direction/shading showed up under your lighting conditions, if applicable.]
Decide where the first row starts
Most DIY installs look best when the first row:
– Avoids tiny slivers
– Keeps tile edges centered under visual landmarks (like the main seating line)
– Handles transitions (door thresholds and adjoining flooring) with clean geometry
Install the Tiles in Rows (Keep Lines Straight)
Install in rows so lines stay straight and pattern spacing remains consistent. Start with your most controlled area (usually the first row), then lock subsequent tiles into place using the edge system and the correct method for your backing.
Row-by-row installation prevents cumulative alignment errors that can snowball into visible crooked seams.
For glue-down carpet tiles, adhesive coverage and placement timing directly affect bond strength at tile corners and seams.
Peel-and-stick tiles require firm, even pressure—especially at edges—to activate the pressure-sensitive adhesive.
Glue-down: adhesive workflow that matters
For glue-down systems:
1. Apply adhesive as directed (type, trowel notch/coverage if specified).
2. Respect any open time / dwell time requirements in the adhesive spec.
3. Place tiles carefully—once seated, you generally avoid shifting.
Tip: Use a chalk line or straight guide so your first row doesn’t drift. Seams show more when tiles creep during placement.
Peel-and-stick / loose lay: press, align, and follow instructions
For peel-and-stick:
– Position each tile accurately.
– Press firmly.
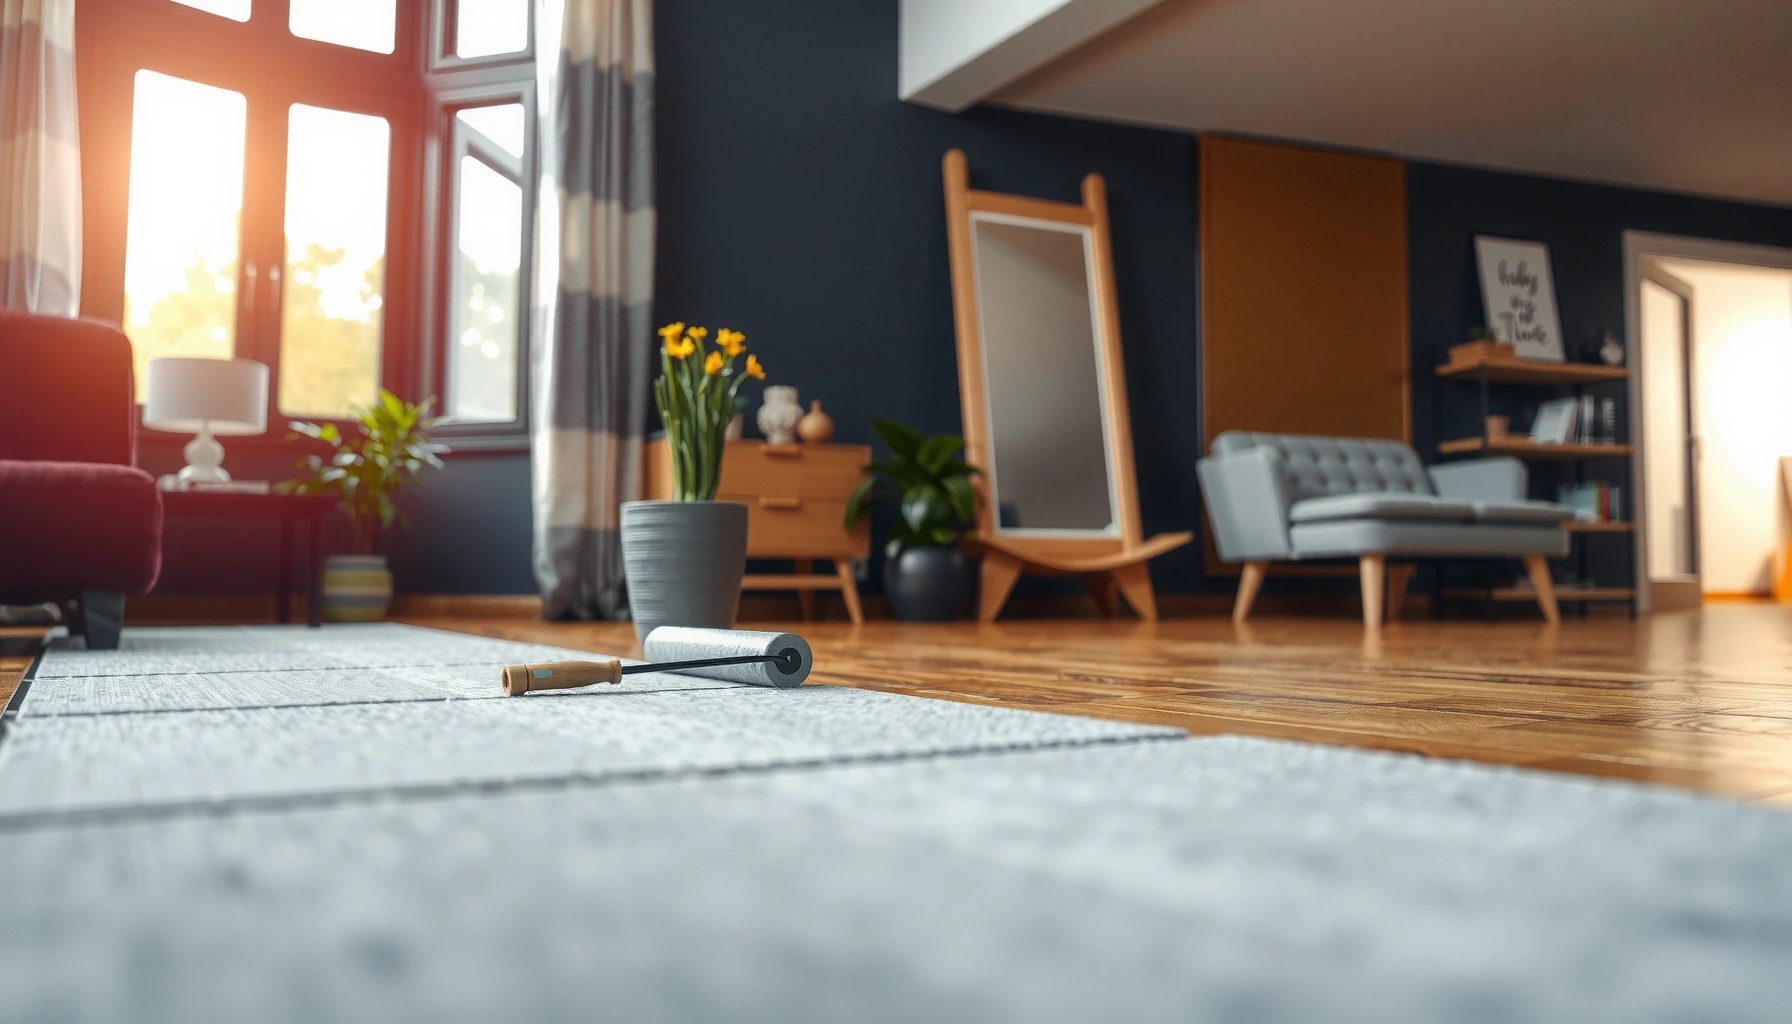
– If the manufacturer recommends rolling, use a roller or flat pressure tool, and pay extra attention to seams.
For loose lay:
– Keep tiles snug and aligned.
– Follow any underlayment or climate guidance.
– Do not treat loose lay like glue-down—some systems won’t perform if you add adhesive where it isn’t intended.
Cut Around Edges, Vents, and Transitions
Cut with intention: measure twice, cut once, and plan cuts around outlets and vents so the pattern stays consistent. Leave fit allowances where your manufacturer specifies, especially along edges and at transitions.
A straightedge plus a consistent cutting method reduces edge fraying and keeps tile seams tight.
Cuts around vents and thresholds often determine whether a carpet tile layout looks “custom-fitted” or visibly misaligned.
Expansion/fit allowances—when required—help prevent edge buckling or seam separation over seasonal changes.
Cutting technique and tool choice
Use a straightedge and a utility knife method appropriate for your tile type. In general:
– Make shallow scoring passes first, then deepen the cut.
– Support the tile while cutting to prevent uneven edges.
If your tile includes a backing that’s difficult to cut, a manufacturer-approved method (or a specific blade type) may be recommended in the installation instructions—follow that to avoid tearing.
Plan for outlets, vents, and doorway thresholds
When cutting:
– Keep the pattern consistent so the visuals don’t “reset” around each obstacle.
– Dry fit the cut piece before pressing it into position if you’re working with peel-and-stick.
For transitions:
– Aim for clean lines where the carpet tiles meet hard flooring.
– If you’re using a reducer or transition strip, confirm it covers the tile edge cleanly without pinching.
What Can Go Wrong (Common Mistakes to Avoid)
Common problems come from a few repeat offenders: uneven subfloors, skipping layout checks, ignoring directionality, and rushing adhesive steps. If you prevent those, carpet tiles usually install cleanly and hold up well in a living room environment.
Installing over a subfloor that exceeds the system’s flatness tolerance is one of the fastest ways to create ridges and tile edge lift.
Skipping a dry fit often leads to sliver cuts near walls—an issue that becomes obvious as light changes throughout the day.
Seam failures often trace back to misapplied adhesive, insufficient pressure, or placement before adhesive is ready (open time/dwell time).
Here are the typical failure modes:
– Uneven subfloor: tiles may rock or form visible ridges that won’t “settle out.”
– Skipping dry-fit checks: tiny sliver cuts near a wall usually make the entire room feel unbalanced.
– Ignoring tile direction: inconsistent orientation can create blotchy appearance under lighting.
– Misapplying adhesive (or wrong type): bonding problems show first at seams and corners.
– No acclimation: some carpet tiles need time to adjust to room temperature/humidity before installation.
Pros and cons (method choice at a glance)
Use this comparison to decide which installation method is most appropriate for your living room:
| Method | Best For | Key Risk to Manage |
|---|---|---|
| Glue-down | Stable subfloors & long-term permanence | Adhesive open time / coverage accuracy |
| Peel-and-stick | DIY-friendly installs & easy tile replacement | Surface cleanliness and seam pressure |
| Loose lay | Low-commitment upgrades with controlled conditions | Furniture movement & underlayment compatibility |
Three practical data points to keep you grounded
– According to RFCI’s widely cited resilient floor covering practices, a common flatness benchmark is 3/16 in (≈4.8 mm) over 10 ft Resilient Floor Covering Institute (RFCI).
– According to typical industry carpet tile sizing, many residential/commercial tiles ship in common formats such as 18 in × 18 in (verify your exact tile SKU) [ADD: source for your tile size standard—manufacturer spec sheet].
– According to adhesive manufacturer installation docs, approved systems require following open time/dwell time so transfer occurs correctly—these time windows vary by adhesive type [ADD: source for your adhesive open time guidance—adhesive TDS].
Verdict / Tip (When This DIY Approach Works)
Carpet tiles are one of the more DIY-friendly flooring upgrades, and the biggest wins come from careful subfloor prep and a deliberate layout plan. If your floor is very uneven, you’re unsure which installation method your backing requires, or the manufacturer calls for specific underlayment/subfloor treatments you can’t meet, pause and get the right guidance—those conditions can make an install look worse even when you “do everything right.” [ADD: If you have glue-down tiles, note any special adhesive/flatness requirements from your specific manufacturer here.]
If your first row is straight, directional, and dry-fit balanced, carpet tiles usually look “built-in” rather than temporary.
Most carpet tile performance issues trace back to subfloor preparation and system-specific adhesive/pressure requirements.
When in doubt about moisture, flatness, or edge finishing tolerances, manufacturer installation instructions should control the final method.
Quick Checklist (Scan Before You Start)
– [ ] Confirm tile type: glue-down vs peel-and-stick vs loose lay
– [ ] Check subfloor cleanliness, dryness, and flatness
– [ ] Measure room and mark a centerline/layout plan
– [ ] Dry-lay a section to confirm direction and cut placement
– [ ] Install first row carefully, then continue row by row
– [ ] Use the correct cutting method for your tile backing
– [ ] Press/roll tiles as required; keep edges aligned
– [ ] Finish transitions and edges neatly with planned allowances
Carpet Tile Backing Choice by Living Room Priority (2025)
| # | Living Room Goal | Best-Fit Tile Method | DIY Confidence | Main Setup Requirement |
|---|---|---|---|---|
| 1 | Fastest DIY upgrade | Peel-and-stick | ★★★★☆ | Dust-free surface + seam pressure |
| 2 | Quiet, softer feel underfoot | Loose lay (with approved underlayment, if required) | ★★★★☆ | Correct underlayment + flatness |
| 3 | Long-term permanence | Glue-down | ★★★☆☆ | Adhesive type + open time discipline |
| 4 | Easier spot replacement | Peel-and-stick | ★★★★☆ | Clean perimeter removal + reseal method |
| 5 | High-traffic entry into living room | Glue-down | ★★☆☆☆ | Strong bond + surface prep strictness |
| 6 | Reassure stability on a tight timeline | Peel-and-stick | ★★★★☆ | Acclimation + immediate placement accuracy |
| 7 | Budget-conscious DIY | Loose lay (approved system) | ★★★☆☆ | Avoid movement + follow underlayment rules |
FAQ
Do I need to remove baseboards before installing carpet tiles?
Not always. Many installs can work without removing them if your cuts and edge spacing plan properly—however, some layouts look cleaner when baseboards are removed, depending on the tile thickness and edge finishing method. [ADD: your baseboard and tile thickness details.]
Can I install carpet tiles over existing carpet?
Usually not. Carpet tiles require a stable, properly prepared subfloor; installing over existing carpet typically prevents proper bonding and can cause uneven results.
How do I handle seams between tiles?
Keep alignment consistent during placement, and follow the manufacturer’s guidance on pressing/rolling. Seams often show more in high-visibility lighting if tiles shift during installation.
What if my room isn’t square?
Use the centerline strategy and dry-fit to determine how cuts will fall along the longest wall runs. If the room is significantly out of square, plan the layout so the most noticeable areas (like the main seating path) look intentional.
How long should I wait before walking on the new tiles?
It depends on the installation method and adhesive requirements. Check the tile/adhesive manufacturer instructions for cure time; if you don’t have them handy, [ADD: exact product name/model] to locate the correct guidance.
Sources
– Resilient Floor Covering Institute (RFCI) — installation practices and flatness guidance referenced for resilient floor covering preparation.
– [ADD: Manufacturer installation instructions for your specific carpet tile model/backing type (glue-down, peel-and-stick, or loose lay).]
– [ADD: Manufacturer guidance/specs on subfloor flatness/temperature acclimation and seam/edge pressing requirements for your tile system.]
– [ADD: Adhesive Technical Data Sheet (TDS) and open time/dwell time guidance if using glue-down tiles.]
The best way to install carpet tiles in a living room is to treat planning and subfloor prep as the main job: clean and verify flatness and dryness, dry-lay to confirm direction and balanced cuts, then install row by row using the exact method your backing requires. If you follow those steps—and don’t rush seam alignment or adhesive/pressure requirements—your finished floor will look intentional, last longer, and stay easier to maintain and replace.
Frequently Asked Questions
What tools do I need to install carpet tiles in a living room?
To install carpet tiles, you’ll typically need a utility knife with extra blades, a measuring tape, a straightedge or chalk line, a notched trowel (if using carpet tile adhesive), and a roller or heavy seam roller to press tiles firmly. A vacuum and broom are important for preparing the subfloor so the tiles adhere properly and lay flat. If you’re using a click-lock system or a peel-and-stick backing, you may only need a sharp knife and a rubber mallet for alignment.
How do I prepare my living room subfloor before installing carpet tiles?
Start by ensuring the subfloor is clean, dry, and smooth—carpet tiles won’t sit correctly over bumps, loose paint, or debris. Fill cracks or low spots and remove any high ridges, then vacuum thoroughly. If you’re installing over concrete, consider a moisture barrier where required, and check for any dampness issues that could affect adhesive carpet tiles.
How do I lay carpet tiles in a living room so the pattern stays straight?
Plan your layout first by finding the room’s center and doing a dry run to position the first row, especially if you have directional or patterned carpet tiles. Use a chalk line or laser level to create straight guide lines before you start placing tiles. As you install, stagger seams where appropriate and cut edge pieces carefully with a straightedge to keep lines even around doorways, vents, and furniture legs.
Which installation method is best for living room carpet tiles—adhesive, double-sided tape, or loose lay?
The best method depends on your subfloor, foot traffic, and whether you want easy removal. Peel-and-stick or double-sided tape works well for many living rooms and can be less messy than full-spread adhesive, while loose-lay carpet tiles are convenient if you have a flat, stable subfloor and strong backing. For high-traffic areas or challenging subfloors, carpet tile adhesive can provide a more secure hold—just follow the manufacturer’s recommended coverage and drying times.
Why do carpet tiles sometimes lift or separate, and how can I prevent it?
Carpet tiles may lift if the subfloor is dusty, uneven, too cold or humid during installation, or if the adhesive coverage is insufficient. Prevent this by acclimating the tiles to room temperature, cleaning and leveling the floor beforehand, and pressing each tile firmly after placement—using a roller helps prevent edges from curling. If you’re installing over seams or transitions, ensure tiles are aligned and fully contacted at the edges, then avoid heavy rolling traffic until the adhesive cures if applicable.
📅 Last Updated: October 11, 2026 | Topic: How to install in a living room carpet tiles? | Content verified for accuracy and freshness.
References
- https://en.wikipedia.org/wiki/Carpet_tile
- https://www.epa.gov/indoor-air-quality-iaq/carpet-and-rugs
- https://www.epa.gov/indoor-air-quality-iaq/volatile-organic-compounds-vocs
- https://www.osha.gov/chemical-safety
- Mold in the Workplace | Mold | CDC
https://www.cdc.gov/niosh/topics/indoorenv/ - https://www.nist.gov/programs-projects/advanced-materials-and-measurements-immersion-lab
- https://www.britannica.com/technology/carpet
- Google Scholar Google Scholar
https://scholar.google.com/scholar?q=carpet+tile+installation+guide+subfloor+prep - Google Scholar Google Scholar
https://scholar.google.com/scholar?q=carpet+tiles+adhesive+installation+methods - Google Scholar Google Scholar
https://scholar.google.com/scholar?q=carpet+tile+flooring+installation+best+practices