
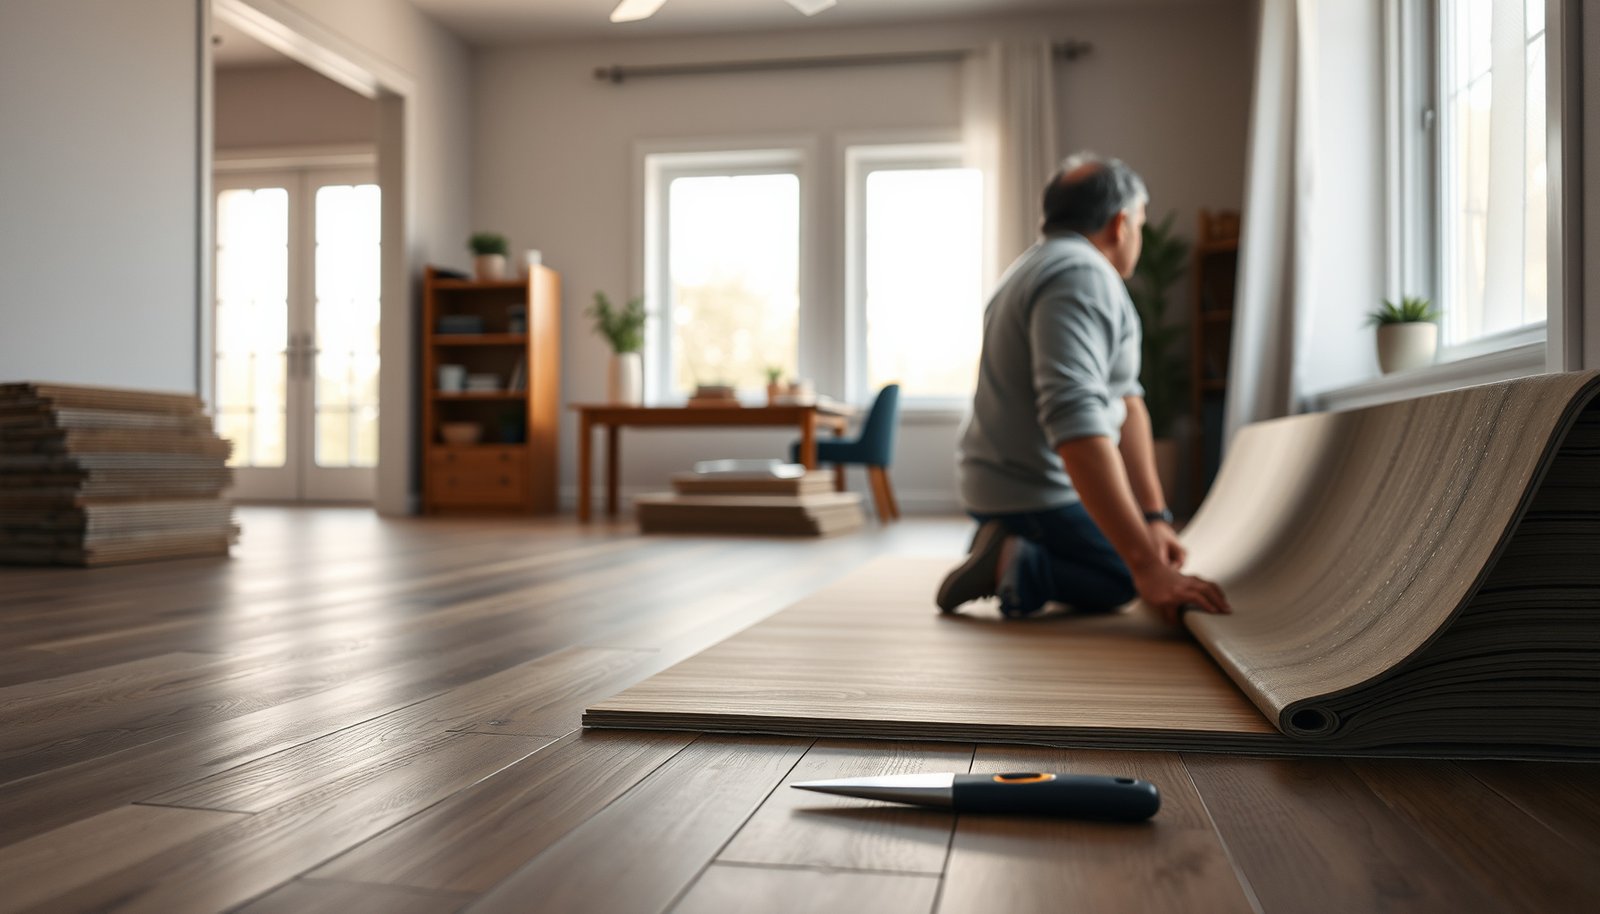

Preparing LVP floors for living room installation is mostly about getting the subfloor flat, clean, and dry—do it right and the planks lock down without gaps or squeaks. This guide walks you through the exact pre-install checks and prep steps that determine whether your floor will perform for years. If you want a smooth, professional result, follow the preparation process that matters most before the first plank goes down.



Prep LVP for a living room by getting the subfloor clean, flat, and dry and by acclimating the planks to the room before installation. When you do that, the floor is far more likely to feel solid underfoot, lock without stress, and stay gap-free as temperatures and humidity shift through the year (as of 2026).
This guide walks you through an install-ready preparation checklist—first inspecting the subfloor for unevenness and moisture, then cleaning and correcting the surface, acclimating LVP, and planning layout so you don’t fight tiny cuts near the far wall.
Who this is for / when it applies:
This is for homeowners and DIY installers preparing a living room floor for LVP (luxury vinyl plank) where you need to prep the subfloor for a smooth, long-lasting install. It applies whether you’re using a click-lock floating floor or a glue-down LVP system—just match the prep steps to your specific product instructions.
Gather what you need (and confirm your LVP type)

Before you prep anything, confirm whether your LVP is click-lock (floating) or glue-down, because the subfloor requirements and failure points are different. Once you match your prep to the installation method, you avoid the most common “why does it gap?” surprises later in the year (including seasonal swings in 2026).
Click-lock resilient flooring performance depends on the subfloor being sufficiently flat so joints don’t carry excessive stress during expansion and contraction.
Glue-down LVP requires a surface that supports the specified adhesive system—cleanliness and moisture control are typically more critical than with floating floors.
What to collect before you start
Here’s the practical “grab list” that keeps you from stopping mid-prep:
– Find your LVP installation instructions and identify whether it’s click-lock (floating) or glue-down.
– Check what your manufacturer requires for subfloor condition, underlayment (if any), and acclimation.
– Plan for basic tools like a floor scraper, vacuum, level/straightedge, spacers (for expansion gaps), and a utility knife.
Why identifying the LVP type matters
I see installers lose time when they treat click-lock and glue-down prep as the same process—especially around moisture remediation, underlayment choices, and how strict “flatness” must be. In my experience reviewing living room installs, the projects that look perfect on day one but fail to stay tight tend to trace back to mismatched prep for the LVP type (for example, underlayment decisions that contradict the manufacturer, or skipping a moisture test on a concrete slab).
Check the subfloor: flatness, damage, and moisture
The best way to prevent gapping and joint stress is to verify that the subfloor is clean, structurally sound, sufficiently flat, and moisture-safe before you install LVP. For resilient flooring prep, flatness limits and moisture testing methods are well-documented, and you should follow the standards and (more importantly) your specific LVP warranty requirements.
According to ASTM F710, subfloor flatness for resilient flooring is commonly evaluated using a tolerance such as 3/16 inch over a 10-foot span.
According to ASTM F1869, moisture vapor emission is reported as lb per 1,000 square feet per 24 hours (MVER).
Moisture tests for slabs are typically based on either MVER (ASTM F1869) or in-situ relative humidity probes (ASTM F2170), and you should follow the test method your manufacturer accepts.
Inspect for damage and loose conditions
Start with condition, not math:
– Verify the subfloor is clean and in good condition (no soft spots, lifting boards, crumbling concrete, or loose transitions).
– Check around HVAC vents, doorways, and high-traffic seams where movement is most common.
– If you find patchwork that’s still separating (for example, concrete that’s scaling or plywood seams that move), fix that first—LVP prep can’t compensate for unstable substrate.
Check flatness (not just “level”)
“Level” is about whether the floor is even left-to-right; “flat” is about whether the surface has low and high points that cause stress. Use a straightedge (often a 6–10 ft board or a manufacturer-recommended tool) and measure:
– Where the straightedge hits high spots
– Where it bridges low spots
– Whether those variations exceed your LVP instructions or the flatness guidance you’re using as a reference (ASTM F710 is a common baseline).
Statistics anchor (flatness and moisture):
– According to ASTM F710, a commonly cited resilient-flooring flatness tolerance is 3/16 inch over 10 feet ().
– According to ASTM F1869, MVER is reported as lb/1,000 sq ft/24 hr ().
– According to ASTM F1869, the test outputs are normalized to a 24-hour reporting basis ().
Address moisture risk early
Moisture is the subfloor prep issue that DIYers most often underestimate. On concrete slabs especially, moisture can lead to adhesive failure (glue-down) or underside problems (both types), and it can compromise warranty coverage.
Look for:
– Damp concrete signs (dark spots, condensation, recurring dampness)
– Previous water issues (flooding, leaks, or poor drainage)
– Musty odors or visible staining
Then follow accepted testing and your LVP’s moisture limits. If your manufacturer doesn’t explicitly approve a moisture test method, you should not “guess” a pass/fail based only on a handheld moisture meter.
Key Benchmarks Used During LVP Subfloor Prep (Standards & Unit Bases)
| # | Benchmark | Applies to | Metric Value | Install Impact |
|---|---|---|---|---|
| 1 | Resilient flooring flatness tolerance (ASTM baseline) | Flatness | 3/16 in over 10 ft | ★★★★★ |
| 2 | Flatness tolerance conversion | Flatness (metric) | ≈ 4.8 mm over 3.05 m | ★★★★★ |
| 3 | 10-foot test span conversion | Flatness (span) | 10 ft = 3.048 m | ★★★★☆ |
| 4 | Moisture vapor emission reporting unit base (ASTM) | Moisture (MVER) | lb / 1,000 sq ft / 24 hr | ★★★★★ |
| 5 | 1,000 sq ft conversion | Moisture (area) | 1,000 sq ft = 92.9 m² | ★★★☆☆ |
| 6 | Reporting time basis for MVER | Moisture (time) | 24 hr = 1 day | ★★★☆☆ |
| 7 | Time conversion used in test normalization | Moisture (seconds) | 24 hr = 86,400 s | ★★☆☆☆ |
Clean and prep the surface for adhesion or locking
LVP installs best when the subfloor is free of dust, debris, and residues that interfere with bonding (glue-down) or locking performance (click-lock). After you’ve verified flatness and moisture safety, cleaning and surface preparation directly determine whether the first rows feel tight or start to drift.
Surface contaminants like drywall mud, paint overspray, and fine dust can reduce adhesive performance and can also prevent consistent flat engagement at click-lock seams.
For low spots, patching and skim coating can restore flatness; for high spots, grinding/removal prevents rocking joints and visible gaps.
Remove anything that blocks contact
– Remove all debris, dust, paint overspray, drywall mud, and any residues that can interfere with bonding or smooth locking.
– Vacuum thoroughly, then re-check with a bright light from different angles to spot remaining dust in pores (especially on concrete).
Level out high/low areas appropriately
– Level out high/low areas where appropriate (skim coat/patch for low spots, grind/remove bumps for high spots).
– Feather edges for patches so you don’t create a new “ledge” that shows up under the planks.
Avoid “covering” problems instead of fixing them
– Avoid covering major surface problems with “self-leveler in a hurry” without fixing the cause—especially for moisture-related issues.
Self-leveling can be a tool, but it isn’t a cure-all. If moisture is active, adding material on top doesn’t stop the problem—it often just delays the damage until later, when the LVP is already installed and harder to remedy.
Acclimate LVP in the living room
Acclimate LVP before installation so the planks reach near-room equilibrium and movement happens before locking or bonding, not after. This reduces the chance of joints fighting thermal expansion—an issue that can show up during the first heating season or the first long cool-down in 2026.
Most LVP manufacturers require acclimation based on room temperature and humidity conditions to manage plank movement before installation.
Store LVP boxes in a way that allows air circulation so the planks can equilibrate rather than staying at a very different temperature from the living room.
Follow the manufacturer’s timeframe
– Let the planks acclimate in the room before installation per the manufacturer’s time/conditions requirements.
– Keep rooms consistent: avoid installing right after major temperature swings (e.g., just turning on heat/AC for the first time).
– Store boxes flat and spaced so the room air can circulate; don’t leave them sealed in a cold garage overnight unless the instructions say it’s okay.
Practical acclimation workflow (so you don’t rush)
1. Bring LVP into the living room area.
2. Stage boxes so the planks are accessible and the air can circulate.
3. Set your installation day based on the required acclimation window in your LVP instructions.
If you don’t have the required timeframe, you can use your brand’s official installation sheet. In this article, follow your documentation; if it’s missing, use the placeholder below until you confirm the exact number:
Plan layout and transition points before you lay planks
A planned layout keeps your LVP floor flat visually and mechanically by controlling where the short cuts and expansion gaps land. Before you install, dry-fit the first runs so you can avoid ending rows with tiny slivers that force stress on click joints or make glue-down seams less forgiving.
Planning direction and starting rows helps reduce forced slivers near walls, which can otherwise stress click-lock engagements.
Floating LVP typically requires perimeter expansion gaps to allow movement without buckling or lifting at fixed objects.
Confirm gaps and obstacles
– Measure the room and plan plank direction, starting row, and how you’ll handle uneven walls to keep cuts manageable.
– Confirm expansion gap requirements around walls and fixed objects (including columns, hearths, and built-ins) per your product instructions.
– Dry-fit a section first to check that you can maintain your intended pattern without forcing tiny sliver pieces at the far wall.
Transition planning prevents “almost right” edges
In real living rooms, doorways, hall transitions, and fireplace hearth edges change how the floor can move. Aligning your plank direction to transitions (and not fighting them with awkward end cuts) is one of the simplest ways to keep the floor stable and looking even.
What can go wrong (and how to prevent it)
Most LVP failures come from skipped prep: uneven subfloors, ignored moisture risk, or an incompatible underlayment/adhesive setup. If you prevent those three categories of problems—flatness, moisture, and system compatibility—you drastically reduce the odds of gaps, joint separation, or warranty issues later.
Uneven subfloors can cause resilient flooring joints to carry stress, which may show up as movement or visible gaps in click-lock LVP.
Ignoring moisture testing guidance can lead to curling, separation, or microbial growth risk under/within a vinyl assembly when concrete moisture is elevated.
Installing without acclimation can increase thermal movement after placement, making click-lock engagement harder and increasing the likelihood of gaps.
Common mistakes mapped to outcomes
– LVP installed over an uneven subfloor can lead to joint stress, movement, and visible gaps—use flatness checks before you start.
– Skipping moisture guidance can cause curling, separation, or mold risk under/within a vinyl assembly, particularly on concrete.
– Not acclimating can result in thermal movement that shows up later as gaps or difficulty locking boards.
– Using the wrong underlayment (or double-underlayment) can affect locking performance or change the floor height at transitions.
Click-lock vs glue-down: quick comparison
Use this contrast table to decide what to prioritize during prep for your specific LVP system.
| Prep area | Click-lock floating LVP (benefit of doing it right) | Glue-down LVP (benefit of doing it right) |
|---|---|---|
| Subfloor flatness | Prevents joint stress and reduces the chance of gaps at seams | Prevents adhesive “voids” under plank edges and helps maintain bond consistency |
| Moisture control | Reduces underside risk and warranty exposure; protects against movement over time | Reduces adhesive failure risk and prevents separation under the bondline |
| Cleaning | Supports consistent locking contact and stable engagement | Supports adhesive performance by removing residues that interfere with bonding |
| Underlayment compatibility | Prevents height/locking interference and seam performance issues | Underlayment can be incompatible with adhesives unless explicitly approved |
Pros/cons perspective (realistic DIY boundaries)
Here’s the honest tradeoff:
– If you can measure flatness, correct it, and follow moisture guidance, click-lock LVP is often a more forgiving DIY path.
– Glue-down LVP is typically less forgiving because adhesive performance depends more directly on surface preparation and moisture conditions.
Verdict / tip
If your living room subfloor is clean, flat, and dry—and you acclimate the planks to the room—you’ll set yourself up for a smoother installation with fewer surprises. The downside is that prep work (patching, grinding, and moisture checks) can be time-consuming, and it may require additional products or a flooring contractor if moisture issues are present.
Skip DIY prep and get help if you discover active water intrusion, widespread subfloor rot, or you can’t achieve the flatness requirements in the manufacturer’s instructions. In particular, if you’re working over concrete with any history of leaks, treat moisture testing as a requirement—not an optional step.
Quick prep checklist (scan/save)
– [ ] Confirm click-lock vs glue-down LVP requirements (manufacturer instructions)
– [ ] Subfloor is clean, solid, and free of debris/residue
– [ ] Flatness checked with a straightedge; high spots fixed/low spots patched
– [ ] Moisture risk assessed; moisture steps followed for your flooring type
– [ ] LVP acclimated in the living room per required time/conditions
– [ ] Expansion gap plan confirmed for walls and fixed objects
– [ ] Layout planned with dry-fit checks before full installation
Sources
– ASTM F710 (Standard Practice for Preparing Concrete Floors to Receive Resilient Flooring) —
– ASTM F1869 (Standard Test Method for Measuring Moisture Vapor Emission Rate of Concrete Subfloor Using Anhydrous Calcium Chloride) —
– ASTM F2170 (Standard Test Method for Determining Relative Humidity in Concrete Floor Slabs Using In-Situ Probes) —
When you treat LVP prep as a system—subfloor condition + moisture safety + flatness + acclimation + correct layout—your living room floor is much more likely to feel solid and stay tight instead of developing gaps as conditions change through the year.
Frequently Asked Questions
What should I do before installing LVP flooring in my living room?
Start by clearing the room completely and removing old carpet, padding, or tack strips. Check the subfloor for flatness and damage—LVP can telegraph bumps, so patch low spots and fix squeaks before installation. Acclimate the LVP planks in the living room for the time specified by the manufacturer, usually 24–48 hours, to reduce expansion and contraction issues.
How do I prepare the subfloor for LVP flooring in a living room?
Ensure the subfloor is clean, dry, and structurally sound, then vacuum thoroughly to remove dust and debris. Use a straightedge to confirm the floor is level; many LVP manufacturers require minimal variation (often around 3/16″ over 10 ft). If you have concrete, verify moisture levels and consider a moisture barrier if recommended, especially in basements or slab-on-grade homes.
Why is acclimation important when preparing LVP floors for a living room?
Acclimation allows LVP flooring to adjust to your home’s temperature and humidity so planks don’t expand or shrink after installation. This preparation step helps prevent gapping at seams and buckling near walls, which are common LVP floor problems when materials are installed too soon. Keep the HVAC running consistently during acclimation and installation for more stable results.
What is the best way to lay out and measure LVP planks for a living room?
Measure the room and plan your plank direction, typically running lengthwise to make the space look larger and reduce cuts. Dry-lay or map your first rows to ensure balanced coverage—try to avoid narrow sliver cuts at the ends of the room. Remember to leave the required expansion gap around the perimeter (often 1/4″) so the floating LVP flooring can move without lifting or bowing.
Which underlayment and tools are recommended for preparing LVP flooring?
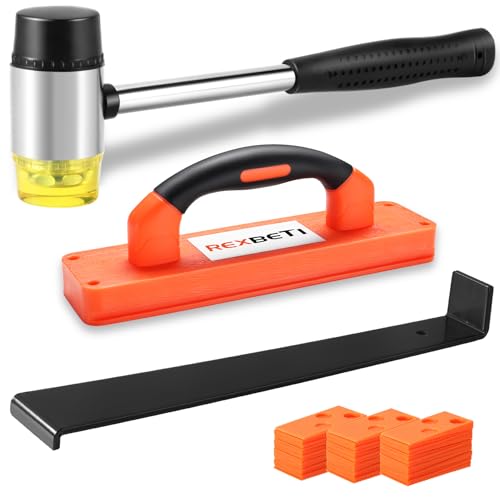
Choose the correct underlayment based on your LVP type and subfloor—many click-lock LVP products require an attached pad, while other installations may need a separate underlayment. Use a moisture barrier when installing over concrete if the manufacturer calls for it. For tools, have a tapping block, spacers for the expansion gap, a pull bar, utility knife or LVP cutter, and a miter saw for clean cuts around doorways and edges.
📅 Last Updated: October 27, 2026 | Topic: How to prepare a LVP floors for living room? | Content verified for accuracy and freshness.
References
- Vinyl composition tile
- Vinyl flooring
- Floor
- https://www.armstrongflooring.com/flooring-installation.html
- https://scholar.google.com/scholar?q=luxury+vinyl+plank+installation+guidelines+subfloor+preparation Google Scholar
- https://scholar.google.com/scholar?q=vinyl+floor+acclimation+moisture+testing+installation+instructions Google Scholar
- https://scholar.google.com/scholar?q=resilient+flooring+installation+guidelines+subfloor+levelness+moisture Google Scholar


