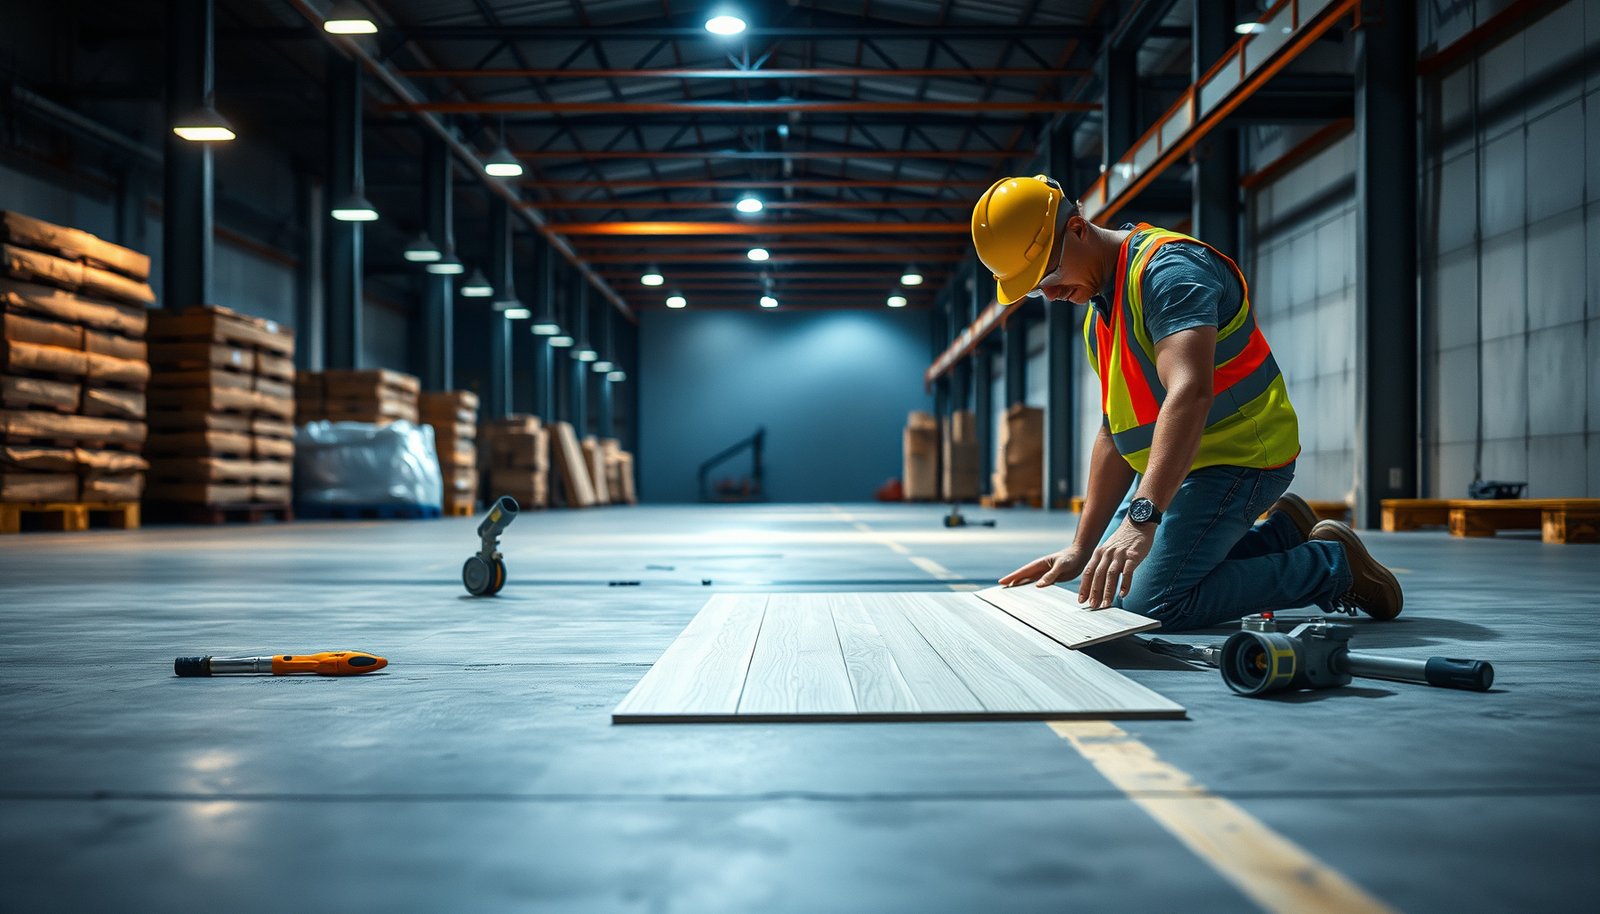

Replacing vinyl floors in a warehouse is a job you can do safely with the right sequence—from prepping the slab and removing old sheet or tile to installing new vinyl and sealing seams. This step-by-step guide tells you exactly how to protect workers, control dust, and handle adhesive and subfloor transitions without downtime surprises. If you follow these procedures, you’ll get a durable, level floor that’s ready for forklift traffic and daily loads.




Replace warehouse vinyl flooring safely by following one sequence—safe removal, subfloor prep, then manufacturer-correct installation and cure timing. When you keep the removal and substrate work controlled (clean, flat, and dry), the new vinyl is far less likely to bubble, tent at seams, or lift at edges—problems that are especially costly in high-traffic warehouse environments.
Replacing vinyl floors in a warehouse usually comes down to three phases: safe removal, thorough subfloor prep, and installing the new vinyl using the correct method for your product type. If you get the prep right (clean, flat, and dry), the new floor is much less likely to bubble, lift at edges, or fail early. In this guide, you’ll learn the order of operations and the checks that matter most in a busy warehouse environment.
If your warehouse has sheet vinyl, vinyl tile (LVT), or planks that are worn, lifting, or damaged, this is for you. It’s especially relevant when you’re dealing with heavy foot traffic, carts/forklifts, or downtime constraints, and when older flooring may require extra hazard checks.
Plan the replacement and match the flooring system

The quickest way to avoid rework is to confirm your exact existing vinyl type and the exact installation method required by the new system before anyone starts removing flooring. Glue-down, loose-lay, and click-lock vinyl flooring can behave very differently if you skip the manufacturer’s approved substrate and acclimation rules.
Vinyl floor performance in warehouses is highly dependent on matching the installation method (glue-down vs click/loose-lay) to the product system’s requirements.
Resilient flooring installation guidance consistently emphasizes that the substrate must be clean and meet required flatness before resilient materials are installed.
Identify type, method, and constraints
– Identify your existing vinyl type and the new vinyl type (sheet, glue-down tile, click-lock plank, loose-lay, etc.), because the install steps and adhesives differ.
– Measure the area carefully and plan logistics: staging, protected traffic routes, and how you’ll handle work time windows.
– Gather the new flooring’s installation requirements (temperature range, underlayment rules, acclimation time, adhesive/primer requirements if glue-down) from the manufacturer’s instructions.
In practice, we treat this as a simple “scope-to-spec” step: if the new vinyl’s instructions say “glue-down only to approved primers” but your plan assumes “standard adhesive,” the job is set up to fail—often first at edges where stress and moisture migrate. For accuracy, keep the manufacturer PDF on-site and photograph it during planning (so the crew works from the same version of the vinyl instructions).
Use manufacturer requirements as your control points
As of 2026, most resilient flooring failures we see are traceable to predictable inputs: wrong adhesive/primer, wrong acclimation, or a substrate that isn’t flat enough for resilient vinyl flooring. Match every “must” in the vinyl instructions with a field check before installation begins.
Before installation, resilient floor covering instructions typically require acclimation within a specified temperature range to limit dimensional movement after installation.
You should also decide early how you’ll handle transitions at dock doors, mechanical rooms, and between aisle zones—warehouse vinyl flooring tends to experience the highest point loads and rolling loads near those boundaries. Build the layout so seams and end joints don’t land directly where pallets, carts, and lift wheels repeatedly pivot.
Remove old vinyl safely (and check for hidden hazards)
Old vinyl removal should be controlled, not “quick-and-pry,” because both worker safety and substrate quality depend on how the floor is taken up. If there’s any chance the existing material contains hazardous materials, you need the correct testing/handling route before demo starts—don’t assume the age alone tells you the risk.
OSHA sets a specific asbestos permissible exposure limit (PEL) of 0.1 fibers per cubic centimeter (8-hour TWA) in its asbestos standard.
EPA’s NESHAP notification thresholds for asbestos depend on quantities and include thresholds such as 160 square feet of facility components and 35 cubic feet of regulated asbestos-containing material (RACM).
Do a hazard-first inspection (before demo)
– Inspect the existing material first; if it’s old enough that it could contain hazardous materials, don’t demo until you’ve followed the correct testing/handling guidance.
– Remove flooring in a way that limits dust and damage to the slab/subfloor (use the right scrapers and vacuums; avoid aggressive gouging).
– Clean thoroughly after removal so adhesive residue, loose debris, and ridges don’t carry into the new floor.
From experience on warehouse tear-outs, the “fast demo” crews often leave behind exactly what vinyl flooring hates: adhesive ridges, embedded grit, and low/high spots caused by gouging. Those defects don’t always show immediately, but they commonly surface later as bubbles, seam tenting, or edge lifting.
Why asbestos and dust control matter in warehouse vinyl removal
According to OSHA, the asbestos PEL is 0.1 fibers/cm³ (8-hour TWA). OSHA 29 CFR 1910.1001
According to EPA’s NESHAP rules, asbestos-related notification thresholds include 160 sq ft of facility components and 35 cubic feet of RACM. EPA 40 CFR 61.145
Even if your specific floor is not asbestos-containing, warehouses often have adjacent hazards: old mastics, embedded construction debris, and dust created by scraping or grinding. This is where you protect both workers and the substrate for new warehouse vinyl flooring.
Removal method: limit damage and contamination
– Use floor scrapers designed for resilient removal and pair them with high-filtration vacuums.
– Avoid gouging the slab—vinyl flooring tolerates slight substrate variation poorly, particularly with glue-down systems.
– After removal, vacuum again, then inspect under directional light to catch leftover ridges and adhesive “islands.”
If you’re seeing stubborn glue, stop and reassess: the goal is not just “remove everything,” but “remove everything without creating substrate defects that the new vinyl can’t bridge.”
Prep the subfloor so the new vinyl doesn’t fail early
Subfloor prep is where warehouse vinyl flooring either succeeds long-term or fails early. Your priority is to repair the surface, flatten it within the required tolerance, and remove dust and residue so the new resilient material can bond or sit evenly.
Resilient flooring adhesion and dimensional stability depend on a clean, smooth, dry substrate meeting specified flatness tolerance.
Moisture control is a primary determinant of early resilient floor failures, especially with glue-down warehouse vinyl flooring systems.
Repair and address moisture risk
– Repair: fill cracks/low spots and address any moisture issues before you install resilient flooring.
– Level/flatten: resilient vinyl typically demands a smooth, flat substrate—follow the flooring manufacturer’s flatness guidance.
– Final clean: remove dust completely (vacuum and wipe as specified) so adhesive bonds correctly or click/loose-lay systems sit evenly.
If you’re installing glue-down vinyl flooring, “almost flat” can still be catastrophic—adhesive doesn’t conform like a cushion. Hollow spots and ridges create stress concentrations, and those stress points often appear first at seams and at traffic-bent areas (near dock approaches and aisle corners).
Make “flat + dry + dust-free” measurable
A practical approach is to use a straightedge check at multiple orientations and compare to the vinyl flooring manufacturer’s flatness number. This turns the decision into something objective, not subjective.
Here’s a quick example of how standards/compliance numbers help you think in “limits,” not guesses:
Regulatory exposure/notification triggers relevant to warehouse resilient-floor removal (US)
| # | Hazard trigger | Regulatory value | Basis | Risk/strictness marker |
|---|---|---|---|---|
| 1 | Asbestos (8-hr PEL) | 0.1 fibers/cm³ | OSHA 29 CFR 1910.1001 | ★★☆☆☆ |
| 2 | Crystalline silica (8-hr PEL) | 50 µg/m³ | OSHA 29 CFR 1910.1053 | ★★☆☆☆ |
| 3 | Respirable nuisance dust (8-hr PEL) | 5 mg/m³ | OSHA 29 CFR 1910.1000 Table Z-3 | ★★★☆☆ |
| 4 | Total nuisance dust (8-hr PEL) | 15 mg/m³ | OSHA 29 CFR 1910.1000 Table Z-3 | ★★★★☆ |
| 5 | EPA NESHAP notification (RACM quantity) | 35 ft³ | EPA 40 CFR 61.145 | ★★★☆☆ |
| 6 | EPA NESHAP notification (facility components) | 160 ft² | EPA 40 CFR 61.145 | ★★★★☆ |
| 7 | EPA NESHAP notification (asbestos pipe length) | 260 linear ft | EPA 40 CFR 61.145 | ★★★★★ |
Use cleaning procedures that match the floor system
– If glue-down: follow primer/adhesive manufacturer instructions for substrate porosity and wipe methods.
– If click-lock/loose-lay: remove dust thoroughly so vinyl flooring can sit flat without grit acting as a “micro-shim.”
The most common warehouse vinyl flooring cleanup failure is “looks clean” cleaning. Dust is invisible but still breaks bonding (glue-down) and creates point stress (loose-lay/click).
Install the new warehouse vinyl flooring correctly
Correct installation is what turns a prepared slab into a durable warehouse vinyl flooring surface. The core rule is to acclimate materials, then install using the exact method (glue-down vs click/loose-lay) and seam/transition plan your product’s instructions specify.
Many resilient flooring warranties require that materials are acclimated to the installation temperature range before placement.
Glue-down vinyl flooring systems typically require a specified adhesive and primer combination to achieve the required bonding performance.
Acclimate before you lay vinyl flooring
– Acclimate and condition materials per manufacturer instructions before installation.
In busy warehouses (especially when 2026 schedules compress downtime), acclimation gets treated like a “nice-to-have.” It’s not. Temperature and humidity swings change vinyl’s dimensional behavior; that’s how gaps, buckling, and edge stress start.
Install with the right method
– Install using the correct method:
– Glue-down: use only the adhesive/primer system specified, applied to the required coverage/thickness.
– Loose-lay/click-lock: ensure the base meets the product’s smoothness and subfloor requirements, and follow expansion/gap rules.
– Manage seams and transitions: plan layouts to reduce high-stress edges and ensure consistent alignment across wide warehouse areas.
From my experience coordinating warehouse vinyl projects, the seam layout is where “good enough” decisions compound over time. Near dock ramps and rolling-load paths, small misalignments become abrasion points. Plan the field so seams land where traffic stress is lower, and keep cut edges away from the most aggressive pivot zones.
Glue-down vs click/loose-lay: the practical comparison
| Feature | Glue-down vinyl flooring | Click/loose-lay vinyl flooring |
|---|---|---|
| Substrate flatness | Critical for adhesive transfer and bond continuity | Critical to prevent rocking, edge lift, and seam stress |
| Bond mechanism | Adhesive + primer system (must match the product) | Mechanical interlock and/or frictional hold (requires clean, even base) |
| Moisture sensitivity | Higher—moisture can compromise adhesive and cause failure at edges | Still important—water migration can affect expansion and joint stability |
| Downtime after install | Often longer because adhesive needs cure time | May allow faster light handling, but gaps/cure still matter per instructions |
| Most common install defect | Bubbles/hollow spots from incomplete adhesive transfer | Edge lifting from base debris or insufficient expansion allowance |
Seam and transition planning for wide warehouse spaces
– Stagger joints as the vinyl product’s pattern rules require.
– Keep alignment consistent across long runs.
– Use transitions where needed (doorways, expansion joints, different floor heights) so vinyl flooring isn’t forced to “bend” repeatedly over sharp edges.
Protect the floor during cure and keep it performing
Protection is the difference between “installed” and “lasting.” Until the vinyl flooring cure time and traffic restrictions are met, protect seams and edges from cart wheels, forklift tires, rolling racking, and impact damage.
Glue-down resilient flooring systems should not be exposed to rolling or heavy traffic until the adhesive cure time allows full performance.
Edge protection and flush transitions reduce lift at perimeter areas—one of the most common warehouse vinyl flooring failure points.
Control traffic timing (don’t guess)
– Don’t rush traffic: keep carts, forklift traffic, and rolling loads off the new surface until the adhesive/cure time is complete (use the manufacturer’s times).
As of 2026, this is still the most frequent “schedule win” that becomes the most expensive redo. A forklift driver may not notice a seam vulnerability, but the first day of rushed traffic can pre-damage the bond line and later show up as a seam that opens or bubbles under load.
Use physical protection and impact management
– Set up edge protection and transition ramps where needed so impacts don’t lift perimeter areas.
– Maintain with the right cleaning approach (neutral cleaners where recommended, avoid harsh chemicals and abrasive scrubbing).
For warehouse vinyl flooring maintenance, establish a cleaning SOP early. If custodial staff switch from the approved cleaner to something harsher, the top surface can dull or degrade faster than expected—especially in areas with tire marks, rubber residue, and chemical exposure.
What can go wrong (common mistakes in warehouse installs)
Warehouse vinyl flooring failures usually come from a handful of repeatable causes—most of them happen before the first sheet or plank touches the slab. If you prevent the root causes (moisture, debris, unevenness, and wrong cure/traffic timing), you avoid the majority of premature failures.
Installing resilient flooring over debris or an uneven slab commonly produces bubbles, hollow spots, and edge lift over time.
A mismatch between adhesive/primer and the specific vinyl system can prevent bonding and accelerate failure at seams and perimeter areas.
Common mistakes to watch for
– Installing over debris, moisture, or an uneven slab: this often causes bubbles, hollow spots, or gradual edge lifting.
– Using the wrong adhesive/underlayment: a mismatch between adhesive/primer and your specific vinyl system can prevent bonding.
– Skipping layout planning: poor seam placement or sudden transitions near loading points can create premature wear.
– Not meeting temperature/humidity requirements: installation outside the product’s allowed conditions can affect dimensional stability and adhesion.
– Underestimating downtime: rushed curing or early traffic can damage seams before the flooring reaches full performance.
Limits and edge cases for warehouse vinyl flooring
– If the slab has an unknown moisture condition, you may need a formal moisture assessment rather than “waiting to dry.”
– If you find incompatible old adhesives or coatings, you may need targeted remediation instead of assuming patch-over will work.
– If your warehouse operates 24/7, you’ll need a logistics plan that genuinely keeps rolling loads off the newly installed vinyl flooring during the approved cure window.
When something goes wrong, we recommend a root-cause analysis (RCA) approach: identify whether the defect began at the bond line, at seams, or at edges, then trace backwards to the last variable you changed (prep, adhesive, acclimation, or traffic timing). This method prevents “random fixes” that mask the real cause.
Verdict / tip + scan-ready checklist
If your warehouse has clear access, you can verify hazards, and you can follow manufacturer substrate/adhesive/cure requirements exactly, a DIY approach can work for smaller warehouse vinyl flooring areas. For large spaces, heavy traffic downtime, or uncertain existing material composition, using an experienced resilient flooring installer is usually the safer and more cost-effective decision in 2026.
A durable vinyl flooring result is driven less by speed and more by compliance with substrate preparation, product-specific adhesive/primer use, and approved cure/traffic timing.
When older flooring may contain asbestos, the correct testing and worker-protection procedures must be followed before demolition.
Quick checklist (save this)
| Step | What to verify | Quick pass/fail check |
|---|---|---|
| Safety & hazard check | Existing flooring condition/age | Tested/handled per guidance if risk suspected |
| Measure & plan layout | Seam placement, traffic routes | Materials fit plan with minimal cutting at edges |
| Removal | Residue/damage control | No loose debris; substrate not gouged |
| Subfloor prep | Flatness, dryness, cleanliness | Smooth, dry, dust-free per specs |
| Installation method | Glue-down vs click/loose-lay | Install matches product instructions exactly |
| Cure/protection | Traffic timing and protection | No loads until manufacturer allows it |
| Maintenance | Cleaning + impact protection | Approved cleaner + protective transitions |
Frequently Asked Questions
How do I prepare a warehouse floor before replacing vinyl flooring?
Start by clearing the area of pallets, racks, and any loose debris, then inspect the existing vinyl for tears, lifting seams, water damage, or trapped moisture. Thoroughly clean and degrease the surface so adhesive bonds properly, and remove wax, sealers, and contaminants. If the old vinyl is adhered, you may need to scrape and/or grind high spots for a flat subfloor. Finally, check the subfloor flatness and moisture conditions—many vinyl floor replacements fail when the base isn’t level or dry.
What’s the best way to remove existing vinyl flooring in a warehouse?
Use mechanical removal methods like floor scrapers for glue-down vinyl, and plan for dust control because warehouse removal can be messy. For bonded products, heat guns or a vinyl adhesive remover can help loosen material, but always test compatibility with the subfloor first. Remove all adhesive residue and flatten ridges so the new vinyl flooring won’t telegraph through or fail at seams. If there’s significant subfloor damage, consider repairing or replacing sections before installing replacement vinyl floors.
Which vinyl flooring type is best for warehouse traffic and heavy equipment?
For warehouses, look for durable, commercial-grade vinyl options such as heavy-duty sheet vinyl or luxury vinyl tile (LVT) with thick wear layers designed for industrial use. If you use forklifts or carts, choose products with strong indentation resistance and a proven commercial rating for rolling loads. Consider slip resistance (especially if there’s cleaning or spill risk) and whether you need chemical resistance for oils, detergents, or hydraulic fluids. Confirm the manufacturer’s warranty requirements for installation, including subfloor prep and acclimation time.
How do I install new vinyl warehouse flooring over concrete?
Begin with subfloor preparation: fill cracks, level low spots, and grind high areas so the concrete meets the vinyl manufacturer’s flatness tolerance. If required, install an appropriate moisture mitigation system or vapor barrier to prevent moisture-related lifting, bubbling, or moldy odors. Acclimate the vinyl materials to the warehouse temperature and humidity before installation, especially for sheet vinyl or glue-down systems. Follow the recommended adhesive type and installation pattern, then roll the floor thoroughly and allow full cure time before reopening the space.
Why do vinyl floors fail in warehouses, and how can I prevent it during replacement?
The most common issues are poor subfloor flatness, inadequate moisture control, incorrect adhesive or application, and skipping proper acclimation. Warehouse environments add extra stress from rolling loads, frequent cleaning, and temperature swings, which can cause edge lifting or seam separation if installation isn’t engineered for the conditions. Prevent problems by achieving a clean, dry, smooth substrate; using the correct warehouse-rated vinyl floors and underlayment or moisture barrier; and ensuring adhesives are applied at the correct thickness and cure window. After replacement, use protective mats and traffic management early on to avoid shifting the flooring before it reaches full bond strength.
📅 Last Updated: October 26, 2026 | Topic: How to replace vinyl floors in a warehouse? | Content verified for accuracy and freshness.
References
- Asbestos – Overview | Occupational Safety and Health Administration
- Asbestos | US EPA
- https://www.epa.gov/asbestos/managing-asbestos-in-place
- https://www.cdc.gov/asbestos/
- https://www.cdc.gov/niosh/topics/asbestos/
- Vinyl flooring
- RFCI – Resilient Flooring Covering Institute
- https://scholar.google.com/scholar?q=replace+vinyl+flooring+warehouse+installation Google Scholar
- https://scholar.google.com/scholar?q=resilient+floor+covering+installation+sheet+vinyl+subfloor+preparation Google Scholar
- https://scholar.google.com/scholar?q=asbestos+vinyl+floor+removal+safe+work+practices Google Scholar