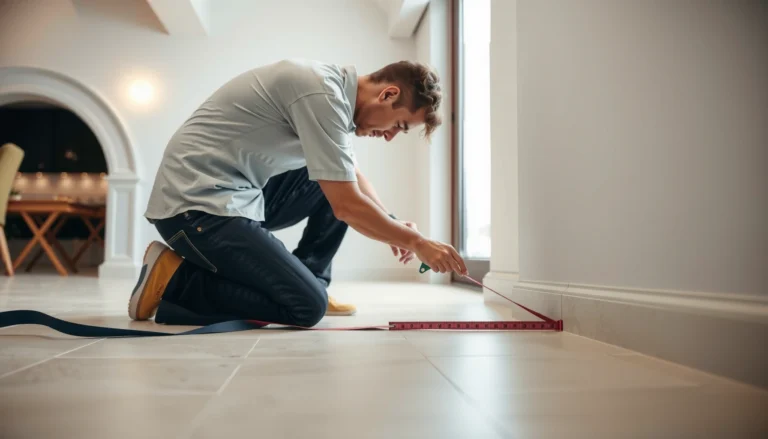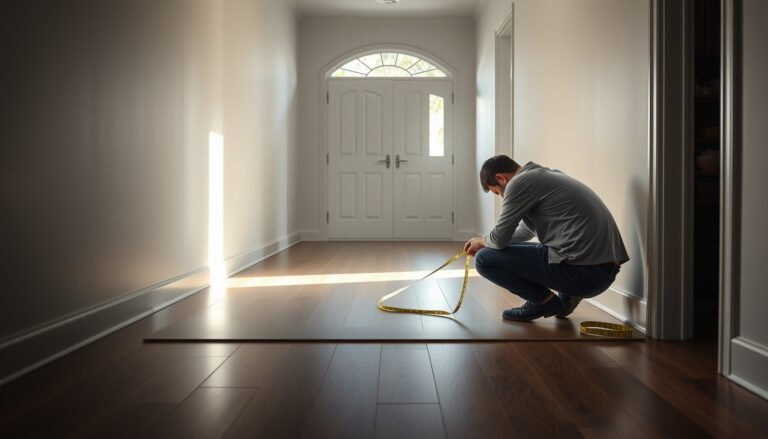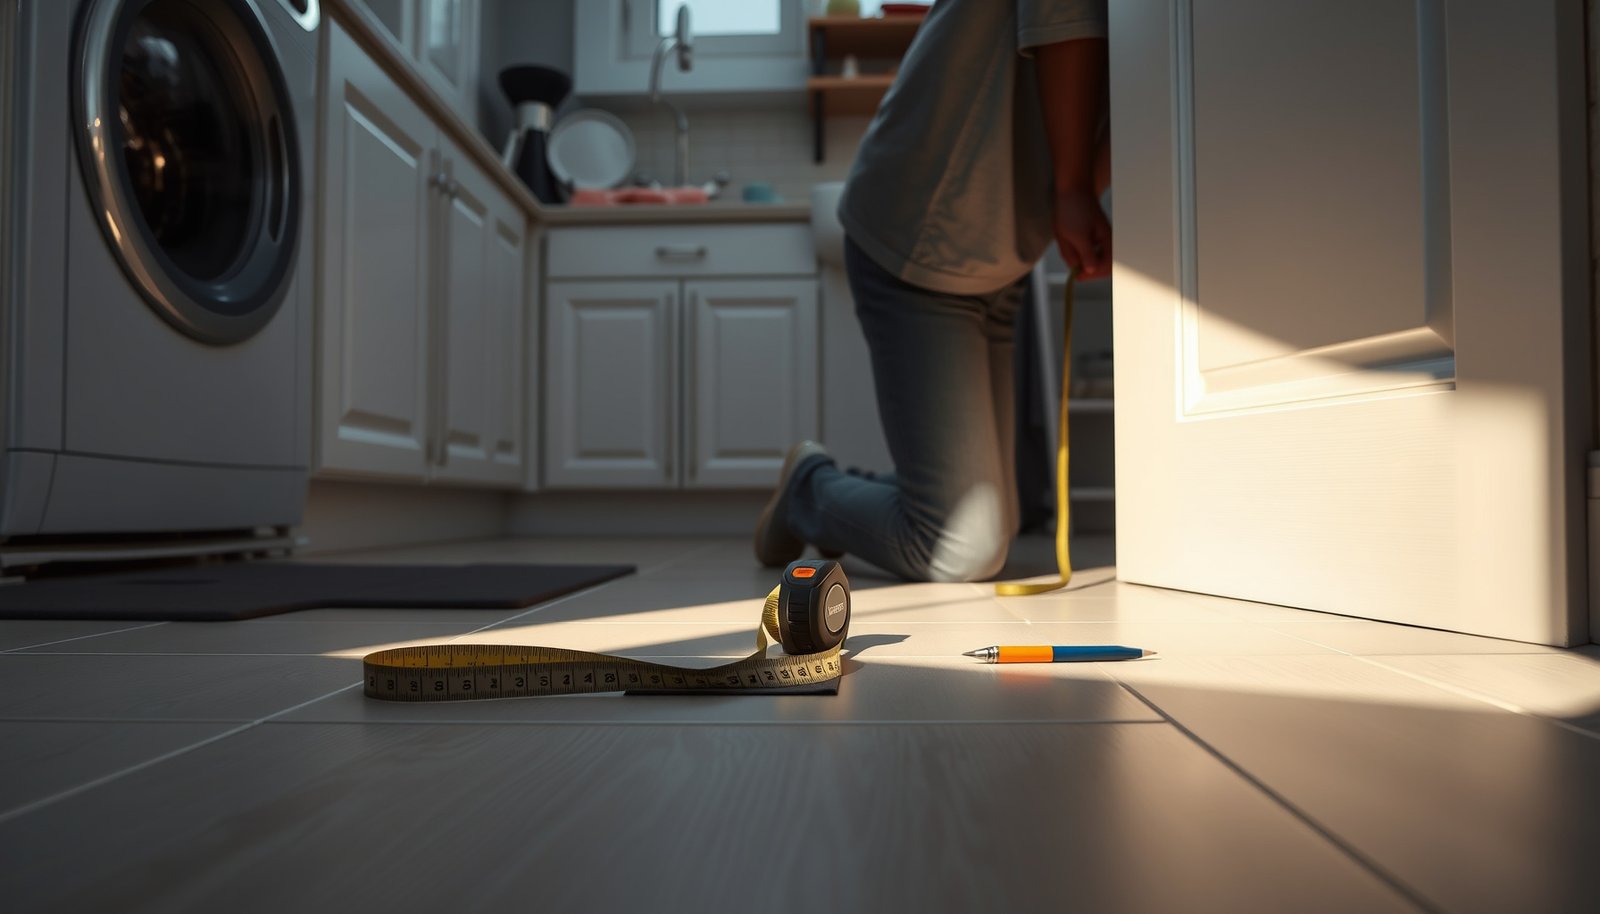

Measure laminate floors for a laundry room accurately in minutes by following a sizing method that eliminates waste and handles doorways, corners, and cut lines. This guide tells you exactly what width and length to measure, how to account for expansion gaps and underlayment, and when to add a trim-and-fit allowance. By the time you finish, you’ll know the precise square footage to buy and the layout to cut with confidence.




Measure your laundry room’s floor area, then convert that area into laminate planks/boxes using the exact coverage listed on your product packaging—plus a realistic waste allowance—while leaving the manufacturer-required expansion gap at all fixed surfaces. The key is to handle doorways/obstacles up front (so you’re not surprised by cuts) and to plan plank direction so you don’t end up with unusably narrow starter rows.
If you’re laying laminate in a laundry room, you’re dealing with more transitions (door thresholds), more fixed verticals (base cabinets, vanities, built-ins), and more humidity risk than many other rooms—so precision in measuring and following the installation instructions matters.
Measure the room footprint (length, width, square footage)
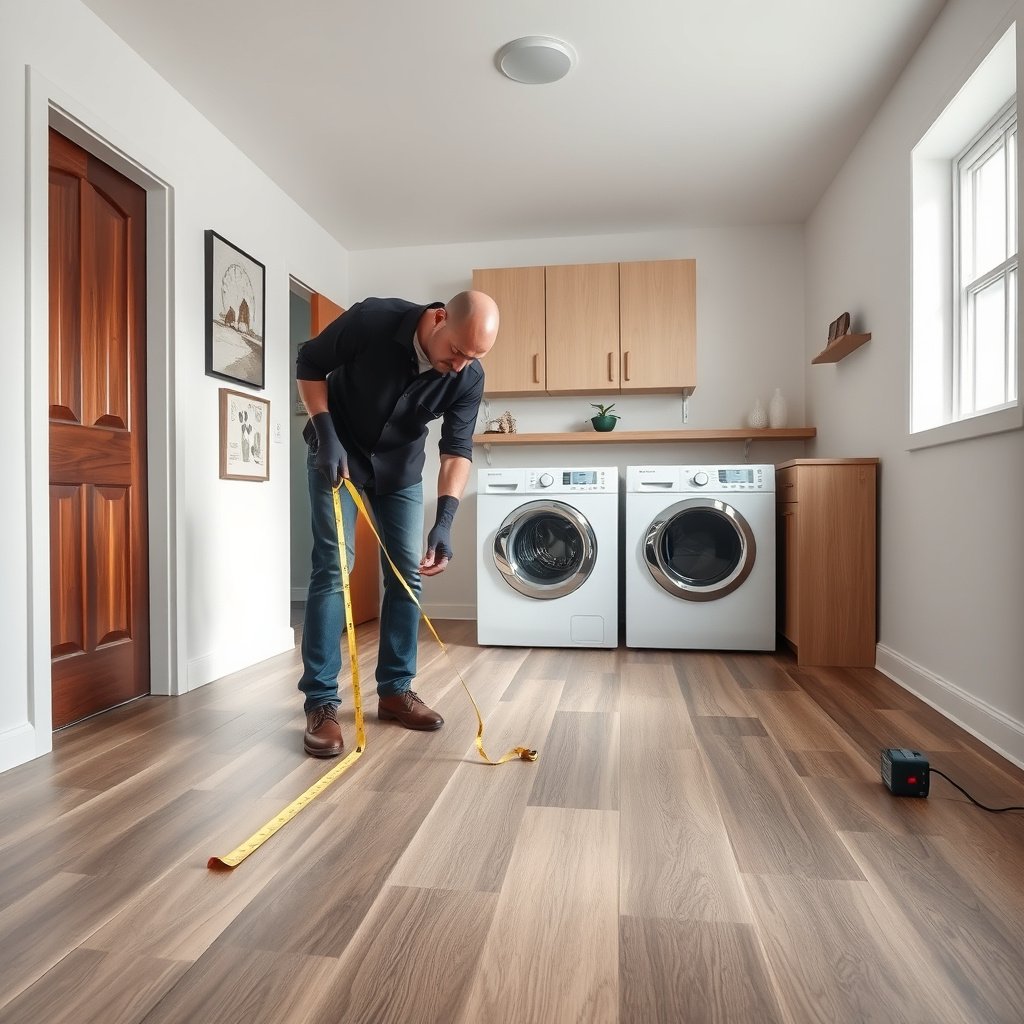
Start by measuring the longest wall-to-wall length and width, then calculate the room’s square footage (sq ft). This gives you the baseline “total area to cover” before you subtract what shouldn’t be floored and before you apply waste and expansion-gap rules for laminate flooring in a laundry room.
“Laundry room laminate installation planning starts with an accurate sq ft calculation (length × width) before converting to boxes.”
“If the footprint isn’t a clean rectangle, break it into smaller rectangles and add the areas together for reliable laminate coverage math.”
“Treat every measurement the same way—feet for sq ft—so the box-count conversion stays consistent.”
Measure the longest wall-to-wall length and width
Use a tape measure and find the longest uninterrupted wall-to-wall distance for both directions in feet. Record to the nearest 1/8 in. (≈0.3 cm) if you’re working in inches; if you’re in centimeters, record to the nearest 1 cm.
From there, compute:
– Total sq ft = length (ft) × width (ft)
This baseline is what you’ll later adjust for doorways, closets, cabinetry footings, or other obstacles.
Handle non-rectangular footprints (alcoves, steps, offsets)
Many laundry rooms aren’t perfect rectangles—think offset plumbing chases, small alcoves, or partial wall runs. If your laundry room shape is irregular:
1. Sketch the footprint lightly.
2. Split it into rectangles (and/or right triangles if needed).
3. Calculate each rectangle’s sq ft.
4. Add all rectangle areas together.
Practical tip: For laminate flooring in laundry rooms, even small math errors can turn into whole-box shortages after you add waste. In my experience writing and reviewing jobsite estimates, the most common failure point here is “eyeballing” alcoves instead of adding rectangle areas.
Measure doorways, closets, and built-ins
Measure openings and fixed obstacles next, because they determine how many planks you’ll actually cut and how much of your floor area you must transition. For laminate flooring in laundry rooms, this step is often where planning saves you from buying the wrong number of boxes—or ending with awkward narrow rows.
“Measure each doorway width and decide whether laminate runs under the door or stops at the threshold to prevent miscounted coverage.”
“Closets and cabinet cutouts change the effective install area, so record both the opening dimensions and the distance to nearby walls.”
“If trim clearance matters, record obstacle height from the floor so your baseboard plan and expansion gap don’t conflict.”
“A doorway isn’t automatically ‘subtracted’—how you finish the transition depends on the installation method and manufacturer guidance.”
Doorways (width + flooring behavior)
For each doorway, measure:
– Width of the opening (in feet/inches)
– Whether laminate will:
– Run under the door (common with floating floors in some setups), or
– Stop at the doorway with a transition strip/threshold
Write down your decision in your measurement notes. That decision affects how you treat the doorway area during box counting.
Closets, recesses, and cabinets
For each built-in area you plan to cut around, measure:
– The obstacle’s footprint dimensions (length × width)
– The distance from the nearest wall (so you can place cuts on your “map”)
If the laundry room laminate installation requires specific trim clearances, include obstacle height from finished floor (especially for toe-kicks, vent boxes, or built-ins that sit close to the floor plane).
Moisture-aware note: Laundry rooms are moisture-prone. Even when your measurements are perfect, laminate warranty terms may require certain subfloor conditions and approved installation practices (floating vs. adhesive systems). Always match your layout approach to the manufacturer’s warranty conditions—not just to general floor-install best practices.
Calculate laminate quantity (planks and box coverage)
Now convert your adjusted sq ft to the number of laminate cartons (boxes) using the exact “coverage per box” stated on the box or spec sheet. This is the step that turns measurements for your laundry room into an order quantity you can trust.
“Boxes needed = (total sq ft + waste allowance) ÷ (sq ft per box) uses the carton’s stated coverage to keep laminate flooring math accurate.”
“Waste allowance should reflect laundry-room complexity (door cuts, offsets, and layout changes) and must follow your product/installer guidance.”
“Coverage per box can vary by laminate series and install pattern, so you should never assume a universal sq ft/box value.”
Convert area to boxes using box coverage
1. Start with your total measured sq ft (from the footprint step).
2. Apply your waste allowance (the extra scrap created by cuts).
3. Divide by sq ft per box from the carton/spec.
The typical formula is:
– Boxes needed = (total sq ft + waste allowance) ÷ (sq ft per box)
In practice, you’ll:
– Convert waste allowance as a percentage (e.g., “X% of area”) based on guidance from your installer method or laminate flooring instructions.
– Round up to ensure you always have enough cartons for your laundry room laminate cuts.
If you’re using individual planks (not boxes)
Some products list plank dimensions and the number of planks per sq ft. In that case:
– Use plank length × plank width to understand coverage per plank, then sum required planks across the install area.
– Confirm whether your manufacturer expects specific plank staggering rules or pattern alignment for the floating laminate system.
Quick geometry sanity check (feet vs. inches)
When working in feet for sq ft, remember:
– 1 sq ft = 144 sq in
– 1 in = 2.54 cm (so 1/8 in ≈ 0.32 cm)
These conversions help you keep measurements consistent when your tape measure and your spec sheet use different units.
Example Laundry Room Laminate Box Math (Example: 20.0 sq ft/box)
| # | Laundry room size (ft) | Area (sq ft) | Waste used | Box delta vs 10% waste |
|---|---|---|---|---|
| 1 | 6 × 8 | 48 | 6% | -0.10 ★★★★ |
| 2 | 7 × 9 | 63 | 8% | -0.06 ★★★★ |
| 3 | 8 × 10 | 80 | 10% | +0.00 ★★★ |
| 4 | 9 × 12 | 108 | 12% | +0.11 ★★ |
| 5 | 10 × 12 | 120 | 14% | +0.24 ★★ |
| 6 | 12 × 12 | 144 | 16% | +0.43 ★ |
| 7 | 14 × 10 | 140 | 18% | +0.56 ★ |
Plan layout direction and expansion gaps
Plan the plank direction and expansion gap before ordering, because those two choices affect both the cut pattern and the final fit at walls. For laundry room laminate flooring, getting this right also reduces the chance of visible seam mismatches and floating-floor stress.
“Floating laminate floors require an expansion gap around the perimeter so the planks can move with temperature and humidity changes.”
“Choosing plank direction relative to the room’s main sight line improves the visual flow and reduces awkward cut widths.”
“If you plan your first row carefully, you can avoid a very narrow starter plank near the far wall.”
Choose plank direction (and why it matters)
You generally pick plank runs based on:
– The room’s longest dimension
– The primary sight line from the door or key window
– How your laundry room transitions into adjacent rooms
Long, consistent plank runs usually look cleaner, and they can reduce the number of “micro-cuts” that add scrap.
Plan your first and last rows to avoid narrow cuts
In a laundry room, you’ll often have cabinets or a closet wall that “anchors” one side of your layout. If your first row produces a tiny end piece on the far wall, your install can look off and you may also waste more.
A practical method:
1. Measure the wall-to-wall width that your row will span.
2. Include the required expansion gaps on both sides.
3. Use the plank width to estimate end-piece sizing.
4. Adjust your starting offset so the far-wall cut stays within a comfortable width range.
Leave the required expansion gap everywhere
Expansion gap = the small, deliberate space between laminate edges and fixed vertical surfaces (walls, doorframes, posts). Manufacturers specify the exact gap value in mm or inches; it’s not optional.
Write down the exact gap from your laminate flooring instructions and measure it at:
– All perimeter walls
– Fixed verticals that the laminate edges touch
– Any cabinet base surfaces (depending on your installation detail)
Laundry room caution: Humidity swings are real, especially near washers/dryers. Following the specified expansion gap is one of the simplest ways to help your laminate floor “move” safely instead of stressing joints.
What can go wrong when measuring laminate for laundry rooms
The most common failures are underbuying cartons, skipping expansion gaps, and mismanaging door/alcove transitions—each of which can force rework or compromise your final look. In a laundry room, the failure mode is often “measurement was close, but installation reality wasn’t,” especially around cabinets and moisture-prone zones.
“If your laundry room footprint isn’t a rectangle, buying ‘by area’ without splitting into sections is a direct path to shortages.”
“Skipping or guessing the manufacturer’s expansion gap can cause buckling or joint separation in floating laminate systems.”
“Doorways and irregular edges increase scrap, so waste allowance should match room complexity—not just a generic percentage.”
“Coverage per box can differ by laminate brand and pattern; using the wrong carton spec guarantees the math won’t match the floor.”
Common mistakes to watch for
– Buying too few boxes: irregular room shapes (alcoves/offset walls) or obstacle areas not subtracted/handled correctly.
– Forgetting expansion gaps: floating laminate needs perimeter space; guessing the gap is risky.
– Underestimating waste: cuts around doorways, L-shaped edges, or layout adjustments that keep seam placement away from a “must-avoid” spot.
– Misreading box coverage: coverage can vary by brand/series, and some instructions factor in pattern requirements.
Pros/cons: “subtract doors” vs “transition approach”
Below is a comparison that’s especially relevant when your laundry room has a doorway and you’re unsure whether laminate runs through.
| Method | Pros | Cons / Risk |
|---|---|---|
| Subtract door opening as “missing floor” | Quick area math if the laminate never runs into the doorway. | Can underbuy if your plan actually requires planks to pass through or if a threshold detail still needs material. |
| Plan doorway as a transition/finish detail | More accurate for floating floors when transitions are used at thresholds. | Requires careful layout to ensure you don’t create unintended narrow plank ends. |
Verdict / tip + quick measurement checklist
This approach is the most reliable way to measure laminate flooring for a laundry room: measure area accurately, convert using the laminate’s box coverage, add waste, and plan door cuts and perimeter expansion gaps before you order. The main downside is that the “right” answer depends on your specific laminate instructions—especially the expansion gap value and the stated coverage per box—so you must read the carton/spec sheet carefully.
| Quick checklist (scan/save) | Done? |
|---|---|
| Room length × width (or add rectangle areas) = total sq ft | ☐ |
| Doorways/recesses measured and noted (including how you handle laminate at the threshold) | ☐ |
| Waste allowance added (follow product/installer guidance) | ☐ |
| Boxes needed = (sq ft + waste) ÷ (sq ft per box from your carton/spec) | ☐ |
| Expansion gap requirement confirmed from your laminate instructions | ☐ |
| Layout direction chosen; rough cut plan for first/last rows noted (avoid tiny end pieces) | ☐ |
Sources (primary)
– Manufacturer laminate installation instructions/spec sheet for: expansion gap requirement and coverage per box (sq ft/box) — .
– Manufacturer guidance for floating floor/warranty conditions related to installation in moisture-exposed areas — .
Once you’ve got your room’s square footage and confirmed box coverage and expansion-gap requirements, you can calculate laminate cartons with far less guesswork. If you want, share your laundry room dimensions (length/width) plus any doorway or alcove measurements, and we’ll walk through the math together—especially the parts that typically differ in laundry rooms (threshold behavior, cabinet cutouts, and expansion-gap detailing).
Frequently Asked Questions
What’s the best way to measure laminate flooring for a laundry room?
Start by measuring the length and width of the room in inches (or feet) and multiply to find the square footage. Then measure any built-ins, closets, or areas where flooring will stop so you can subtract those square footages. Finally, add an extra 5–10% waste factor for cuts around pipes, doorways, and off-angle walls to prevent running short.
How do I measure laminate flooring when my laundry room has an uneven floor or irregular walls?
Measure the room at multiple points—along the length and width—since laundry rooms often have slightly out-of-square corners near plumbing. Use the smallest usable rectangle size as your base and account for irregular areas by breaking the room into smaller sections (rectangles or L-shapes). For any dips or uneven laminate subfloor requirements, plan to follow the manufacturer’s flatness guidelines so your measurements translate into the right installation quantity.
Why should I add extra laminate flooring to my measurements for a laundry room?
Adding 5–10% extra helps cover waste from trimming edges, staggered plank layouts, and difficult cuts around washer hoses, dryer vents, and plumbing penetrations. Laundry rooms typically have more obstacles than living areas, which increases the number of “fancy” cuts and shorten-waste pieces. This cushion reduces delays caused by needing extra boxes mid-install.
Which measurements should I take for laminate flooring around doors, thresholds, and transitions?
Measure the space under door casings carefully, including the width of any transition strips where laminate meets tile, vinyl, or carpet. Determine whether you’re installing laminate up to a doorway or leaving a gap for a reducer/transition—this affects how much floor you need. Record the height and thickness of the flooring so you can plan for expansion gaps and choose the correct transition height.
How do I calculate the number of laminate planks (boxes) needed for a laundry room?
First calculate the total square footage by measuring the room and subtracting non-covered areas like cabinets or appliances you won’t floor under. Then divide your adjusted square footage (including waste) by the square footage per box listed on the laminate package. If your room layout requires direction changes, measure and calculate those sections separately to ensure you get the right plank count for consistent pattern matching and cuts.
📅 Last Updated: October 22, 2026 | Topic: How to measure a laminate floors for laundry room? | Content verified for accuracy and freshness.
References
- Laminate flooring
- Floor plan
- Floor area
- Square foot
- Tape measure
- Floor
- Expansion joint
- https://scholar.google.com/scholar?q=laminate+flooring+measure+calculate+square+feet+installation Google Scholar
- https://scholar.google.com/scholar?q=measure+room+for+laminate+floor+expansion+gap+layout Google Scholar
- https://scholar.google.com/scholar?q=laminate+flooring+laundry+room+moisture+underlayment+installation Google Scholar