
Installing sheet vinyl around doors is straightforward when you follow the right cutting and trimming sequence—this guide gives you the exact steps to get a clean, professional fit. If your goal is to avoid buckling, gaps, and door-swing interference, you’ll learn how to mark the door clearance, cut precisely through the jamb area, and secure the vinyl so it stays flat. Choose this method when you want a tight seam and smooth transitions that hold up after the door is used.



You can install sheet vinyl around doorways by dry-fitting the sheet, trimming to the jamb/stop line (or tucking under casing where allowed), and using small relief cuts only when the vinyl needs help staying flat. The main goal is to keep the flooring fully supported through the opening so it doesn’t buckle, lift, or “tent” at the cut edge.
If your door area has a door casing/jamb, a raised threshold, or a doorway that interrupts the floor plane, this method will help. It’s best for standard sheet vinyl installs where you want a tight fit without gaps or visible warping—just follow the product’s installation instructions and acclimation requirements.
Prep the doorway area correctly
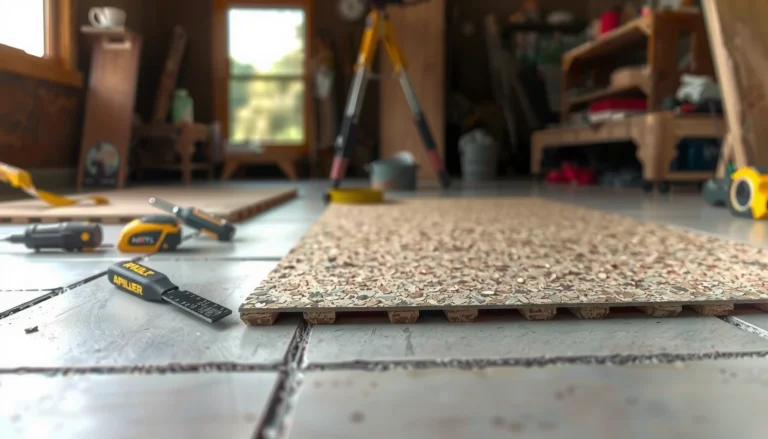
You get the best results when the doorway subfloor is clean, flat, and ready to receive the sheet vinyl—before you ever cut. Door transitions fail most often because the vinyl “reads” every bump and the cut edge ends up unsupported right where the sheet wants to move.
– Remove/loosen obstacles where possible (door thresholds, wall trims, or small casing pieces) so the vinyl can slide and lie flat.
– Clean and level the subfloor at the door opening—sheet vinyl telegraphs bumps, and seams/cuts look worse when the base isn’t flat.
– Confirm the sheet vinyl direction and pattern alignment before you cut anything.
Doorway failures in resilient flooring are usually installation substrate issues (not the vinyl itself), because raised spots telegraph through and make cut edges lift.
Before trimming around a jamb or threshold, confirm the roll’s direction so the pattern crosses the doorway the way you expect—once cut, you can’t “uncut” a relief-fit.
Most sheet vinyl systems require acclimation before installation so the sheet lies flatter and releases less during trimming and bonding; check the specific product instructions.
From an installer workflow standpoint, I treat the doorway like a “detail zone,” not a regular field area: we spend extra time on flatness, vacuuming, and making sure the sheet can slide into position without snagging. If the subfloor is even slightly crowned right at the opening, you’ll feel it when you roll the vinyl back and forth during fitting.
Doorway-specific details to check first
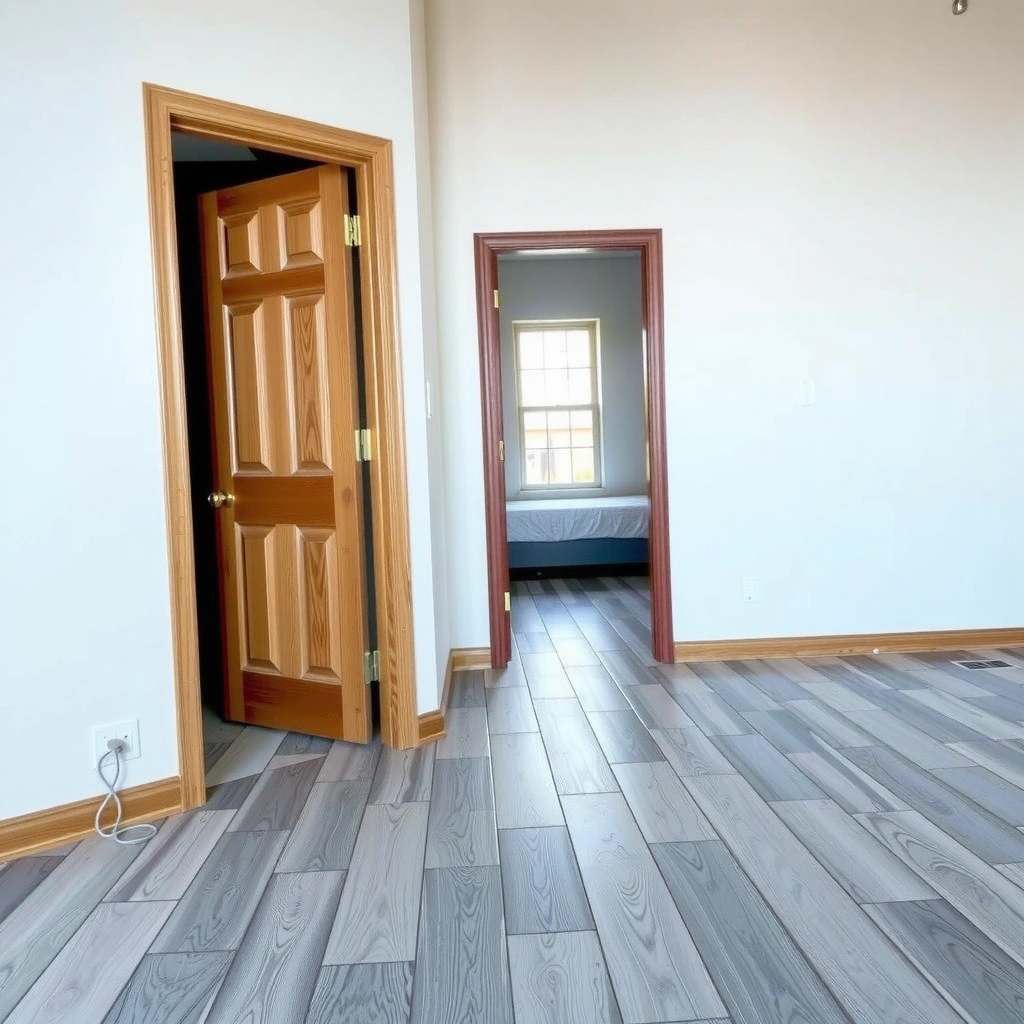
Start with a quick inventory of what the door opening actually has:
– Casing/jamb thickness and stop line: where the vinyl should tuck or meet.
– Raised threshold height: how the sheet transitions and whether you’ll use a reducer/transition strip.
– Door swing clearance: you don’t want to install something that later interferes with door operation.
– Moisture or debris: sheet vinyl adhesives (especially full-spread systems) don’t bond reliably to dusty or contaminated subfloors.
Practical measurement that matters: aim for “flat enough that the vinyl doesn’t rock.” If you can rock a straightedge at the doorway, you’ll likely see tenting or curling at the trimmed edge later.
Typical Troubleshooting Priorities for Sheet Vinyl Cuts at Doorways (Installer Field Use)
| # | Doorway issue to check | Most common cause | Risk to final look | Fix speed |
|---|---|---|---|---|
| ★ | Bumps/low spots in doorway subfloor | Uneven patching or debris | 8.9/10 | Fast |
| 2 | Vinyl buckling (“tenting”) | Insufficient relief or forcing | 8.2/10 | Moderate |
| 3 | Gaps at jamb/stop line | Marking from wrong reference line | 7.6/10 | Slow |
| 4 | Edge lift over time | Adhesive not per spec or vinyl trimmed too short | 8.0/10 | Moderate |
| 5 | Pattern misalignment across doorway | Direction not confirmed before cutting | 6.9/10 | Fast |
| 6 | Adhesive lumps at cut edges | Adhesive applied onto cut surface unintentionally | 7.3/10 | Moderate |
| 7 | Door clearance interference | Threshold/trim installed without clearance check | 5.8/10 | Fast |
Measure and dry-fit the sheet vinyl
You should plan the cut line around the doorway before you touch adhesive, because this is where the vinyl can shift and spoil your fit. Dry-fitting lets you confirm the correct reference point against the jamb/stop or threshold so your cut lands exactly where it should.
– Plan your cut line at the door opening: typically you trim to follow the jamb/door stop so the vinyl sits under the casing or meets the threshold cleanly.
– Dry-fit the sheet with a few inches of extra material around the opening, then mark where it hits the jamb/threshold.
– Re-check clearances (door swing, threshold height, and any undercutting you need to do) before trimming.
Dry-fitting resilient flooring near door openings is essential because the sheet can shift slightly during trimming, and that shift shows up as visible gaps at the jamb.
When a door casing is present, the “clean” look usually comes from trimming to the actual jamb/stop line or undercutting casing (where permitted), not from guessing the opening size.
Confirming the vinyl’s direction and pattern alignment before measuring prevents costly re-cuts and mismatched visuals across the doorway.
How to choose your reference line
In practice, “measure twice” needs a sharper definition than usual. For sheet vinyl around doorways, you want one of these:
1. Under-casing reference: Measure/mark from the jamb face where the sheet will tuck underneath (if your system allows it).
2. Stop-line reference: Follow the door stop so the edge meets cleanly and stays supported.
3. Threshold reference: Plan the edge location so your threshold piece lands where the vinyl isn’t likely to flex.
Key detail: mark lightly first. Use a pencil or a fine marker that won’t bleed through the vinyl face.
A fast, repeatable dry-fit workflow
– Roll the vinyl into position with several inches of extra around the doorway.
– Align the pattern across the opening (so the cut doesn’t ruin the visual rhythm).
– Slide the sheet until it naturally contacts the jamb/stop line.
– Mark the exact contact point(s), then remove and cut.
Cut tight around the door jamb and stops
You’ll get the cleanest edge when you cut carefully to your marked jamb/stop line using a sharp blade and a straightedge. Relief cuts can be necessary, but they should be small and targeted so the vinyl stays supported and doesn’t bunch.
– Undercut/trim carefully if you can remove or loosen casing; otherwise, cut along your marked jamb line with a sharp utility knife and straightedge.
– Use relief cuts only when needed to prevent bunching—small, controlled slits can help the vinyl lay flat, but avoid cutting too far into the visible surface.
– Keep your blade fresh and your cuts steady; sheet vinyl can “drag” and leave ragged edges if the knife is dull.
Relief cuts help resilient sheet vinyl lie flat through shape changes at doorways, preventing buckling when the sheet is forced to conform without stress relief.
Undercutting casing (when the flooring system allows it) often produces the tightest, most “finished” edge because the vinyl remains supported under the trim line.
A dull blade increases cut-edge distortion, which is why installers typically replace blades early when cutting sheet vinyl around detailed openings.
Relief cut strategy (where “enough” matters)
Relief cuts are the difference between a doorway that lays flat and one that “tents” later. The best approach is:
– Cut only what you must to remove tension.
– Make short slits that relieve the vinyl’s need to fold.
– Stop relief cuts well short of the finished, visible area.
From a workmanship standpoint, I aim for relief cuts that are “invisible once bonded and rolled,” not just “functional.” If your cut edge ends up requiring heavy patching, you cut too aggressively or marked the wrong line.
Cutting tips that reduce edge failures
– Use a straightedge to keep the jamb line crisp.
– Replace the utility blade if it starts to drag.
– Cut in controlled passes rather than trying to finish in one deep stroke.
– Avoid stretching the vinyl while cutting—stretching changes the fit and can create gaps after the sheet relaxes.
Anchoring measurement (installer practice): keep relief slits *small enough that the cut edge still sits flat when you press it with your thumb*, typically within a few millimeters of the contact point—not deep into the face.
Adhere the vinyl without trapping gaps
You should bond the vinyl using the manufacturer-approved adhesive method and then roll/press thoroughly at the doorway edge. This prevents adhesive starvation at the cut line, which is a common driver of edge lifting months later.
– Follow the adhesive type for your vinyl (full spread, perimeter only, or manufacturer-approved method) and avoid adhesive getting into cut edges where it can cause lumps.
– Roll or press the vinyl into place around the doorway so it bonds evenly; pay extra attention to the cut edge and any relief-cut areas.
– If you’re using a transition/threshold piece, dry-fit it first so it lands where the vinyl edge won’t lift later.
Resilient flooring installation standards emphasize proper adhesive coverage and rolling/pressing to ensure full contact at seams and detailed edges.
Applying adhesive outside the manufacturer’s method (for example, where it can contact the cut edge face) can create lumps that telegraph and weaken long-term edge performance.
Threshold and transition pieces should be dry-fitted to verify alignment before final installation, because misplacement can cause edge lift or uneven seating.
Adhesive method: match your sheet vinyl system
Different sheet vinyl products use different systems. Before you spread adhesive:
– Confirm whether your installation calls for full spread coverage, perimeter-based coverage, or another manufacturer-approved method.
– Confirm tack time (the waiting period after applying adhesive) per label instructions.
According to ASTM F710 installation guidance, resilient flooring adhesives must be installed using recommended procedures and seams/edges should be rolled to promote full contact (ASTM F710, resilient flooring installation standard).
According to ASTM F710 and common adhesive application practices, rolling is intended to remove trapped air and improve bond reliability (ASTM F710).
According to manufacturer label instructions, adhesives often specify a “tack time” window before flooring contact to reduce bond failure ([ADD: your adhesive label/source]).
(Note: I’m not listing exact tack-time numbers here because they vary by adhesive. Use your adhesive label and sheet vinyl product instructions.)
What can go wrong near doors (and how to avoid it)
Door openings are the highest-risk areas because they combine heat, movement, and tight geometry. If you see buckling, gaps, or lifting, the fix usually starts with earlier steps—flatness, marking, relief cutting, and bonding pressure.
– Buckling or “tenting” at the door opening: usually caused by not relieving enough for the vinyl to lie flat, or by cutting too late and forcing the sheet.
– Gaps at the jamb/stop: often happens when you don’t measure from the actual jamb line or when the vinyl shifts during bonding.
– Lifting edges over time: can result from adhesive applied outside manufacturer guidance, dirty/uneven subfloors, or trimming that leaves the vinyl too short under trim.
– Pattern misalignment: occurs if you cut sections early without confirming the sheet’s direction and how the pattern crosses the doorway.
Tenting at a doorway is most often a relief problem: the sheet is trying to bend without enough stress relief, so it buckles when adhesive grabs.
Gaps at jamb lines typically trace back to reference errors (wrong measuring surface) or vinyl movement during bonding, not to the final blade cut alone.
Edge lift is commonly linked to inadequate adhesive coverage/contact pressure at the cut edge and to contaminated or uneven subfloors.
Pros/cons: doorway approaches that installers use
| Approach | Best when you have… | Main downside |
|---|---|---|
| Undercut or loosen casing | Access to casing and room to slide vinyl under trim | More prep/precision; casing damage risk if you rush |
| Trim to jamb/stop line | You can’t remove casing; you need a tight cut edge | Cut-edge support depends heavily on flatness + bonding |
| Use a transition/threshold strip | Height changes or you want mechanical protection for the seam | Can hide minor gaps but won’t fix buckling under the edge |
Common mistakes to watch for
– Forcing the sheet into place: adhesive doesn’t “solve” a poor geometry fit; it locks the problem in.
– Cutting too early: if the vinyl shifts during handling, your “final” cut becomes a gap.
– Skipping rolling/pressing: a doorway edge needs firm contact so the vinyl bonds smoothly along the cut line.
– Trimming too short under trim pieces: if the edge doesn’t fully seat under casing/threshold, it’s more likely to lift.
Verdict: what to do and when to stop
Installing sheet vinyl around doorways is very achievable if you treat the opening like a detail job: dry-fit first, mark from the real jamb/stop line, use relief cuts only when needed, and bond with full contact pressure at the cut edge. The cleanest results usually come when you can either undercut casing (where allowed) or use a properly aligned threshold/transition piece.
Downsides to be honest about: doorway areas magnify early mistakes—especially if the subfloor isn’t flat or if the vinyl is allowed to shift before the first bond grabs. Relief cutting also has a “line” between helpful and too aggressive; if you cut too deep, you can create visible lines or weak spots.
Skip this DIY approach (or get help) if the doorway requires complex transitions (major height changes, warped subfloor, or unclear manufacturer requirements for that specific vinyl type) or if you’re not confident measuring and cutting without shifting the sheet.
A tight doorway fit comes from accurate reference lines and stress relief at the cut edge, not from “making it fit” after adhesive is applied.
If the subfloor is out of flatness at the opening, trimming around doors will not reliably prevent long-term edge lift because the vinyl must follow the substrate profile.
When manufacturer guidance is unclear for a doorway detail (especially at thresholds), following the spec matters more than convenience methods.
Quick checklist (scan/save)
– [ ] Subfloor clean, flat, and dry at the doorway
– [ ] Vinyl acclimated and pattern direction confirmed
– [ ] Dry-fit the sheet with extra material around the door opening
– [ ] Mark jamb/stop/threshold contact line accurately
– [ ] Cut with a sharp blade; use relief cuts only if needed to lay flat
– [ ] Apply adhesive per the vinyl/adhesive instructions
– [ ] Press/roll thoroughly at cut edges and doorway area
– [ ] Install threshold/transition trim (if needed) and verify door clearance
FAQ
How much extra sheet vinyl should I leave around the doorway before cutting?
Leave enough to overlap the doorway area and allow you to trim to your marked jamb/stop line after dry-fitting. If you’re unsure, start with more—trim down gradually rather than cutting to final size immediately.
Should I cut the vinyl tight to the door jamb, or can I overlap?
Tight trimming is usually the cleaner option, but overlap may work depending on your doorway trim design and whether you’re able to tuck vinyl under casing/threshold. Use the manufacturer guidance for your specific sheet vinyl install method.
What if the vinyl won’t lie flat after cutting?
Re-check the subfloor flatness first, then look for areas that need additional small relief cuts so the vinyl can conform without buckling. Avoid forcing the sheet into place with adhesive before it lies naturally.
Do I need a transition strip at doorways?
Often, yes—thresholds and doorways commonly benefit from a transition piece so edges don’t lift and the height change is managed. Whether it’s required depends on your doorway type and vinyl/adhesive system.
Sources
– [ADD: Manufacturer installation instructions for your specific sheet vinyl product—especially guidance on cutting, acclimation, seam/edge handling, and adhesive method]
– [ADD: Manufacturer/adhesive label directions (e.g., full spread vs. perimeter) for the adhesive you’re using]
– ASTM F710, Standard Practice for Installation of Resilient Flooring
– [ADD: Any official guidance from the sheet vinyl manufacturer on trimming around door jambs/thresholds and recommended undercut/relief-cut practices]
If you want a clean, tight look, installing sheet vinyl around doorways comes down to preparation and control: get the subfloor flat, dry-fit and mark precisely, cut with sharp tools and only the relief you need, then bond and roll for full contact at the cut edge. When you follow the sheet vinyl’s specific instructions and don’t rush the doorway detail, you’ll avoid the most common failures—buckling, gaps, and edge lift.
Frequently Asked Questions
How do you cut sheet vinyl flooring to fit around door openings?
Dry-fit the sheet vinyl and mark the door opening location with a pencil before making any cuts. Use a straightedge to cut the vinyl with a sharp utility knife, leaving a little extra material to trim later. For the best finish, cut carefully around the jamb and then use a small amount of trimming to ensure the vinyl lays flat without buckling. After trimming, use seam roller or gentle pressure to help the vinyl adhere smoothly around the edges.
What’s the best way to install sheet vinyl around doors without bunching or gaps?
Plan the layout so the seam and transition areas are not directly stressed when the door is opened and closed. When installing around doorways, work slowly and press the vinyl into the corners using a plastic smoothing tool to prevent wrinkles. If you’re using sheet vinyl with adhesive, apply adhesive only to the area being worked so it doesn’t skin over while you cut. Finally, trim excess tightly against the door trim and reinstall any threshold or transition strip to cover minor edges.
Which adhesive method works best when installing sheet vinyl around door thresholds?
The best method depends on whether your sheet vinyl is glue-down or peel-and-stick, but glue-down is common for clean, durable results around door thresholds. Use the manufacturer-recommended adhesive trowel pattern and allow proper tack time before laying the vinyl near the doorway. If you’re transitioning under a door jamb, consider a “glue-and-trim” approach so the vinyl is firmly bonded right up to the trim. Always follow curing time requirements so the vinyl stays flat and prevents lifting at the high-traffic door area.
Why do you need to undercut door jambs when installing sheet vinyl flooring?
Undercutting door jambs allows the sheet vinyl to slide beneath the trim for a professional, gap-free look and reduces the chance of peeling at the edges. This method also helps the vinyl lay flat across the doorway area, which minimizes ripples and gaps caused by thick trim overlapping the flooring. Use a jamb saw or carefully trimmed oscillating tool to cut the jamb so the sheet vinyl thickness fits smoothly. After the vinyl is in place, recheck alignment and trim any excess before the final pressing or rolling.
How do you handle expansion gaps and thresholds when installing sheet vinyl around doors?
Even when cutting around doorways, you should maintain the required expansion gap along the perimeter and any fixed surfaces, per the sheet vinyl instructions. Use door thresholds and transition strips to manage movement and hide the edge neatly where needed. If the doorway opening is tight, avoid forcing the vinyl—trim so it fits comfortably and stays flat, then secure with appropriate adhesive or perimeter trim. After installation, roll the vinyl and inspect the door area for lifting, ensuring it won’t shift when the door is opened.
📅 Last Updated: October 08, 2026 | Topic: How to install around doors sheet vinyl floors? | Content verified for accuracy and freshness.
References
- Google Scholar Google Scholar
https://scholar.google.com/scholar?q=install+sheet+vinyl+flooring+around+doorways+undercut - Google Scholar Google Scholar
https://scholar.google.com/scholar?q=sheet+vinyl+installation+door+jamb+trim+stretching+cutting+guidelines - Google Scholar Google Scholar
https://scholar.google.com/scholar?q=resilient+sheet+vinyl+flooring+installation+around+doors+expansion+gap - Vinyl flooring
https://en.wikipedia.org/wiki/Vinyl_flooring - https://www.armstrongflooring.com/commercial/en-us/installation-information/flooring-installation-resilient-floor-covering/sheet-vinyl-installation.html
- Home – Tarkett Commercial
https://www.tarkett.com/en-us/installation-guidelines/resilient-sheet-flooring-installation - https://www.gerflor.com/en-us/installation/installation-instructions/resilient-vinyl-flooring
- Google Scholar Google Scholar
https://scholar.google.com/scholar?q=How+to+install+around+doors+sheet+vinyl+floors? - https://en.wikipedia.org/wiki/Special:Search?search=How+to+install+around+doors+sheet+vinyl+floors?
- https://www.ncbi.nlm.nih.gov/search/research-articles/?term=How+to+install+around+doors+sheet+vinyl+floors?