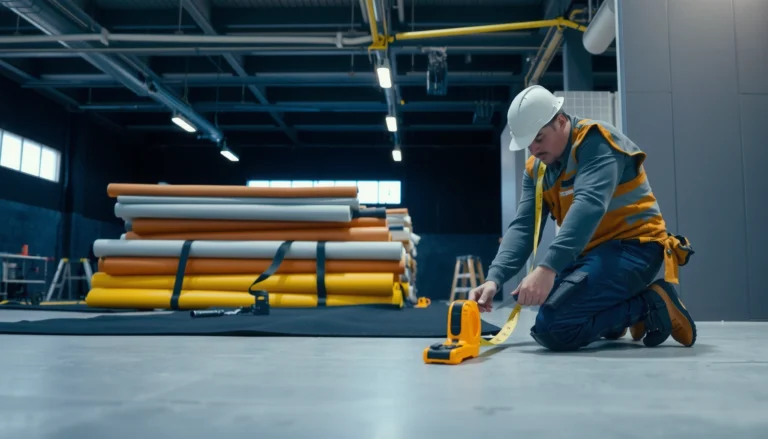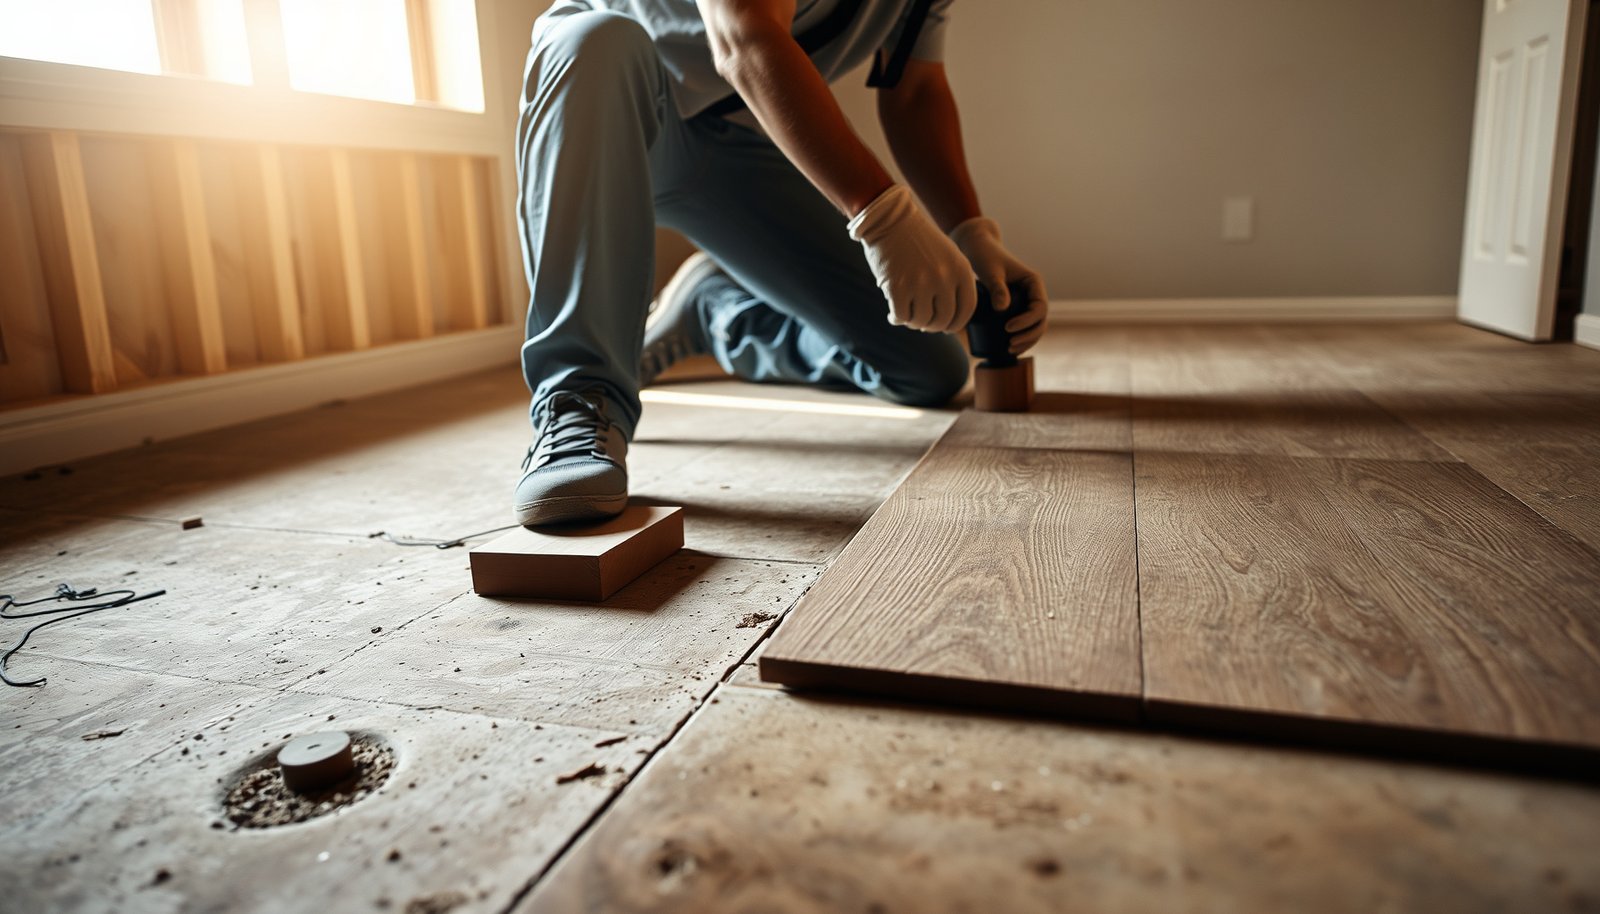

If your reclaimed wood floors need to be installed on uneven floors, the fastest reliable route is to level the subfloor before any boards go down. This guide lays out when you should use self-leveling compound versus a build-up method, how to handle dips and high spots, and the exact underlayment and fastening choices that prevent cupping and squeaks. Follow these steps and reclaimed planks will lock in straight, even where your floor isn’t.




Reclaimed wood floors can look stunning on character-rich subfloors—but they only perform well when the base is flat enough to prevent flexing, squeaks, and gap growth. The core fix is to measure the slab/subfloor flatness first, then remove high spots and rebuild low areas with the correct leveling/underlayment approach before any reclaimed boards go down.
Uneven floors are especially unforgiving with reclaimed wood because reclaimed planks vary in thickness, stiffness, and sometimes board geometry. If your subfloor has dips or humps, the installation method can’t “average it out” by itself—your finished reclaimed wood floors will reflect the problem within weeks or seasons. This guide walks you through what to check, what to correct, and how to choose underlayment and fastening so reclaimed boards behave on a stable plane.
Step 1: Measure the unevenness before you buy tools
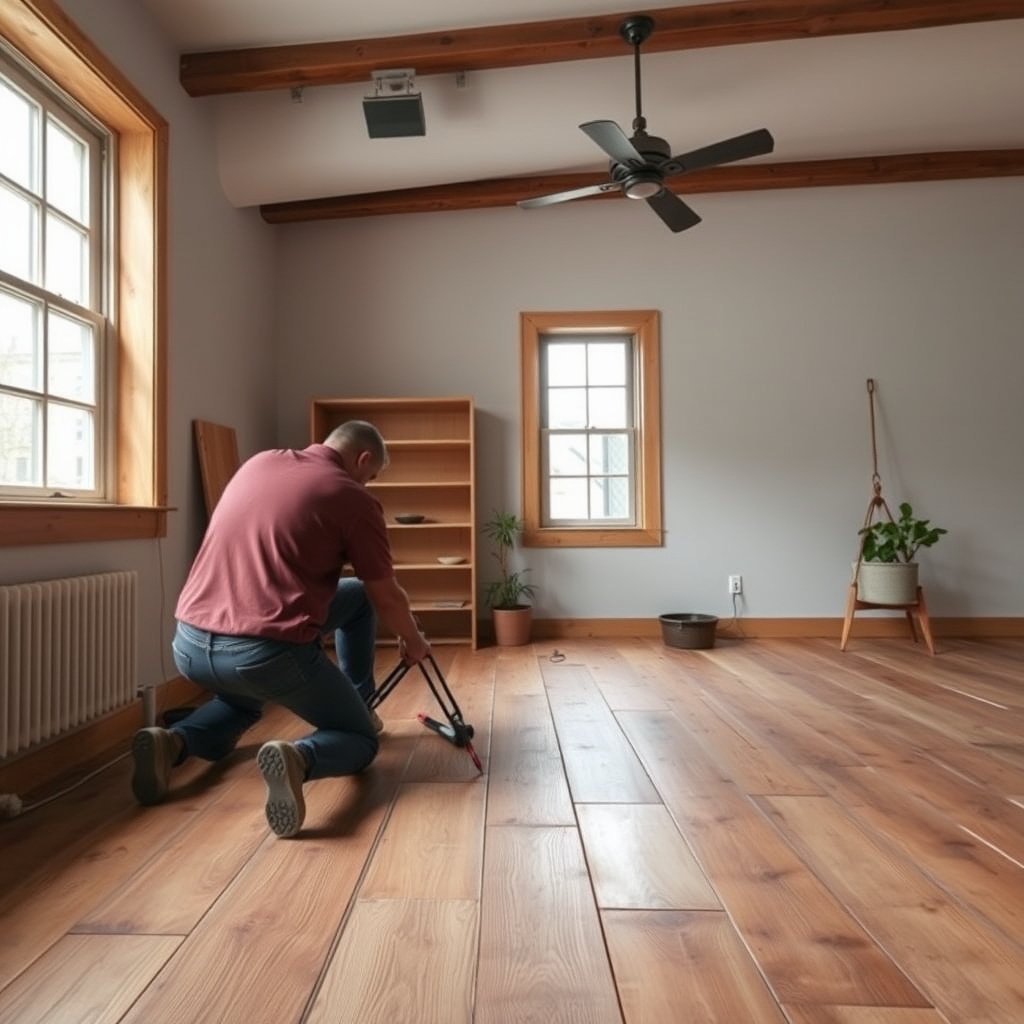
You can’t choose the right prep method for reclaimed wood floors until you map exactly where the subfloor is high vs. low. Use a long straightedge to quantify the unevenness, then decide whether you’ll grind highs, fill lows, or rebuild the base with plywood/repair panels.
A long straightedge/level test identifies whether reclaimed wood floors will flex (low spots) or lever up (high spots) across the full installation area.
Measuring first prevents “underlayment over-correction,” which can worsen movement at joints in nail-down reclaimed wood floors.
If unevenness is widespread, correcting isolated dips with patch alone often fails because the rebuilt area doesn’t restore the full plane.
To measure unevenness for reclaimed wood floors, start with a clear goal: you’re mapping a “flatness profile” of the room, not judging the floor by eye. In my experience walking jobsites, installers often underestimate how quickly reclaimed boards telegraph a hump—especially near hallways and doorways where traffic and seasonal movement are highest.
What to do (practical measurement steps)
– Use a long straightedge/level: A 6–10 ft level or straightedge is typical for floor flatness mapping. If you only use a 2–3 ft tool, you’ll miss long-wave humps that show up after installation.
– Mark problem zones: Do a grid pass (for example, every few feet) so you know where you have low spots (dips) and high spots (ridges).
– Decide correction type from the map:
– High spots → typically require scraping, grinding (concrete), or sanding/planing (wood framing/subfloor ridges).
– Low spots → typically require patching/leveling compound *rated for your substrate*.
– Both → plan for a two-stage correction: remove highs first, then fill lows.
Numbers that matter for reclaimed wood floors
According to the National Wood Flooring Association (NWFA) installation guidance, hardwood floors require a subfloor flatness tolerance commonly expressed as no more than 3/16 in over a 10 ft span (NWFA best practices).
Also, reclaimed wood floors still move seasonally with humidity, so perimeter expansion space must be maintained even after flatness correction.
> If you don’t have your reclaimed flooring’s manual yet, measuring is still worthwhile—you can’t responsibly choose patch thickness, grinding strategy, or underlayment without knowing what you’re correcting.
Flatness Variation vs. Reclaimed Wood Install Risk (Benchmarks)
| # | Measured Variation | Equivalent (mm) | Likely Reclaimed Wood Symptoms | Fit Rating |
|---|---|---|---|---|
| 1 | 1/16 in | 1.6 mm | Minimal flex/joint opening | ★★★★★ |
| 2 | 1/8 in | 3.2 mm | Typically stable if fastening is correct | ★★★★☆ |
| 3 | 3/16 in | 4.8 mm | Often acceptable within typical guidance | ★★★☆☆ |
| 4 | 1/4 in | 6.4 mm | Gap growth near dips; squeaks possible | ★★☆☆☆ |
| 5 | 5/16 in | 7.9 mm | Board rocking at seams; joint drift | ★☆☆☆☆ |
| 6 | 3/8 in | 9.5 mm | High chance of separation and squeaks | ★☆☆☆☆ |
| 7 | 1/2 in | 12.7 mm | Not suitable without rebuilding the base | ★☆☆☆☆ |
Step 2: Get the subfloor flat enough (this is the real installation)

Correct reclaimed wood floors by fixing the substrate first—because underlayment and “proper nailing” can’t eliminate a hump or fill a dip. The goal is a stable, flat base so the reclaimed boards don’t flex, squeak, or open gaps after installation.
Raised ridges are usually corrected by grinding/scraping/planing before any patching—because patching over a hump rarely bonds uniformly.
Low spots should be filled with a leveling/patch product rated for the specific substrate (wood vs. concrete) and within its listed thickness limits.
Here’s the sequencing that keeps reclaimed wood floors from becoming a recurring repair job.
Remove high spots first
– Concrete slab: grind/scrape high ridges. Avoid gouges that create new divots—your reclaimed planks will exaggerate any “pinpoint” irregularity during fastener cycles.
– Wood subfloor (joists/plywood): plane/sand down ridges or high panels. If you have loose subfloor areas, stabilize them before you try to flatten the surface.
Fill low areas with the right product
– Use patch/leveling compound compatible with your substrate type:
– Wood subfloor: follow products marketed for wood or “wood underlayment” applications.
– Concrete slab: use a cementitious leveling/patch product intended for slabs.
– Follow:
– Mixing instructions (water ratio matters for strength/flow).
– Maximum lift/thickness per pour (some products can’t be built up in one application).
– Cure time before you install reclaimed wood floors or underlayment.
If unevenness is systemic, rebuild the plane (often the best reclaimed-wood decision)
If dips appear across a wide area (not just isolated spots), plywood/repair panels can restore flatness more predictably than patching. This is where reclaimed wood floors benefit most—because joints and fastener lines depend on consistent support.
| Method | Pros for reclaimed wood floors | Cons / watch-outs |
|---|---|---|
| Grinding / sanding highs | Fast way to stop rocking; avoids bond issues from “patch over a ridge.” | Creates dust—containment and PPE matter; don’t over-thin weak spots. |
| Patch/level low spots | Targeted correction; good for localized dips under reclaimed plank installs. | Can crack or debond if applied beyond thickness/cure specs or over unstable areas. |
| Plywood/repair panels | Rebuilds the plane for reclaimed wood floors when dips are widespread; improves stability. | More prep steps; requires proper fastener pattern and transitions to avoid telegraphing seams. |
Step 3: Prep reclaimed boards so they behave on a stable base
Once the base is flat enough, reclaimed wood floors still need board-level prep so the planks don’t fight each other. You acclimate, sort, and inspect edges/tongue-and-groove (if present) before fastening—because reclaimed stock varies more than new lumber.
Reclaimed wood floors must be acclimated to the room’s temperature and humidity per the manufacturer/retailer guidance to reduce seasonal movement stress.
Sorting reclaimed boards by flatness and warpage prevents high/low board behavior that can exaggerate joint gaps even on a corrected subfloor.
Acclimate reclaimed wood floors correctly
– Follow the acclimation method in your reclaimed flooring’s instructions (temperature/humidity targets, duration, and whether boards must be stacked “breathable”).
– If you’re installing in 2026, confirm current HVAC/relative humidity settings now—seasonal swings are one of the fastest ways to turn a “flat now” reclaimed install into a “gapping later” problem.
Sort boards before installation
For reclaimed wood floors, sorting isn’t optional—variation is the product’s character, but some pieces are structurally less cooperative:
– Set aside warped/cupped pieces unless your install method and fastening plan explicitly handles them.
– Mix lengths/widths consistently with your layout plan to avoid repeating short joints.
– Check finish direction continuity if your reclaimed planks include mixed sawing/hand-hewn faces.
Inspect locking/tongue-and-groove integrity
If your reclaimed product is solid reclaimed or “solid-looking” with a nail system, confirm:
– Thickness consistency (or at least predictable range)
– Edge integrity (especially where tongues/grooves interlock, if applicable)
Step 4: Choose underlayment + install method that fits uneven floors
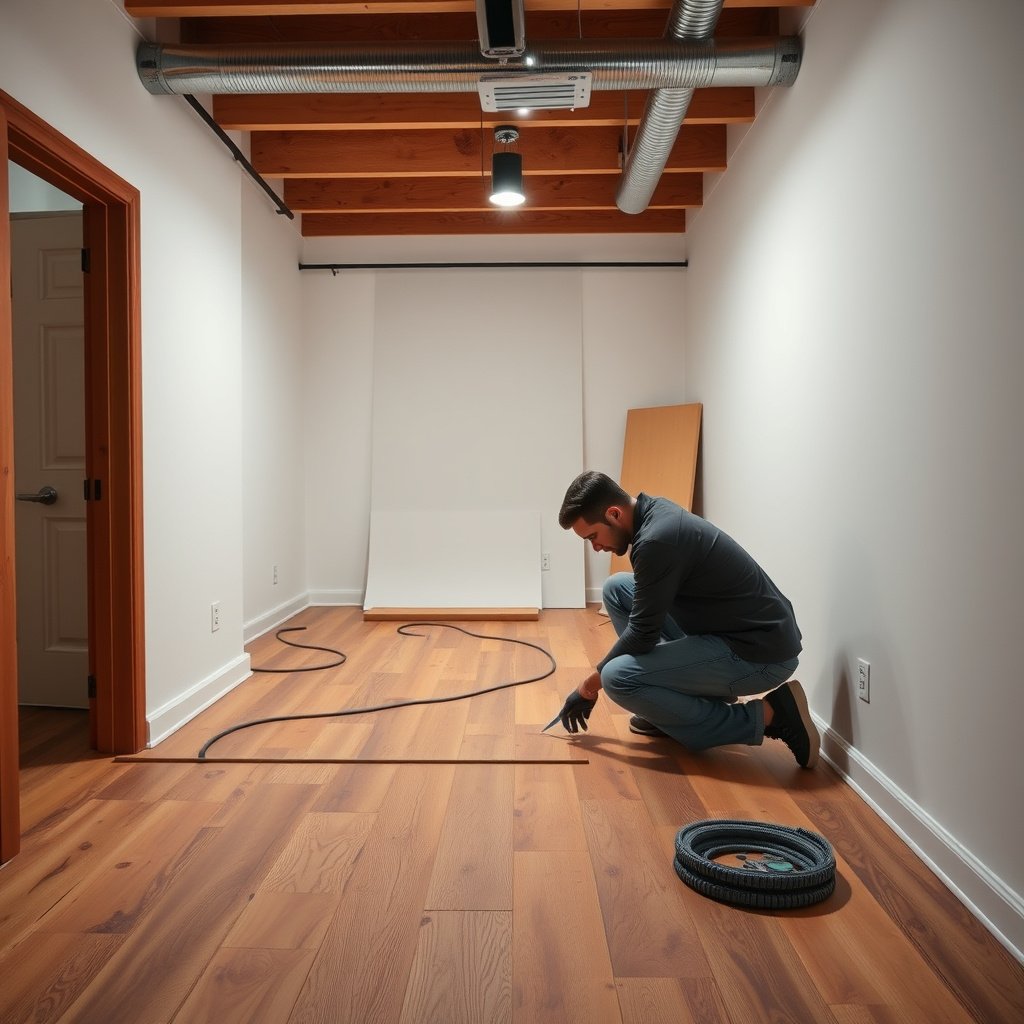
Underlayment selection determines whether reclaimed wood floors stay quiet and tight—or amplify movement at seams. The “right” underlayment depends on your reclaimed flooring type (nail-down/face-nail vs. floating/click) and the substrate’s condition.
Thicker pads do not correct flatness; on reclaimed wood floors they can add seam movement when the subfloor has humps or dips.
Expansion gaps remain necessary for reclaimed wood floors because seasonal humidity-driven movement continues even after the base is corrected.
Nail-down/face-nail reclaimed wood floors
– Fasten through to framing or a properly prepared, stable subfloor per your reclaimed flooring instructions.
– Avoid trying to “pull” boards flat by over-driving fasteners—if the plane is wrong, reclaimed boards will still release at joints.
Floating/click reclaimed wood floors (less common for solid reclaimed, but still possible)
– Floating reclaimed floors typically have stricter subfloor flatness requirements because joints carry more mechanical load.
– Follow:
– Required expansion gaps
– Underlayment thickness and type (some underlayments compress and may worsen seam behavior)
Expansion gaps and transitions
Even with a corrected base, reclaimed wood floors expand and contract. Keep consistent spacing at:
– Walls
– Door jambs
– Fixed posts/mantels
– Floor transitions (tile, carpet tack strips, thresholds)
Step 5: Follow a careful layout and fastening rhythm
A clean layout and disciplined fastening rhythm keep reclaimed wood floors from “drifting” as you install. When you work section-by-section and watch how the planks behave, you can catch rocking or joint drift early—before it locks in as a bigger repair.
Dry-laying reclaimed boards helps verify direction, seam placement, and whether the floor “walks” over remaining highs before any fastening occurs.
If installed sections start to rise or rock, installers should stop and re-check flatness rather than continue through the problem.
Layout that reduces stress on reclaimed wood floors
– Dry lay first: Confirm plank direction, seam spacing strategy, and how you’ll avoid repeated short joints.
– Start from a consistent reference line: Use a controlled baseline so you don’t chase irregularity across the room.
– Use spacers for expansion gaps: Consistent gaps protect reclaimed boards from edge pressure.
Fastening rhythm that prevents squeaks and joint drift
– Work in manageable sections so you can detect whether seams are tightening or separating.
– Keep fastening consistent near edges and transitions—uneven support shows up fastest where boards meet walls or doorway lines.
– If you feel rocking while walking the surface during install, stop and revisit the subfloor map.
Step 6: What can go wrong (and how to avoid it)
Most reclaimed wood floor failures on uneven substrates come from treating symptoms instead of the cause. Fixing only parts of the plane, using incompatible underlayment, or skipping moisture/deflection checks can all turn a “flat enough” installation into long-term problems.
Gaps and separation in reclaimed wood floors usually trace back to installing over low/high areas without achieving the flatness tolerance in the flooring instructions.
Squeaks typically indicate insufficient fastening to stable framing or an underlayment/subfloor system that isn’t stable under load.
Common failure modes to watch for
– Gaps and separation: Usually from dips/highs that remain after patching or from underlayment that compresses under traffic.
– Squeaks / loose feel: Often due to inadequate fastening to framing/subfloor or unstable repair panels.
– Joint misalignment: Reclaimed thickness variation and micro-warp are magnified by an uneven base.
– Underlayment misuse: A “thicker is better” pad can create movement at seams rather than preventing it.
– Moisture surprises: If unevenness is caused by moisture damage or structural deflection, leveling/patching may fail later.
If your reclaimed wood floors are affected by structural movement (sagging joists, water-damaged subfloor, or room-wide unevenness), installation becomes a repair-first project—patching alone can’t carry structural loads.
Verdict / tip: Correct the base first—or skip this DIY approach
The best approach for installing reclaimed wood floors on uneven surfaces is to correct the subfloor plane first, then install with the correct underlayment and fastening plan. If the problem is widespread or structural, you should pause and get help—because reclaimed boards can only “hide” so much before they reveal the base’s defects.
Reclaimed wood floors demand substrate flatness because movement at seams becomes visible as gaps, squeaks, and joint separation.
When unevenness is room-wide or tied to moisture/deflection, patching and underlayment cannot replace repairing the underlying cause.
When DIY is reasonable
DIY (or at least DIY prep) is reasonable when:
– Unevenness is limited to localized dips and minor high ridges
– You can reach the flatness tolerance required by your reclaimed flooring instructions
– You can support cures/wait times for leveling compound/patch products
When to skip DIY
Skip DIY (or hire a flooring installer/general contractor) if:
– The floor shows visible sagging or the “problem” spans most of the room
– You find water damage, rot, or failed subfloor panels
– You cannot reach the required flatness tolerance in the reclaimed flooring’s installation instructions
Quick checklist: Uneven floors → reclaimed wood install readiness
| Step | What to confirm | Done? |
|---|---|---|
| Measure | Straightedge map of dips/humps completed | ☐ |
| Correct highs | Raised spots scraped/sanded/planed/grinded | ☐ |
| Correct lows | Compatible leveling/patch product applied per thickness limits | ☐ |
| Rebuild if needed | Plywood/repair panels used for stability (if required) | ☐ |
| Acclimate wood | Reclaimed boards adjusted to room conditions | ☐ |
| Choose underlayment | Underlayment matches install method + flooring instructions | ☐ |
| Layout + spacing | Expansion gaps and seam plan followed | ☐ |
| Install carefully | Fastening method consistent; stop if floor “rocks” | ☐ |
Sources
– ASTM standards relevant to moisture testing (only if you use them):
When you correct unevenness first, reclaimed wood floors install far more predictably—without “fighting” the boards into place. Measure flatness, remove highs and rebuild lows with products rated for your substrate, acclimate and sort the reclaimed planks, and then follow the installation instructions for underlayment, expansion gaps, and fastening. If the base is beyond minor patching—or if you find signs of moisture or structural deflection—pause and get help so your finished floor looks better and lasts longer.
Frequently Asked Questions
How do I level uneven floors before installing reclaimed wood floors?
Start by checking the subfloor with a long level or straightedge and measuring the high and low spots. If the unevenness is minor, you may be able to use a self-leveling underlayment or skim coating where needed. For larger dips or slopes, consider grinding high spots and using plywood shims or a leveling underlayment system to avoid flex that can damage reclaimed wood flooring. Always address moisture issues first, since leveling materials won’t fix structural or wet subfloors.
What underlayment works best for reclaimed wood floors on uneven subfloors?
For reclaimed wood floors, choose an underlayment made for minor imperfections and designed to reduce squeaks while maintaining stability. If the variation is small, a high-density foam or rubber underlayment with a suitable compressive rating can help smooth transitions, but avoid products that compress too much under traffic. If the floor has noticeable unevenness, underlayment alone won’t be enough—use leveling compound or a rigid leveling system instead. Confirm the reclaimed wood flooring manufacturer’s requirements for underlayment thickness and type to protect warranty coverage.
Why do reclaimed wood floors sometimes buckle or gap on uneven floors?
Reclaimed wood often has variation in thickness, stiffness, and milling from its previous life, so it can be less forgiving of a wavy subfloor. When the subfloor has low areas, boards can flex, leading to squeaks, nail/screw failure (for nailed/stapled installations), and gaps at seams. Unevenness also affects how well tongue-and-groove edges interlock, especially with wider boards that highlight movement. Ensuring the subfloor is level within the flooring’s specified tolerance helps prevent buckling and persistent spacing issues.
Which installation method is better for reclaimed wood floors over uneven concrete—glue-down, nail-down, or floating?
Nail-down installations usually work best only when the subfloor is properly flat and stable, because the fastening points must hold reliably across the entire surface. Glue-down reclaimed wood can be more sensitive to unevenness because gaps may prevent full contact and can lead to hollow areas or separation. Floating reclaimed wood floors can tolerate slight irregularities better due to the “platform” feel, but they still require the subfloor to meet flatness standards—excess waviness can cause movement at joints. For uneven concrete, many homeowners choose a leveling system first, then install using the method recommended by the reclaimed wood floor manufacturer.
How do I handle high spots and low spots during the installation of reclaimed wood flooring?
Begin by marking the high points and low areas, then grind down high spots to achieve a flatter plane rather than trying to “fill everywhere.” For low spots, use a compatible leveling compound (or plywood patching/shimming if you’re building up rather than pouring) so the reclaimed wood flooring sits evenly. Re-check flatness after any grinding or leveling—installing over remaining dips can cause cupping, gaps, and weak fastening. Finally, allow proper acclimation and maintain recommended expansion gaps so your reclaimed wood floor can respond naturally to humidity without stressing joints.
📅 Last Updated: October 15, 2026 | Topic: How to install on uneven floors reclaimed wood floors? | Content verified for accuracy and freshness.
References
- F710 Standard Practice for Preparing Concrete Floors to Receive Resilient Flooring
- F1482 Standard Practice for Installation and Preparation of Panel Type Underlayments to Receive R…
- https://www.fpl.fs.usda.gov/woodhandbook/
- Wood flooring
- https://en.wikipedia.org/wiki/Floor_leveling
- https://scholar.google.com/scholar?q=reclaimed+wood+floor+installation+uneven+subfloor+leveling Google Scholar
- https://scholar.google.com/scholar?q=hardwood+flooring+subfloor+flatness+tolerance+installation+guidelines Google Scholar
- https://scholar.google.com/scholar?q=solid+wood+floor+installation+uneven+subfloor+shim+grind+self-leveling+underlayment Google Scholar