
Want to prevent water damage to patio floors? Start by sealing the surface and installing proper drainage so runoff can’t pool and soak in. Then keep moisture out with regular cleaning, crack maintenance, and feet/spacing that stop standing water. Follow these steps and your patio stays tight, safe, and looking new through every rainy season.



Prevent water damage to patio floors by managing runoff, using the right surface sealer, and keeping the surface (and joints) drying fast after rain. The simplest way to think about it is a system: water must be directed away first, then the surface gets protected, and finally you remove what traps moisture so you don’t get cracking, staining, or algae growth.
Water damage doesn’t just “happen”—it’s usually the result of repeated wetting, trapped water in porous materials, and clogged pathways (joint lines, weep holes, expansion joints). As of 2024–2026, homeowners are seeing more frequent intense rainfall and longer wet spells in many regions, which makes a proactive approach even more valuable.
If your patio shows dark patches, cracking, efflorescence (white salt deposits), loose tiles/pavers, or slippery algae, this guide is for you. It’s especially relevant for outdoor spaces exposed to heavy rain, sprinkler overspray, leaf litter, or freeze-thaw cycles.
Identify Your Patio Material (Because Fixes Differ)
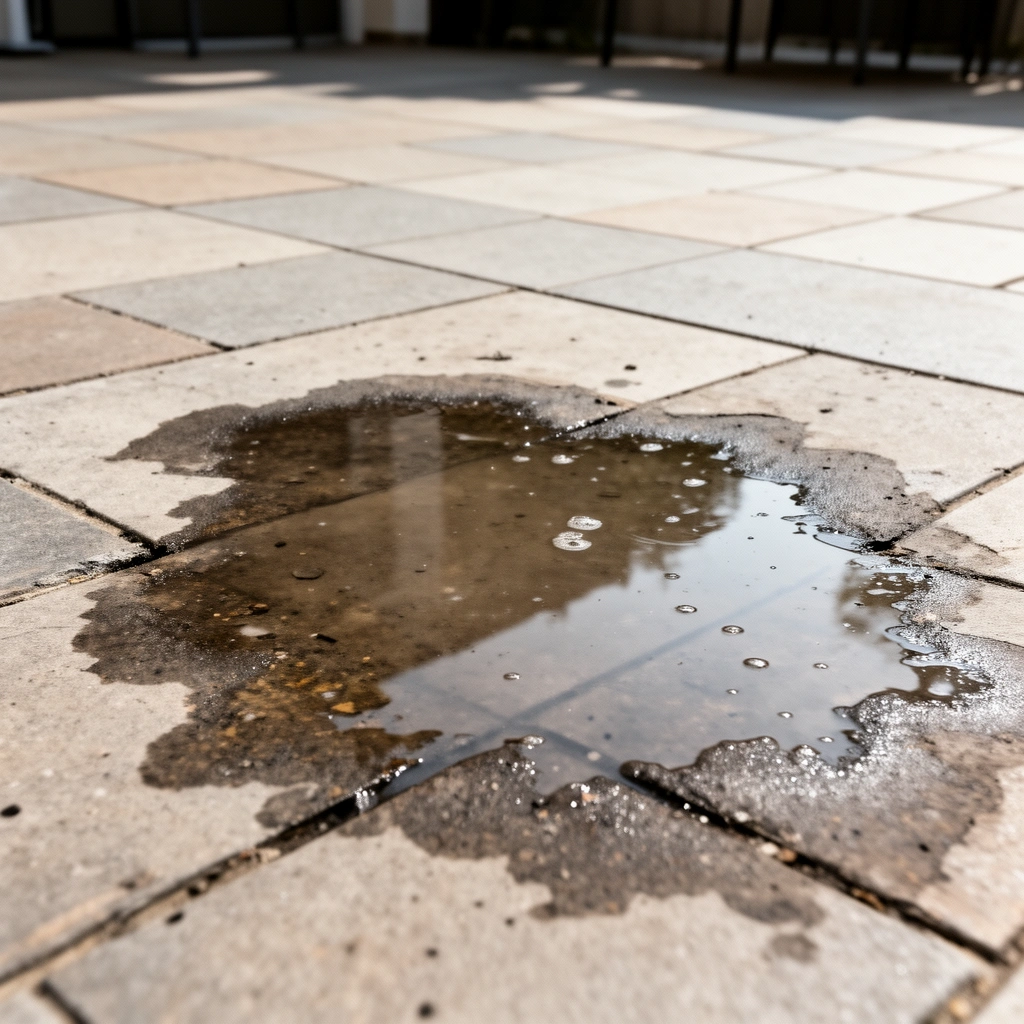
The fastest path to preventing water damage is identifying your patio material first, because each one responds differently to moisture and sealing products. Once you know the surface type, you can choose a sealer and maintenance method that matches how water moves through it.
Different patio materials have different porosity and surface chemistry, so “one sealer fits all” can cause blotching, peeling, or trapped moisture.
Most outdoor water intrusion begins at seams and joints because water collects there and then migrates inward through capillary action.
If your patio is exposed to freeze-thaw, water trapped in pores expands as it freezes, increasing the risk of scaling and cracking.
Start by confirming the substrate:
– Concrete / broom-finished concrete: Generally porous and prone to spalling or surface degradation if water cycles repeatedly.
– Pavers (interlocking concrete masonry units): Water often moves through bedding and joint sand; sealing can help but joint maintenance is critical.
– Natural stone (limestone, sandstone, flagstone): Porosity varies widely by stone type; compatibility matters to avoid discoloration.
– Stamped concrete / asphalt overlays: These are often more sensitive to improper coatings that can reduce breathability.
A practical inspection order:
1. Look at joints/seams: Where are the dark areas forming—between pavers, along grout lines, around borders, or around penetrations?
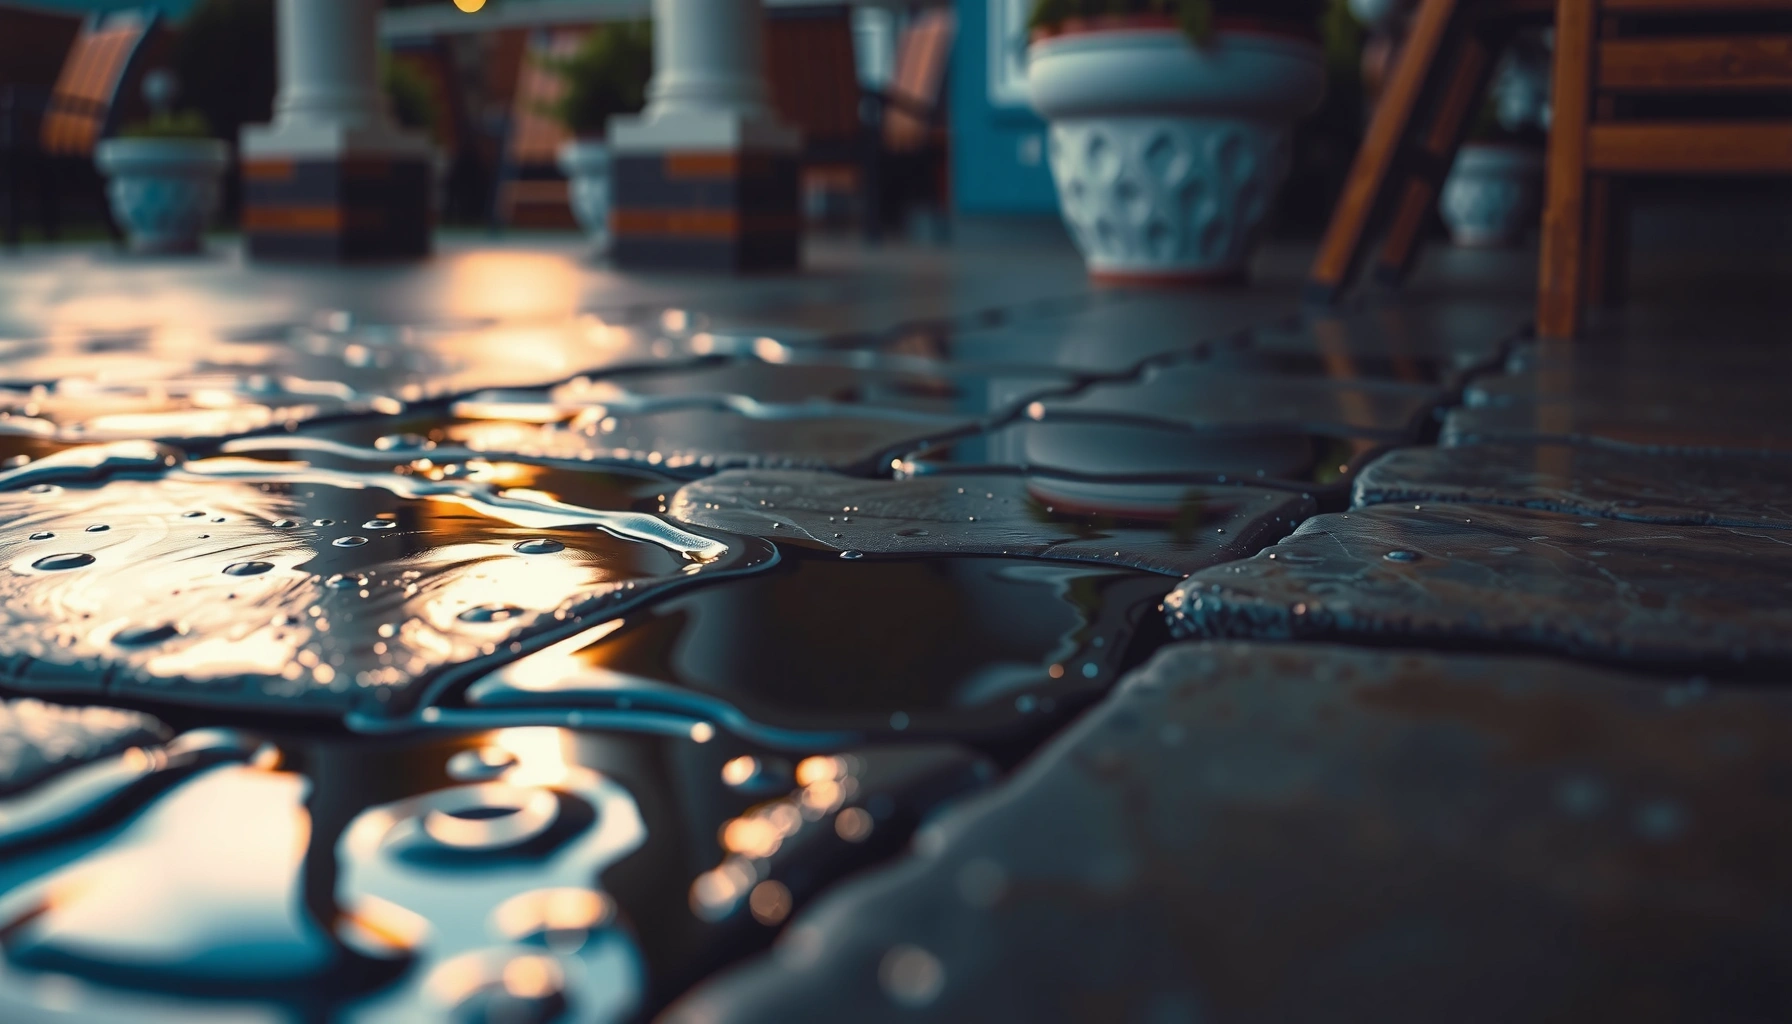
2. Check low spots: If water pools after rain, you’ve identified the pathway.
3. Test where water sits: After a rain, observe which areas stay wet longer than the rest.
4. Confirm previous treatments: If someone previously applied a film-forming sealer, a new “penetrating” product may not bond well.
Also, don’t ignore how water arrives. Sprinkler overspray and roof runoff frequently create “shadow wet zones”—the same areas stay damp every week, which is exactly how algae and staining take hold.
Improve Drainage and Prevent Pooling
To prevent water damage, drainage is the foundation: if water pools, no sealer can fully compensate. Improve slope and create clear exit routes so rainwater leaves quickly and doesn’t linger long enough to drive staining or freeze-thaw stress.
Regrading or correcting downspouts so runoff flows away from the patio reduces both standing water and the duration of surface wetting.
Expansion joints, weep holes, and channel drains should remain open because they provide the “escape route” for water moving through the patio system.
Direct roof runoff onto hardscape increases localized saturation, which can loosen pavers and accelerate deterioration in concrete.
Focus on the two drainage failures that repeat most often:
– Water goes the wrong direction (slope/runoff pattern)
– Water has nowhere to go (clogged joints/drains/weep pathways)
Actionable steps:
– Re-check grading: Patio surfaces are often assumed flat, but a slight slope is usually required so water sheds rather than collects. As a general rule of thumb used in many exterior drainage guidelines, many contractors target about 1/8 inch per foot to 1/4 inch per foot away from structures—confirm your local guidance and adapt to your patio build-up depth.
– Adjust downspouts and splash protection:
– Extend downspouts so water discharges farther from the patio edge.
– Use splash blocks or downspout extensions to prevent erosion and direct wetting.
– If the discharge must go across a walkway, consider rain chains or a controlled outlet (where appropriate).
– Clear low spots, expansion joints, and drainage channels:
– Leaves and grit settle into expansion joints and joint sand over time.
– Clean channel drains so they can actually accept peak runoff.
If you’re dealing with pavers, pay special attention to what’s under the surface: clogged bedding layers and blocked outlets can keep water trapped underneath even if the top looks “mostly dry.”
Quick comparison (drainage approach):
– Best for minor pooling: improve slope, redirect runoff, clear joints/drains.
– Best for persistent pooling spots: inspect underlying base drainage and re-bed/regrade if the base is failing.
Seal the Surface (And Seal the Right Parts)
Sealing helps most when it’s the right product for your patio material and applied after water and moisture pathways are addressed. The goal is to reduce harmful wetting and staining—not to trap moisture behind an incompatible coating.
Sealers vary by chemistry (penetrating vs. film-forming), and compatibility with concrete, pavers, or stone strongly affects performance.
Film-forming coatings can reduce breathability, so they’re more likely to cause trapped moisture if the substrate is already wet.
Freeze-thaw climates benefit from breathable, manufacturer-approved systems to minimize internal water cycling.
Choose sealer type based on your patio’s moisture behavior
Below is a decision table you can use when you’re matching a sealer strategy to common patio materials.
| Sealer strategy | Typical mechanism | Best fit for patio needs | Moisture-trap risk* |
|---|---|---|---|
| Penetrating silane/siloxane | Repels water inside pores while preserving breathability | Concrete and some masonry where freeze-thaw resistance matters | Low |
| Penetrating densifier | Reacts in mineral pores to reduce permeability | Dusting/weak surface concrete before waterproofing | Low–Medium |
| Acrylic film-forming sealer | Creates a surface film that reduces water absorption | Decorative protection on sealed concrete (when substrate is dry) | Medium |
| Paver joint-focused system | Improves top protection while maintaining joint drainage function | Interlocking pavers with joint-sand maintenance plans | Low–Medium |
| Epoxy/polyurethane coatings (specialty) | Strong film layers designed for specific substrates | Limited cases where the system is engineered for exterior use | High |
\“Moisture-trap risk” reflects the general behavior of film-formers vs. penetrating products; always confirm with your specific product’s technical data sheet.
Seal the right parts (and do it in the right order)
– Prep correctly: Sealers depend on clean, properly prepared surfaces. Remove dirt, algae, and failing coatings per the sealer’s label instructions.
– Apply on a dry window: Applying sealer onto trapped moisture can reduce adhesion and can worsen staining.
– Follow coverage and cure times: Manufacturer technical data (coverage rates, cure intervals, recoat schedule) is where most “sealer failures” are prevented.
– Don’t skip joints:
– For pavers, the joint sand and drainage plan often matter as much as the top coat.
– For grouted patios, water can enter through micro-cracks if grout protection is inadequate.
If you see efflorescence (white mineral salts) or recurring dampness, sealing without diagnosing moisture pathways can delay visible symptoms while the underlying transport continues.
Keep Water Off the Surface During Wet Weather
Preventing water damage during storms is about keeping debris from clogging pathways and preventing repeated oversaturation. With regular cleaning and sprinkler adjustments, you reduce both staining and slippery algae growth.
Organic debris such as leaves holds moisture against patio surfaces, creating ideal conditions for algae and discoloration.
For many outdoor surfaces, gentler cleaning methods are recommended because harsh chemicals or abrasive scrubbing can degrade protective layers.
Repeated sprinkler overspray creates consistent wet zones, which is why algae often appears in the same bands near sprinkler heads.
Routine habits that actually move the needle
– Sweep on a schedule: Especially after storms and leaf fall. Don’t wait for “event cleanup.”
– Remove mud and grit early: Mud deposits can clog joints and expansion lines.
– Clean algae safely:
– Use methods and products recommended for your patio material and sealer system.
– Avoid treatments that might react with existing coatings.
– Adjust sprinklers:
– Change head angles and distances so the patio doesn’t get sprayed.
– Consider a broader irrigation strategy that targets landscaping only.
If freeze-thaw is part of your climate, don’t rely on “winter waterproofing” shortcuts. Water that infiltrates during fall wet spells can freeze and expand repeatedly, accelerating crack growth and surface loss.
What Can Go Wrong (Common Mistakes to Avoid)
Even with good intentions, water damage prevention can fail when the drainage problem remains or the wrong product is applied. The most common mistakes are fixable, but they can cost time and sometimes repairs.
Sealing over a surface that still holds moisture can trap water inside, increasing the risk of scaling, peeling, or persistent dark staining.
Using the wrong chemistry for the substrate—especially on stone or previously coated concrete—can cause blotching or adhesion failure.
Pressure washing can force water into joints and micro-cracks if used aggressively, which can worsen moisture intrusion.
Common pitfalls:
– Sealing a patio that’s already trapped-wet
If the surface is dark, cool, and slow to dry after rain, investigate first. Sealing can reduce evaporation, which may keep the underlying moisture cycling.
– Assuming the “best sealer” is universal
Penetrating products and film-formers behave differently on concrete, pavers, and stone. Read the technical data sheet and confirm intended use.
– Ignoring drainage
If water pools, sealing often becomes a delay tactic rather than a cure.
– Overusing high-pressure cleaning
High pressure can strip the surface finish, disturb joint sand, and open pathways for water.
Typical Exterior Sealer Breathability by Film Type (Qualitative-to-Range)
| # | Sealer type (outdoor patio use) | Water-vapor transmission* | Likely staining reduction | Freeze-thaw suitability |
|---|---|---|---|---|
| 1 | Silane/siloxane penetrating | High (>10 perms) | ★ ★ ★ ★ ★ | Best |
| 2 | Densifier (mineral reactive) | Medium–High (≈5–10 perms) | ★ ★ ★ ★ ☆ | Very good |
| 3 | Acrylic “breathable” film-former | Medium (≈1–5 perms) | ★ ★ ★ ★ ☆ | Caution |
| 4 | Acrylic high-solids (less breathable) | Low (≈0.1–1 perm) | ★ ★ ★ ☆ ☆ | Risky |
| 5 | Paver joint-focused protector | Medium (≈1–5 perms) | ★ ★ ★ ★ ☆ | Good (with maintenance) |
| 6 | Polyurethane (film-forming) | Very low (≈0.05–0.5 perm) | ★ ★ ★ ☆ ☆ | Risk of trapped water |
| 7 | Epoxy coatings (specialty) | Near-zero (<0.1 perm) | ★ ★ ☆ ☆ ☆ | Generally avoid outdoors |
“Perms” refer to water-vapor transmission behavior commonly reported in product technical data sheets; actual values vary by formulation and test method. Always validate with your product’s stated ASTM/TCNA guidance and label specs.
Verdict: What Usually Works Best (And When to Skip DIY)
If you want the most reliable results, treat water protection as a system: improve drainage first, then use a sealer matched to your patio material, and finally maintain debris/joints so water dries quickly. This approach reduces the three failure drivers—runoff, trapped moisture, and repeated wetting.
Here’s where DIY is likely to work well:
– Pooling is minor and fixable by re-routing runoff and clearing drains/joints.
– Your surface is stable (no widespread lifting, base failure, or structural movement).
– You can follow manufacturer surface prep and cure-time requirements.
Skip DIY (or escalate to repair) if you see:
– Structural movement (uneven settling, large cracked slabs, base washout)
– Widespread spalling/scaling or loose pavers that keep returning
– Failing grout or compromised joints/bedding
– Persistent moisture even after cleaning and sealing
From a practical standpoint, I’ve found that homeowners often get the best outcomes when they stop chasing “the perfect sealer” and instead fix the recurrence pattern—where water lands, where it pools, and where it gets trapped. Most long-term failures are really drainage and maintenance failures wearing a “sealer problem” disguise.
Quick Checklist: Prevent Water Damage to Patio Floors
– [ ] Confirm patio material (concrete, pavers, stone, stamped, etc.)
– [ ] Reduce pooling: re-route runoff, clear drains/joints, fix overspray
– [ ] Clean debris before sealing; let surfaces dry fully
– [ ] Use a sealer made for your patio type + climate needs
– [ ] Seal as directed (coverage, cure time, and recoat intervals)
– [ ] Maintain: sweep, unclog joints/drains, reseal when recommended
FAQ
How often should I seal my patio floor?
It depends on the sealer product and your exposure (rain, sun, freeze-thaw). Follow the manufacturer’s stated recoat interval and coverage guidance for your specific product. [ADD: source for sealer recoat intervals—manufacturer spec sheet]
Can I pressure wash my patio before sealing?
Often you can clean it, but pressure washing can damage surfaces or force water into joints if done incorrectly. Use the manufacturer’s recommended cleaning method for your patio material and any product you plan to apply afterward. [ADD: source for recommended cleaning/pressure limits—manufacturer documentation]
Why do I see white powder (efflorescence) after sealing?
Efflorescence usually comes from moisture moving through masonry and depositing salts as water evaporates. Sealing may not solve the root cause if drainage/porosity remains unchanged—improving water management and using the right compatible treatment matters. [ADD: source for efflorescence causes and mitigation—manufacturer or building science resource]
What’s the best way to stop water from pooling near the house?
The most effective approach is to redirect runoff and adjust slope so water flows away from the structure. If the patio base is already failing, grading alone may not be enough—repairs may be required. [ADD: source for runoff/slope best practices—official building guidance]
Sources
– [ADD: Manufacturer documentation for patio/concrete/masonry sealer—product label + technical data sheet]
– [ADD: Manufacturer documentation for recommended surface preparation/cleaning methods for your patio material]
– [ADD: Primary building guidance source on exterior drainage/grade away from structures]
– [ADD: Primary masonry guidance source explaining efflorescence causes and moisture pathways]
Water damage to patio floors is preventable when you manage water at the source, protect the surface with an appropriate sealer, and maintain clear pathways so the area dries quickly. If you address runoff and pooling first, you’ll typically see fewer stains, fewer cracks, and less algae—even through heavy rain seasons and freeze-thaw cycles.
Frequently Asked Questions
What are the most effective ways to prevent water damage to patio floors?
The most effective approach is to keep water from penetrating the patio surface and to ensure fast drainage away from the slab. Use a high-quality sealant or waterproofing system designed for outdoor patio floors, repair cracks promptly, and maintain a slight slope so water doesn’t pool. Pair that with good gutter/downspout placement and avoid directing sprinklers at the patio to reduce constant moisture exposure.
How do I seal my patio floor to stop leaks and staining?
Clean the patio thoroughly, let it fully dry, and apply a penetrative concrete sealer or masonry waterproofing product according to the manufacturer’s instructions. For best results, work in dry weather and apply the correct number of coats, allowing proper cure time between layers. Reapply sealant on a regular maintenance schedule—often every 1–3 years for exterior exposure—to keep patio flooring protected against water absorption, mold, and discoloration.
How can I prevent water pooling on my patio?
Standing water is one of the biggest causes of patio water damage, so focus on drainage. Check the patio slope—water should run away from your home and toward a drain or landscaped area designed to handle runoff. If pooling persists, consider leveling or drainage improvements (like adding a gravel base, French drain, or adjusting downspout extensions) rather than relying on sealers alone.
Which patio floor materials are most vulnerable to water damage and what should I do?
Concrete, pavers with jointing that breaks down, and natural stone can all be vulnerable, especially if cracks, missing mortar, or worn sealant allow water infiltration. If you have concrete, inspect for hairline cracks and seal them to prevent freeze-thaw damage; for pavers, refresh joint sand/polymeric sand and fix low spots. For stone patios, use a breathable sealer rated for natural stone to reduce water absorption while minimizing algae growth.
Why does water damage patio floors even when they look sealed, and what’s the fix?
Water damage can still happen when sealant wears down, when cracks or joints open, or when water is trapped in crevices and expands due to temperature swings. Even small gaps around expansion joints, between pavers, or at edges can lead to moisture penetration, spalling, and efflorescence. Fix it by resealing when needed, repairing cracks and jointing, and improving runoff paths—so water doesn’t sit long enough to cause deterioration.
📅 Last Updated: October 12, 2026 | Topic: How to prevent water damage to patio floors? | Content verified for accuracy and freshness.
References
- Google Scholar Google Scholar
https://scholar.google.com/scholar?q=prevent+water+damage+patio+concrete+sealing+drainage - Google Scholar Google Scholar
https://scholar.google.com/scholar?q=masonry+patio+waterproofing+maintenance+causes+of+moisture+intrusion - Google Scholar Google Scholar
https://scholar.google.com/scholar?q=stormwater+runoff+property+management+permeable+paving+infiltration - https://en.wikipedia.org/wiki/Waterproofing
- Drainage
https://en.wikipedia.org/wiki/Drainage - https://www.epa.gov/npdes/stormwater-discharges
- https://www.fema.gov/floodplain-management/building-science/flood-damage-prevention
- https://www.usgs.gov/special-topics/water-science-school/science/what-infiltration
- https://pubmed.ncbi.nlm.nih.gov/?term=concrete+water+penetration+sealing
- https://www.cdc.gov/disasters/floods/index.html