
Preparing hardwood floors for a basement isn’t about luck—it’s about getting moisture control and surface readiness right before you install. This step-by-step guide shows you exactly how to prep hardwood floors for a basement successfully, from testing humidity and acclimating planks to leveling, sealing, and installing the right underlayment. If you want a basement-ready finish that won’t warp or buckle, follow these preparation steps in order.




Before you install, the biggest job is controlling basement moisture and confirming your concrete/subfloor is dry enough for hardwood. If you prep the slab incorrectly (or skip the right vapor barrier and acclimation), boards can cup, gap, or separate. This guide walks you through moisture checks, subfloor prep, installation essentials, and what to watch for in a basement.
This is for homeowners preparing a basement slab or subfloor for hardwood (solid or engineered) and anyone who wants a practical, step-by-step checklist before installation—not after problems show up.
Check basement moisture and acclimate the wood
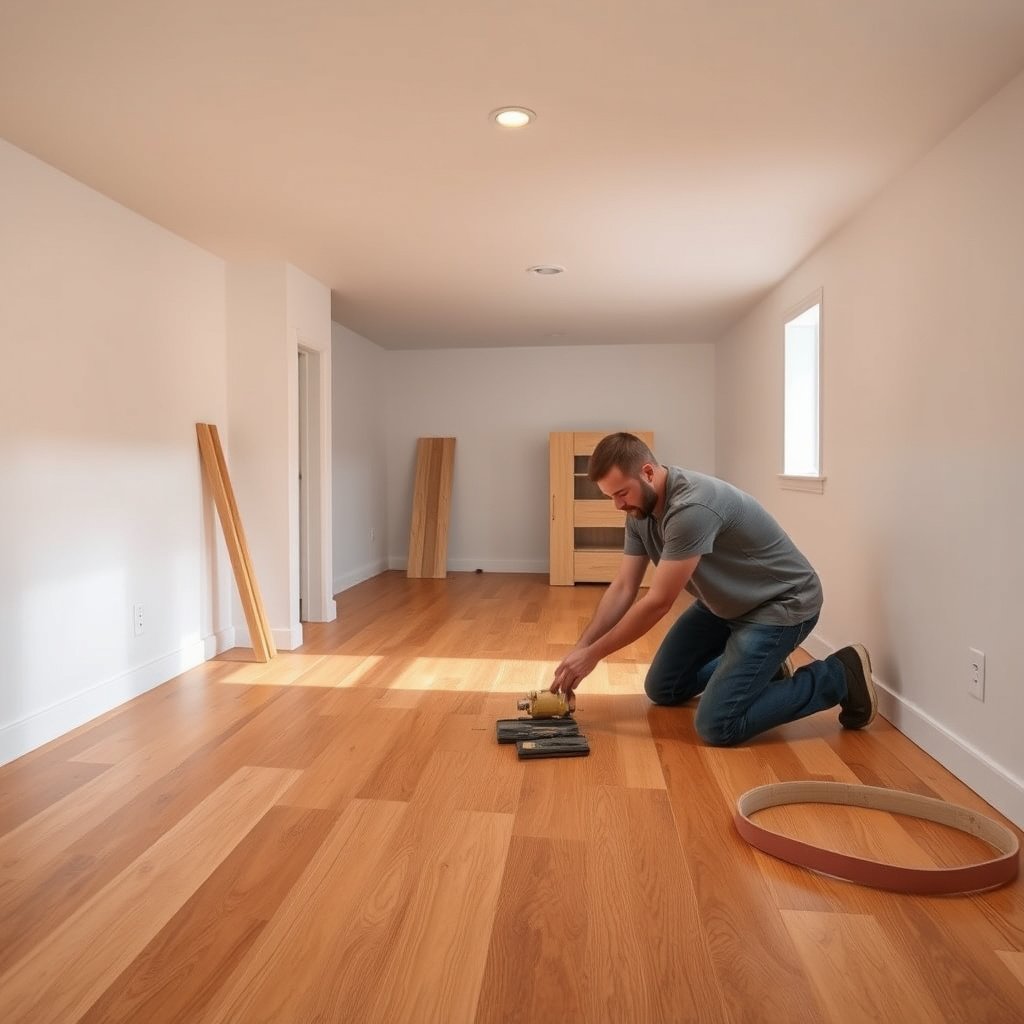
If you control moisture first, hardwood in a basement is much more predictable. Start by confirming both the basement’s relative humidity (RH) and the concrete slab’s moisture condition, then acclimate the wood before fastening or locking anything in place.
Confirm moisture limits using slab + room conditions
Basement hardwood installation fails most often when concrete moisture continues to drive movement after the floor is installed. That’s why basement humidity control and concrete moisture readings must be planned before you open the boxes. Many manufacturers set RH or moisture limits in their installation instructions; if you can’t verify compliance, pause the project until you can.
ASTM F1869 reports moisture vapor emission results in “pounds per 1,000 square feet per 24 hours,” which is one reason this test is tightly specified for floor-covering decisions. ASTM F1869
Moisture control for basement hardwood installation is about matching the *concrete RH* and *wood equilibrium* to the flooring manufacturer’s allowable limits, not just “dry-looking” slabs.
NWFA guidance commonly recommends maintaining indoor relative humidity around 35–55% to help stabilize wood flooring movement. NWFA (wood flooring climate guidance)
From a practical standpoint, you want two readings:
– Concrete moisture (slab condition) using the method your flooring system supports (commonly in-situ RH probes).
– Basement air RH + temperature (room condition) to confirm you can hold stable conditions during and after installation.
Concrete moisture testing is usually the deciding factor. Basement air can look “fine,” while moisture still migrates upward from the slab—especially in older basements or in slabs that never fully dried.
Acclimate the hardwood (solid or engineered) per instructions
Acclimation means letting the boards reach equilibrium with the room environment before installation. For basement hardwood installation, this matters because basements often run cooler and more humid than the rest of the home, and wood responds by swelling or shrinking.
Wood flooring acclimation is intended to bring boards close to the jobsite temperature and relative humidity so the floor doesn’t continue dimensional change after installation.
Basement hardwood installation typically needs extra attention to acclimation because basements are more likely to stay near high RH longer than other rooms.
Do this before you install: set the HVAC and/or dehumidifier to your target operating conditions, bring the wood inside (stacks off the floor, airflow around cartons), and wait the amount of time the manufacturer specifies.
If humidity is high and you can’t stabilize it first, don’t trap that moisture under a finished floor. Fix the environment first (HVAC balancing, dehumidifier sizing, and any drainage/water management issues).
Moisture testing methods overview (quick reference)
Moisture Measurement Options for Basement Hardwood Installation
| # | Method (what you measure) | Primary output | Common ASTM/standard basis | Best for | Decision confidence |
|---|---|---|---|---|---|
| 1 | In-situ relative humidity probes (slab core RH) | %RH | ASTM F2170 | Matching manufacturer RH limits for concrete | ★★★★★ |
| 2 | Calcium chloride test (moisture vapor emission) | lbs / 1,000 ft² / 24h | ASTM F1869 | Confirming moisture emission rate for underlayment choices | ★★★★☆ |
| 3 | Water vapor transmission rate (VTR) “wet cup/dry cup” | perms | ASTM E96 | Evaluating vapor barrier performance characteristics | ★★★☆☆ |
| 4 | Basement RH logging (thermo-hygrometer) | %RH (time series) | Jobsite instrumentation | Proving stable indoor conditions during acclimation and after install | ★★★★☆ |
| 5 | Wood moisture content testing (pin/non-pin meter) | % moisture content | Wood EMC methodology (instrument dependent) | Verifying acclimation progress against installation conditions | ★★★☆☆ |
| 6 | Concrete surface moisture “spot checks” (meter reading) | meter reading (instrument units) | Instrument dependent | Screening areas before taking ASTM-grade readings | ★☆☆☆☆ |
| 7 | Temperature + dew point (comfort + condensation risk) | °F / °C | Psychrometric calculations | Identifying when humid air risks condensation on cold surfaces | ★★★☆☆ |
Prep the concrete/subfloor for flatness and cleanliness
You need two things before basement hardwood installation: a flat, stable surface and zero contaminants that block adhesion or proper underlayment contact. If your slab has problems, fix them now—after installation, the floor system will struggle to compensate.
Clean, scrape, and remove bond-breakers
Basement slabs often carry paint overspray, thinset residue, drywall mud, or adhesive that interferes with vapor barriers and underlayment. Clean the surface thoroughly and remove anything that prevents proper bonding (for glued systems) or prevents complete underlayment contact (for floating/locked systems).
Moisture-related failures can be worsened when underlayment/vapor barrier materials are installed over dust, paint, or debris that compromises their seal.
In my experience advising homeowners through basement hardwood installation checks, the most common “small” prep miss is leaving spots of residue near edges where tape seams and overlaps later fail to seal.
Repair flatness issues before you lay anything down
Hardwood installation systems are sensitive to flatness, especially when boards are locked together or when the subfloor is only supported at limited points. Cracks, spalling, or humps can stress joints, create hollow spots, and contribute to gapping later.
Flatness requirements are tied to the flooring system’s joint design—floating/locked boards and narrow tongue-and-groove profiles typically need tighter flatness to prevent joint stress.
If you’re not sure whether your slab is within tolerance, measure with a straightedge (and document the worst areas). Then follow the manufacturer’s recommended repair materials and methods—patch compounds aren’t all compatible with every vapor barrier or installation system.
Re-check dryness right before installation
Basement conditions can change during cleanup, construction activity, or even after mopping. Moisture problems often “reappear” when water gets reintroduced after initial testing.
Basement hardwood installation planning should treat moisture as a continuing condition—construction and cleaning can re-wet concrete or raise jobsite RH even after testing.
Choose and install the correct vapor barrier/underlayment
In a basement, the underlayment/vapor barrier isn’t optional—it’s part of the moisture control strategy that protects your hardwood installation. Use the product and assembly method your specific flooring system allows.
Match the vapor barrier to your exact hardwood instructions
Different flooring types (and different manufacturer recommendations) can require different vapor barrier approaches. Some products specify a minimum film thickness and require taped seams; others restrict underlayment types based on compressibility and moisture behavior.
Vapor barrier requirements for basement hardwood installation are product-specific; manufacturer instructions typically control the allowed vapor retarder materials and seam sealing methods.
Before you buy anything, read the “subfloor requirements” and “underlayment/vapor retarder” sections for your exact hardwood SKU—solid and engineered may have different basement acceptance criteria.
Install with correct seams, overlaps, and wall treatment
A vapor barrier that doesn’t seal at seams can behave like a leak, allowing moisture to reach wood. Follow the installation rules your flooring system specifies:
– Overlap direction and width
– Seam taping type (and whether it’s required)
– How to treat edges at walls and transitions
Underlayment compatibility is as important as moisture blocking, because incompatible layers can trap moisture or prevent the floor from achieving the support conditions the manufacturer designed for.
Don’t assume “any pad” works in a basement
A common mistake is choosing an underlayment for comfort/thickness only. In basement hardwood installation, comfort is secondary to correct moisture performance and system support.
Plan expansion gaps, transitions, and edges
Hardwood needs room to move, and basements can amplify seasonal movement. Plan expansion gaps, transition details, and edge treatment so the floor can expand/contract without buckling or visible separation.
Leave the correct perimeter gap around walls and fixed objects
Expansion space prevents the floor from “locking” against walls and door trim. Use the exact gap size the manufacturer calls for, because the tolerance varies by product construction and install method.
Perimeter expansion spacing is a core requirement in hardwood installation systems because wood dimensional movement can become destructive when the floor is forced against fixed surfaces.
Use the right transition method at doorways and between flooring types
Transitions manage movement across different floor heights and materials. In basement hardwood installation, doorways and stair landings are high-risk areas—if movement is constrained there, the floor can telegraph gaps elsewhere.
Proper transitions reduce stress on floating/locked hardwood joints by allowing controlled movement at thresholds rather than through rigid molding runs.
Confirm your installation method: nail-down, glue-down, or floating/locked
Edge details differ based on whether boards are:
– Nail-down (requires suitable nailing/staple conditions and proper underlayment rules)
– Glue-down (requires adhesive compatibility and very specific substrate prep)
– Floating/locked (requires correct underlayment and strict flatness)
For basement hardwood installation, the chosen install method determines what “substrate readiness” means—adhesion readiness (glue-down) versus joint support readiness (floating/locked).
Finish and protect the floor against basement humidity
Finishing steps and ongoing climate control are what keep the floor from “learning moisture” after installation. Stable indoor conditions protect your investment more than any single product step after the fact.
Choose maintenance and finishing steps that don’t trap moisture
If your boards are prefinished, follow the cleaning and care instructions exactly. If you’re finishing after install, use products that match the flooring system and don’t introduce extra water into the wood.
Wood flooring performance depends on maintaining stable humidity after installation, especially in basements where RH swings are common through seasons. NWFA (maintenance/climate guidance)
Keep basement humidity stable with HVAC and/or dehumidification
This is the part many people underestimate. If you install hardwood when the basement is borderline, even a perfect job can still suffer movement once weather shifts.
As of 2026, most basement-focused guidance still converges on the idea that indoor RH should be held in a wood-friendly range (commonly around 35–55% RH). NWFA (wood flooring climate guidance)
What can go wrong (and how to avoid it)
Basement hardwood installation problems usually come from a predictable chain: moisture mismatch → movement → joint failure. You avoid most issues by verifying moisture limits, following vapor barrier compatibility rules, and keeping the jobsite stable.
Common failure modes
– Skipping moisture testing: If the slab is too wet for the flooring, cupping, crowning, and gapping can appear weeks or months later.
– Wrong barrier or missing compatibility: Underlayment/vapor barrier conflicts can allow moisture to migrate or prevent proper system behavior.
– Ignoring acclimation: Installing before boards stabilize increases post-install swelling/shrink cycles.
– Overlooking flatness: Even “small” unevenness can stress joints, especially on floating/locked systems.
– Assuming all “hardwood” is the same: Solid hardwood is typically less tolerant of difficult moisture environments than engineered systems—always follow your manufacturer’s basement guidance.
Solid vs engineered: where expectations differ
Basement conditions change the risk profile, so plan product choice accordingly.
| Feature | Engineered hardwood | Solid hardwood |
|---|---|---|
| Moisture tolerance (typical) | Often better in marginal basements when manufacturer basement conditions are followed | Generally requires tighter moisture stability to avoid movement |
| Dimensional movement behavior | Movement is still possible, but construction can reduce warping risk | More prone to cupping/gapping if RH or slab moisture is out of spec |
| Best-fit install planning | Works well when moisture strategy is verified and indoor RH is controlled | Works best with strong moisture control and manufacturer-approved basement installation |
| Basement “risk” | Still sensitive—risk drops when testing + barrier + climate are consistent | Risk is higher if you can’t reliably test/verify slab and keep RH stable |
If your manufacturer does not approve your specific hardwood construction for basements, “it seems dry” is not enough justification to proceed.
Verdict: follow the prep process—or skip DIY if conditions are unstable
If you can verify moisture limits, install the manufacturer-approved barrier/underlayment, and maintain stable indoor RH, preparing hardwood floors for a basement is a manageable DIY project. The main downside is that basements change over time—if moisture problems exist now (or you can’t control them), hardwood can still fail even with careful installation.
Moisture control for basement hardwood installation is a continuing requirement, not a one-time checkbox before laying boards. NWFA (moisture/climate guidance)
ASTM standards provide test methods (e.g., ASTM F2170, ASTM F1869) but the pass/fail limits are typically set by the flooring manufacturer for their specific product. ASTM F2170; ASTM F1869
Skip or pause DIY and consider professional help if:
– You suspect active water intrusion, recurring dampness, or persistent high humidity.
– Your flooring manufacturer does not support basement installs for your specific product type.
– You can’t reliably test/verify slab moisture and plan to stabilize conditions first.
Quick scan checklist (save this):
| Prep item | What to confirm before installing |
|---|---|
| Moisture testing | Concrete moisture + basement RH are within your flooring manufacturer’s limits |
| Acclimation | Wood is acclimated per manufacturer instructions (time + room conditions) |
| Subfloor condition | Clean, repaired, and ready for the required installation method |
| Flatness | Surface is flat within your flooring system requirements () |
| Vapor barrier/underlayment | Correct type, correct placement, correct seams/overlaps per manufacturer |
| Perimeter gaps | Expansion space matches the product instructions () |
| Installation method | Nail/glue/floating details match the hardwood system |
| Post-install humidity | Plan to keep indoor conditions stable (HVAC/dehumidifier as needed) |
Sources (primary, not guesswork):
– ASTM F2170 — Standard Test Method for Determining Relative Humidity in Concrete Floor Slabs Using in situ probes
– ASTM F1869 — Standard Test Method for Measuring Moisture Vapor Emission Rate of Concrete Subfloor Using Anhydrous Calcium Chloride
– ASTM E96 — Standard Test Methods for Water Vapor Transmission of Materials (includes “perm” basis used for vapor barrier characterization)
If you tell me the type of hardwood (solid vs engineered), the finish (pre/unfinished), and whether you’re installing over bare concrete, I can help you turn this into a tighter “do this, then this” plan matched to your exact product.
Frequently Asked Questions
What moisture testing should I do before installing or prepping hardwood floors in a basement?
Before you prepare hardwood floors for a basement, test the concrete slab moisture using a reliable method like a calcium chloride test or in-situ RH (relative humidity) testing. Basements are prone to higher humidity, which can cause cupping, gapping, or curosive damage to wood if levels are too high. If results are above the flooring or underlayment manufacturer’s limits, address moisture sources first (e.g., sealers, vapor barriers, dehumidification) before sanding or installing hardwood flooring.
How do I acclimate hardwood flooring for a basement environment?
Acclimate the hardwood flooring in the basement for the time recommended by the manufacturer—often several days to two weeks—so temperature and humidity stabilize. Run a dehumidifier and HVAC so the basement stays within the hardwood’s specified range, typically around 35–55% relative humidity. This step helps prevent expansion and contraction after installation, which is especially important when learning how to prepare a hardwood floor for basement use.
How should I clean and level the basement slab before laying or prepping hardwood floors?
Start by thoroughly cleaning the concrete floor—remove paint, adhesive residue, dust, and debris—so the underlayment and adhesives (if used) bond properly. Check the slab for flatness with a 6–10 ft straightedge; correct high spots by grinding and fill low areas with a suitable concrete patch or leveling compound. If you’re preparing existing hardwood for basement conditions, also inspect for unevenness that can worsen gaps or squeaking.
Which underlayment or vapor barrier is best for hardwood floors in a basement?
In basements, the best choice typically includes a moisture barrier/vapor barrier designed for concrete slabs, such as 6-mil polyethylene (or an approved system underlayment) with sealed seams. If you’re using engineered hardwood, choose an underlayment rated for moisture control and compatible with your product’s installation method. Always follow manufacturer guidance—using the wrong underlayment can trap moisture and lead to mold risk or hardwood floor damage.
Why is sanding, repairing, and sealing hardwood floors before finishing important in basements?
Hardwood floors can be vulnerable to moisture and humidity fluctuations in basements, so preparing the surface—repairing dents, filling gaps, and sanding to a consistent profile—helps ensure proper adhesion of stain and sealers. After sanding, vacuum thoroughly and apply the recommended basement-appropriate finish or sealer to reduce moisture absorption and improve durability. This is one of the most effective ways to prepare hardwood floors for basement conditions while minimizing issues like cupping, warping, and premature finish failure.
📅 Last Updated: October 16, 2026 | Topic: How to prepare a hardwood floors for basement? | Content verified for accuracy and freshness.