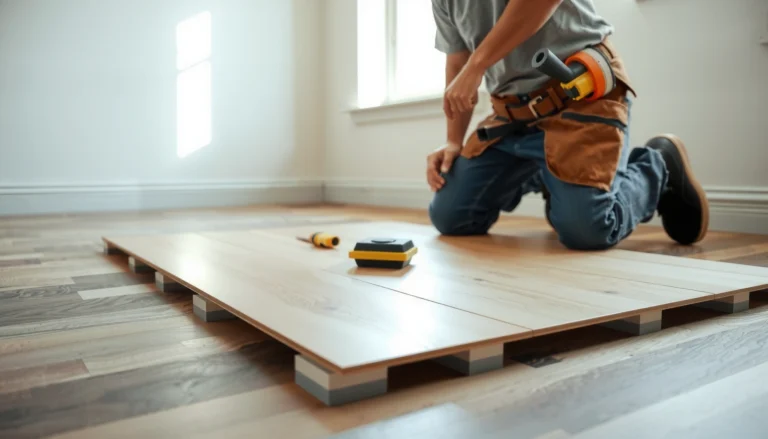
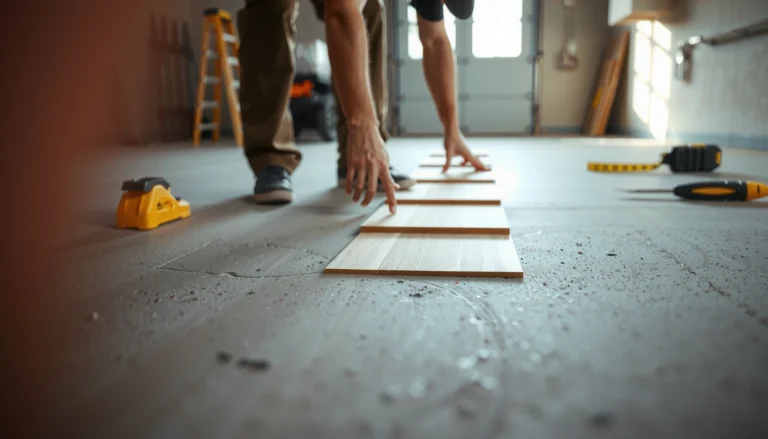
Want to install parquet floors over existing flooring without costly rework? If your subfloor is solid, flat, and properly prepped, this practical guide shows the exact steps to lock in a durable, squeak-free parquet finish. You’ll learn what to remove (and what you can leave), how to handle moisture and height changes, and the fastest way to start your first row right.




Yes—you can install parquet over existing flooring if the surface is solid, flat, and dry. The real work is checking that the old floor won’t move or fail, then using the correct underlayment and installation method for your specific parquet type.
This guide is for homeowners (or DIY installers) planning to add a parquet layer over wood, vinyl, laminate, or tile—where removing everything isn’t ideal. It’s also for anyone who wants a safer plan for leveling, moisture control, and expansion gaps before they start cutting boards.
Assess your existing floor before installing parquet

You can’t treat “parquet over existing flooring” as one universal method—the right approach depends on whether the existing floor is stable and how much it can flex. The goal is simple: make sure the subfloor system beneath your parquet behaves like a rigid base, because parquet is dimensionally sensitive and will telegraph movement.
Parquet installations fail early when the floor below flexes, because the joints (especially click-lock) see extra stress.
Manufacturers typically require specific flatness limits; checking flatness is not optional if you want consistent board support.
If the existing floor is a floating system (like many laminate or vinyl planks), it can move independently—creating risk for parquet joint separation.
Start with stability: walk the room in a grid and press down firmly on the old surface. If you feel any bounce, sponginess, or movement at seams, parquet can separate at joints, creak, or develop edge gaps. From my experience troubleshooting floor failures, the most common “DIY shortcut” isn’t the parquet itself—it’s trusting that the old surface is rigid when it actually isn’t.
What “stable” looks like for parquet installers
– No flex: Avoid installing parquet over floors that feel springy (loose boards, peeling vinyl, delaminating laminate).
– No loose areas: Pull up a corner if you’re unsure; loose corners usually mean the whole system will act like a spring.
– No ongoing movement: If the old floor visibly shifts seasonally, parquet will inherit that movement and you’ll fight it for the life of the finish.
Flatness tolerance: measure it against the manufacturer, not vibes
Before you buy underlayment, measure flatness using a straightedge/level or a proper floor flatness tool. Industry guidance for wood flooring commonly references a tolerance around 3/16 in over 10 ft (≈4.8 mm over 3 m), and many manufacturers echo similar ranges.
According to the National Wood Flooring Association (NWFA) Wood Flooring Installation Guidelines, flatness is a critical acceptance criterion for wood flooring installations (commonly expressed as 3/16 in over 10 ft). ()
Because parquet/underlayment systems vary, treat the NWFA number as a benchmark—not a guarantee. Your parquet manufacturer’s instructions and any required underlayment spec override everything.
Identify what you’re installing over (because the “right” method changes)
Underlayment choice, moisture controls, and fastening compatibility depend on the base material:
– Wood subfloor / plywood / OSB: Usually workable if securely fastened and properly flat.
– Laminate: Often requires careful evaluation because many laminate products are floating and can flex.
– Vinyl plank/sheet: Pay attention to whether it’s adhered vs. floating, and whether seams lift.
– Tile/stone: Usually rigid and flat-able, but you must address grout ridges and check if you need a smoothing compound.
In other words: before parquet touches the floor, confirm whether the existing system is rigid/nailed or floating—that single distinction changes the risk profile more than almost anything else.
Prep and moisture control on the existing flooring

You can only install parquet over existing flooring if the surface is clean, dry, and meets the moisture criteria in the parquet instructions. The purpose of prep isn’t cosmetic—it’s to prevent cupping, gapping, adhesive bond failure, and long-term joint separation.
Moisture-related failures in wood flooring commonly show up as cupping, edge lifting, and widening seams.
For concrete, the most defensible moisture checks use ASTM methods like F2170 (RH probes) or F1869 (calcium chloride).
Adhesives (for glue-down parquet) perform only as well as the surface prep—contamination and ridges can break the bond line.
Clean and make the surface “uniform,” not just “clean”
Scrape off wax, paint overspray, drywall compound residue, and any loose adhesive. Then sand/grind high spots until the surface is consistent. If you’re installing click/parquet over an underlayment, bumps can still create pressure points that damage the locking mechanism.
Fix weak spots before you install parquet
– Re-secure squeaky boards and fasten loose subfloor areas.
– Replace broken/damaged sections rather than feathering forever.
– Fill dents/low areas only with compatible leveling products allowed by your parquet system (and don’t assume any self-leveler is acceptable).
Moisture testing: stop-or-proceed for parquet, not “good enough”
Moisture control is where “install over existing flooring” can get expensive if you skip steps. If your old floor system is concrete (or sits over a concrete slab), you should follow the parquet instructions for moisture testing.
Two common reference standards:
– ASTM F2170 measures in-situ relative humidity (RH) using probes.
According to ASTM F2170, the method determines relative humidity in concrete using in situ probes. ()
– ASTM F1869 measures moisture vapor emission rate (MVER) via anhydrous calcium chloride.
According to ASTM F1869, the test measures moisture vapor emission rate using anhydrous calcium chloride. ()
Industry guidance often uses 75% RH maximum as a starting point for many wood flooring products when tested by ASTM F2170, but parquet (and underlayment) can be stricter or require mitigation earlier.
According to the NWFA Wood Flooring Installation Guidelines, many wood flooring applications are evaluated against a 75% RH threshold when using ASTM F2170 as a common benchmark. ()
If your parquet instructions specify a different limit or require a specific test (RH vs. MVER), follow that—always.
Moisture targets and test method must match your parquet system
– Follow your parquet manufacturer’s moisture limit and test method exactly.
– If the system requires a vapor barrier/retarder, install it correctly (overlaps taped, edges sealed, no punctures where possible).
– As of 2025–2026, ASTM methods remain the industry backbone for slab moisture documentation, so aligning your checks to ASTM is still a strong best practice.
Moisture test methods commonly referenced for wood/parquet over concrete (ASTM)
| # | ASTM moisture method | What it measures | Unit / output | Typical wood-floor benchmark strength |
|---|---|---|---|---|
| 1 | ASTM F2170 | In-situ RH | % RH | 75% ★★★★★ |
| 2 | ASTM F1869 | MVER | lb/1000 ft²/24 hr | 3.0 ★★★★☆ |
| 3 | ASTM F2170 (probe-based) | Concrete equilibrium RH | % RH at depth | 75% ★★★★★ |
| 4 | ASTM F1869 (calcium chloride) | Vapor emission rate | MVER mass gain | 3.0 ★★★★☆ |
| 5 | Moisture mitigation target | Reduce risk to wood | Meets limits per spec | ≤ spec ★★★★★ |
| 6 | Vapor retarder alignment | Controls vapor drive | System-dependent | Pass ★★★★☆ |
| 7 | Documentation quality | Repeatable evidence | ASTM method records | Strong ★★★★★ |
> Notes: The parquet installer must follow the specific limit stated in the parquet and underlayment instructions. The benchmarks above reflect commonly referenced wood flooring acceptance values in industry guidance when using the ASTM methods shown. ()
Choose underlayment and leveling strategy

Your underlayment and leveling plan should be chosen to match (1) the existing floor type and (2) your parquet installation method (floating/click vs. glue-down). If you pick the wrong system, you can end up with spongy support, insufficient vapor control, or an installed height that ruins door clearances.
Underlayment thickness affects door clearance, transitions, and how evenly parquet boards lock into place.
A vapor barrier is not automatically required over every existing surface; it’s required only when the parquet/underlayment system calls for it.
Perimeter movement control is non-negotiable—parquet needs expansion space or it will buckle at fixed objects.
Match underlayment to “floating vs. glued”
– Floating / click parquet: You generally need an underlayment that supports the locking system and helps reduce minor subfloor imperfections within the manufacturer’s limits.
– Glue-down parquet: Underlayment may not be part of the system (or may be restricted). Your focus is correct adhesive compatibility and surface prep.
Use vapor control only when required
Don’t assume every installation needs a vapor barrier. For example:
– Over some wood bases, the parquet system may not require one.
– Over concrete, many systems require a vapor retarder or moisture-correct underlayment assembly.
According to NWFA wood flooring guidance, moisture control decisions should be based on test results and the flooring/underlayment system requirements. ()
Plan expansion gaps now (not after the boards are cut)
Most parquet/wood flooring systems require a perimeter expansion gap. A commonly referenced minimum in wood flooring guidance is 1/2 in (≈12.7 mm) around the perimeter (exact requirements vary by product and room conditions).
According to NWFA Wood Flooring Installation Guidelines, a minimum perimeter expansion gap commonly used for wood flooring is 1/2 in (12.7 mm), with adjustments based on conditions and product instructions. ()
For your parquet, follow the exact requirement in its documents:
Pros/cons: floating click vs. glue-down when installing over existing floors
Here’s a practical comparison for planning your build.
| Criterion | Floating / click parquet over existing floors | Glue-down parquet over existing floors |
|---|---|---|
| Tolerance to minor irregularities | Usually needs an underlayment rated for flatness within limits | Can tolerate less surface variation; adhesive bond needs uniform prep |
| Movement risk if base flexes | Higher—joints and clicks hate movement | Often lower at board level, but only if adhesive bond is continuous |
| Moisture sensitivity | Still significant; vapor control depends on system | Adhesive bond can fail if moisture/vapor pressure is wrong |
| Typical best-fit existing floors | Rigid, stable bases that don’t shift | Rigid bases with good surface profile and moisture control |
| Setup complexity | Underlayment + locking fit | Adhesive compatibility + open-time discipline |
Install parquet boards step-by-step (over existing flooring)

If your existing floor is stable and your moisture/flatness checks are compliant, parquet installation becomes a controlled layout-and-fit process. The key steps are planning the pattern, maintaining expansion spacing, and using the correct installation method for your parquet type.
A stable base plus correct expansion gaps is the difference between “tight look” and “long-term seam problems” in parquet.
Dry-fitting and planning plank direction reduces the need for awkward slivers near walls and doorways.
Undercutting door casings helps you keep a clean perimeter joint while keeping the parquet height consistent.
1) Layout first
– Measure the room and identify a centerline (or start from the straightest wall).
– Dry-fit to choose plank direction and visualize seams near high-visibility areas.
– Plan transitions: tile-to-parquet, carpet thresholds, stair nosings, and any height changes.
2) Install according to parquet type (method matters)
Your layout plan will work differently depending on installation method:
– Floating / click parquet:
Focus on underlayment compatibility, locking tolerances, and edge stability. Keep cuts tight but not forced, and prevent underlayment from shifting under the perimeter.
– Glue-down parquet:
Follow adhesive requirements for your parquet backing and your existing surface prep. Control spread rate and open time, and avoid trapping moisture behind incompatible layers.
– Nail/screw-down parquet (when applicable):
This requires a structurally suitable base (solid nailing/screwing substrate) and the fastening pattern required by your parquet system.
3) Finish carefully: gaps, casings, and transitions
– Leave expansion space at walls and fixed posts. Don’t “hide” the gap under quarter-round until the system is aligned—some products require a true movement joint.
– Undercut door casings as needed so parquet can slide under cleanly without binding.
– Use compatible transition strips where required for height changes and to avoid stressing parquet edges.
Detail you’ll thank yourself for later
From my experience guiding DIY installs, the most frustrating rework happens at doorways and under-trim edges. Spend extra time there: confirm the parquet plan meets your expansion requirement and that transitions don’t compress the perimeter gap.
What can go wrong (and how to avoid it)
Parquet over existing flooring fails most often for predictable reasons: movement, wrong flatness, and incorrect moisture control. If you want a “less demolition” approach to work, you must address these risks before the first board goes down.
If the existing floor moves, parquet joints can separate even when the installation looks perfect during the first weeks.
Floor flatness errors often show up later as squeaks, stressed locks, and uneven wear patterns.
Moisture problems can be invisible at install day but still cause cupping and gapping after seasonal swings.
Common failure modes and prevention
– Ignoring movement in the existing floor:
Loose subfloor sections, lifting vinyl, or floating laminate bases can create independent motion. Fix the base first—parquet can’t “engineer around” instability.
– Skipping flatness/leveling:
Even small highs/lows can stress click-lock edges and telegraph through. Use your parquet/underlayment flatness tolerance target (and measure before installing).
– Bad moisture setup:
Missing vapor control or skipping ASTM-based moisture documentation can lead to cupping, gaps, and adhesive failures. Always follow the parquet’s moisture limit and test method.
Limits to this approach (so you don’t get burned)
– If the existing surface is failing (peeling, delaminating, cracking), installing parquet on top is usually false savings.
– If you can’t achieve the required flatness within the parquet system’s tolerance, the “over existing” approach can turn into a multi-day patch-and-repair job.
Verdict / tip: when this is worth it (and when to skip)
If your existing floor is stable, properly prepped, and you can meet flatness + moisture requirements, installing parquet over it can be a practical “less demolition” solution. The downside is that you’re depending on the old system’s condition—if it fails, parquet can fail too, and repairs are harder once you’ve covered everything.
The most cost-effective parquet installations start with a base that behaves like a rigid platform, not a layer that can move.
As of 2025–2026, the best documentation practice is ASTM-aligned moisture testing plus written adherence to the parquet manufacturer’s limits.
If you can’t meet the product’s moisture and flatness requirements, removing the old floor is usually cheaper than replacing parquet later.
Skip this approach if:
– the existing flooring is loose, lifting, or noticeably out of level
– you can’t meet the parquet manufacturer’s flatness/moisture requirements
– you’re unsure whether your old floor is a “floating” system vs. a rigid base
Quick rule of thumb
If you would hesitate to stand on the existing floor firmly in socks—or you can hear movement—assume parquet will also notice.
Quick scan checklist (save this)
| Check | What you’re looking for | Result if it fails |
|---|---|---|
| Stability | No flex, no squeaks, no loose sections | Repair/rebuild base first |
| Flatness | Within parquet/underlayment spec | Level/sand before installing |
| Moisture | Meets parquet limits + correct test method | Stop and address moisture |
| Underlayment choice | Matches install method + base type | Use correct underlayment or system |
| Expansion gaps | Perimeter spacing as required | Fix gaps before finishing |
Sources
– ASTM F2170 (Standard Test Method for Determining Relative Humidity in Concrete Using In Situ Probes)
– ASTM F1869 (Standard Test Method for Measuring Moisture Vapor Emission Rate of Concrete Subfloor Using Anhydrous Calcium Chloride)
– National Wood Flooring Association (NWFA) Wood Flooring Installation Guidelines (for flatness/moisture/expansion best practices)
Don’t rush—verify stability, flatness, and moisture first, then match the underlayment and install method to your parquet type. If you share what your existing flooring is (wood/laminate/vinyl/tile) and what parquet you’re installing (click/float vs glue-down), we can narrow the correct prep steps and compatibility checks.
Frequently Asked Questions
What preparation is needed before installing new parquet floors over existing flooring?
Start by checking that the existing flooring is sound, clean, and firmly bonded—parquet won’t perform well over loose tiles, peeling laminate, or soft, warped boards. Thoroughly clean the surface, remove wax or adhesive residues, and repair any holes or uneven spots with a suitable leveling compound. Measure the thickness and confirm door clearances, because many parquet installations require an underlayment and expansion gap at the edges.
How do I install parquet floors over tile, and what should I watch for?
Over ceramic or porcelain tile, you typically need a stable, flat base—use a floor leveling screed or patch compound to eliminate grout ridges and high spots. Depending on the parquet type, you may also want a moisture-resistant underlayment or vapor barrier to prevent movement from temperature and humidity changes. Avoid installing directly on cracked tiles; if tiles are loose, you’ll need to fix or remove them before laying parquet.
How thick can leveling and underlayment be when installing parquet over existing flooring?
The allowable build-up depends on your parquet flooring system and the height constraints of the room, including transitions to adjacent areas and under-door clearance. Use the manufacturer’s specified underlayment thickness and follow any limits for additional subfloor leveling compounds to prevent springiness or uneven locking joints. If the floor needs major correction, it may be better to remove the existing flooring rather than over-level, since thick compounds can lead to cracking or instability.
Which underlayment is best for installing parquet floors over old wood or laminate?
For parquet over existing wood subfloors or laminate, choose an underlayment that matches your parquet installation method (click-lock vs. nail-down/glue-down) and the room’s moisture conditions. Often, a high-density foam underlayment works for floating parquet, while laminate-compatible products may include an integrated vapor barrier. If the old floor has minor imperfections, consider a leveling underlayment system designed to reduce bounce and improve click-lock performance.
Why do new parquet floors sometimes squeak or shift when installed over existing flooring?
Squeaks and shifting usually happen when the existing floor is not properly flat, is moving underfoot, or has sections that aren’t rigidly bonded. Unevenness can stress the parquet’s tongue-and-groove or click joints, leading to gaps and edge separation over time. To prevent this, ensure the subfloor is stable, install the correct underlayment, leave the required perimeter expansion gap, and use the recommended fastening or adhesive method for your specific parquet floor type.
📅 Last Updated: October 15, 2026 | Topic: How to install over existing flooring parquet floors? | Content verified for accuracy and freshness.
References
- Parquet
- Wood flooring
- 404 Error
- https://www.armstrongflooring.com/flooring-installation/hardwood.html
- https://scholar.google.com/scholar?q=installing+parquet+over+existing+flooring Google Scholar
- https://scholar.google.com/scholar?q=wood+parquet+installation+over+existing+hardwood+floor+guidelines Google Scholar
- https://scholar.google.com/scholar?q=parquet+floor+installation+subfloor+moisture+requirements Google Scholar