
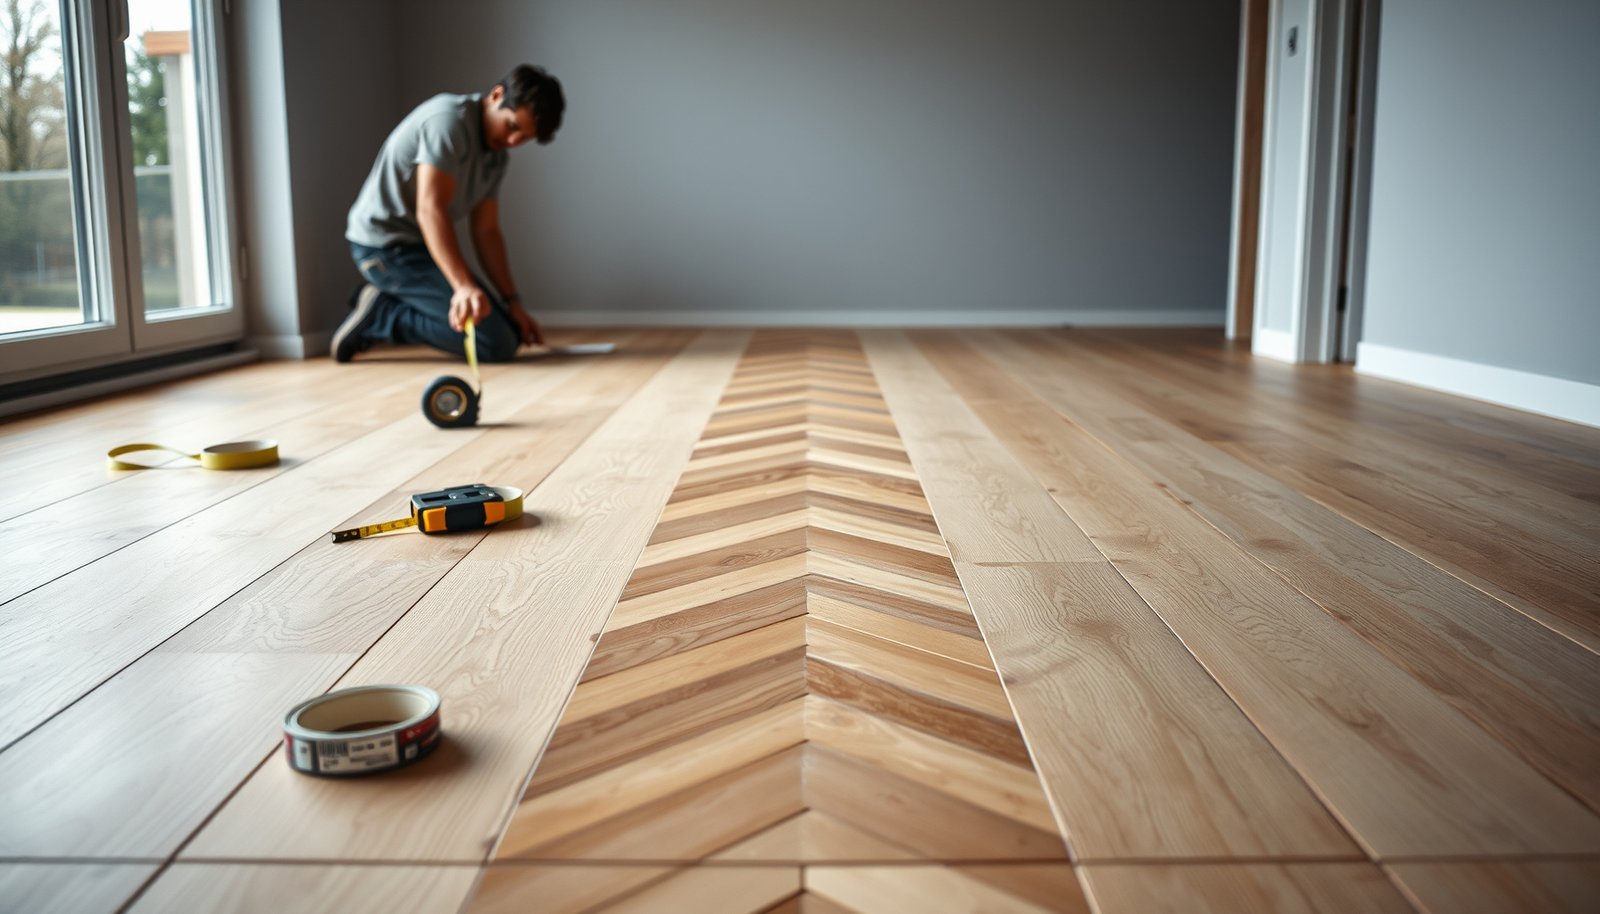

If you’re searching for how to install chevron floors, this step-by-step guide will walk you from layout and subfloor prep to snapping lines, setting boards, and finishing the edges with confidence. Follow these instructions in order for a crisp, straight chevron pattern that stays aligned as you work. You’ll know exactly what to do at each stage—so the install goes smooth instead of turning into guesswork.




Chevron floors go down cleanly when you plan the “V” from a true centerline, dry-fit the first rows, and then build outward while maintaining the same angle and spacing. If your center reference is straight and your subfloor is flat, the chevron pattern stays aligned room-wide instead of slowly drifting out of square—especially in floating/click and rigid-core installs.
This guide is for homeowners and DIY installers working with chevron-style planks or tiles (floating/click, glue-down, or nail-down). Because every flooring system has its own requirements (acclimation, adhesives, nail schedule, expansion gaps), you’ll see a few spots marked where you should plug in your product’s instructions.
Plan your chevron layout and choose the right materials
Plan first, then install, because chevron flooring amplifies even small layout mistakes. The fastest path to a straight “V” is to select the right installation type (floating, glue-down, or nail-down) and confirm the exact plank geometry before you cut anything.
Chevron floors stay visually “locked in” when the symmetry starts from a true centerline and the first 2–3 rows are dry-fitted before fastening or bonding.
The same chevron pattern can look “off” if plank angle, joint spacing, or end-mitre/cut spec differs from what you planned—always match the geometry from the manufacturer.
– Identify your flooring installation type (floating/click vs glue-down vs nail-down) and follow the manufacturer’s method for that type.
Chevron floors are unforgiving across systems: a floating/click product typically relies on an underlayment + interlocking joints, while glue-down systems rely on direct bond and moisture-safe surface prep, and nail-down systems rely on a structurally stable wood subfloor and a correct fastening schedule.
– Confirm the chevron “geometry” (board length, angle, and joint/spacing) so you can plan how the pattern repeats across the room—.
Chevron geometry is usually the difference between “factory-accurate” and “DIY-approximate.” Record the key dimensions (angle, board length, and spacer/joint size if used). If your product specifies a particular angle (commonly something like a 45°-based look), write it down and build the layout from that number rather than estimating by eye.
– Gather what you’ll need before starting: tape measure, chalk line, spacers/wedges (if required), spacers for expansion gap , and the correct underlayment/adhesive (as applicable).
For chevron flooring, accuracy tools matter more than variety. A sharp pencil, a chalk line that releases cleanly, a tape measure you can read confidently, and the correct spacers/wedges keep the pattern consistent.
Chevron angle presets you may see (and what they imply for planning)
Use the table below as a planning reference for the “included V angle” concept (the angle between the two legs of the chevron). Your specific product may require a different cut method—this is geometry guidance, not a substitute for your instructions.
Chevron “V” Geometry Presets (Symmetric Planning Reference)
| # | Chevron preset (included V angle) | Half-angle α from centerline | Leg angle (each side) | Visual openness |
|---|---|---|---|---|
| 1 | 30° V | 15° | ±15° | ★★☆☆☆ |
| 2 | 40° V | 20° | ±20° | ★★★☆☆ |
| 3 | 45° V | 22.5° | ±22.5° | ★★★☆☆ |
| 4 | 60° V | 30° | ±30° | ★★★★☆ |
| 5 | 67.5° V | 33.75° | ±33.75° | ★★★★☆ |
| 6 | 75° V | 37.5° | ±37.5° | ★★★★★ |
| 7 | 90° V | 45° | ±45° | ★★★★★ |
Prep the subfloor for chevron flooring
A properly prepped subfloor is what keeps chevron flooring from visually “opening up” or shifting its “V.” Before you install any chevron planks or tiles, verify cleanliness, dryness, and flatness according to the specific product you bought—especially if you’re working in 2026 and local humidity swings are common.
Chevron floors telegraph flatness errors more than straight layouts because each “V” relies on consistent joint height and spacing across the room.
If your flooring system specifies an underlayment type or moisture test standard, switching those steps usually isn’t a small change—it can void warranty coverage.
– Make sure the subfloor is clean, dry, and flat enough for your specific flooring—check your manufacturer’s flatness requirement: .
As a baseline for context, the National Wood Flooring Association (NWFA) publishes subfloor flatness guidance of 3/16 in over 10 ft (about 5 mm over 3 m) for many wood-floor applications (NWFA subfloor flatness guidance (National Wood Flooring Association)). For chevron flooring, treat that as a minimum standard unless your product is stricter.
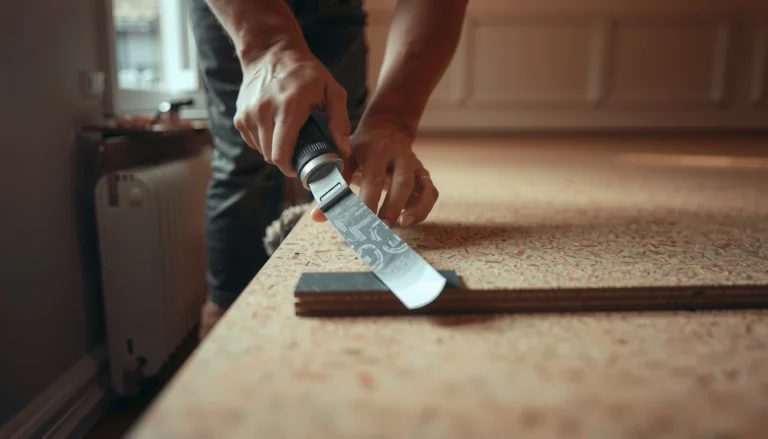
– Remove anything that could prevent solid contact (high spots, old adhesive ridges, debris). For hollow spots/subfloor issues, address them before you install.
In chevron floors, you don’t just fight “level vs not level”—you fight localized rocking that can separate joints. Scrape ridges, grind high spots, and fix hollow areas with the right patching/leveling compound for your substrate.
– If you’re doing a floating floor, use the required underlayment type/thickness and seams as directed—don’t “substitute” unless your flooring allows it. For glue-down, ensure you’ve got the surface prep and moisture requirements right—.
Flatness and moisture aren’t separate tasks. Even a visually straight chevron floor can fail if moisture drives the wrong movement or prevents proper bond. In 2026 conditions, many basements and crawlspaces still run into moisture swings—so plan your moisture test early.
Floating vs glue-down vs nail-down (what changes for chevron floors)
Choose the installation system that matches your subfloor and moisture reality; the chevron pattern itself doesn’t remove these fundamentals.
| Feature | Floating / Click | Glue-Down | Nail-Down |
|---|---|---|---|
| Primary stability method | Interlocking joints + perimeter/expansion control | Adhesive bond to subfloor | Mechanical fastening to subfloor |
| Subfloor flatness sensitivity | High—unevenness shows in joint lines | Very high—bond requires full contact | High—movement can telegraph through |
| Moisture checks | Moisture + underlayment requirements still apply | Critical—follow adhesive + substrate limits | Critical for wood stability |
| Best subfloor type | Often concrete or plywood (per product) | Concrete or plywood (per product) | Typically solid wood subfloors with nailable structure |
| How errors show | Joints open/lock issues, visible “V” drift | Gaps, hollow spots, adhesive failures | Squeaks, movement, surface separation |
| DIY friction level | Moderate (still needs layout precision) | Higher (adhesive timing + coverage) | Higher (nail tools + substrate requirements) |
| Chevron-specific risk | Underlayment thickness mismatches causing “V” distortion | Adhesive not transferred evenly under angled seams | Fastener placement causing micro-movement at joints |
| Perimeter movement | Relies on expansion gaps and trim/spacing | Relies on gap + substrate conditions | Relies on correct nail schedule and movement room |
| Typical strongest “path of failure” | Skipped underlayment or gap mistakes | Moisture/adhesive mismatch or poor prep | Subfloor instability or incorrect fasteners |
| Best for chevron DIY when… | You can verify flatness and follow gap specs precisely | Your moisture and prep requirements are clearly met | You have a proper nailable wood subfloor and fastening plan |
| Best For | Most DIYers who can measure and maintain alignment | Owners willing to follow adhesive/coverage/cure timelines | Projects with confirmed nailable substrate and correct tools |
Snap lines and measure the chevron pattern
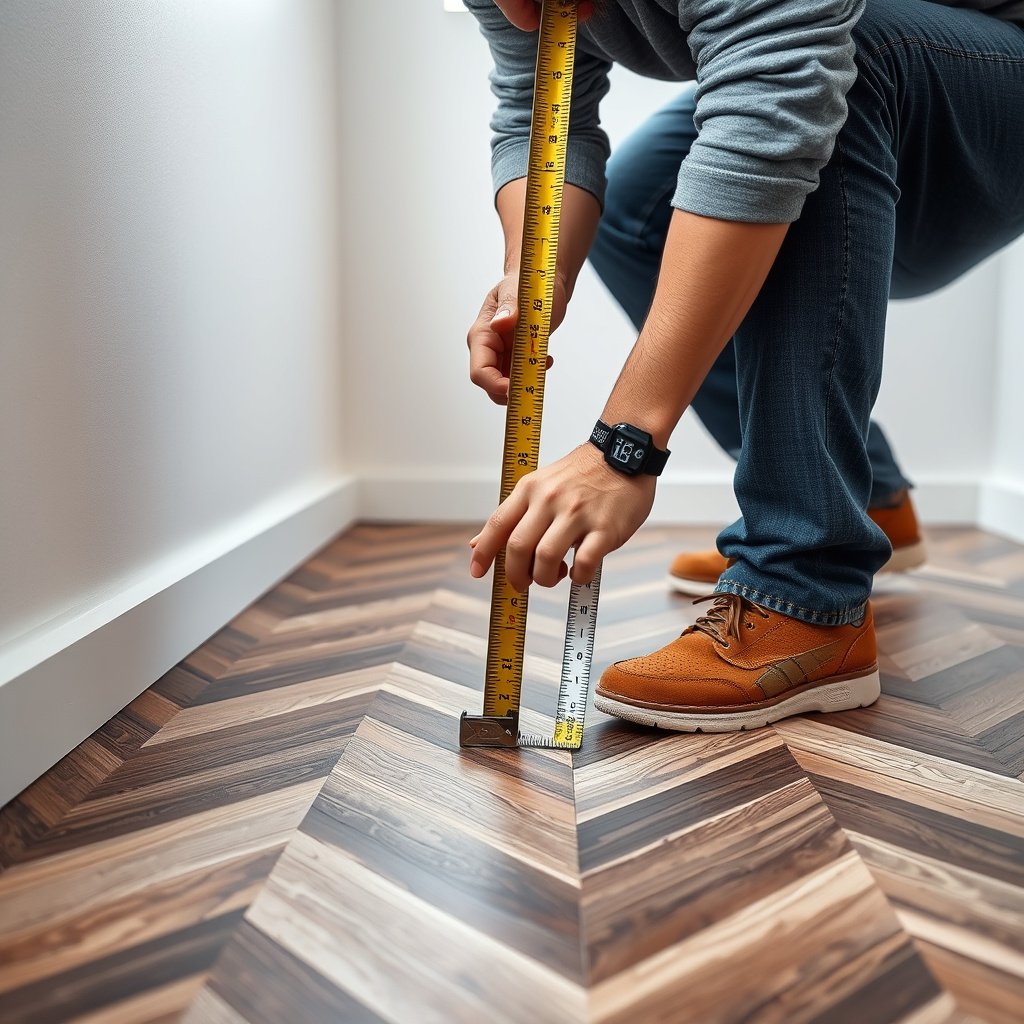
Snap lines correctly and your chevron “V” will stay centered as you expand outward. The goal is to create a reference framework so every plank or tile is installed to the same geometry—no improvising once cutting starts.
If you start chevron from the wrong reference or let the first few runs drift, the error compounds across the room.
Dry-fitting early rows is the best way to predict edge slivers and prevent last-minute pattern resets.
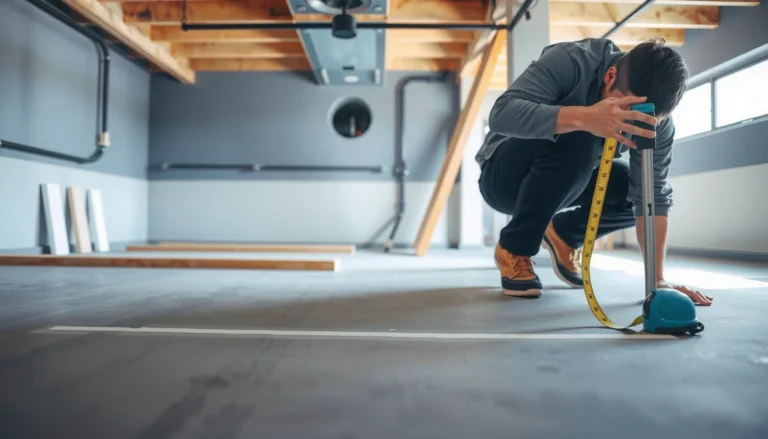
– Find the room’s centerline (or a true reference line) and snap it with a chalk line so the chevron “V” symmetry starts correctly.
A “centerline” only matters if it’s accurate. Measure between two opposite walls, mark midpoints, verify at least once with a second measurement method (or diagonal checks), and then snap your line.
– Do a dry fit of at least the first few rows to verify the angle, spacing, and how the pattern falls near the walls—this helps you avoid ending with awkward slivers.
For chevron flooring, edge cuts can be visually prominent. Dry-fitting also confirms whether your spacers/joint width are consistent with what your product expects.
– Use layout math to plan the first cut: keep your pattern repeating cleanly while leaving required expansion gaps around the perimeter—.
Expansion gaps aren’t optional for floating and many rigid systems. Industry flatness guidance often uses a 10-foot straightedge approach—ASTM E1155 describes measuring flatness with a straightedge to identify high/low areas (ASTM E1155 flatness measurement method). Pair that kind of measurement discipline with correct perimeter gap planning so the chevron floor can move without buckling.
In my own layout workflow for chevron installs, the biggest “aha” moment usually comes from discovering that the first wall is not truly square—then redoing the reference line before any cutting.
Install chevron floors from the center out

Install chevron floors outward from your reference so small corrections don’t compound into a visible drift. This method keeps the “V” geometry consistent and reduces the chance that one corner ends up with the wrong cut family.
Center-out installation keeps the chevron repeat balanced and makes alignment problems easier to catch early.
For glue-down and nail-down systems, follow the manufacturer’s timing and fastening/adhesive coverage rules exactly—pattern accuracy isn’t enough for long-term performance.
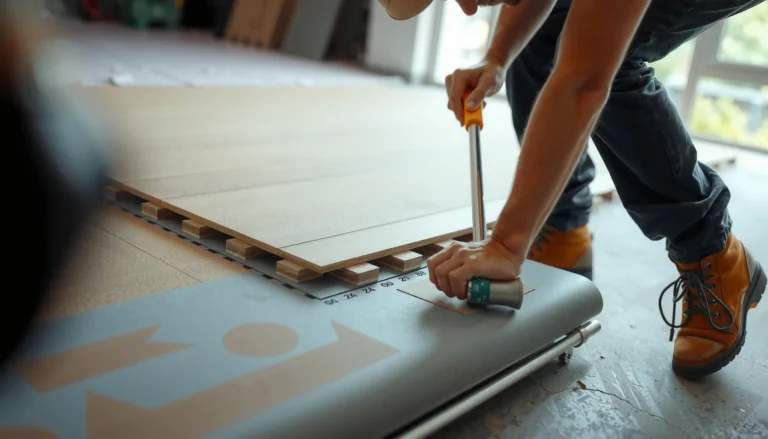
– Start from your center reference (or the manufacturer’s recommended starting wall), install the first chevron rows accurately, and build outward so small alignment corrections don’t compound.
If your product provides a recommended starting strategy, follow it. Otherwise, starting from the center (using your snapped reference) is often the least forgiving-error approach for chevron flooring.
– Maintain consistent joint alignment as you go: use spacers (if specified), check the line frequently, and avoid forcing pieces into place.
When chevron flooring pieces “fight” each other, it’s usually not the floor—it’s the layout or subfloor conditions. Forcing a joint can create crooked rows that look correct for a day and wrong after expansion, traffic, or temperature swings.
– For glue-down and nail-down: follow the specific adhesive/nail pattern and cure times/wait periods—.
Adhesive timing is a common failure point in glue-down chevron floors because angled seams increase how quickly the work face can dry or skin over. Likewise, nail-down systems require correct fastener placement and spacing; under-fastened areas can move and disturb the chevron line.
Finish the edges, transitions, and expansion gaps
Finish work last, but plan it upfront, because trim and transitions can block the movement that chevron floors rely on. Your perimeter and doorway details should respect the expansion gap and the product’s approved trim/transition system.
Baseboards and thresholds should not lock the floating/rigid floor in place—movement must remain within the manufacturer’s expansion gap allowance.
Use the manufacturer-approved transition or threshold system where floors change materials so your chevron layout can move without stress.
– Install baseboards/trim in a way that doesn’t trap the floor—your edge should be allowed to move within the required expansion gap where applicable.
A frequent chevron mistake is nailing trim so tight that it pinches the flooring. Where the instructions allow fastening to the wall or subfloor (not the planks/tiles), do exactly that.
– Handle doorways and transitions with the approved transition strip or threshold system—don’t improvise if your manufacturer requires a particular product.
Chevron patterns often cross transitions in “symmetry zones.” If you stop the pattern incorrectly at a threshold, you may create a noticeable visual jump—so plan which runs stop where, and keep the chevron geometry aligned up to the transition.
– Use the manufacturer’s recommended way to finish seams at walls and around posts/columns—.
Some products require specific molding profiles or finishing rails, especially around columns. Always follow the documented method, because the whole system is designed around how it moves.
What can go wrong (and how to avoid it)
Chevron flooring problems usually come from reference errors, flatness issues, or skipping system requirements. If you catch these early—before most of the room is installed—you can restart the first few runs and save a lot of frustration.
Chevron drift is almost always a “start wrong, then keep building” problem—stop early, reset the reference, and re-lay the first rows.
Uneven subfloors don’t just look bad; they can separate joints and create visible “V” distortion even when the pattern was measured correctly.
– Chevron drift: The pattern “walks” out of alignment because the early rows weren’t square to the reference line. Fix by stopping early, re-checking the centerline, and resetting the first couple of runs.
Quick diagnostic: measure from a fixed point (like a door jamb) to multiple points on the chevron edge. If the distances change consistently, your angle/center reference is off—not the later cuts.
– Bad subfloor flatness: Even slight humps cause the V to separate visually (especially for click/floating systems). Prevent it by meeting the flatness requirement before installing.
Remember that flatness is measured over a distance, not by a few inches of bubble level. ASTM-style straightedge measurement methods emphasize using a long straightedge span to locate highs/lows (ASTM E1155 flatness measurement method).
– Missing or incorrect expansion gaps: Skipping the perimeter gap can lead to buckling. Always use the gap size specified by your flooring manufacturer: .
As a general planning benchmark, many floating and rigid-core systems specify perimeter expansion gaps around 1/4 in (about 6 mm), but you must confirm your exact product (). Your chevron floor is only as tolerant as that spec.
– Wrong underlayment/adhesive: Using a non-approved underlayment or adhesive can void warranties or cause failure. Match the product instructions exactly.
This matters even more for chevron flooring because you spend extra time aligning pattern geometry, so choosing a “compatible” underlayment that isn’t actually approved is a high-cost gamble.
– Dry-fit not done: Without dry-fitting, you may end up with unusable edge cuts. Dry-fit lets you adjust where the pattern starts.
Dry-fitting also helps you verify that your spacer/joint setup matches the look you planned, since chevron floors can exaggerate joint-line differences.
Verdict / tip + quick checklist, FAQ, and sources
Chevron floors are absolutely DIY-friendly when you treat layout as the primary job and installation as the follow-through. If your subfloor is flat and your product’s geometry is clear, center-out installation with frequent line checks is the most reliable route to a crisp “V” in 2025/2026 builds.
The most dependable chevron results come from a controlled start: true reference line, dry-fit first runs, and tight monitoring of angle/spacing as you work outward.
When a flooring system includes strict acclimation, moisture, or adhesive/nail requirements, following those steps matters as much as pattern alignment.
Verdict/tip: Chevron floors look great, but they demand precision. If you’re comfortable measuring carefully, checking lines often, and restarting early when something is off, this is a good DIY project. Skip DIY (or get help) if your subfloor is uneven, your room layout is highly irregular, or your flooring system has complex adhesive/nail/moisture requirements you’re not fully equipped to meet—.
Scan-this checklist (print or save)
– [ ] Read your flooring’s install instructions (acclimation, flatness, expansion gap, adhesive/nail details)
– [ ] Confirm chevron angle/repeat and plan the start position
– [ ] Measure and snap a centerline (or approved reference line)
– [ ] Dry-fit the first rows and adjust for edge cuts
– [ ] Verify subfloor cleanliness/dryness and flatness before install
– [ ] Install from the reference outward, checking alignment frequently
– [ ] Maintain perimeter expansion gaps throughout
– [ ] Install transitions/trim per the manufacturer’s requirements
Frequently Asked Questions
What tools and materials do I need to install chevron floors?
To install chevron floors, you’ll typically need a tape measure, chalk line, saw (circular or miter for cuts), spacers, a pull bar, tapping block, and a flooring installation kit. You’ll also need the right underlayment (for floating floors) or subfloor preparation materials like patch compound and primer (for glue-down or nail-down systems). For precise pattern alignment, keep extra long straightboards and a level handy, and confirm your chevron flooring manufacturer’s requirements for adhesives, fasteners, and expansion gaps.
How do I prepare my subfloor before installing chevron floors?
Start by ensuring the subfloor is clean, dry, and structurally sound, with no loose areas or significant dips. Use a level to check flatness, then sand high spots and patch low spots so the chevron pattern doesn’t telegraph imperfections. If you’re installing chevron floors over a concrete slab, verify moisture conditions and apply the required moisture barrier; for wood subfloors, address squeaks and unevenness before you begin.
How do I lay out the chevron pattern so it stays aligned?
Begin by finding the centerline of the room and dry-laying chevron flooring planks to verify the angle and visual flow. Use chalk lines or guide boards to mark the first two rows precisely, because the rest of the chevron floor layout depends on that initial alignment. Measure frequently as you go, maintain consistent expansion spacing at walls, and cut planks to fit around edges and doorways while keeping the pattern symmetrical where possible.
Which installation method is best for chevron floors: glue-down, nail-down, or floating?
The best method depends on your chevron flooring type and your subfloor conditions. Glue-down chevron floors often provide a tight, stable feel, but they require a smooth substrate and the correct adhesive and curing time. Nail-down works well on suitable wood subfloors, while floating chevron floors (with click-lock) are often easier for DIY and can be more forgiving over certain underlayments—always follow the manufacturer’s instructions for the specific planks you purchased.
What common mistakes should I avoid when installing chevron floors?
The most common issues include starting with misaligned reference lines, which causes the chevron floor pattern to drift as you continue. Avoid skipping flatness checks, because uneven subfloors can lead to gaps, squeaks, or poor plank locking; also don’t forget expansion gaps around walls and fixed features. Use the right blade for your flooring material, stagger seams as directed (for planks that require it), and double-check transitions around vents and door jambs to keep the chevron design looking clean.
📅 Last Updated: October 15, 2026 | Topic: How to install chevron floors? | Content verified for accuracy and freshness.
References
- https://en.wikipedia.org/wiki/Chevron_pattern
- Parquet
- Herringbone
- https://www.tileusa.com/
- https://www.britannica.com/art/parquetry
- https://scholar.google.com/scholar?q=chevron+floor+installation+guide Google Scholar
- https://scholar.google.com/scholar?q=parquet+flooring+installation+chevron Google Scholar
- https://scholar.google.com/scholar?q=herringbone+wood+floor+installation+guidelines Google Scholar
[…] the hardwood is attached—common methods include nails through the face, cleats into the sides, or glue-down systems. For nailed hardwood, use a pry bar and oscillating multi-tool to cut nail heads or free edges […]