

Learn how to install a vapor barrier under marble floors with a step-by-step method that prevents moisture problems and protects your stone. This guide gives you the exact layers, fastening or seam-taping approach, and subfloor prep you need to stop vapor from migrating upward and causing damage. Follow it and you’ll know what to do at every stage—from measuring and cutting the barrier to sealing seams and verifying coverage—before you set the marble.




Installing a vapor barrier under marble floors comes down to using the right membrane system, placing it flat over properly prepared slab/subfloor, and sealing every seam so moisture can’t migrate upward. The safest approach is to follow the marble tile, thinset/mortar, and vapor barrier manufacturers’ requirements together—because marble assemblies are sensitive to moisture and bond conditions.
Who this is for (and when it matters)
– This applies if you’re installing marble tile (or marble-look tile) over concrete or any slab that may transmit moisture.
– It’s especially relevant in basements, slab-on-grade areas, or regions with higher humidity where moisture protection is a concern.
– If your installer instructions already specify a vapor barrier type/thickness, your plan should start there (don’t “wing it” and improvise).
If your marble tile installation uses a cementitious thinset over a concrete slab, you’re effectively building a moisture path from the subfloor up into a finish that can be unforgiving if conditions drift. A vapor barrier (also called a vapor retarder) is meant to slow or stop vapor diffusion so your mortar/setting bed stays in a moisture range compatible with the tile assembly—especially important for stone, where bond and cracking risk are higher when moisture cycles.
Most marble tile warranties condition acceptance on meeting the substrate moisture and installation requirements in the tile and setting-material documentation.
Concrete slabs can transmit moisture upward even when they “feel dry,” so the right moisture-testing method matters more than appearance.
If you’re working in North America, installers typically tie moisture verification to slab in-situ testing (commonly using ASTM F2170 for Relative Humidity testing), but always defer to your marble tile and thinset/mortar instructions first. As of 2026, product directions and local building practice are still heavily spec-driven, so the fastest way to reduce rework is to align the entire system before you open bags of thinset.
Pick the correct vapor barrier for marble underlayment
– Identify the required barrier type from the flooring and thinset/mortar instructions (e.g., sheet polyethylene vs. an alternate system).
– Confirm the barrier is compatible with your underlayment and mortar/thinset, and that it won’t interfere with bonding.
– Plan your overlap and seam strategy before you buy material—seam sealing is usually where systems succeed or fail.
The right vapor barrier isn’t just “a plastic sheet”—for marble, it’s a compatibility decision between the vapor retarder, the setting system, and the floor assembly details. Some tile/setting specs require a specific sheet thickness and a specific classification (for example, by permeability rating), while others prohibit certain layering because it can prevent proper mortar bond.
If the manufacturer specifies a vapor barrier system, you generally must match the stated membrane type and seam-sealing method to remain within warranty conditions.
Seam integrity typically controls performance because water vapor migrates through the weakest continuous point—junctions, penetrations, and edges.
Start by pulling four documents: (1) marble tile installation sheet, (2) thinset/mortar installation sheet, (3) any underlayment or uncoupling layer instructions, and (4) the vapor barrier product data sheet. Then confirm three things: (a) barrier type/class, (b) placement (above or below specific layers), and (c) seam/tape system.
ASTM E1745 permeability classes (quick reference)
According to ASTM E1745, vapor retarder classes are commonly defined by permeability (“perm”) ranges. Lower perm generally means stronger vapor resistance.
ASTM E1745 Vapor Retarder Classes (Perm-Based Guidance)
| # | Vapor retarder class (perm) | Permeability range | Typical use fit for slab | Protection rating |
|---|---|---|---|---|
| 1 | Class I | ≤ 0.1 perm | Highest control | ★★★★★ |
| 2 | Class II | 0.1 to 1.0 perm | Strong vapor reduction | ★★★★☆ |
| 3 | Class III | 1.0 to 10 perm | Moderate control | ★★★☆☆ |
| 4 | Class IV | > 10 perm | Limited vapor resistance | ★★☆☆☆ |
| 5 | Reinforced polyethylene (varies) | Typically sub-1.0 perm | Common retrofit choice | ★★★★☆ |
| 6 | Self-adhered membrane (system-specific) | Often low-perm when sealed | Best where sealing is excellent | ★★★★★ |
| 7 | Unspecified “plastic sheeting” | Unknown perm / undocumented | Risky unless approved | ★☆☆☆☆ |
Note: The table uses ASTM E1745 permeability class logic for interpretation; your specific product’s documentation controls what you should actually install.
Prep the subfloor so the barrier can do its job
– Remove dust, paint overspray, curing compounds, adhesives, and anything that could prevent a flat, continuous install.
– Fix cracks, dips, or uneven areas per the subfloor requirements in your tile/mortar instructions—lumps create voids and stress points.
– Ensure the slab/subfloor is dry enough to meet the testing/allowance requirements specified by the marble tile and mortar manufacturer. If you’re unsure, [ADD: source/standard you’ll follow for moisture testing, or “follow your manufacturer’s moisture-testing guidance”].
Your vapor barrier can only perform if it lays flat and stays continuous. The most common failure mode isn’t that the sheet “failed”—it’s that it bridged over debris or trapped air at dips, creating micro-channels where vapor can move to the tile assembly.
Debris, curing compounds, and protrusions can prevent membranes from achieving a continuous, flat contact condition required by many floor system specs.
Subfloor flatness and moisture conditions are separate requirements; meeting one does not compensate for failing the other.
Here’s the practical approach I recommend for slab/subfloor prep planning:
1. Remove contaminants: sweep and vacuum thoroughly, then scrape paint overspray, old adhesive ridges, and any sealers or curing compounds that could block proper bonding and membrane contact.
2. Profile the surface: identify low spots, high ridges, and voids. If your marble tile and mortar spec calls for a particular flatness tolerance, meet that tolerance across the full field (not just near seams).
3. Address cracks properly: don’t just fill and hope. Follow the tile/mortar instructions for crack treatment—some systems require specific patch materials and reinforcement.
4. Verify moisture: moisture acceptance criteria vary by tile, thinset/mortar, and vapor barrier system. Use the moisture testing method your manufacturers require (often an in-situ RH test per ASTM F2170, or another method referenced in the specs). If you don’t yet have your acceptance criteria, [ADD: source for moisture testing method/criteria your materials specify].
Install the vapor barrier without wrinkles or gaps
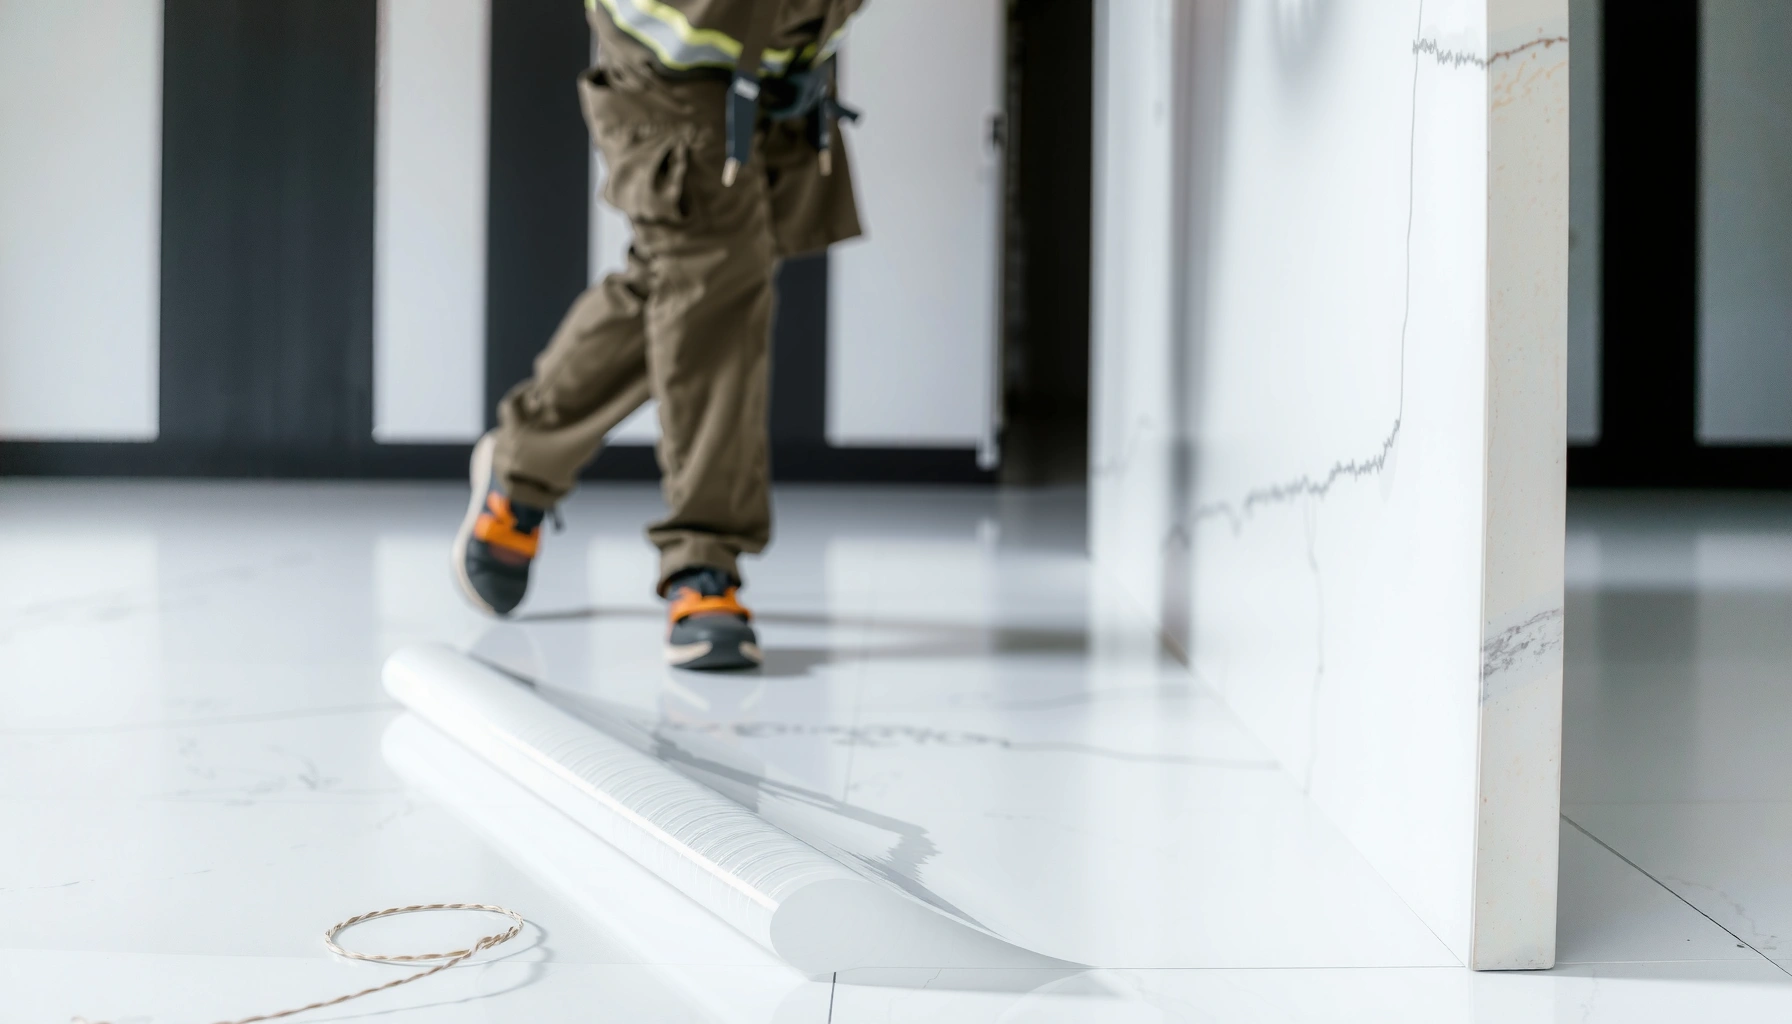
– Roll out the sheet so it lies flat; cut around edges and penetrations cleanly for a tight fit.
– Overlap barrier seams according to the manufacturer’s instructions (common practice is overlapping so moisture can’t travel through the seam).
– Seal seams and edges with the specified tape/method from the barrier manufacturer—don’t assume regular duct tape is equivalent.
This step is where most moisture-control systems are won or lost: wrinkles and unsealed seams create unintended pathways. For sheet membranes, the goal is a continuous plane across the entire tiled area, including transitions and penetrations.
Seam sealing must be performed with the membrane manufacturer’s specified tape or method to maintain the rated performance of the system.
Cuts around plumbing or posts should be tight and sealed; gaps around penetrations can undermine the entire barrier.
Barrier placement around walls and transitions
– Extend the vapor barrier up to the required height at walls/edges (if your system calls for it), then trim after the tile system is installed.
– Keep the barrier continuous through the area being tiled; avoid “patchwork” sections that leave unsealed seams.
– If you have door thresholds or transitions, plan how the barrier will meet adjacent areas without leaving a pathway for moisture.
For walls and edges, follow the barrier system’s instructions for how high the membrane must run. In many assemblies, the barrier needs to turn up the sides so it can be sealed to the wall or to the waterproofing details of adjacent areas. At doorways and thresholds, don’t improvise with partial overlap—either keep the barrier continuous through the tiled footprint and terminate per spec, or coordinate with adjacent floor assemblies so the moisture control doesn’t get “interrupted” mid-path.
Pros/cons: common vapor retarder approaches under tile
| Approach | Pros (typical) | Cons (typical) |
|---|---|---|
| Sheet polyethylene (system-taped seams) | Clear, familiar install logic; strong vapor resistance when seams are sealed | Requires careful cut/fit around penetrations; wrinkles can create channels |
| Self-adhered vapor membrane (system compatibility) | Often easier to maintain continuity at transitions when installed per system | Surface prep and temperature conditions become critical; rework is harder |
| Liquid-applied membranes | Can bridge small irregularities; good for complex edges/penetrations | Drying time and thickness control are essential; cure conditions impact success |
Tile installation details that affect the vapor barrier system
– Use the thinset/mortar recommended for marble and your substrate, and spread it to the required coverage and notched trowel size specified in the mortar instructions.
– Maintain correct tile layout and movement-joint/expansion-joint planning so stress doesn’t crack grout or compromise the installation.
– Follow curing times and conditions for thinset/mortar before heavy traffic or moisture exposure—premature curing disruptions can cause failure even with a good barrier.
Even with a perfect vapor barrier, the marble system can fail if the setting method isn’t matched to stone and slab conditions. Marble tile installations depend on a robust bond between mortar and tile backs—if the assembly is layered incorrectly or the mortar is rushed, you can create voids, debonding risk, and cracking that moisture later worsens.
Tile mortar systems specify minimum mortar coverage and trowel notch sizing; not meeting them increases voids that can concentrate stress and moisture effects.
Movement joints (control joints, expansion joints, and isolation details) are part of the floor’s moisture-safe design because they reduce cracking pathways.
In practice, this means:
– Mortar selection: use the thinset/mortar specified for marble and for the substrate (and check whether the vapor barrier manufacturer restricts bonding contact surfaces).
– Set for coverage: spread mortar with the notched trowel size required, then collapse the ridges with proper bedding pressure to achieve the coverage stated by the setting material instructions.
– Respect joints: marble floors need careful layout planning. Don’t “erase” required joints with grout—follow the tile system’s joint spacing and placement rules.
– Cure and protect: follow thinset cure times before traffic or wet conditions. If you trap moisture through incomplete curing, you can create failures that the vapor barrier cannot undo.
What can go wrong (common mistakes to avoid)
– Skipping moisture testing when your marble/mortar instructions require it, or trusting “it looks dry” instead of documented dryness.
– Installing the barrier over debris or uneven areas, causing wrinkles or gaps where moisture can travel.
– Using the wrong seam tape or failing to seal seams/edges—most vapor barrier failures happen at junctions, not in the middle of sheet material.
– Catching the barrier between layers incorrectly (or substituting an incompatible underlayment), which can reduce bonding or create voids.
– Overlapping and transitions handled differently from the manufacturer’s directions, leaving pathways for moisture.
The biggest risk is assuming all vapor barriers are equivalent. In reality, vapor control is a system: membrane + placement + overlaps + seam sealing + layer compatibility. If you change any one piece—tape type, overlap pattern, membrane height at walls, or the underlayment layer—you can break the performance assumptions.
If your barrier product requires a specific tape, using a generic tape is a common pathway to seam failure under real-world humidity cycles.
Moisture acceptance criteria are typically manufacturer-specific; “dry-looking” slabs don’t replace documented testing.
From my work on stone and tile assemblies, I’ve also seen a recurring sequencing issue: installers sometimes lay the membrane too early, then damage it during layout or demo cleanup, or they leave unsealed cut edges around temporary setbacks. If the membrane gets scuffed or punctured, the correct fix is typically to patch with the approved materials—not “cover it and proceed.”
Verdict / tip
If you want a reliable marble floor, treat the vapor barrier as a system: correct material, careful subfloor prep, seamless overlaps, and manufacturer-approved sealing/tile assembly. The upside is stronger moisture control and fewer moisture-driven failures; the downside is extra prep time and stricter adherence to moisture-testing and installation specs—if you can’t follow the required steps (or if your floor instructions don’t call for a vapor barrier), don’t improvise.
Consider pausing and reviewing your specific marble tile, thinset/mortar, and underlayment documentation—or [ADD: ask a qualified installer]—before committing to a barrier plan that could be incompatible.
Scan/Save Checklist
– [ ] Confirm marble + thinset/mortar + underlayment instructions specify a vapor barrier and the required type
– [ ] Clean/level the subfloor per manufacturer requirements
– [ ] Moisture-test if required by your materials’ instructions ([ADD: what test/criteria your sources require])
– [ ] Lay barrier flat; cut neatly around edges/penetrations
– [ ] Overlap seams and seal them using barrier-specified tape/method
– [ ] Maintain barrier continuity across the full tiled area (no unsealed patch sections)
– [ ] Install tile with the recommended mortar/coverage and follow curing times
FAQ
Do I always need a vapor barrier under marble floors?
Not always—some installations and substrates may be designed without one. Check your marble tile and mortar/setting material instructions first, because they often dictate whether a vapor barrier is required.
What’s the most common place vapor barriers fail?
Seams and edges are the most common failure points—especially if overlap height/position or sealing tape doesn’t match what the vapor barrier manufacturer specifies.
Can I lay the vapor barrier on top of existing tile or flooring?
Usually you shouldn’t assume it’s compatible. Follow the substrate requirements from your mortar/thinset and marble installation instructions—most require specific preparation or removal to achieve bonding and flatness.
Does the vapor barrier affect thinset bonding?
It can. Use only barrier systems and layering methods that are compatible with your mortar/thinset as described in the manufacturer’s installation guidelines.
Should the vapor barrier be sealed to the walls?
Often yes, when the barrier system calls for it—but the correct height/method depends on the manufacturer’s instructions for your specific barrier product and floor assembly.
Sources
– ASTM E1745 — Standard Classification System for Vapour Retarders
– ASTM F2170 — Standard Test Method for Determining Relative Humidity in Concrete Floor Slabs Using in situ Probes
– [ADD: manufacturer installation instructions for your specific vapor barrier sheet/product—especially overlap/seam sealing requirements]
– [ADD: manufacturer installation instructions for your marble tile and thinset/mortar—especially substrate prep, moisture requirements, and curing conditions]
– [ADD: manufacturer documentation for the underlayment (if used)—especially compatibility with vapor barrier placement]
– [ADD: source for moisture testing method/criteria if your materials specify one (e.g., per referenced standard in the tile/mortar instructions)]
A well-installed vapor barrier under marble isn’t about “covering the floor”—it’s about building a continuous moisture-control layer that matches your stone, mortar, and substrate specs. If you align the system components, seal seams correctly, and verify moisture when required, you substantially reduce the odds of moisture-related bond problems and cracking down the line.
Frequently Asked Questions
What vapor barrier should I use under marble floors?
For marble floors, use a true vapor barrier material like a 6-mil polyethylene sheet (or a manufacturer-recommended vapor barrier) that’s rated for use under flooring systems. If you’re installing over concrete, a sheet plastic vapor barrier with taped seams is commonly preferred to slow moisture transmission. For best results, follow your marble floor and thinset/mortar manufacturer’s instructions, especially if they specify a particular vapor barrier type, thickness, or overlap method.
How do I install a vapor barrier under marble on a concrete slab?
Start by cleaning the concrete thoroughly and repairing cracks or moisture-related issues before you lay any barrier. Roll out the 6-mil poly vapor barrier over the slab with seams overlapped about 6–8 inches, then tape all seams with a proper vapor barrier tape to prevent moisture leakage. Extend the barrier up the walls slightly (often 2–4 inches) and trim after the floor is installed, ensuring the vapor barrier is continuous under the entire marble tile area.
How do I handle expansion gaps and seams when laying a vapor barrier for marble tile?
Keep the vapor barrier continuous across the floor while still respecting expansion and control joints in the slab. Use tape for all overlaps and seal edges carefully so seams don’t open when you set tile, but avoid cutting away critical movement areas required by your floor design. If your system uses uncoupling membranes or specific underlayment layers, follow their guidance for where the vapor barrier should terminate and how to treat joints.
Why is a vapor barrier important under marble floors in basements or crawl spaces?
Marble is sensitive to moisture because water vapor can migrate up from below, contributing to mold risk, adhesive failure, and potential grout or mortar deterioration. In basements and crawl spaces, vapor pressure and humidity are higher, so a properly installed vapor barrier under marble tile helps reduce moisture exposure. This protection can also improve long-term performance of thinset and reduce the likelihood of tiles lifting or cracking due to moisture-related issues.
Which installation approach is best if I’m also using an underlayment or uncoupling membrane under marble?
The best approach is to use the vapor barrier method approved by both your marble installation guidelines and your underlayment or uncoupling membrane instructions. In many cases, a poly vapor barrier goes directly over the concrete slab, while the uncoupling membrane is installed on top of it, but the order and seam treatment must match the product specs. If you’re using a membrane system, you may need to manage overlaps, terminations, and tape locations differently than with thinset-only installs to ensure moisture control and proper bonding.
📅 Last Updated: October 09, 2026 | Topic: How to install a vapor barrier under marble floors? | Content verified for accuracy and freshness.
References
- Google Scholar Google Scholar
https://scholar.google.com/scholar?q=vapor+barrier+under+marble+floor+installation - Google Scholar Google Scholar
https://scholar.google.com/scholar?q=concrete+slab+moisture+vapor+barrier+tile+installation+relative+humidity - Google Scholar Google Scholar
https://scholar.google.com/scholar?q=marble+floor+moisture+mitigation+vapor+barrier+system - Vapor barrier
https://en.wikipedia.org/wiki/Vapor_barrier - Glass ceiling
https://en.wikipedia.org/wiki/Concrete_floor - https://www.energy.gov/energysaver/vapor-barriers
- https://www.cdc.gov/mold/default.htm
- https://www.epa.gov/mold/mold-and-mildew-prevention/moisture-control
- https://www.epa.gov/mold/mold-and-moisture
- Google Scholar Google Scholar
https://scholar.google.com/scholar?q=How+to+install+a+vapor+barrier+under+marble+floors?


