
This step-by-step guide shows exactly how to remove commercial floors safely and efficiently, from prep through cleanup. You’ll get clear, job-ready instructions for the typical commercial floor types and the tools you’ll need to avoid costly damage or downtime. Follow these steps and you’ll know what to do next at every phase—so the removal goes faster and the substrate stays in workable condition.



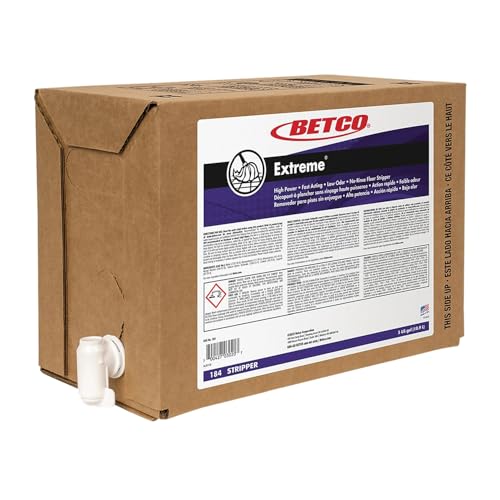
If you want to remove commercial floors safely, identify the exact floor finish first (VCT, LVT, carpet tile, rubber, or epoxy/urethane coating) and then use the least aggressive removal method that clears the top wear layer without damaging the subfloor. Most failures in commercial removals come from skipping dust control and assuming the adhesive/coating will behave the same way across sites—this guide shows a safer workflow from prep to final cleanup.
Who this is for / when it applies: This is for building owners, facility managers, contractors, and DIY-leaning renovators removing existing commercial flooring before replacement. It’s especially useful when you need to avoid damaging concrete/subfloors, keep the work area safe, and prevent dust or debris from spreading through the building. [ADD: specify the type of commercial floor you have—e.g., VCT, LVT, carpet tile, rubber, epoxy—so you can map the steps to your exact finish]
Identify the flooring type and subfloor
The fastest way to remove commercial flooring without wrecking the substrate is to identify what’s on top and what’s underneath before you pick a blade, scraper, or grinder. Once you know whether you’re lifting a wear layer or removing a bonded coating, you can choose tools that clear material while minimizing gouges and concrete damage.
Commercial floors are often bonded with different adhesives (mastic, pressure-sensitive glue, or thin-set), so “same-looking” finishes can require different removal tools.
If your “floor” behaves like a continuous film across the entire area, you may be dealing with a coating (epoxy/urethane/sealer) rather than removable tile or resilient wear layers.
Concrete damage usually happens when removal tools don’t match the substrate—e.g., prying or aggressive blades on concrete can pit the surface.
Determine whether it’s flooring or a coating
– Finished flooring examples (lift/remove as a system):
– VCT (vinyl composition tile): typically tiles with seams; often glued down with mastic or pressure-sensitive adhesive.
– LVT/LPV (luxury vinyl tile/plank): sometimes locks/edges are visible; often glue-down resilient.
– Carpet tile / carpet: usually tack strip + padding, or fully adhered with carpet adhesive.
– Rubber flooring: may be interlocking tiles or glue-down rubber with an adhesive.
– Coatings examples (mechanically remove as a surface layer):
– Epoxy, urethane, paint, or concrete sealer systems applied over concrete or toppings.
Quick field checks:
– Edges/seams: If you can lift a tile edge and see discrete pieces, you’re likely removing flooring. If you see one solid “skin” across seams, you may be removing a coating.
– Build-up: Multiple layers (wear + underlayment + adhesive + patching) change how residue behaves and how much flatness you need to restore.
Look for underlayment and installation method clues
Commercial installations commonly include:
– Thin-set mortar (common under ceramic/porcelain tile).
– Mastic/adhesive (common under VCT/LVT/rubber).
– Carpet underlayment or double-layer construction (top wear surface plus another backing or membrane).
– Leveling compounds/skim coats over slab (especially in remodels).
Confirm the subfloor material and condition
Before removal, confirm whether the substrate is:
– Concrete slab (watch for pitting risk and silica dust during grinding/sanding).
– Plywood/OSB (watch for tearing/raised fibers).
– Leveler/patch compound (watch for soft spots that can smear under scrapers).
[ADD: specify what your subfloor is—concrete slab, plywood, or leveling compound—and its condition (intact, spalled, cracked, uneven).]
Prepare the work area and control dust
The safest commercial floor removal starts by containing dust and controlling airflow before you remove the first tile or coating. A controlled workspace reduces cleanup time, prevents cross-contamination to other rooms, and lowers respiratory exposure when fine dust is generated.
HEPA filtration is commonly specified because HEPA media is designed to capture particles down to very small sizes with high efficiency.
OSHA’s respirable crystalline silica requirements treat certain dust-generating floor work as a regulated exposure risk, so controls must be planned before demolition.
Containment (barriers, negative pressure where required, and controlled waste paths) is what prevents grit from becoming building-wide debris.
Isolate the area and plan waste removal
– Use plastic sheeting, door barriers, and tape to isolate the removal zone.
– Set a waste staging area and decide where debris goes before you start lifting. This matters because tile/underlayment often ends up double-handled if you don’t plan the route.
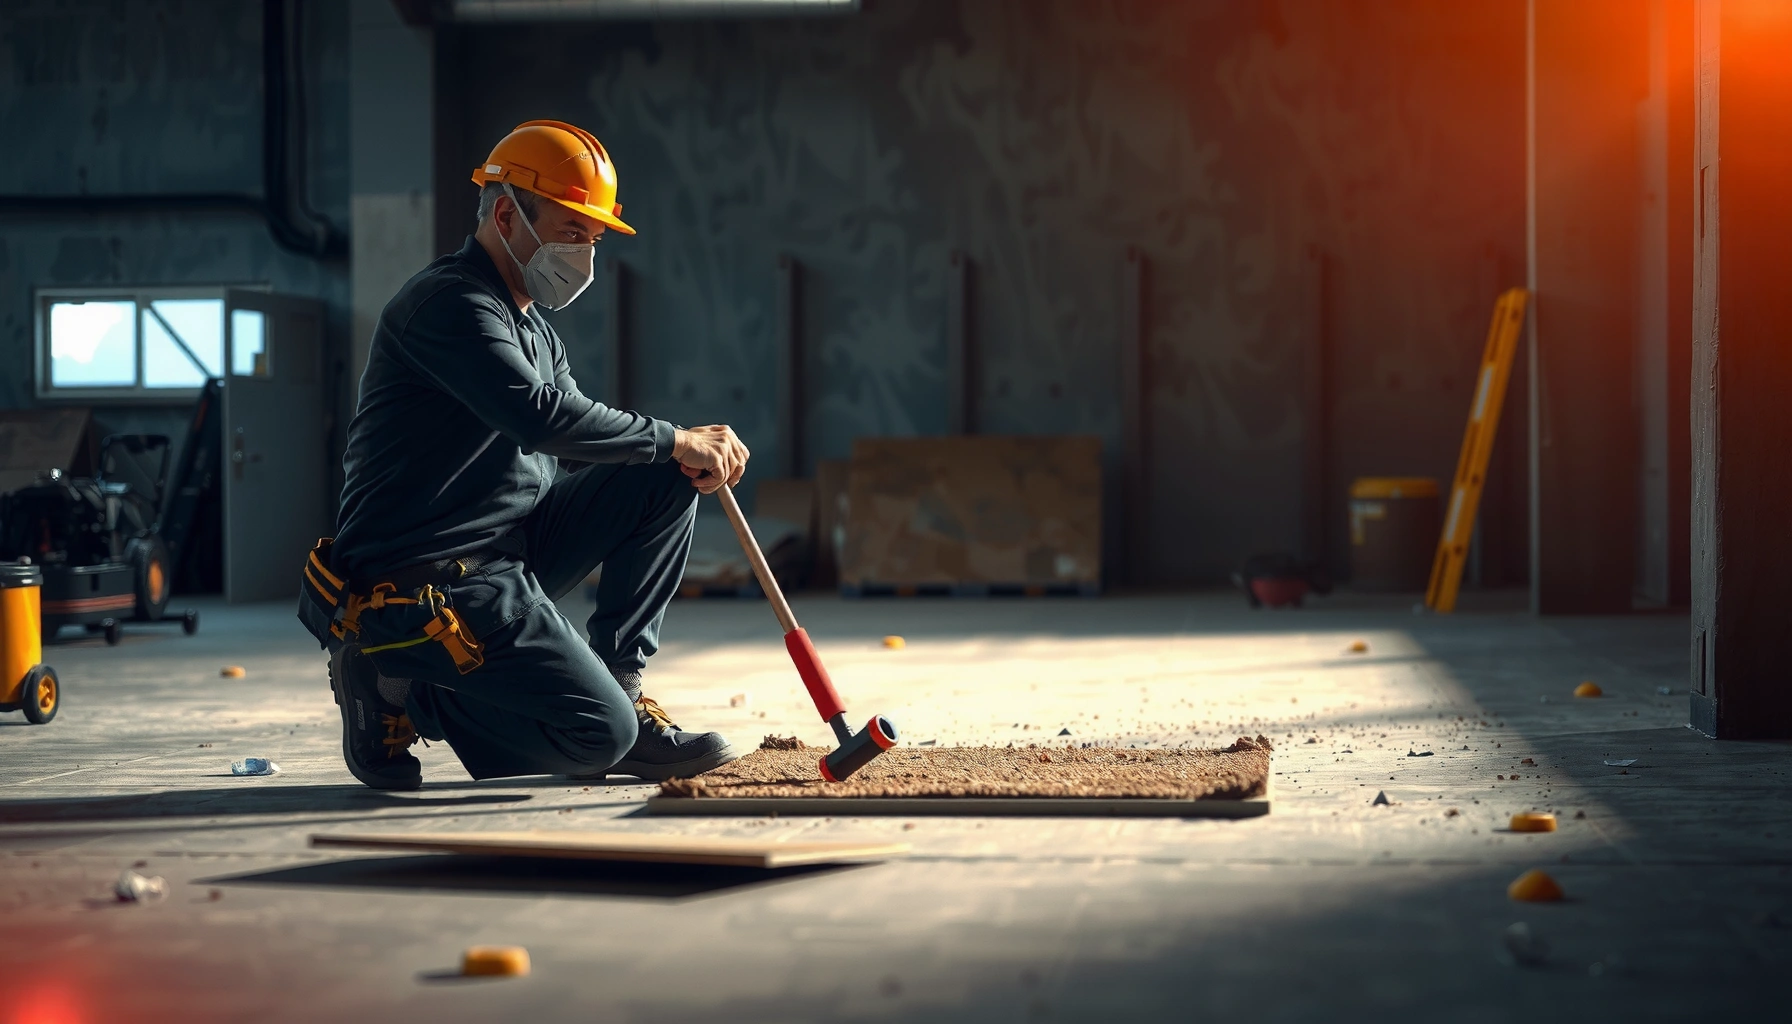
Use PPE and dust collection
At minimum, plan PPE for dust/debris:
– Eye protection, gloves, and a properly rated respirator for construction dust.
– Use dust collection where practical (especially for grinding/sanding steps).
Dust-relevant safety anchoring:
– According to the U.S. Department of Energy, HEPA filters are engineered to capture 99.97% of particles at 0.3 microns (US Department of Energy).
– OSHA’s respirable crystalline silica standard sets a 50 µg/m³ 8-hour TWA limit for general industry/specified construction scenarios (OSHA Respirable Crystalline Silica Standard, 29 CFR 1926.1153 / 1910.1053).
Protect adjacent finishes and maintain traffic flow
– Cover walls, HVAC diffusers, and nearby finishes.
– Establish a clean/dirty separation for shoes and tools.
– Prevent “tracked dust” by using a controlled material-walk approach (taped entry, walk-off mats, and routine vacuuming).
Remove the top layer: best method by material
The right method depends on what the top layer is bonded to: many resilient floors respond to scoring/lifting, while coatings typically require mechanical removal (scraping, grinding, or blasting). If you use a tool that’s too aggressive, you often win speed but lose substrate quality—flatness and surface integrity are what your replacement floor depends on.
For glued-down resilient flooring, scoring seams and working in controlled passes reduces the chance of gouging and smearing adhesive into concrete pores.
For ceramic/porcelain tile, mechanical section removal (rather than “whole-sheet pry-ups”) reduces the risk of damaging concrete edges and expanding cracks.
When removing coatings like epoxy, the failure mode is often substrate scarring—so the removal approach must balance clearance with surface preservation.
For glued-down resilient (VCT/LVT/Linoleum)
Best-practice workflow:
1. Score seams (utility knife or floor scoring tool) to separate units and reduce tearing.
2. Heat/peel if compatible (some pressure-sensitive adhesives soften with heat; confirm with product behavior first).
3. Scrape adhesive carefully: use a sharp razor scraper or floor scraper and remove residue in controlled passes rather than prying aggressively.
For tile (ceramic/porcelain)
1. Remove tiles in sections (e.g., a few square feet at a time).
2. Then address thin-set/mortar:
– Start with the least aggressive method that clears the surface.
– Use mechanical scraping first; escalate to sanding/grinding only if needed.
For carpet and carpet tile
1. Pull the face/backing to reduce bulk.
2. Remove tack strips and padding.
3. Clean residue for the next flooring system (carpet adhesives vary, so avoid assuming solvent will work).
For coatings (epoxy/paint/sealer)
Coatings generally do not “lift” like flooring:
– Plan on mechanical removal based on hardness and thickness.
– Options include scraping, sanding, or grinding; blasting is typically heavier-duty and should be managed with strict containment.
– Avoid methods that scar concrete unless your replacement system explicitly tolerates a scarred profile (most do not).
A quick-reference removal + risk snapshot (what to expect)
Commercial Floor Removal: Typical Complexity & Dust Profile
| # | Floor/Coating Type | Primary Approach | Dust Generation* | Substrate Gouge Risk | Recommended Complexity Score |
|---|---|---|---|---|---|
| 1 | Carpet tile (tack or perimeter set) | Pull + tack removal | ★★★☆☆ | Low ★☆☆☆☆ | 2/5 |
| 2 | Carpet tile (fully adhered) | Cut/pull + adhesive scrape | ★★★★☆ | Moderate ★★☆☆☆ | 3/5 |
| 3 | VCT (glued-down) | Score seams + lift + residue scrape | ★★★☆☆ | Moderate ★★☆☆☆ | 3/5 |
| 4 | LVT/LVP (glued-down) | Heat/peel (if compatible) + scrape | ★★★★☆ | Moderate ★★☆☆☆ | 3/5 |
| 5 | Ceramic/porcelain tile | Remove tiles + thin-set clean-up | ★★★☆☆ | Moderate-High ★★★☆☆ | 4/5 |
| 6 | Rubber (glued-down) | Cut into sections + adhesive scrape | ★★★★☆ | Moderate ★★☆☆☆ | 4/5 |
| 7 | Epoxy/urethane coating on slab | Mechanical removal (scrape/sand/grind) | ★★★★★ | High ★★★★☆ | 5/5 |
*Dust generation ratings reflect removal mechanics (lift vs grind/sand) and typical field observations; verify for your exact product and adhesive.
Deal with the adhesive/mastic and get to a sound surface
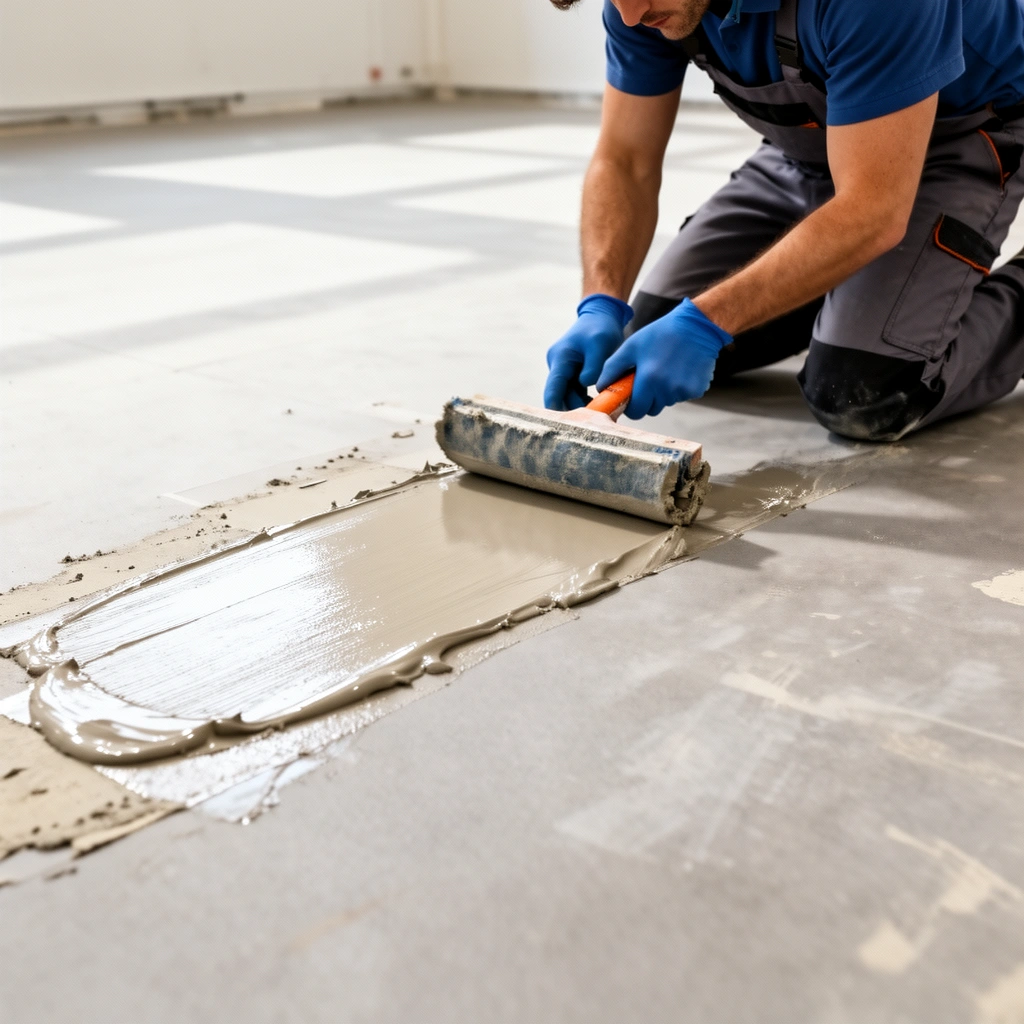
Once the bulk flooring is gone, your job shifts from “removing material” to “preparing a substrate that the next system can trust.” Adhesive and coating residue often control whether the new flooring bonds correctly and stays flat, so you finish with the least aggressive method that still gets you clean and consistent.
Leftover residue is not always the same chemically or physically, so intact adhesive films and loose chunks behave differently during prep.
Many replacement systems require a clean, flat substrate; if you leave ridges or smear residue into pores, bond performance can suffer.
Work in stages: bulk removal first, then finishing tools (scrapers, sanding/grinding, and vacuuming) to flatten and clean.
Remove bulk first, then finish clean
A reliable sequence:
– Bulk removal: clear most adhesive/underlayment residue so you can see what remains.
– Finish tools: switch to scrapers, floor buffer sanding, or grinding to:
– flatten ridges
– remove thin smears
– clean edges and transitions
Recheck flatness and bonding readiness
The substrate condition your new flooring requires is non-negotiable.
– [ADD: specify required substrate condition for your replacement flooring—e.g., “flat within X mm over 3 m,” “moisture limits,” “maximum residue thickness,” and “clean/dry requirements per manufacturer.”]
In my experience coordinating commercial turnarounds, the prep step is where timelines slip because teams rush adhesive removal; a measured approach reduces rework and improves acceptance on walkthrough.
What can go wrong (and how to avoid it)
Commercial floor removal usually fails in predictable ways: tool-substrate mismatch, hidden layers, inadequate containment, or residue prep that doesn’t meet the next product’s bonding requirements. Build the plan around those risks and you’ll avoid the most common damage and safety incidents.
Hidden layers (underlayment, paint skim coats, multiple adhesive layers) can change how a removal tool behaves and how much residue remains.
“Dry scraping” without containment can spread fine particulate through a building, turning a local removal into a facility-wide cleanup.
Aggressive prying or heavy impacts can pit concrete or tear plywood, creating repair costs before the replacement floor can even install.
Tool mismatch and subfloor damage
– Avoid prying or blades that cut into concrete or tear plywood.
– Match tool to substrate:
– concrete slab: controlled scraping and controlled abrasion
– plywood: avoid techniques that lift fibers
Hidden layers and residue traps
Look for:
– underlayment remnants
– painted or sealed surfaces
– multiple adhesive layers
– leveling compound that can smear
When you discover unexpected layers, slow down and reassess—especially before you begin grinding, because coatings and sealers can produce dust with different hazards.
Dust and safety issues
Plan containment before dust starts.
– If you’re generating fine dust (grinding/sanding), respirators and dust control are not optional; OSHA’s silica standard is a key trigger for silica-related controls in many floor removal scenarios (OSHA Respirable Crystalline Silica Standard, 29 CFR 1926.1153 / 1910.1053).
Wrong assumptions about adhesives/coatings
Some residues smear into pores instead of lifting cleanly.
– If residue won’t clear, adjust method (new blade angle, different scraper head, or controlled abrasion) rather than increasing force.
Comparison: removal approach vs. what it tends to risk
| Approach | Best Fit | Main Risk | Mitigation |
|---|---|---|---|
| Scoring + controlled lifting | Resilient tiles/planks with intact seams | Adhesive may remain in sheets | Scrape residue after bulk removal; vacuum between passes |
| Mechanical tile removal + thin-set clean-up | Ceramic/porcelain tile on mortar beds | Concrete edge spalling | Work in sections; avoid impact on slab edges; transition to finishing abrasion |
| Grinding/sanding for coatings | Epoxy/urethane removal on slab | Fine dust + substrate scarring | Containment + HEPA collection; use the least aggressive profile your next system requires |
Verdict: a practical recommendation (with downsides)
For most commercial remodels, the safest approach is: identify the floor type, isolate the area, remove the top layer in controlled sections, then finish by cleaning/abrading to a sound substrate. The downside is that adhesive/coating removal is often the slowest step and may require specialty tools (or professional grinding) to avoid gouging and to meet flatness requirements.
Skip DIY and consider a qualified contractor or abatement professional if:
– the flooring history is unknown and you can’t verify material hazards
– the plan involves thick coatings that are difficult to remove without grinding
– you can’t properly contain/ventilate the work area
– you suspect asbestos-containing materials (you should follow applicable local/OSHA requirements for assessment and abatement)
– the substrate is already compromised (heavy spalling, failing leveller, or weak subfloor surfaces)
Also, if you’re installing a moisture-sensitive or adhesive-dependent replacement system, your tolerance for substrate defects should be lower—so plan the prep time early.
Quick checklist (scan/save)
– [ ] Identify flooring type + underlayment/coating layers ([ADD: VCT/LVT/carpet tile/rubber/epoxy + any underlayment you found])
– [ ] Confirm subfloor material and condition (concrete/plywood/leveler; flatness and damage)
– [ ] Isolate area + plan waste removal path (barriers, staging, traffic flow)
– [ ] Set up dust control (containment + dust collection where possible; respirator plan)
– [ ] Remove top layer using the least aggressive method
– [ ] Remove bulk adhesive/coating, then finish-clean/abrade to consistent substrate
– [ ] Recheck substrate for flatness and cleanliness before installing new flooring
– [ADD: paste the replacement flooring’s substrate requirements here]
FAQ
How do I know whether I’m removing flooring or a coating too?
Check edges and transitions. If the top layer behaves like a continuous, uniform film across the entire area (especially around perimeter details), it’s more likely a coating (epoxy/urethane/sealer) than removable tile wear surface. [ADD: mention what you observed in your space—e.g., tile seams are visible but adhesive is uniform; or you see a “paint-like skin” over slab.]
What’s the safest way to handle old adhesive residue?
Start with bulk removal, then move to scraping/abrading methods that flatten and clean without gouging the substrate. If residue is stubborn, containment and dust control matter even more than speed, because residue removal often escalates from scraping to abrasion.
Can I install new commercial flooring over leftover adhesive?
Often you can’t, because many systems require a clean, sound, properly prepared substrate with minimal residue thickness or specific surface characteristics. The correct answer depends on your replacement flooring product and its installation instructions. [ADD: reference the installation requirements for your new flooring—especially maximum residue tolerance and approved preparation methods.]
Will removing commercial floors damage concrete?
It can, especially with prying, aggressive blades, or impact methods. Controlled mechanical removal and finishing with appropriate abrading reduce the risk, but the likelihood depends on your tools, technique, and concrete condition.
Sources
– OSHA Respirable Crystalline Silica Standard (29 CFR 1926.1153 / 1910.1053) — respirable crystalline silica exposure controls and PEL.
– US Department of Energy (HEPA filtration information) — HEPA efficiency performance description.
– [ADD: manufacturer installation instructions for the specific commercial flooring product you’re installing next]
– [ADD: manufacturer documentation for recommended substrate preparation/maximum residue guidance]
– [ADD: official safety guidance for respirators/dust control relevant to your jurisdiction and work type]
If you plan the workflow around flooring type, substrate condition, and dust control, commercial floor removal becomes far more predictable—and the new install has a much better chance of bonding and staying flat. Start by identifying what you truly have (VCT/LVT/carpet tile/rubber/epoxy), remove in controlled sections, and finish by bringing the substrate to the exact condition your replacement flooring specifies.
Frequently Asked Questions
What’s the safest way to remove commercial floors without damaging the subfloor?
Start by identifying the flooring type (vinyl, tile, laminate, LVT, hardwood, or epoxy) and checking whether asbestos or other hazardous materials may be present, especially in older buildings. Use the correct removal tools—like floor scrapers, oscillating multi-tools, and industrial floor grinders—while minimizing impact drilling and dust. Protect nearby areas with containment, ventilation, and proper PPE, then assess the subfloor after removal to repair any damage before installing new commercial flooring.
How do you remove commercial vinyl or LVT flooring efficiently?
For many sheet vinyl or loose-lay LVT installations, you can score along seams and lift sections using heat guns and floor scrapers to reduce tearing and prep time. If the vinyl is glued down, you’ll typically need an adhesive remover and mechanical scraping, followed by grinding or sanding to flatten the surface. Always follow with thorough cleaning and moisture checks so the next layer adheres properly.
Which tools and equipment are best for commercial floor removal?
Common tools include industrial floor scrapers, oscillating tools for edges and transitions, pry bars, and heavy-duty utility knives for cutting materials. For tile, thinset, or stubborn adhesives, a floor grinder or demo grinder with the right disc is often the fastest and cleanest approach. Pair this with dust control systems such as HEPA vacuums, containment sheets, and proper sweeping methods to meet jobsite requirements.
Why does commercial floor removal require dust control and debris management?
Removing commercial floors generates fine particles—especially from tile mortar, concrete grinding, and adhesive removal—that can spread through the building and impact air quality. Dust control with HEPA filtration, wet methods where appropriate, and sealed containment helps protect occupants and workers. Proper debris management also improves efficiency by preventing clutter, reducing slip hazards, and ensuring materials are disposed of according to local regulations.
How should you handle adhesive residue after removing commercial flooring?
After the main material is removed, scrape residue mechanically and then use an appropriate chemical adhesive remover if the flooring adhesive is still bonded. For concrete slabs, you may need grinding or diamond sanding to achieve a flat, clean surface that’s free of contaminants and curing residue. Finish by cleaning thoroughly—often with industrial degreaser or approved cleaners—then check surface profile and moisture before installing new commercial flooring.
📅 Last Updated: October 12, 2026 | Topic: How to remove commercial floors? | Content verified for accuracy and freshness.
References
- Google Scholar Google Scholar
https://scholar.google.com/scholar?q=asbestos+floor+tile+removal+safety - Google Scholar Google Scholar
https://scholar.google.com/scholar?q=vinyl+floor+tile+removal+procedure+hazard - Google Scholar Google Scholar
https://scholar.google.com/scholar?q=concrete+floor+coating+removal+guidelines+safety - https://www.osha.gov/laws-regs/regulations/standardnumber/1926/1926.1101
- https://www.cdc.gov/asbestos/index.html
- https://www.cdc.gov/niosh/topics/asbestos/
- Asbestos | US EPA
https://www.epa.gov/asbestos - https://www.epa.gov/asbestos/asbestos-inspection-and-management
- Asbestos – HSE
https://www.hse.gov.uk/asbestos/ - Asbestos abatement
https://en.wikipedia.org/wiki/Asbestos_removal