
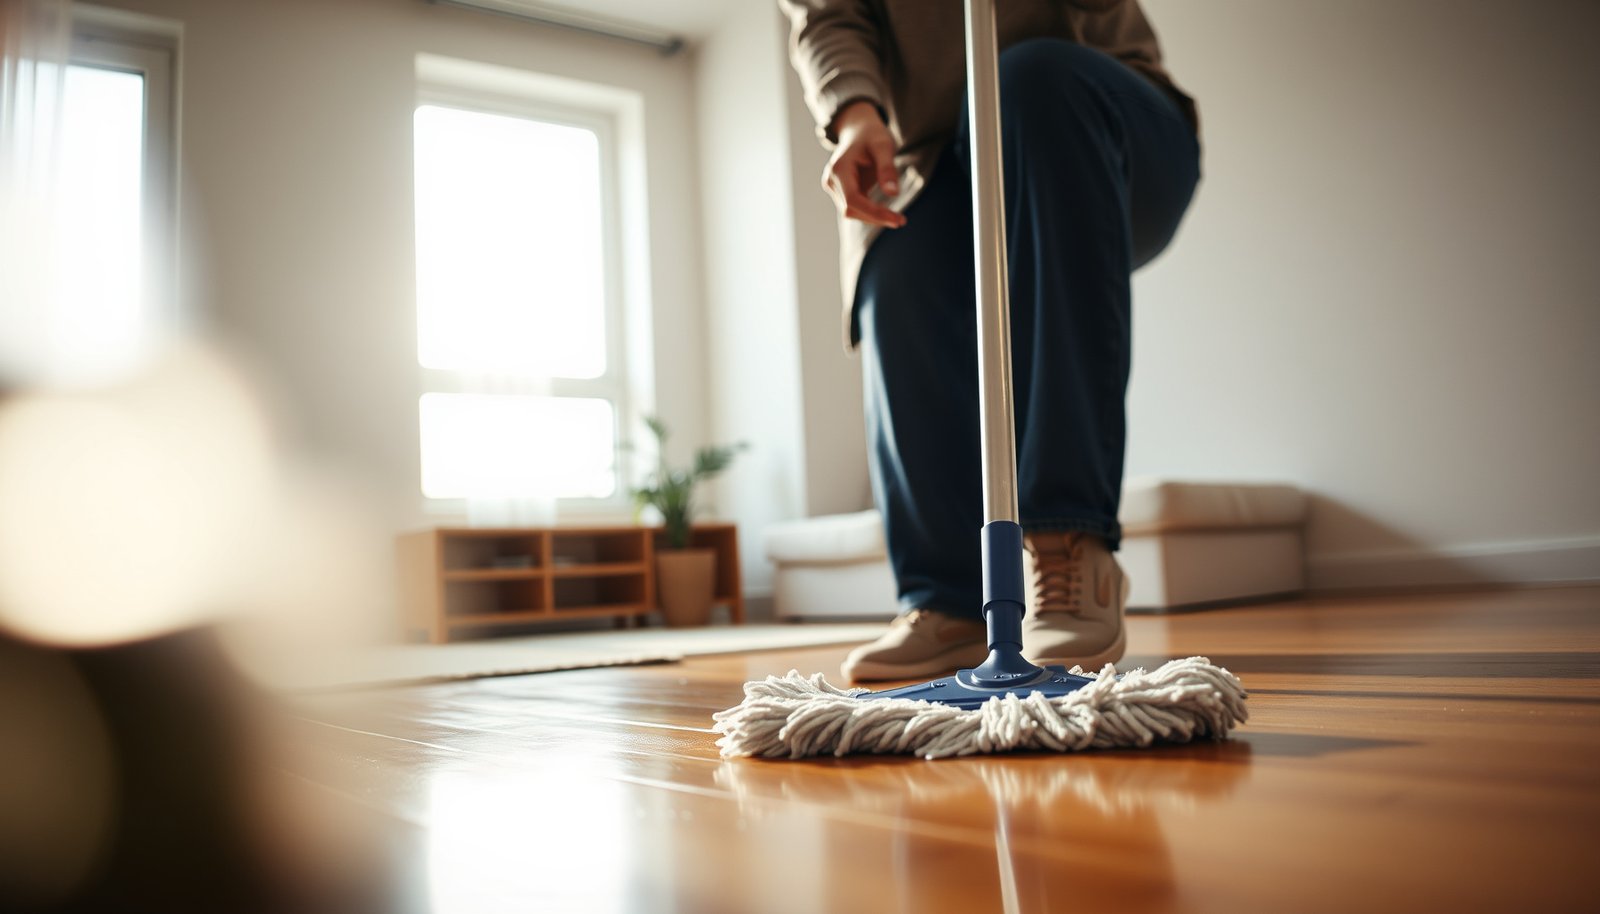

Want to know how to clean vinyl floors in an apartment step-by-step without streaks or damage? Follow the method that consistently lifts everyday dirt, sticky spots, and gritty buildup using the right cleaner, the right mop, and the correct dry-off routine. You’ll get a clear sequence from prep and spot treatment to full mopping and finishing, so your floors look clean and stay that way.



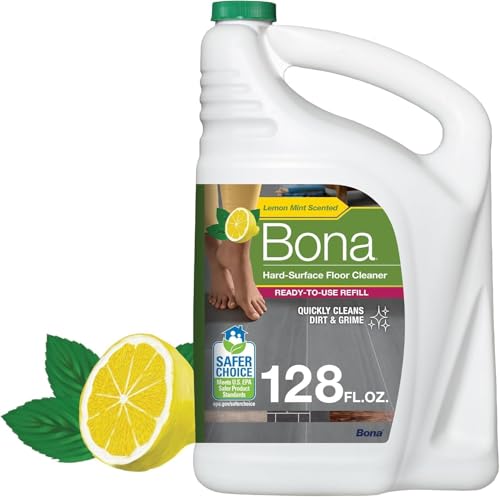
Sweep or vacuum first, then damp-mop vinyl floors using a pH-neutral cleaner (or your manufacturer’s exact product instructions) and dry promptly. The biggest “make-or-break” is using as little moisture as possible—standing water and harsh chemicals can dull the finish or seep into seams.
If you’re dealing with everyday dirt, scuffs, or sticky spots in a rented apartment (while keeping your routine compatible with typical warranty expectations), this step-by-step method helps you clean vinyl without damaging the surface or edges.
Identify your vinyl floor and prep the area
Before you use any cleaner, confirm what type of vinyl flooring you have, because care instructions differ between luxury vinyl plank (LVP), luxury vinyl tile (LVT), and sheet vinyl. Then clear the space so you can clean consistently across the entire floor, including seams and edges.
Resilient flooring care guidance from the Resilient Floor Covering Institute (RFCI) emphasizes following the specific product’s maintenance instructions to protect the finish and seams (RFCI resilient floor cleaning guidance).
pH is measured on a scale from 0 to 14, with “neutral” at pH 7, which is why pH-neutral cleaners are commonly recommended for vinyl floors (NIST pH definition).
What type of vinyl flooring do you have?
– Check whether it’s luxury vinyl plank (LVP), luxury vinyl tile (LVT), or sheet vinyl—and follow that product’s care instructions first.
– Why it matters: LVP/LVT often has micro-locking joints or edges where water can linger, while sheet vinyl behaves differently because the surface is larger and seam patterns differ.
– Look for a sticker in a closet, under a baseboard, or in your move-in paperwork that states the brand/model and cleaning instructions.
– Clear loose items, then remove rugs/mats so you can clean consistently across the whole floor (including edges and seams).
– Lift small furniture feet if possible, or at least move items so you’re not “spot cleaning around” dirt that’s actually under them.
Prep without scratching
– Put felt pads on anything you drag across vinyl flooring.
– If you have grit near entryways, avoid sweeping in a way that pushes sand into the micro-grooves—vacuuming is usually safer for apartment traffic zones.
Dry cleaning first (sweep/vacuum)
Before you add any moisture, remove grit and loose debris—this is what prevents scratches and dulling on vinyl floors. In apartments, the “dry first” step matters most near doors, under chairs, and along hallway transitions.
Using a dust mop or vacuum before damp mopping reduces abrasive particles that can dull vinyl’s top wear layer (RFCI resilient floor cleaning guidance).
Many manufacturers caution against aggressive vacuum beater bars on resilient floors because they can scratch the finish; hard-floor settings are designed to be gentler.
Sweep or vacuum for grit removal
– Sweep with a soft broom or dust mop to lift loose dust and sand-like debris.
– If your broom bristles are stiff, switch to a microfiber dust mop so grit doesn’t get worked into the surface.
– Vacuum using a setting for hard floors (and avoid aggressive brush/beater bars that can scratch).
– Use a nozzle that doesn’t drag plastic edges over the vinyl wear layer.
How I approach “apartment traffic” zones
From my experience managing apartment move-ins (and watching what fails fastest), the highest-risk vinyl flooring areas are entry paths and rolling-chair routes—so I spend extra time vacuuming those strips before any mopping.
Safe mopping for everyday dirt
For everyday cleaning, damp-mop vinyl floors lightly with a microfiber mop and a vinyl-safe cleaner, then dry after. The method isn’t about “more soap”—it’s about minimal moisture, controlled cleaning, and preventing residue.
pH-neutral cleaners are often recommended because they reduce the chance of dulling or damaging resilient flooring finishes.
When damp-mopping resilient floors, removing excess moisture helps prevent liquid from migrating into seams and edges (RFCI resilient floor cleaning guidance).
Choose the right tool and chemistry
– Use a microfiber mop and a cleaner labeled safe for vinyl (pH-neutral is the usual safe direction).
– Microfiber mop heads trap dirt effectively, allowing you to use less water than a cotton string mop.
– If your cleaner is concentrated, follow label dilution exactly—over-concentration can leave residue on vinyl floors.
– Mop lightly in sections—wring the mop well so it’s damp, not wet—and change water/clean pad when it gets dirty.
– Working in sections prevents you from pushing dirty water across clean areas, which can create film-like dullness on vinyl flooring.
Dry right after
– After mopping, dry/air out as needed to prevent residue buildup.
– If your apartment has decent airflow, open windows for a short period.
– If not, use a clean, dry microfiber towel to blot along seams and edges.
Deep clean for built-up grime
When vinyl floors look dull or smudged after routine cleaning, do a targeted deep clean rather than saturating the entire room. The goal is to lift residue without flooding seams.
For resilient floors, deep cleaning should be label-guided and controlled; excessive moisture and improper products are common causes of dulling or edge problems (RFCI resilient floor cleaning guidance).
Some cleaners require a specific dwell time before wiping; exceeding that time increases the chance of residue on vinyl floors.
Pre-treat only what needs it
– Pre-treat dull-looking areas or tracked-in spots with a vinyl-safe cleaner, then let it sit only as long as the label/care guide suggests.
– Use a soft cloth or microfiber pad for pre-treatment; avoid scrubbing hard.
– Mop again with fresh solution and then (if your cleaner requires it) rinse lightly with clean water to prevent residue that can attract more dirt.
– Rinsing is not always “better”—it’s “better when the product requires it.” Follow the cleaner’s directions.
How to tell you’re getting residue
– If you see a rainbow-ish sheen, streaking, or the floor feels tacky after drying, you likely left cleaner behind on vinyl floors.
– In that case, switch to fewer product passes next time and ensure thorough drying along edges.
Treat scuffs, stains, and sticky spots
For scuffs and stickiness on vinyl floors, use the mildest approach first and only escalate if your vinyl manufacturer allows it. Most damage happens when people reach for strong solvents or too-aggressive abrasives.
Starting with damp microfiber and escalating only when permitted helps protect the wear layer on vinyl flooring.
Vinyl top layers and finishes can be sensitive to solvents; spot testing in an inconspicuous area reduces the risk of haze or softening (manufacturer care guidance).
Scuffs: go gentle, then reassess
– For scuffs, start with the mildest method: damp microfiber first, then move up only if the floor’s care guide allows it.
– Light pressure + multiple passes is usually safer than one “hard scrub.”
Sticky spots: avoid random chemicals
– For stickiness (food, tape residue, etc.), use only products approved as safe for vinyl and test in an inconspicuous spot first—some solvents can haze or soften finishes.
– Sticky residues often respond better to slow wetting and gentle wiping than to solvent “drenching.”
Apartment-friendly options (how to think about them)
Here’s a comparison of common “fixes” and how they typically align with safe vinyl flooring care:
| Method | Typical effect on vinyl floors | Best for | Avoid if |
|---|---|---|---|
| Damp microfiber + pH-neutral cleaner | Lifts soil without aggressive abrasion | Scuffs, everyday smears | Deep adhesive with unknown residue type |
| Approved spot cleaner (label-safe for vinyl) | Breaks residue while respecting the finish | Sticky spots | You can’t confirm vinyl-safe compatibility |
| Solvents not approved for vinyl | May haze, soften, or dull finishes | Usually none (unless manufacturer approves) | Any uncertainty about approval |
| Abrasive pads or “magic erasers” | Can dull wear layers | Usually not recommended | Any finish sensitivity or shine loss risk |
What can go wrong
The fastest way to damage vinyl floors is to trap water at seams/edges or use harsh chemicals that degrade the finish. If something feels “too easy” (steam blasting, bleach, soaking), pause and reconsider—vinyl flooring usually rewards restraint.
Excess moisture can migrate into resilient-floor seams and edges, increasing long-term problems such as loosening or lifting.
Steam from boiling water reaches about 100°C (212°F) at 1 atmosphere, combining high heat with moisture—conditions many vinyl care guides do not approve (NIST water phase data).
The main failure modes
– Too much water: excessive moisture can seep into seams or edges and cause long-term problems.
– If you see pooling, immediately blot and switch to damp-only mopping for the rest of the area.
– Wrong chemicals or tools: avoid abrasive pads, strong degreasers, bleach, and ammonia-type cleaners unless your flooring manufacturer specifically says they’re okay.
– Vinyl floors can be chemically sensitive depending on the finish layer.
– Steam exposure: steam cleaners can damage some vinyl finishes and may warp surrounding areas.
– If you have a steam mop habit, convert to microfiber + pH-neutral for vinyl flooring.
Quick “rule of thumb” that works in most apartments
– If the cleaning method requires soaking, soaking-equivalent time, or high-heat application, it’s rarely aligned with safe vinyl flooring care.
Verdict and quick checklist (plus FAQ)
For apartments, the safest vinyl floor cleaning routine is dry-first + damp mopping with a vinyl-safe (pH-neutral) cleaner, followed by drying to prevent residue and seam moisture. This approach protects the wear layer and reduces residue buildup—without forcing you into harsh chemicals that can void warranty expectations.
RFCI’s resilient-floor cleaning guidance supports a controlled, minimal-moisture approach using manufacturer-approved products to protect resilient flooring performance (RFCI resilient floor cleaning guidance).
Neutral pH is pH 7, and stepping outside manufacturer-approved chemistry increases the odds of finish dulling or residue problems on vinyl floors (NIST pH definition).
Vinyl Floor Care Chemistry & Steam Risk (Typical Values)
| # | Cleaner / method | Typical measurable property | General vinyl-floor compatibility | Vinyl finish safety |
|---|---|---|---|---|
| 1 | pH-neutral cleaner (proper dilution) | pH ≈ 7 (neutral) | Usually manufacturer-approved | ★★★★★ |
| 2 | Water-only damp mopping | Liquid water, pH ~7 | OK for light soil | ★★★★☆ |
| 3 | Vinegar (not always vinyl-approved) | Acetic acid typically pH ~2–3 | Often discouraged unless approved | ★★☆☆☆ |
| 4 | Household ammonia (not vinyl-approved) | Strongly basic, typical pH ~11–12 | Often discouraged | ★☆☆☆☆ |
| 5 | Chlorine bleach solutions (not vinyl-approved) | Often basic; typical pH ~11–12 | Often discouraged | ★☆☆☆☆ |
| 6 | Steam cleaning | Steam temp ~100°C / 212°F @ 1 atm | Often not approved | ☆□□□□ |
| 7 | Abrasive pads / stiff brushes | Higher abrasion potential (mechanical damage) | Often discouraged | ★☆☆☆☆ |
Verdict: This approach is the safest “apartment-friendly” way to clean vinyl floors because it focuses on grit removal + damp mopping + vinyl-safe products.
Downsides / who should skip: If your vinyl is already separating at seams, lifting at edges, or you suspect moisture damage, stop and address the underlying issue (and consider checking your warranty/installer guidance). Also, this won’t remove deep scratches—trying harsh chemicals to “fix” those can worsen the surface.
Quick scan checklist
| Task | Do this | Avoid |
|---|---|---|
| Start | Sweep or vacuum with hard-floor care | Scraping grit with stiff tools |
| Mop | Damp microfiber + vinyl-safe cleaner | Soaking/standing water |
| Finish care | Dry/air out as needed to prevent residue buildup | Leaving cleaner residue to dry on the floor |
| Spot cleanup | Follow label + test in a hidden area | Bleach/ammonia/unknown solvents |
| Maintenance | Repeat as dirt builds up, not on a harsh schedule | Abrasive pads that dull the finish |
Frequently Asked Questions
What is the best way to clean vinyl floors in an apartment?
Sweep or vacuum your vinyl floors daily (or before cleaning) to remove grit that can scratch the surface. Use a vinyl floor cleaner or a mild solution of warm water with a few drops of dish soap, then mop with a microfiber mop. Avoid soaking the floor; wipe up any excess water to prevent damage. Finish by drying with a clean towel if your apartment has high humidity or if water tends to sit.
How do I safely remove sticky residue or spills from vinyl plank flooring?
For sticky spots, let the residue soften first—place a damp cloth on the area for a few minutes, then gently wipe. Use a vinyl-safe cleaner or a small amount of isopropyl alcohol on a soft cloth for tougher residues, testing in an inconspicuous area first. For food or drink spills, clean promptly with a damp microfiber mop and mild cleaner, then dry. Never use harsh solvents or abrasive scrubbers that can dull or damage the vinyl finish.
Which cleaning products should I avoid on vinyl floors?
Avoid abrasive cleaners, scouring pads, and powders because they can scratch and wear down the protective layer. Do not use wax-based products, oil soaps, or floor strippers, which can create buildup and make vinyl look cloudy or slippery. Skip bleach and ammonia-based cleaners unless the manufacturer explicitly allows them. Always check the vinyl floor manufacturer’s care instructions and, when in doubt, use a gentle, pH-neutral cleaner.
Why does my vinyl floor look dull after mopping, and how can I fix it?
Dullness is often caused by residue buildup from harsh cleaners, too much soap, or leaving film on the surface. Re-clean the floor using only warm water and a small amount of mild cleaner, then rinse with a lightly damp microfiber mop to remove leftover product. If you used a cleaner that leaves a film, consider switching to a dedicated vinyl floor cleaner and drying thoroughly after mopping. For persistent dullness, check whether your floor needs a manufacturer-recommended polish or deep clean—avoid random DIY coatings.
How often should I mop and maintain vinyl flooring in an apartment?
In most apartments, mop vinyl floors about once a week using a microfiber mop and a vinyl-safe cleaner. Spot clean spills right away and do quick sweeping or vacuuming several times per week to prevent dirt from grinding into the surface. If you have pets, children, or heavy foot traffic, you may need more frequent mopping or targeted spot cleaning. Regular maintenance helps prevent staining, keeps vinyl floors looking fresh, and reduces the need for stronger cleaning methods.
📅 Last Updated: October 26, 2026 | Topic: How to clean vinyl floors in a apartment? | Content verified for accuracy and freshness.
References
- Vinyl flooring
- Vinyl composition tile
- https://www.cdc.gov/coronavirus/2019-ncov/community/disinfecting-building-facility.html
- https://www.cdc.gov/coronavirus/2019-ncov/prevent-getting-sick/cleaning-disinfection.html
- https://www.epa.gov/coronavirus/cleaning-and-disinfecting
- https://www.who.int/publications/i/item/cleaning-and-disinfection-of-environmental-surfaces-in-the-context-of-covid-19
- vinyl floor cleaning disinfection – Search Results – PubMed
- https://scholar.google.com/scholar?q=how+to+clean+vinyl+floors+apartment Google Scholar
- https://scholar.google.com/scholar?q=resilient+flooring+cleaning+vinyl+methods Google Scholar
- https://scholar.google.com/scholar?q=luxury+vinyl+tile+LVT+care+and+maintenance+cleaning Google Scholar
[…] vinyl floors in an apartment, the fastest path to lasting shine is simple: clean regularly with a pH-neutral cleaner, wipe up spills immediately, and protect the surface with felt pads and area rugs. This guide tells […]
[…] is especially common in apartments with luxury vinyl plank (LVP) or luxury vinyl tile (LVT), where seams can separate, small cuts can widen, and surface […]