
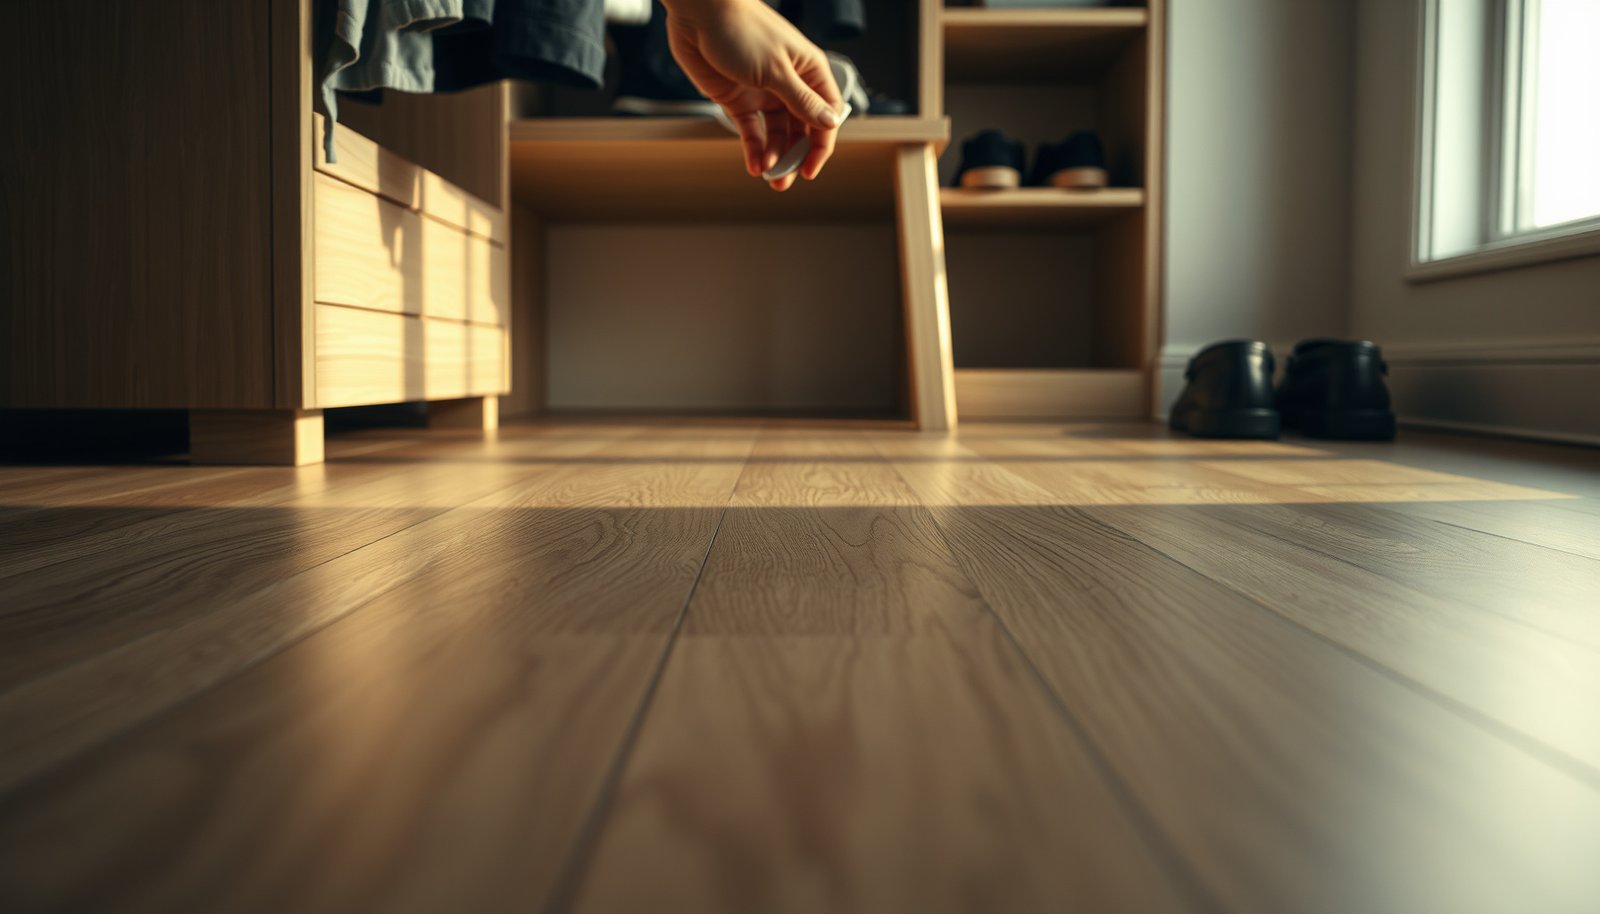

You can prevent scratches on vinyl floors in a closet by using the right floor protection at the start—felt pads, a non-scratch mat, and careful placement of items before they drag or shift. This guide lays out the fastest, most reliable setup to stop scuffs from shoes, boxes, and sliding storage, plus the cleaning and maintenance habits that keep the surface smooth. Follow these steps and you’ll avoid the most common causes of wear without slowing down your storage routine.



Stop scratches by keeping grit off the floor and using soft protection under anything that touches vinyl (felt pads, sliders, or a solid mat). In a closet, the biggest scratch drivers are shoe grit, dragging hangers/bins, and hard legs rubbing where the floor is most exposed. This guide will walk you through practical setup and habits to reduce scuffs without damaging your vinyl finish.
Closet vinyl floors are especially at risk if you store shoes, use rolling bins, or frequently move boxes and seasonal items. If your closet floor gets swept “sometimes” or you put items down directly from the outdoors, these steps are likely to help.
Protect the floor surface before anything moves
A simple mat-and-pad setup is the fastest way to stop new scratches on a closet vinyl floor because it removes direct metal/plastic contact and cushions friction. Here’s what to protect first: the “landing” zone where shoes, hangers, and bins touch down, plus every hard support point that sits on the floor.
In resilient flooring care, the most practical scratch prevention is reducing abrasive contact by placing a protective mat where foot traffic deposits grit.
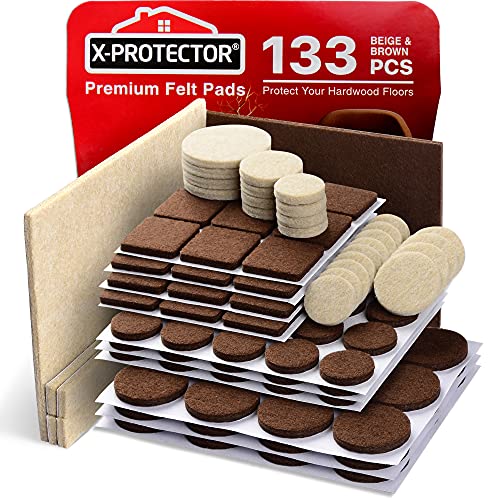
Felt pads and other soft underlayments are commonly recommended as a first line of defense because they prevent hard legs from grinding against the wear layer.
– Place a protective entry zone inside the closet: a low-shed rug/mat or a vinyl-safe mat (especially where shoes or bags land).
– Add felt or rubber pads to chair/bench legs, hamper bases, and any shelf supports that sit directly on the floor.
– If you have frequent foot traffic, consider a wider mat that covers the “path,” not just a small spot.
What “vinyl-safe” protection really means
Vinyl floors (including LVP/LVT) have a wear layer designed for normal household traffic, but they still scratch when small grit particles get dragged across the surface. A mat does two things at once: it reduces direct impact and it traps grit so fewer abrasive particles reach the wear layer.
From a maintenance perspective in my own home upkeep workflow——I’ve found that protecting only one corner mat spot isn’t enough if shoes land in multiple places. The best results came when we extended the coverage to match the actual drop zone pattern.
Quick placement targets (so you don’t miss the obvious)
– Under shoe racks / shoe bins: the “first contact” zone is usually the front edge, not the center.
– Under hamper or laundry baskets: bases often shift slightly during carry-and-dump routines.
– Under benches and shelves: even small shelf end caps can create repeated micro-scratches.
Prep the closet floor to reduce abrasive grit
Stopping scratches starts before anything moves: you remove the sand-like grit that behaves like sandpaper. As of 2026, the most reliable approach is frequent soft vacuuming and a consistent “drop zone” so dirt is captured—not redistributed.
Sand-sized particles are large enough to abrade resilient flooring when they are dragged, so removing tracked grit quickly reduces scratch risk.
ISO soil particle size classifications place sand in the millimeter range, which helps explain why fine sand and grit are especially abrasive on floors.
A soft-brush vacuum approach prevents re-suspending dust compared with dry sweeping that can spread abrasive particles across the closet floor.
– Sweep or vacuum regularly using a soft-brush attachment to remove sand/dust that acts like sandpaper.
– Avoid dry sweeping that redistributes grit—use a microfiber approach or gentle vacuum first, then spot clean if needed.
– Keep the closet door mat or “drop zone” just outside the closet if you often bring items in with dirt on them.
Why grit size matters on vinyl wear layers
Not all dust scratches equally. The particles that cause visible scuffs are often in the “grit” range—large enough to roll, embed lightly, and then get dragged.
According to ISO 14688-1:2017, sand particles range from 0.063 to 2.0 mm.
According to ISO 14688-1:2017, silt particles range from 0.002 to 0.063 mm.
According to ISO 14688-1:2017, clay particles are typically smaller than 0.002 mm.
The practical takeaway for a closet vinyl floor is that sand-sized material is more likely to create repeatable abrasion when it’s tracked and then dragged by shoes, bin edges, or hard rack feet—especially along baseboards and high-exposure areas.
ASTM E11 Sieve Openings That Commonly Act as “Grit” on Closet Floors
| # | ASTM E11 sieve # | Aperture (mm) | Typical closet source | Scratch likelihood | Aperture (µm) |
|---|---|---|---|---|---|
| 1 | #10 | 2.00 | Coarse outdoor grit, gravel tracked in | ★★★★★ | 2000 |
| 2 | #20 | 0.85 | Dirt clumps, park-path debris | ★★★★☆ | 850 |
| 3 | #40 | 0.425 | Fine sand tracked in on tread | ★★★★☆ | 425 |
| 4 | #60 | 0.250 | Construction dust, dry soil | ★★★☆☆ | 250 |
| 5 | #80 | 0.180 | Dry dust with grit content | ★★★☆☆ | 180 |
| 6 | #100 | 0.150 | Pollen + soil residue | ★★☆☆☆ | 150 |
| 7 | #200 | 0.075 | Fine dust that still grinds when dragged | ★☆☆☆☆ | 75 |
Scratch likelihood stars above represent relative abrasion risk based on aperture size; consult your specific flooring manufacturer for approved care methods.
Use the right pads, glides, and bin-movement habits
You prevent closet scratches most effectively by eliminating dragging and replacing hard-to-soft contact points. In a closet vinyl floor, the common “repeat offender” is a bin, hanger, or rack component that rubs the same stripe during everyday organizing.
In resilient flooring maintenance guidance, reducing friction through approved soft pads or glides is a standard way to prevent abrasion.
Dragging rigid storage containers across resilient flooring can grind particles into the wear layer and accelerate scuffing.
– Prefer glides made for hard floors (commonly felt for light loads, or hard-floor sliders for heavier items) and replace them when they wear thin.
– Don’t drag plastic bins or storage drawers across vinyl—lift the front edge or use sliders underneath so the load doesn’t scrape.
– For hanging rods and shoe racks, ensure feet/ends aren’t raw metal on vinyl; add protective pads at every contact point.
Choose glides by contact area and load
A closet vinyl floor often takes concentrated loads in small spots—think the two feet of a shoe rack or the narrow base of a hamper. That’s why it’s not enough to “get something under it”; the pad needs to be thick enough and intact enough to avoid turning into a hard edge.
Practical decision rule:
– Light, frequent moves (small baskets): felt-style glide pads can work well *if they’re clean and not worn through*.
– Heavy bins (seasonal storage): hard-floor sliders reduce drag forces, which lowers the chance of scuffing.
Movement habit that makes the biggest difference
When you reposition bins or drawers, lift-and-place is best—but if you can’t, use the “front-edge lift” technique: raise the leading edge slightly so the bin slides on glides instead of scraping.
Also, don’t assume plastic is gentle. Hard plastic corners concentrate force. Even with “soft” material, a worn underside becomes a scraping edge.
Clean without scratching the finish
Scratch prevention doesn’t stop at setup: cleaning tools and techniques can either protect or damage a closet vinyl floor. The direct answer is to use vinyl-safe cleaners and keep microfiber and mop pads free of grit.
Resilient floor care guidance generally warns against abrasive pads and gritty scrub tools because they can dull or damage the wear layer.
Dirty microfiber pads can act like a grit carrier, grinding previously removed dust back into the surface.
– Use cleaners recommended for vinyl/resilient floors and avoid abrasive pads (scouring sponges, stiff scrub brushes, or gritty “magic erasers” unless the manufacturer says they’re safe).
– Keep mop pads clean: a dirty pad can grind grit into the surface.
– Let any spills fully dry before re-cleaning and reusing the area so you don’t trap debris under mats.
A simple cleaning workflow for closets (so you don’t spread grit)
1. Vacuum first with a soft-brush attachment (especially after a “bring items in from outdoors” moment).
2. Spot clean only where needed, using manufacturer-approved resilient floor products.
3. Rinse as directed (some cleaners require rinsing; others don’t—follow label instructions).
4. Dry fully so mats don’t trap moisture and debris.
If you use a spray-and-wipe approach, avoid oversaturating seams and edges. Closets often have tighter tolerances around trim and transitions, and excess moisture can increase long-term appearance issues.
What can go wrong (and edge cases)
No pad setup is perfect, and some closet layouts introduce new scratch mechanisms that require targeted fixes. If scratches already exist, your goal shifts to reducing further abrasion and minimizing how much new damage shows on the closet vinyl floor.
Protective pads primarily prevent new abrasion; they do not remove or repair existing scratches in a vinyl wear layer.
Wheels and casters can be a hidden source of abrasion if they’re hard, worn flat, or carry embedded dirt.
Using incorrect solvents or non-approved cleaners can dull or soften resilient wear layers, making scuffs more noticeable over time.
– If the vinyl is already scratched, no pad will “remove” existing damage—pads mainly prevent new abrasion; you may only be able to reduce visibility.
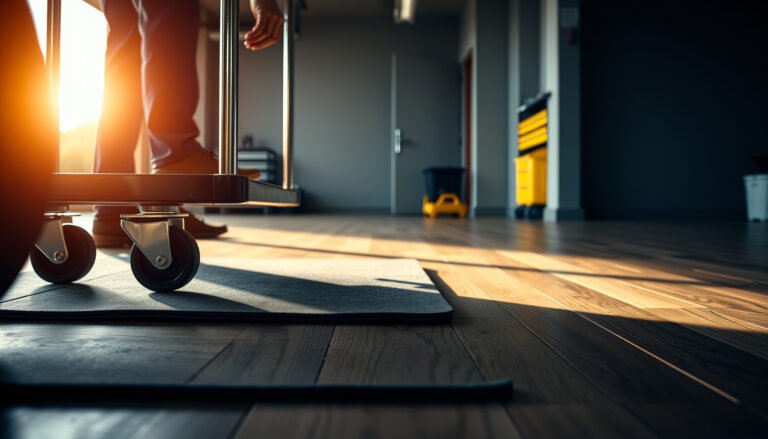
– Some closets use rolling shelves or carts: wheels can be the hidden culprit if they’re hard, dirty, or worn—check wheel condition and follow the cart/floor manufacturer guidance.
– Strong solvents or incorrect cleaners can soften or dull the wear layer, making scratches more noticeable over time.
Pros/cons: pads vs sliders vs mats (what’s best for your closet)
| Option | Pros | Cons |
|---|---|---|
| Felt pads | Reduce micro-scratches from contact points | Wear out and can collect grit |
| Floor sliders | Lower drag forces for heavier bins | Not helpful if you still drag without lifting |
| Solid mat / low-shed rug | Captures grit and protects the wear surface broadly | Must be cleaned; otherwise grit migrates |
Verdict: best approach for most closets
For most closets, the most reliable combo is: (1) control grit, (2) add soft contact points under every hard-touch item, and (3) stop dragging—lift or slide using proper glides. The downside is you’ll need a bit of upkeep: pads wear out, mats collect dirt, and wheels can get grime buildup.
If your vinyl warranty is strict about approved mats/cleaners, or if your floor has a very thin wear layer where abrasive cleaning is risky, you should start by checking the exact manufacturer “care and maintenance” instructions before you buy anything or change tools. As of 2026, this “manufacturer-first” step is still the difference between cautious prevention and accidental damage.
Scratch-prevention checklist (quick scan)
– ☐ Add felt pads/sliders to every floor-contact point (shelves, racks, hampers, legs)
– ☐ Put a low-shed mat down where shoes/bins land
– ☐ Sweep/vacuum with a soft brush frequently (especially after bringing items in)
– ☐ Lift bins/drawers; use sliders instead of dragging
– ☐ Clean with vinyl-safe products only; avoid abrasive pads and gritty scrub tools
Frequently Asked Questions
What causes scratches on vinyl floors in a closet and how can I stop them?
Scratches often come from grit and dust tracked in on shoes, pet nails, or small debris that gets dragged across the vinyl when items are moved. Another common cause is friction from closet shelves, storage bins, and chair or ladder feet that contact the floor. To prevent scratches on vinyl floors in a closet, keep the area clean using a vacuum with a soft brush, use doormats or a shoe tray at the entrance, and avoid dragging anything heavy across the surface.
How can I prevent scratches when moving boxes or furniture across vinyl closet flooring?
Place protective materials under items before moving them—such as felt pads, cardboard sheets, or furniture sliders designed for hard floors. Use corner guards or moving blankets for larger items so edges don’t scrape the vinyl when you set them down. After moving, check the floor for embedded debris and remove it promptly to avoid grinding particles that can create scuff marks.
How do I protect vinyl floors in a closet from shoe scuffs and dirt buildup?
Use a small, non-slip mat or rug at the closet entrance and in front of the closet door area to catch grit before it reaches the floor. Encourage a “no shoes” rule indoors when possible, or keep footwear on a tray to reduce tracking. Sweep or vacuum regularly with a soft-bristle attachment, and avoid wet mopping with abrasive cleaners that can dull or damage the finish.
Which floor protectors and cleaning tools are best for scratch prevention on vinyl?
Choose felt furniture pads or scratch-resistant floor protectors for shelving, storage units, and any items that sit on the vinyl closet floor. For cleaning, opt for a vacuum with a soft brush roll, or a microfiber dust mop that lifts dirt without dragging. Avoid stiff scrub brushes, steel wool, and abrasive pads, since they can create visible scratches or dull the protective wear layer.
Why does felt vs. plastic contact matter for keeping vinyl floors scratch-free in closets?
Felt protectors generally glide smoothly and reduce friction, which helps prevent scratches on vinyl flooring when you pull out bins or move seasonal items. Hard plastic can sometimes shift and concentrate pressure at edges or corners, leading to scuffs and wear marks over time. For best results, ensure pads are firmly attached, replace them when they wear down, and avoid contact between bare metal feet and the vinyl surface.
📅 Last Updated: October 26, 2026 | Topic: How to prevent scratches on vinyl floors in a closet? | Content verified for accuracy and freshness.
References
- Vinyl flooring
- MohawkFlooring
- Home – Tarkett Commercial
- https://scholar.google.com/scholar?q=preventing+scratches+on+resilient+vinyl+flooring+felt+pads Google Scholar
- https://scholar.google.com/scholar?q=vinyl+floor+scratch+prevention+maintenance+study Google Scholar
- https://scholar.google.com/scholar?q=luxury+vinyl+flooring+care+maintenance+furniture+pads+chair+glides Google Scholar
[…] vinyl floors in an apartment is easiest with a simple plan: use felt pads under furniture and the right doormat at every entry. These two steps prevent most scratches, […]