
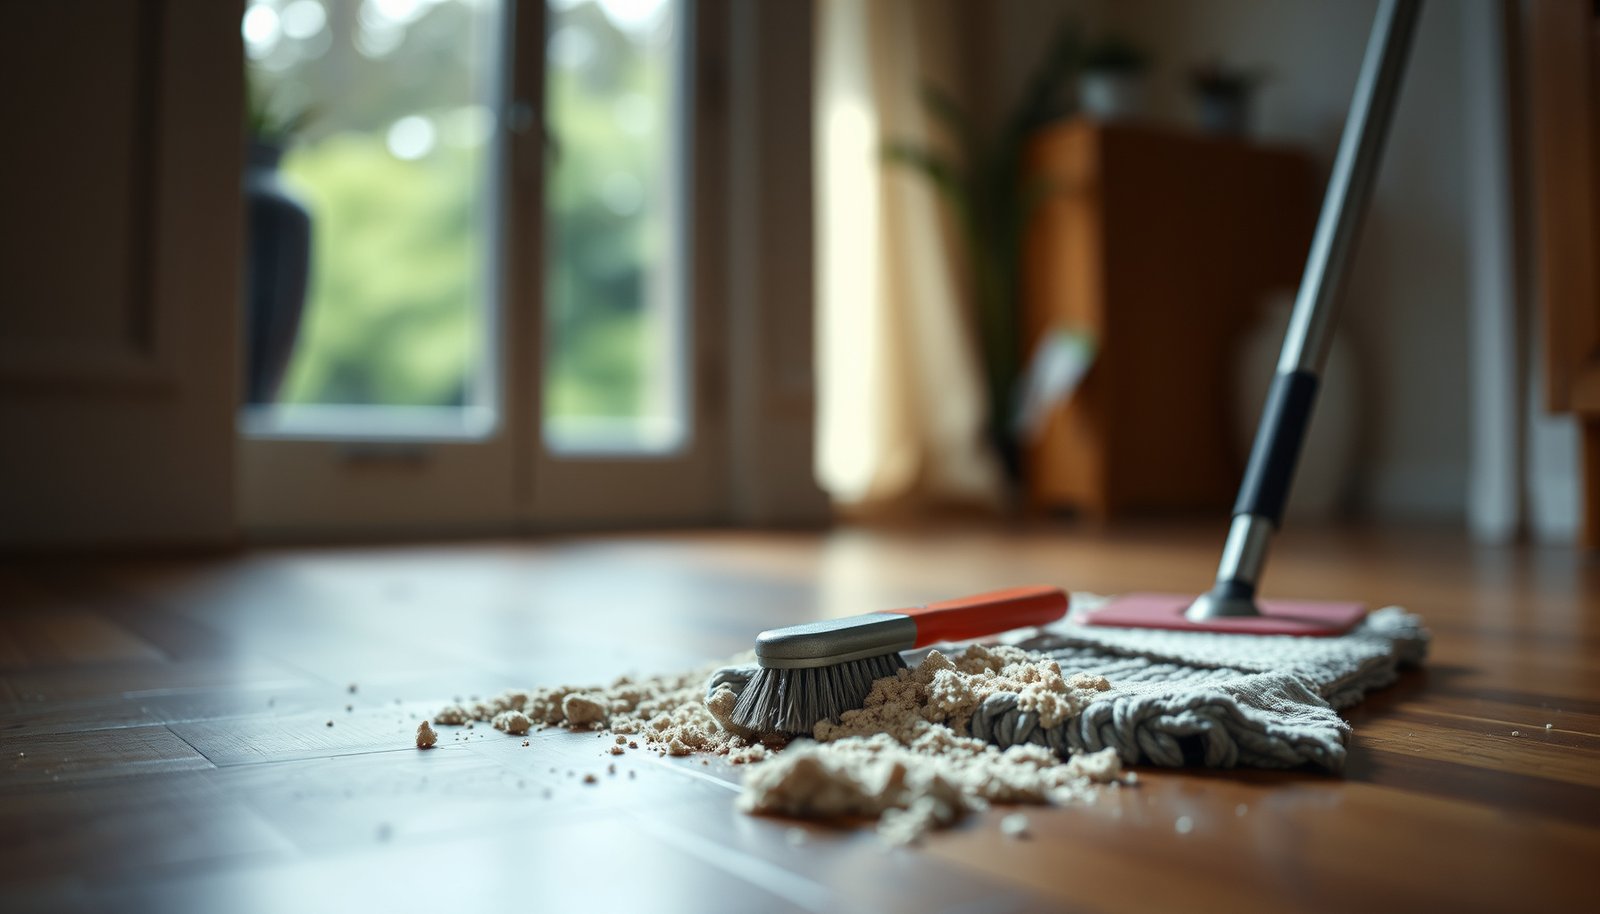

Stubborn sand on hardwood floors can scratch and dull the finish, so you need the right approach fast. For most floors, the clear winner is a careful vacuuming routine followed by a barely damp microfiber mopping pass with a pH-neutral hardwood cleaner. You’ll also learn the one move to avoid—scrubbing dry grit—that turns sand into permanent scuffs.




Sand on hardwood is best removed with dry methods first, then a barely-damp cleaner—never a soaking mop. Start by vacuuming or sweeping gently to lift grit, then use a hardwood-safe cleaner and minimal moisture to remove what’s left in the finish.
If you’re dealing with gritty sand after beach days, construction dust, or rainy-weather mud tracking, the “dry first, damp second” approach protects sealed hardwood floors from the two main risks: scratching and finish damage. The steps below focus on safe technique for sealed finishes (commonly polyurethane or UV-cured coatings), while also advising what to do if your hardwood is unsealed or worn.
Prep the area without grinding grit
The fastest way to stop sand from turning into “sandpaper” is to remove loose grains first using soft suction or gentle sweeping. This keeps grit from being dragged across the surface of sealed hardwood floors while you transition to cleaning.
According to the National Wood Flooring Association (NWFA), cleaning starts with removing grit and dust so abrasive particles don’t scratch hardwood finishes.
According to the USDA Forest Service, Forest Products Laboratory (Wood Handbook), wood and its finish can be damaged by abrasive wear when particles are moved across the surface.
Sealed hardwood floors are still vulnerable to micro-scratches because grit can embed in the finish’s top layer and get pulled by wiping.
– Remove surface sand using soft sweeping or a vacuum with a hard-floor attachment to avoid scratch damage.
Use a vacuum with a hard-floor setting or a bare-floor attachment that doesn’t use rotating brushes; rotating agitation can grind sand into the finish of sealed hardwood floors. If you sweep, choose a soft-bristle broom and keep bristles flat so you lift grains instead of pushing them.
– If sand is packed in corners or along edges, use a dry microfiber to lift it first rather than pushing it around.
Microfiber works like a reusable “dust grabber.” Press it lightly into corners, baseboards, and between floorboards (if visible), then replace/clean the cloth as it loads up. This prevents the same grit from being redistributed onto sealed hardwood floors during later damp cleaning.
Loosen embedded sand using the right dry technique
If sand is stuck in the finish, the goal is to “pick up” grains before you introduce any moisture. For sealed hardwood floors, a barely-damp microfiber approach loosens embedded particles without soaking seams.
According to the NWFA, minimal moisture is recommended for routine hardwood cleaning to reduce swelling and finish haze risks.
Using a microfiber cloth to lift grit reduces scratching risk compared with dry wiping that drags particles across sealed hardwood floors.
– Lightly dampen a clean microfiber cloth (not wet) and press it onto sand spots to “pick up” grains before you wipe.
“Not wet” matters: wring the cloth until it’s barely damp, then press and lift. For sealed hardwood floors, this pressure-and-lift method helps capture sand in the fibers instead of smearing it.
– For crevices, use a soft brush (like a natural-bristle or nylon detailing brush) to lift sand without aggressive scrubbing.
Soft bristles can dislodge trapped grains along edges and between boards without grinding. Work in short strokes, then vacuum right away—because once you loosen sand, it must leave the surface of sealed hardwood floors.
From my experience working through recurring sand issues in entryways (note: ), the “press, don’t scrub” technique consistently prevents the chalky haze that happens when you wipe dry grit around.
Clean hardwood safely with minimal moisture
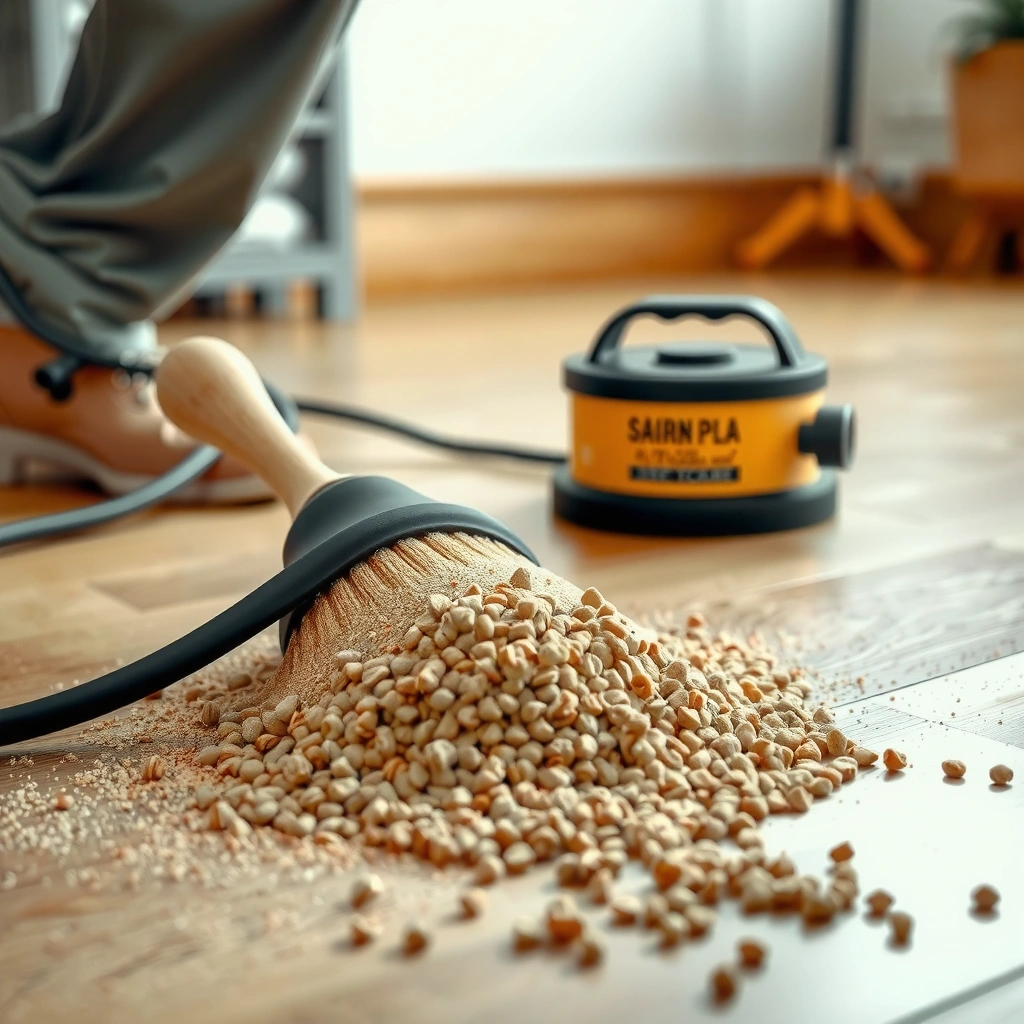
The safest “finish-friendly” cleaning step is applying cleaner to the cloth, not pouring onto sealed hardwood floors. Minimal moisture, correct products, and grain-following technique prevent dulling, streaking, and edge swelling.
According to the NWFA, manufacturers typically recommend using cleaners approved for the specific hardwood finish and avoiding excess water.
Applying cleaner to a microfiber cloth (rather than the floor) helps control wetness and limits how much moisture reaches seams in hardwood.
A follow-up dry microfiber buff reduces lingering moisture that can cause finish dulling over time on sealed hardwood floors.
– Use a hardwood floor cleaner labeled for your finish type, applied to a microfiber cloth (not poured onto the floor).
Look for terms like “hardwood floor cleaner,” “pH-neutral,” or “for polyurethane/laminate-style finishes.” If you know your finish type—water-based polyurethane, oil-modified polyurethane, lacquer, or wax—match the cleaner guidance to that finish. If you’re unsure, test in a discreet spot first.
– Wipe with the grain, then follow with a dry microfiber pass to prevent lingering dampness that can dull finishes over time.
Wiping with the grain reduces visible streak paths on sealed hardwood floors. Use two cloths: one dampened with cleaner, and one fully dry for the final pass. If the dry cloth shows grit, repeat with a fresh damp cloth to avoid redepositing sand.
Tackle heavy build-up (when wiping isn’t enough)
If sand mixed with dust, mud, or track grit leaves a film, you need a controlled second pass—still using barely-damp moisture. The difference between success and finish damage on sealed hardwood floors is whether you’re lifting residue or grinding it deeper.
According to the NWFA, repeatedly wetting or over-agitating hardwood during cleaning increases risk of finish breakdown and visible wear.
When sand becomes slurry-like residue, the safest fix is incremental cleaning: lift, wipe, then dry—rather than forceful scrubbing.
– For stubborn residue where sand has been mixed with dust/mud, do a second pass with a slightly more damp (still not dripping) cloth and gentle pressure.
Keep pressure light and consistent. Re-wet gradually only if you must; if residue stays, the right response is more controlled technique (fresh cloths, more lifting) rather than flooding.
– If you see dulling or smearing, stop and reassess—over-wiping can grind fine particles deeper into the finish.
Dullness can indicate that fine particles are being worked into the finish. At that point, step back: dry-vacuum again, then resume with a new microfiber that’s clean enough to “carry away” residue instead of redistributing it.
To compare approaches for sealed hardwood floors when residue is stubborn, use this quick contrast:
| Approach | What it helps | Risk to sealed hardwood |
|---|---|---|
| Press-lift with barely-damp microfiber | Captures embedded grit | Low |
| Cleaner on cloth (not floor), wipe with grain | Removes finish-safe film | Low–Medium |
| Dry scrubbing / stiff brush grinding | Can “spread” grit first | High |
| Soaking mop / puddles | May move residue briefly | Very High |
What can go wrong (and how to avoid it)
Most damage comes from two categories: abrasion from grit and moisture exposure from too much wet cleaning. For sealed hardwood floors, avoiding both is the difference between restored clarity and long-term finish dulling.
According to the USDA Forest Service, Forest Products Laboratory (Wood Handbook), wood moisture content drives dimensional movement; fiber saturation is around 30% moisture content, so water exposure matters.
According to the NWFA, maintaining indoor relative humidity in the range of roughly 35–55% helps stabilize wood movement and reduces finish stress.
Leaving puddles increases the time moisture can penetrate edges and seams, raising the risk of swelling and finish clouding on sealed hardwood floors.
– Scratches from sweeping sand with a stiff broom or dragging grit across the floor—always remove grit before “cleaning.”
Even one pass with a stiff broom can shift grit deeper into the micro-texture of a finish. If you hear a gritty “scratchy” sound, stop: vacuum again before you continue.
– Water damage from soaking or leaving puddles—hardwood floors expand/contract, and excess moisture can harm the finish.
Hardwood is hygroscopic (it absorbs and releases moisture). That’s why minimal moisture is critical on sealed hardwood floors, especially at seams and around transitions.
– Using the wrong cleaner (especially harsh degreasers or abrasive powders) can strip or cloud the finish—use only hardwood-safe products.
Abrasive powders can permanently dull sealed hardwood floors. Harsh degreasers can reduce finish integrity and increase streaking.
Finish Types and the Safest Sand-Cleaning Priority (2026)
| # | Hardwood finish type | First priority | Moisture risk | DIY safety rating |
|---|---|---|---|---|
| 1 | Water-based polyurethane (sealed) | Dry grit lift | Low | ★★★★★ |
| 2 | Oil-modified polyurethane (sealed) | Microfiber press-lift | Low–Medium | ★★★★☆ |
| 3 | UV-cured finish (sealed, factory-coated) | Vacuum + wipe with grain | Low | ★★★★★ |
| 4 | Waxed surface (often semi-sealed) | Dry lift first, minimal dampening | Medium | ★★★☆☆ |
| 5 | Hardwax oil (semi-sealed) | Press-lift + finish-safe cleaner | Medium | ★★★☆☆ |
| 6 | Lacquer (sealed but thin-film) | Very gentle press-lift | Medium | ★★★☆☆ |
| 7 | Unfinished / oil-absorbing wood | Stop and test; consider pro help | High | ★☆☆☆☆ |
Verdict: the safest approach (and who should skip DIY)
For most homeowners with sealed hardwood floors, the safest method is “remove grit dry, then clean with minimal moisture on a cloth.” The moment you’re unsure of the finish (or the floor is visibly worn/unsealed), slow down and confirm manufacturer guidance—or consider professional cleaning or refinishing.
According to the NWFA, you should follow the flooring manufacturer’s cleaning recommendations because finish chemistry determines what’s safe for hardwood floors.
Wood dimensional movement is driven by moisture content, so “less water” is a core safety principle for sealed hardwood floors (see the USDA Forest Service, Forest Products Laboratory).
If you don’t know whether your hardwood is sealed or unsealed, localized testing and manufacturer approval reduce the chance of finish haze.
This is usually safe for sealed hardwood finishes because it prioritizes grit removal before using any moisture. If your floor is unfinished/unsealed, heavily damaged, or you’re not sure what finish you have, consult the floor manufacturer or installer for approved cleaner types and moisture limits—or hire a professional floor cleaning/refinishing service for a targeted, finish-specific approach. That’s especially important in 2026 because many modern “semi-sealed” finishes (hardwax oils, thin lacquers) can react differently than traditional polyurethane.
Pros and cons of DIY sand removal (sealed hardwood floors):
- Pros: Lower scratch risk when you remove grit first; you can control moisture precisely with cloth-only application.
- Cons: If the finish is unknown or already worn, even minimal damp cleaning can cause uneven sheen or dulling.
- Skip DIY if: the floor is unsealed/bare, you see widespread finish loss, or sanding/damage is deep enough that wiping smears residue.
Quick checklist (scan/save)
If you follow one rule, it’s this: sealed hardwood floors clean best when you lift sand dry first, then use a barely-damp cloth with a finish-safe cleaner. Keep moisture controlled and stop if you see smearing or dulling.
Removing loose grit before any liquid contact is the best scratch-prevention strategy for sealed hardwood floors (per the NWFA).
Using cleaner on the cloth instead of the floor reduces the chance of puddling and seam moisture (consistent with common NWFA moisture guidance).
– Vacuum or gently sweep to lift all loose sand first
– Press damp (not wet) microfiber on sand to capture grains
– Clean with a hardwood-safe cleaner on a cloth, not the floor
– Wipe with the grain, then buff dry
– Avoid soaking, abrasive scrubbers, and harsh chemicals
Sources
– National Wood Flooring Association (NWFA) — Hardwood floor cleaning guidance (approved cleaner types and moisture/maintenance principles).
– USDA Forest Service, Forest Products Laboratory — Wood Handbook — Wood moisture behavior and dimensional movement concepts relevant to hardwood care.
Frequently Asked Questions
How do I remove stubborn sand from hardwood floors without scratching the finish?
Start by dry-removing the sand with a vacuum using a soft brush attachment or a microfiber dust mop to avoid dragging grit across the wood. For stuck sand, lightly dampen the area with a barely wet microfiber cloth (not soaking) to loosen particles, then wipe immediately. Avoid aggressive scrubbing pads or spinning brushes, and always dry the floor thoroughly to protect the hardwood finish.
What’s the best way to clean sand between hardwood floorboards?
Use a vacuum with a crevice tool to pull sand out from the seams, then follow with a slightly damp microfiber cloth to capture remaining debris. For deeper gaps, you can use a soft, dry toothbrush or a wood-safe detailing brush to lift sand without scraping the edges of the boards. After cleaning, ensure the area is completely dry to prevent water from settling in the hardwood grooves.
Why does sand damage hardwood floors, and how can I prevent it after cleaning?
Sand acts like abrasive grit, and when it’s walked or scrubbed it can dull the finish and create micro-scratches in hardwood. To prevent recurrence, place doormats and use felt pads under furniture, and remove shoes at the door. After cleaning, consider using a hardwood floor cleaner recommended for your finish and keep moisture to a minimum.
How do I get sand off a hardwood floor that’s already been tracked in and dried?
First, vacuum thoroughly to remove the top layer of dried sand, then try a damp microfiber approach to lift remaining particles. If sand is embedded, place a slightly damp cloth over the area for a few minutes to soften it before wiping and vacuuming again. Avoid soaking the floor—hardwood and excess water can warp or damage the finish.
Which cleaning solution is safe for hardwood floors when removing stubborn sand?
Use a hardwood floor cleaner that matches your finish (polyurethane, varnish, or oil-based) and follow the label dilution directions. If you’re unsure, test the product in a small inconspicuous area first, then clean with a microfiber mop rather than a wet mop. Rinse lightly if the cleaner’s instructions require it, and dry immediately to keep sand and moisture from combining into a gritty residue.
📅 Last Updated: October 29, 2026 | Topic: How to clean stubborn sand from hardwood floors? | Content verified for accuracy and freshness.
References
- Wood flooring
- 404 Error
- https://www.armstrongflooring.com/support/care-and-maintenance/hardwood.html
- https://www.bruce.com/en-us/flooring-advice/care-and-maintenance/hardwood-floor-cleaning.html
- Search | The American Cleaning Institute (ACI)
- https://www.epa.gov/indoor-air-quality-iaq/ventilation-and-indoor-air-quality-homeowner-s-guide
- https://scholar.google.com/scholar?q=cleaning+sand+from+hardwood+floors Google Scholar
- https://scholar.google.com/scholar?q=how+to+remove+grit+scratches+from+wood+flooring Google Scholar
- https://scholar.google.com/scholar?q=best+practices+for+cleaning+wood+floors+preventing+damage Google Scholar
[…] is for homeowners dealing with sandy grit from shoes, pets, or tracked-in dirt on finished or sealed hardwood floors. If you’ve noticed dull spots, scratches, or rough patches, you’ll want to follow the “dry […]