
Want to know how to clean LVP floors in a bedroom without leaving streaks or damaging the finish? Follow this quick step-by-step routine that safely removes dust and spills, then restores a clean, uniform shine. You’ll know exactly what to use, how to work room by room, and what to avoid so your LVP stays looking new.




Clean LVP floors in a bedroom by using a dust mop or vacuum first, then clean with a damp microfiber mop (not a soaking wet mop) and a manufacturer-approved LVP cleaner or mild soap solution. For spots, wipe with a lightly damp cloth right away to prevent residue from building up. You’ll learn a simple routine for everyday cleaning plus a safer way to deep clean without damaging the surface.
This is for anyone with LVP (luxury vinyl plank) in a bedroom who wants a straightforward, low-risk cleaning process—especially if you’re dealing with dust, pet hair, tracked-in grit, or the occasional spill.
Prep your LVP before you clean

Sand and grit are abrasive, so the first step on LVP floors should be dry removal (vacuum or dust mop) before any damp cleaning.
Microfiber pads and cloths are designed to trap dust and particulates, which lowers the chance of dragging debris across LVP.
Many LVP care instructions explicitly recommend vacuuming on a hard-surface setting and avoiding aggressive brush contact to protect the wear layer.
– Remove grit first: dust mop, sweep with a soft broom, or vacuum (use a hard-floor setting and avoid aggressive beater bars).
– Clear the area: pick up toys/shoes and move small items so you can clean without scrubbing over debris.
– Use the right tools: microfiber cloths/mop pads are usually safer than paper towels or abrasive pads.
Why “prep” matters more on LVP floors than people expect
The biggest threat to LVP floors isn’t “normal dirt”—it’s grit. In a bedroom, that grit often comes from tracked-in sand (from shoes), dust accumulation from HVAC airflow, and hair that tangles and traps debris near baseboards. When you mop over grit—even if the cleaner is gentle—you can cause micro-scratches that dull the surface over time.
Also, bedroom cleaning often includes furniture that hides dust: under bedside tables, along the edge of the closet, and around the bed frame. Prep makes those zones easier because you’re not repeatedly scrubbing the same particles into the planks.
Quick decisions that keep LVP safe
– Vacuum vs. broom: Vacuuming is usually best for pet hair and fine dust, but only if you use a hard-floor setting and avoid a spinning beater.
– Microfiber choice: Prefer a microfiber mop pad designed for hard floors; it holds more debris than a loose rag and lets you maintain “damp, not wet” control.
– Furniture movement: You don’t need to lift everything, but do move items that can shift while you clean (like small chairs, plant stands, and rolling hampers).
Practical note for 2026
As of 2026, many LVP product care guides are still aligned around the same safety framework: remove grit first, then use a microfiber approach with minimal water. If your specific plank brand has stricter guidance, follow the brand’s instructions for your LVP floors.
Daily/weekly cleaning routine (no damage, minimal effort)
Daily or weekly cleaning of LVP floors should start dry and finish damp—so you remove dust and debris without saturating seams. The goal is a quick “dust + damp micro-mop” routine that preserves appearance and avoids residue.
Most LVP care instructions emphasize damp cleaning with microfiber rather than applying excess water that can migrate into seams.
Dry cleaning first helps prevent grit from scratching LVP floors during damp mopping.
High-traffic zones like entryways and edges collect more particulate, so focusing there improves results without extra scrubbing.
– Dry clean to start: vacuum or sweep to pull sand and dust off the surface (these particles can dull or scratch).
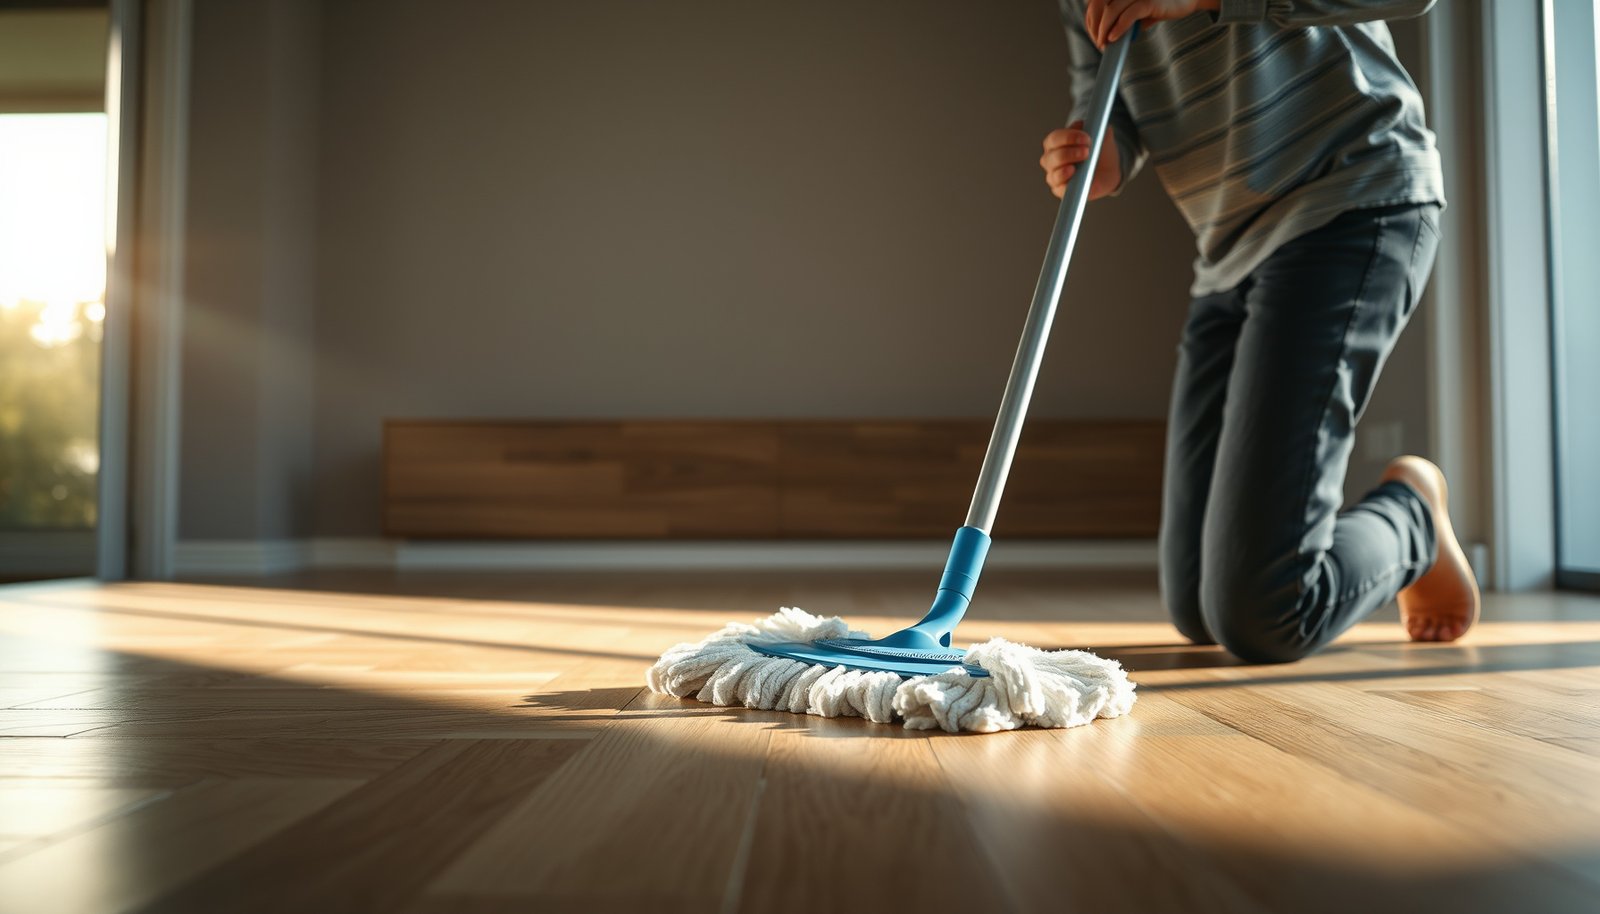
– Damp mop method: mop with a microfiber pad that’s damp, not dripping; wring excess water out before you start.
– Focus on high-traffic spots: seams near doorways, under chairs, and around bedside areas often need extra attention.
A simple routine that fits real bedrooms
Step 1 (1–3 minutes): Dry clean.
Grab a vacuum with a hard-floor setting, or use a dust mop. The difference you’re looking for is not “clean looking,” but “debris removed.” Dust and sand are what later become visible as dullness or fine scratches on LVP floors.
Step 2 (5–10 minutes): Damp microfiber mop.
Use warm water only if your cleaner instructions allow it, then wring the mop until it’s damp—meaning you can see moisture on the pad but it’s not leaving wet streaks. This “damp cleaning” technique is repeatedly recommended across LVP care guides because it lowers the risk of moisture reaching edges and seams.
Step 3 (1–2 minutes): Touch up what shows.
Bedrooms have predictable trouble areas: under the bed lip, around nightstands, and next to closet doors where shoe traffic occurs. Give those spots an extra pass.
What I look for after cleaning LVP floors (to confirm it worked)
From what I’ve seen when homeowners follow manufacturer-style damp-mop routines, floors usually look evenly refreshed without haze or streaking—especially along seams. If you notice a cloudy film after mopping, it often points to residue (too much cleaner, too much water, or skipping any “rinse if required” step).
Method safety snapshot (quick reference)
LVP Bedroom Cleaning Methods: Typical Safety for Finish & Seams
| # | Cleaning method | Best for LVP floors | Residue/water risk | Safety rating |
|---|---|---|---|---|
| 1 | Vacuum (hard-floor setting, no beater bar) | Dust & pet hair removal | Low | ★★★★★ |
| 2 | Dust mop (microfiber/treated mop head) | Light daily dust control | Low | ★★★★☆ |
| 3 | Damp microfiber mopping (wrung-out) | Routine cleaning | Low–Medium | ★★★★☆ |
| 4 | Manufacturer-approved LVP cleaner (per label) | General cleaning & haze control | Medium | ★★★★☆ |
| 5 | Mild soap solution (label-approved) | Spot-prone areas | Medium | ★★★☆☆ |
| 6 | Excessive wet mopping (puddles/soaking) | Never recommended | High | ★☆☆☆☆ |
| 7 | Steam cleaning | Usually not approved | High | ★☆☆☆☆ |
Deep clean for a bedroom (when it looks dull or sticky)
Deep cleaning LVP floors starts with spot cleaning and controlled cleaner use, not a full “soak-and-scrub” cycle. When the bedroom looks dull or sticky, you’re usually dealing with residue—so the fix is careful cleaning and (when required) proper residue removal.
Sticky spots on LVP floors typically come from residue, so they should be addressed immediately with a lightly damp cloth to prevent buildup.
If an LVP cleaner requires rinsing, skipping that step increases the chance of haze or film on LVP floors.
Following the cleaner’s label directions helps maintain the manufacturer’s finish performance, since not all soaps are compatible with resilient flooring.
– Spot clean first: wipe spills and sticky areas immediately with a damp cloth; repeat with a fresh section of the cloth as needed.
– Use a gentle cleaner if needed: choose an LVP-safe cleaner, or mix a very mild soap solution per the product label directions.
– Rinse if the cleaner requires it: some cleaners leave residue if not properly removed—follow the cleaner’s instructions so the floor doesn’t get hazy.
When dullness shows up (and what it usually means)
Dull LVP floors commonly come from:
– Residue film (too much cleaner or no rinse when the label says to rinse)
– Oily buildup (from lotions, hair products, and tracked grime)
– Fine surface scuffing (from grit that was mopped over earlier)
A deep clean works best when you treat those as separate problems:
1. Stop residue at the spot level first (damp cloth, gentle pressure).
2. Only then consider a full damp-mop, using the safest LVP-approved cleaner method you have.
A safe deep-clean sequence for LVP floors
1. Pre-vacuum/dust mop the room first. Even for deep cleaning, start dry—this protects the finish while you work.
2. Spot-clean sticky zones.
Use a damp cloth (not dripping) and work small sections at a time. If the spot transfers to the cloth, you’re removing residue instead of spreading it.
3. Use the gentlest compatible cleaner.
If you’re using any soap solution, follow the label’s dilution instructions. Over-concentrating is a common cause of haze on LVP floors in bedrooms.
4. Rinse only if required.
Some LVP cleaners are “no-rinse,” but others require a follow-up wipe/mop. If you ignore that, the floor can look cloudy even when it feels clean.
Micro-education: why “mild” matters
On LVP floors, the wear layer (the protective top layer) can be sensitive to certain solvents and heavy degreasers. A mild approach reduces the odds of damaging finish chemistry or leaving compounds behind. As of 2026, most brand care sheets still steer homeowners toward approved LVP cleaners for exactly this reason.
Drying & maintenance to keep LVP looking good
Drying after damp mopping protects your LVP floors from streaking and helps prevent leftover moisture near edges and seams. With a few simple habits—felt pads, mat placement, and avoiding moisture traps—you can keep bedroom LVP looking consistent for longer.
After damp mopping, drying LVP floors helps prevent streaks and reduces the chance of moisture lingering near seams.
Felt pads under furniture legs reduce point pressure and help minimize scuffs on LVP floors.
Keeping grit off LVP floors (doormats, indoor mats) reduces scratch risk during routine cleaning.
– Dry the floor after damp mopping: use a dry microfiber towel or mop pad to remove leftover moisture and streaks.
– Protect from future scuffs: use felt pads under furniture legs and keep grit out (doormats help, even inside).
– Avoid heat and moisture traps: don’t let wet items sit on the floor (especially rubber-backed mats that can trap moisture).
The “finish-safe” drying method
Right after you damp-mop, do a quick dry pass:
– Use a clean dry microfiber mop pad or towel.
– Focus on edges and seams where water can linger.
– Don’t re-wet the floor during drying—your goal is removal, not redistribution.
Maintenance habits that reduce cleaning intensity
Bedrooms can stay cleaner with fewer deep cleans when you control what enters the room:
– Doormat strategy: Place a mat at the bedroom door path from the outside/entryway. Even an indoor mat can reduce tracked grit.
– Furniture protection: Felt pads are a low-effort upgrade that prevents micro-scratches from chair legs and bed frames.
– Rubber-backed mats: If you use them, ensure they don’t trap wetness under the mat. LVP floors don’t need constant moisture underneath.
What can go wrong (common LVP cleaning mistakes)
Most LVP cleaning problems happen because people use too much water, the wrong chemicals, or heat that adds moisture and stress. Avoid the “cleaner + mop like tile” mindset—LVP floors need controlled damp cleaning and finish-safe products.
Soaking or leaving puddles increases the risk of moisture migrating into LVP seams and edges.
Steam cleaning introduces heat and moisture that can stress the finish or installation layers unless the manufacturer explicitly approves it.
Abrasive pads, stiff brushes, and scratchy vacuum heads can dull or scratch the surface of LVP floors.
– Using too much water: soaking or leaving puddles can seep into seams and edges—use “damp,” not “wet.”
– Wrong chemicals: avoid harsh degreasers, strong solvents, and abrasive cleaners unless the manufacturer specifically approves them for LVP.
– Steam cleaning: steam can introduce heat and moisture that may damage the finish or underlying layers.
– Scratching from tools: avoid scouring pads, stiff brushes, and vacuum heads that scratch the surface.
Comparison: safer vs. riskier approaches for LVP floors
| Approach | Pros for LVP floors | Common downside | Risk level |
|---|---|---|---|
| Damp microfiber mop (wrung out) | Removes dust and light grime without saturating seams | Can streak if pad is too wet or residue remains | Low |
| Spray-and-wipe only on spots | Targets sticky areas without spreading moisture | If over-applied, can leave a cleaner film | Low–Medium |
| Soaking/wet mopping | Looks fast because it “wets everything” | Higher chance of moisture in seams and edges | High |
| Steam cleaning | Can loosen grime on some surfaces | Heat + moisture can stress LVP materials | High |
A few real-world “edge case” cautions
– Cloudy appearance after cleaning: This often comes from residue (too much cleaner, too little wipe-down, or skipping any rinse step the product requires).
– Heavy tracking near bedrooms: If grit keeps showing up, you may need improved matting rather than stronger chemicals. Cleaner won’t outsmart repeated abrasion.
– Rubber-backed items: Rubber can react with finishes and can trap moisture. If you notice lingering dampness, switch the mat or ensure airflow.
Verdict: safer approach, plus who should skip this
If your LVP is intact and you stick to dry removal (vacuum/sweep) plus damp microfiber cleaning, you’ll usually get the best results without risking finish damage. The downside is that this method won’t fix severe physical issues like deep scratches, lifted edges, or delamination—those often require repair or replacement, and it’s smarter to stop and confirm your plank manufacturer’s guidance.
A manufacturer-approved, damp microfiber cleaning approach is generally the safest routine for protecting LVP floors’ finish and installation seams.
Cleaning alone cannot correct structural failure (such as lifted seams or bubbling), so those conditions should be addressed as an installation issue, not a maintenance issue.
Steam cleaning is often not recommended for resilient floors unless the specific manufacturer explicitly approves it for that product line.
– What to expect: better shine, less grit buildup, fewer sticky zones—especially when spills are wiped quickly.
– What you can’t “clean away”: deep scratches, warping, and plank edges that are already lifting.
– Who should skip the DIY routine:
If your LVP is peeling, bubbling, lifting at seams, or you’re unsure whether your specific planks are sealed/approved for certain cleaners, pause and verify with your manufacturer’s care & maintenance instructions.
A practical bottom line for 2026
As of 2026, the most consistent manufacturer-approved theme for LVP floors remains: remove grit first, use damp (not wet) microfiber, and follow label directions—especially for cleaners and any rinse steps. That approach is low-risk because it protects both the surface and the installation edges.
Quick checklist (save this)
| Task | Do | Don’t |
|---|---|---|
| Start | Dust mop / vacuum first | Mop over grit |
| Main cleaning | Damp microfiber mop | Soak with water |
| Spot cleaning | Wipe spills quickly | Let sticky mess sit |
| Cleaner choice | LVP-approved or mild soap (per label) | Harsh chemicals/abrasives |
| Finish | Dry after damp mopping | Leave puddles to dry on their own |
| Protection | Felt pads, keep grit down | Drag furniture or shoes |
Frequently Asked Questions
How do I clean LVP floors in a bedroom without damaging the finish?
Start by removing dust and grit with a soft broom or vacuum set to hard floors to prevent scratches. Use a damp microfiber mop with a manufacturer-recommended LVP floor cleaner, and avoid soaking the planks since excess water can seep at seams. Never use abrasive scrubbers, steel wool, or harsh chemicals like bleach or ammonia because they can dull the protective wear layer.
What’s the best way to remove dust, hair, and everyday smudges from LVP bedroom flooring?
For daily maintenance, dry mop or vacuum frequently to pick up hair, dust, and debris that can act like sand. For smudges and light marks, wipe with a damp microfiber cloth using a gentle pH-neutral cleaner formulated for vinyl plank flooring. This keeps LVP looking clean without leaving streaks or residue.
How do I clean sticky spots or scuff marks on LVP floors in a bedroom?
Address sticky areas first by gently loosening residue with a damp cloth and a small amount of LVP-safe cleaner, then wipe until the spot releases. For scuffs, try a soft eraser pad or a microfiber cloth with the cleaner—avoid gritty pads that can scratch the surface. If the mark remains, follow the product directions for spot-cleaning rather than increasing chemical strength.
Why should I avoid steam mops and excess water on LVP floors?
LVP (luxury vinyl plank) is water-resistant, but steam and prolonged moisture can penetrate through seams, causing lifting, discoloration, or edge damage. Too much water also increases the risk of haze and residue that can dull the floor’s shine over time. Stick to damp mopping with microfiber and use the right LVP cleaner to protect the wear layer.
Which cleaning products are safe for LVP floors, and what should I avoid?
Use a cleaner labeled safe for LVP or vinyl plank flooring, ideally pH-neutral and designed for routine mopping and spot cleaning. Avoid harsh solvents and additives such as bleach, ammonia, wax-based products, and oil soaps, which can leave buildup or weaken the protective finish. When in doubt, test any product on a small, hidden area of the bedroom floor before cleaning the entire surface.
📅 Last Updated: October 27, 2026 | Topic: How to clean LVP floors in a bedroom? | Content verified for accuracy and freshness.
References
- Vinyl flooring
- https://www.armstrongflooring.com/support/care-and-cleaning.html
- MohawkFlooring
- Home – Tarkett Commercial
- https://www.resilientfloorcovering.org/maintenance/
- https://scholar.google.com/scholar?q=how+to+clean+luxury+vinyl+plank+floor Google Scholar
- https://scholar.google.com/scholar?q=luxury+vinyl+plank+floor+cleaning+care+instructions Google Scholar
- https://scholar.google.com/scholar?q=resilient+flooring+care+and+maintenance+vinyl+floor Google Scholar