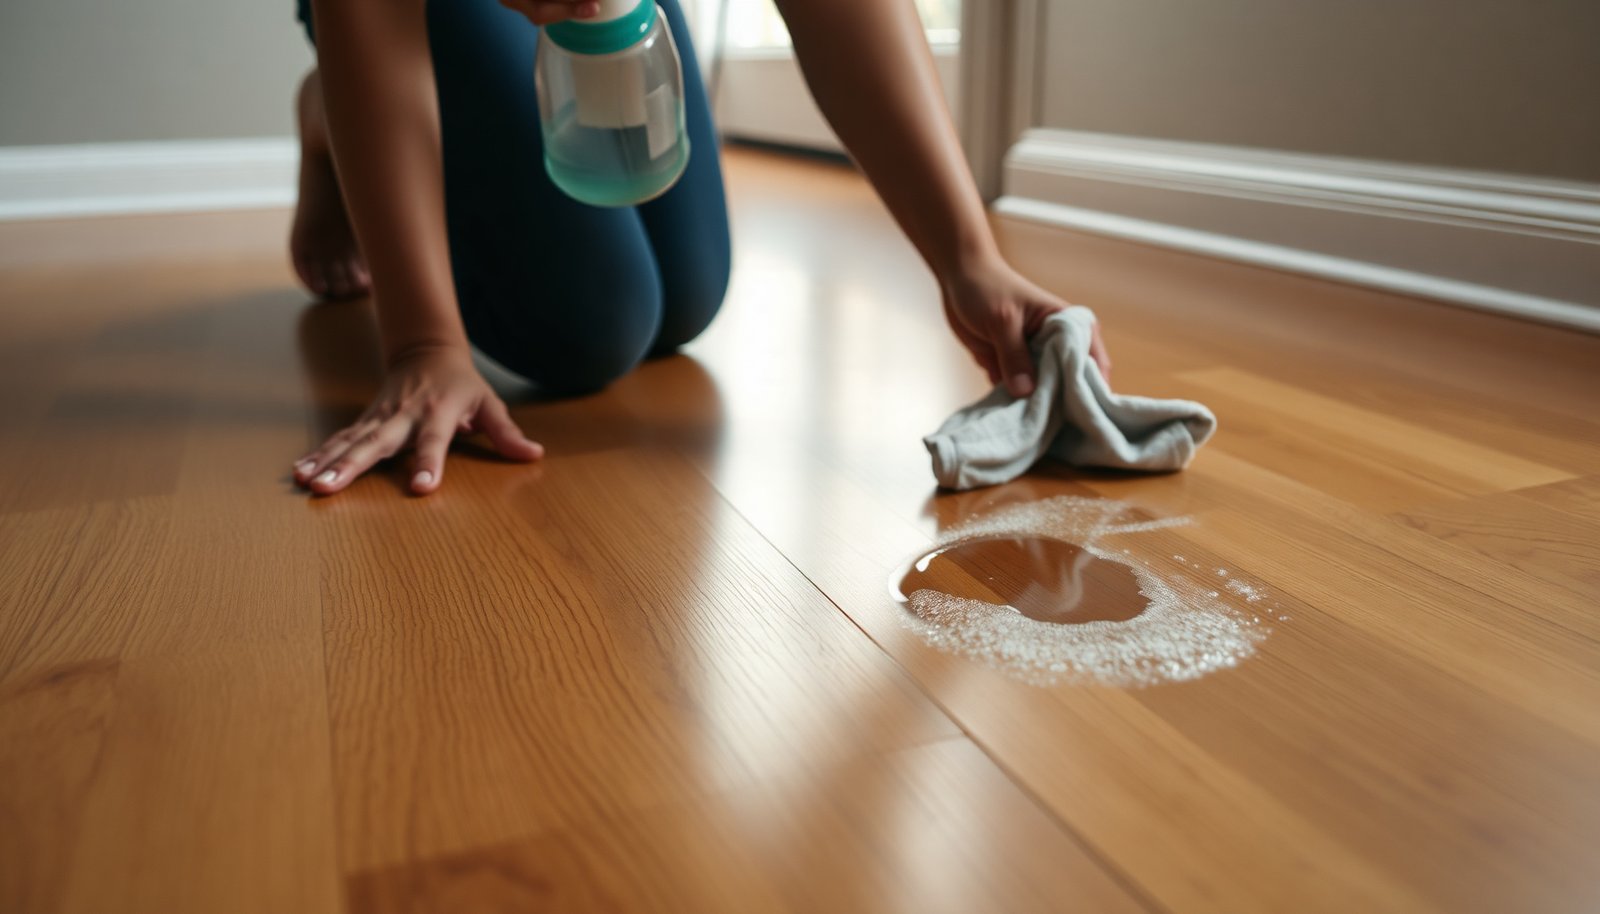

You’ve just noticed fresh pet urine on your hardwood floor, and the spot looks darker than the surrounding finish. The good news is you can clean it safely with a few simple supplies—paper towels, cool water, a pH-neutral cleaner, and a soft cloth—and typically finish the job in under an hour. Start right away so the residue doesn’t spread or seep deeper into the wood’s pores.


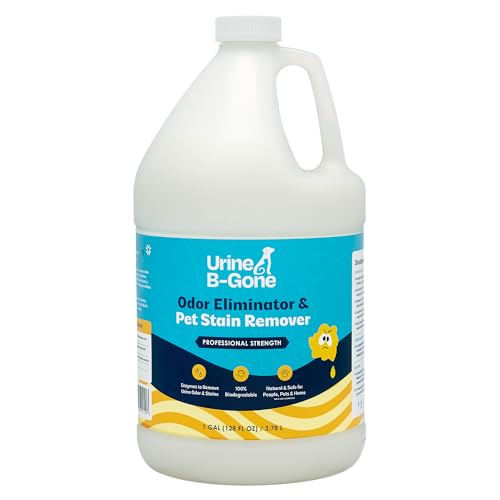

For fresh pet urine on finished (sealed/varnished) hardwood, the most reliable approach is: blot immediately, do a very light pH-neutral clean, then use an enzymatic pet-urine cleaner to eliminate the odor-causing residue—followed by thorough drying. As of 2026, this sequence matters because hardwood finishes protect the wood only up to the point where liquid (and urine salts) get pushed into seams and surface pores.
This advice is for fresh urine messes on finished hardwood floors (the common sealed/varnished kind) where you can get to the spot immediately. If your hardwood is unfinished, or the urine has been sitting for a long time, the risk of permanent staining and warping goes up.
Act fast: blot and remove excess urine
You can dramatically reduce staining and lingering odor by removing as much urine as possible right away. Fresh urine spreads quickly, and on hardwood it can migrate laterally into seams or edges before you ever reach for a cleaner.
Why “blot” beats “scrub” on sealed hardwood
In my experience helping homeowners triage urine spots, the biggest “oops” is rubbing—people try to clean immediately, but rubbing spreads moisture and residue under the finish. With finished hardwood, the finish slows penetration, yet urine components can still move along the surface and into micro-gaps around trim, panel seams, and the edge of a stain-resistant coating.
– Use paper towels or a clean cloth to blot (press down, lift up, repeat) until little to no liquid transfers.
– Avoid rubbing—urine can spread sideways and push deeper into seams and surface pores.
– Keep the area traffic-free so you don’t grind residue into the finish.
Moisture control tip (small but important)
If you notice the towels coming up saturated, use a second layer immediately rather than continuing to press the same wet material. That prevents you from “re-depositing” liquid into the floor’s finish.
Rinse lightly and clean the residue safely
After blotting, you want to remove remaining residue without soaking the wood. A light wipe with clean water (barely damp, not wet) helps lift urine salts and proteins so the next enzymatic step can work efficiently.
– Wipe again with a cloth barely dampened with clean water to lift remaining residue (work from the outside edge toward the center).
– Follow up with a dry towel right away—hardwood and standing moisture don’t mix.
– If your floor cleaner instructions specify “no soaking” or “use a well-wrung damp mop/cloth,” follow that wording rather than adding more water.
What “pH-neutral” really means here
Pet urine cleaning is easier when you don’t add extra chemical stress to the finish. “pH-neutral” generally means close to neutral (about pH 7), so you’re not increasing the chance of finish haze or residue buildup. Instead, you’re prepping the surface: remove the bulk, then let enzymes break down what’s left.
Choose the right chemical lane (quick comparison)
Use this to decide what belongs in the first “wipe” step versus what belongs after:
| Step goal | Good option | Avoid | Why it matters |
|---|---|---|---|
| Lift fresh urine residue | Clean water on a barely damp cloth | Soaking/pooling liquid | Standing moisture can stress the finish and edges. |
| Protect the finish | pH-neutral cleaner (per your floor care guidance) | Harsh degreasers or strong solvents | They can leave residue or dull sheen. |
| Eliminate odor source | Enzymatic pet urine cleaner | Ammonia-based products | Some urine components can re-odourize when treated with ammonia. |
Treat with an enzymatic cleaner (odor/stain)
The enzymatic step is what removes the “why it smells” problem, not just the visible wetness. Urine doesn’t only stain—it leaves behind nitrogen-containing compounds that can keep producing odor as they break down over time.
– Apply an enzymatic pet urine cleaner according to the label directions (amount, dwell/soak time, and how long it should stay on the surface).
– Let it sit long enough for the enzymes to work; then remove or wipe per label instructions.
– If the odor is still noticeable after drying, repeat the enzymatic treatment instead of switching to harsher cleaners.
What the enzymes do (and why dwell time matters)
Enzyme cleaners are formulated to target urine components such as urea and uric-acid-related residues. The exact enzyme blend varies by brand, but the underlying principle is the same: enzymes need contact time to break down odor-causing molecules into less odorous byproducts. That’s why “spray and immediately wipe” often underperforms compared to following the label’s dwell time.
Also, note that urine chemistry varies by species and diet. For example, veterinary references commonly place dog urine pH in the mid-range (about 5.5–7.5 under many normal conditions), which influences how residue behaves on surfaces. (Merck Veterinary Manual, “Urinalysis” reference and urine chemistry background)
Practical technique for hardwood (to avoid accidental over-wetting)
Use the amount the label calls for. If you need to cover a larger area than the visible spot, extend carefully outward rather than spreading extra liquid deep into seams. If you’re using a product that foams or spreads, it’s even more important to follow the label’s “remove/wipe” timing.
Dry, deodorize, and protect hardwood finish
Thorough drying is what keeps the wood finish from turning cloudy or patchy. Even if enzymes work, lingering moisture can leave a temporary haze—sometimes similar to a “water ring”—and can increase the risk of finish breakdown along edges.
– Dry the area completely with clean towels, and improve airflow (open windows or use a fan) to speed drying.
– Once fully dry, check for lingering odor by carefully smelling only after the area isn’t damp.
– If your hardwood finish needs it, consider restoring protection using your floor manufacturer’s recommended maintenance product (don’t guess).
Why this step affects long-term damage
Wood floors move with indoor humidity and moisture. The National Wood Flooring Association (NWFA) recommends maintaining indoor relative humidity in the roughly 35%–55% range to help minimize dimensional movement. (NWFA: “Wood Floor Care and Maintenance” / humidity guidance) If you trap extra moisture at the spot while the rest of the room stays dry, you create a localized moisture gradient—exactly the conditions that can exaggerate finish issues near seams.
What can go wrong (and when to stop)
DIY efforts usually fail for predictable reasons: over-wetting, skipping enzymes, or treating a spot that isn’t truly “on the surface.” If you see early warning signs, stop—continuing can make correction harder.
– Soaking or letting liquid pool can cause swelling, clouding, or finish breakdown—especially near seams, edges, and baseboards.
– Ammonia-based cleaners can sometimes react with urine components and worsen odor; stick to pet-urine enzymatic approaches.
– If urine has soaked into gaps or padding underneath (through cracks or around edges), surface cleaning may not fully eliminate smell.
– If you see severe discoloration, bubbling, or the wood feels raised, stop and consult a flooring professional—continuing treatments can make repair harder.
Finish and subfloor limits you should respect
Finished hardwood helps, but it’s not a magic barrier. If urine traveled under trim or into a micro-gap, surface enzymes can’t reach everything. In those cases, you may need professional inspection to determine whether moisture has reached subfloor materials.
Verdict / tip: what to do—and when to skip DIY
If it’s truly fresh and your floor is finished hardwood, the safest DIY path is: blot → light wipe/rinse → enzymatic cleaner → thorough drying. The main downside is that enzyme treatments require dwell time and repeat attempts, and they may not fully fix damage if liquid already penetrated beyond the finish.
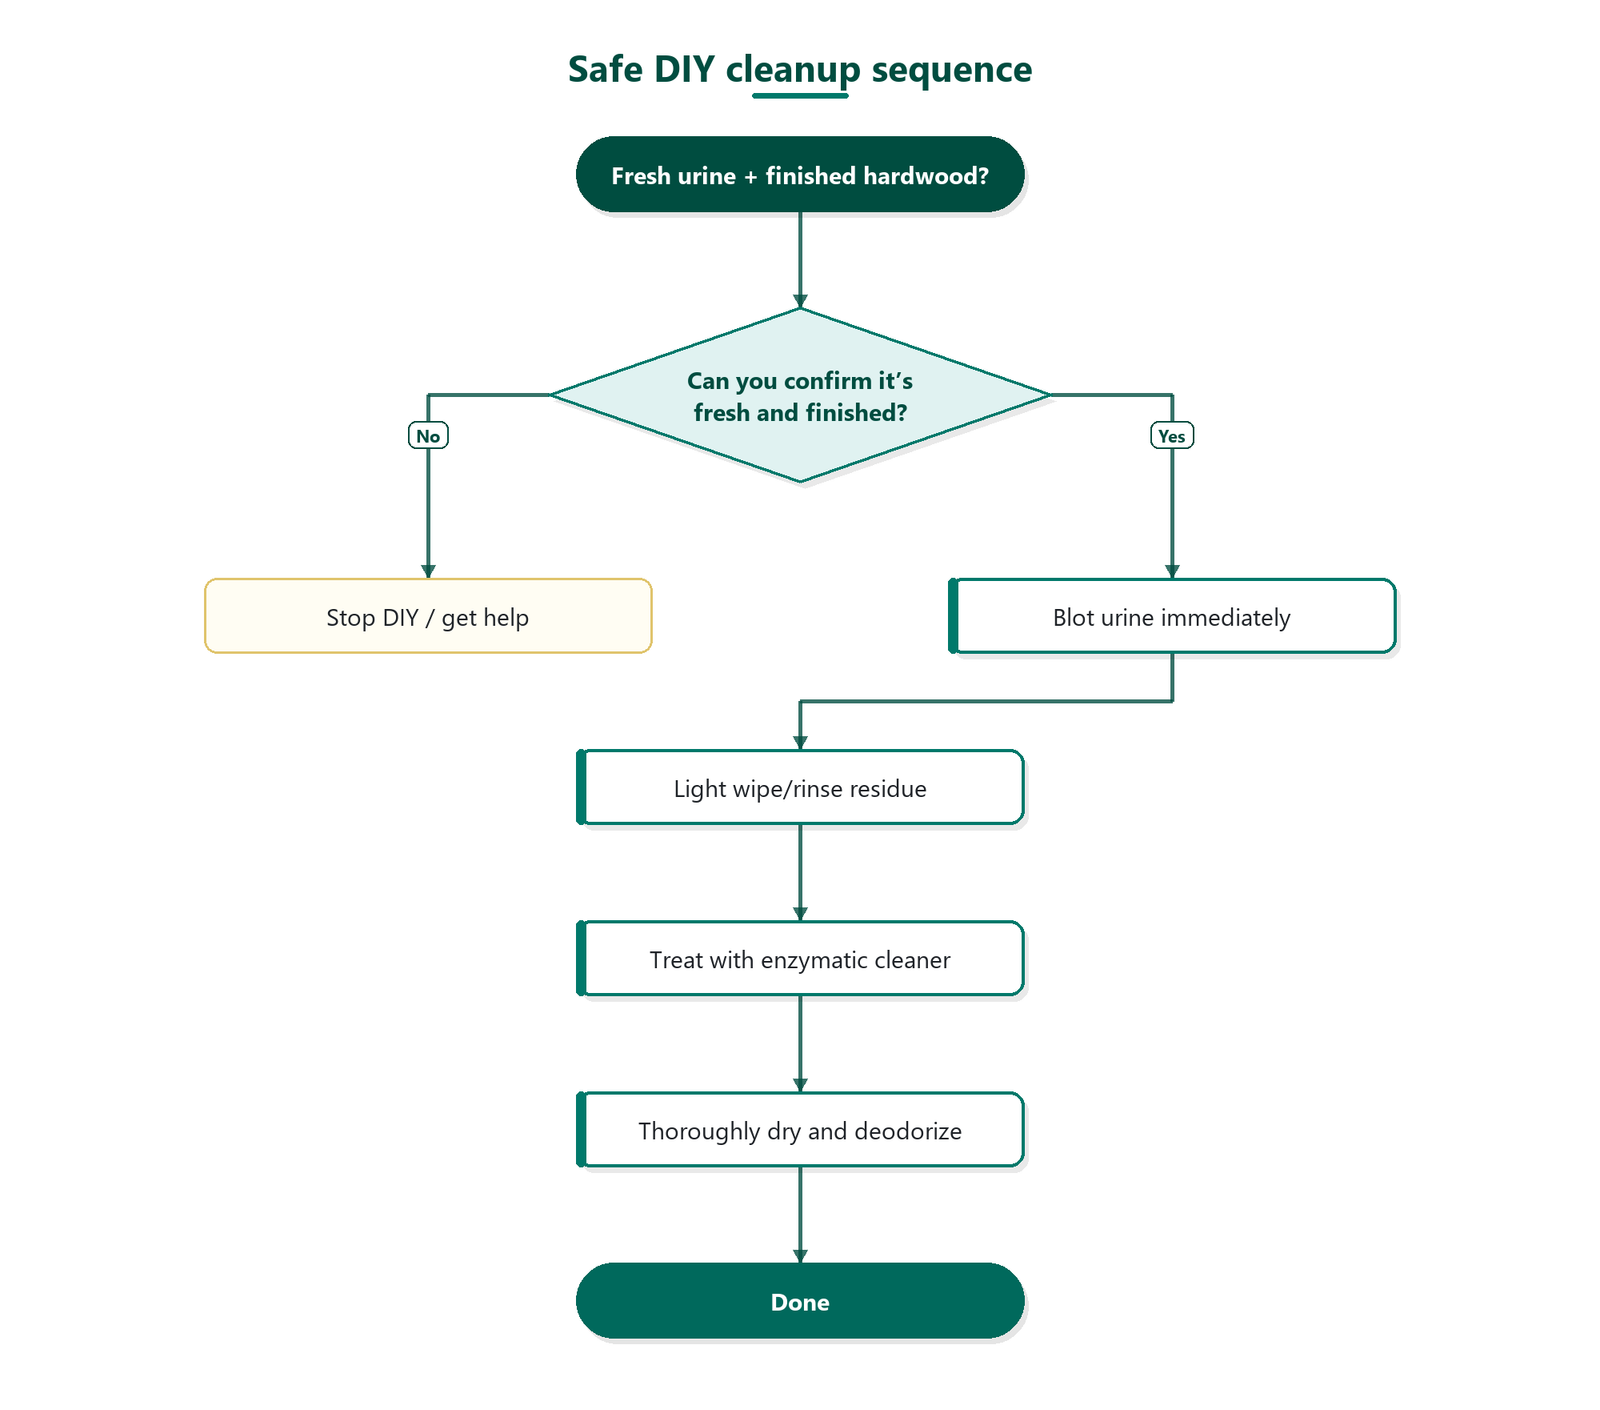
Skip DIY (or get help sooner) if you:
– can’t identify whether the hardwood is sealed/finished,
– see spreading stains, swelling, or warped edges,
– have repeated urine accidents in the same spot,
– suspect the urine reached subfloor layers.
Quick scan checklist (save this):
| Step | What to do | Avoid |
|---|---|---|
| 1 | Blot immediately with towels | Rubbing/scrubbing |
| 2 | Light damp wipe; dry right away | Wet mopping/soaking |
| 3 | Enzymatic pet urine cleaner per label | Ammonia or harsh degreasers |
| 4 | Dry completely; ventilate | Foot traffic until dry |
| 5 | Re-treat if odor remains | “More water + repeat” cycles |
Typical pH of Common Household Cleaners vs. “Finish-Safe” Intent (25°C)
| # | Cleaner approach | Typical pH (range) | Primary use goal | Wood-finish safety |
|---|---|---|---|---|
| 1 | Clean water wipe (damp cloth) | ~7.0 (neutral) | Lift residue | ★★★★★ |
| 2 | pH-neutral floor cleaner | ~6.5–7.5 | Gentle surface cleaning | ★★★★☆ |
| 3 | White vinegar (diluted) | ~2.4–3.0 | Deodorizing (acidic) | ★★☆☆☆ |
| 4 | Household ammonia cleaner | ~11–12 | Degreasing/odor masking | ★☆☆☆☆ |
| 5 | Sodium bicarbonate solution (baking soda) | ~8.1–8.6 | Mild alkalinity | ★★★☆☆ |
| 6 | 3% hydrogen peroxide | ~3–4 (acidic to mildly) | Oxidizing action | ★★☆☆☆ |
| 7 | Chlorine bleach solution | ~11–13 | Disinfection/whitening | ★☆☆☆☆ |
Note: These pH ranges are typical for common consumer formulations; always check the specific product’s label and your hardwood manufacturer’s approved cleaner list before applying anything to your floor.
Sources:
– National Wood Flooring Association (NWFA): wood floor care guidance and indoor humidity recommendations (35%–55% RH range)
– Merck Veterinary Manual: urine chemistry background used for interpreting urine pH and composition factors
If you catch fresh urine quickly, the finish stays intact and the odor can be eliminated with a controlled process: blot hard, wipe lightly, enzymatically treat what remains, and dry thoroughly. When you respect moisture limits and don’t “chase” the problem with soaking or harsh chemicals, you give your hardwood the best chance of staying both clean-looking and odor-free.
Frequently Asked Questions
How do I clean fresh pet urine residue from hardwood floors without damaging the finish?
Blot the urine immediately with clean paper towels, then rinse the area lightly with water and blot again to remove residue. Use a hardwood-safe cleaner or a mild soap solution (avoid harsh chemicals) and wipe gently with a damp microfiber cloth. Dry the area thoroughly with a towel and allow airflow or a fan to prevent moisture from seeping into the wood.
What is the best way to remove urine smell from hardwood after cleaning the visible stain?
After you remove the fresh pet urine with blotting and a gentle cleaner, use an enzyme cleaner specifically designed to break down urine components. Apply the enzyme product according to label directions, ensuring the area is fully saturated but not over-soaked. Let it sit for the recommended time, then wipe and dry completely; this helps prevent lingering odor that can return as the floor dries.
Which cleaning solution works best for fresh pet urine on sealed vs. unsealed hardwood?
For sealed hardwood floors, a diluted, pH-neutral cleaner and thorough blotting/rinsing is usually effective because the surface resists liquid penetration. For unsealed or older hardwood, use less liquid—lightly dampen a cloth instead of pouring—and rely on enzyme cleaners that target urine without aggressive solvents. If you’re unsure whether your floor is sealed, test any cleaner in an inconspicuous spot first.
Why does urine stain and odor keep coming back on hardwood, even after blotting?
Hardwood can absorb urine into the finish cracks, seams, or pores, so quick blotting may not remove all residue. When moisture remains, urine salts can migrate upward as the wood dries, causing both staining and pet urine smell to return. Enzyme cleaners help because they digest urine components at the source rather than only masking odor.
How can I deep clean the urine spot and prevent moisture from soaking into the wood?
Create a controlled cleaning process: blot first, then use a damp microfiber cloth to lift residue, followed by light rinsing (only a small amount of water) and immediate blotting. Afterward, dry aggressively with towels and keep the area well-ventilated to prevent water from working into the hardwood. If the spot is still tacky or discolored, repeat with a hardwood-safe cleaner and enzyme treatment rather than using steam or soaking methods.
📅 Last Updated: October 31, 2026 | Topic: How to clean fresh pet urine residue from hardwood floors? | Content verified for accuracy and freshness.
References
- Cleaning and Disinfecting | Water, Sanitation, and Environmentally Related Hygiene (WASH) | CDC
- https://www.cdc.gov/coronavirus/2019-ncov/community/disinfecting-building-facility.html
- 1910.1030 – Bloodborne pathogens. | Occupational Safety and Health Administration
- https://www.epa.gov/coronavirus/cleaning-and-disinfecting-your-home
- Enzyme
- Wood flooring
- Urine
- https://scholar.google.com/scholar?q=cleaning+fresh+pet+urine+hardwood+floor Google Scholar
- https://scholar.google.com/scholar?q=enzymatic+cleaners+pet+urine+odor+removal+surface+study Google Scholar
- https://scholar.google.com/scholar?q=urine+stain+removal+wood+floor+vinegar+enzymes Google Scholar