
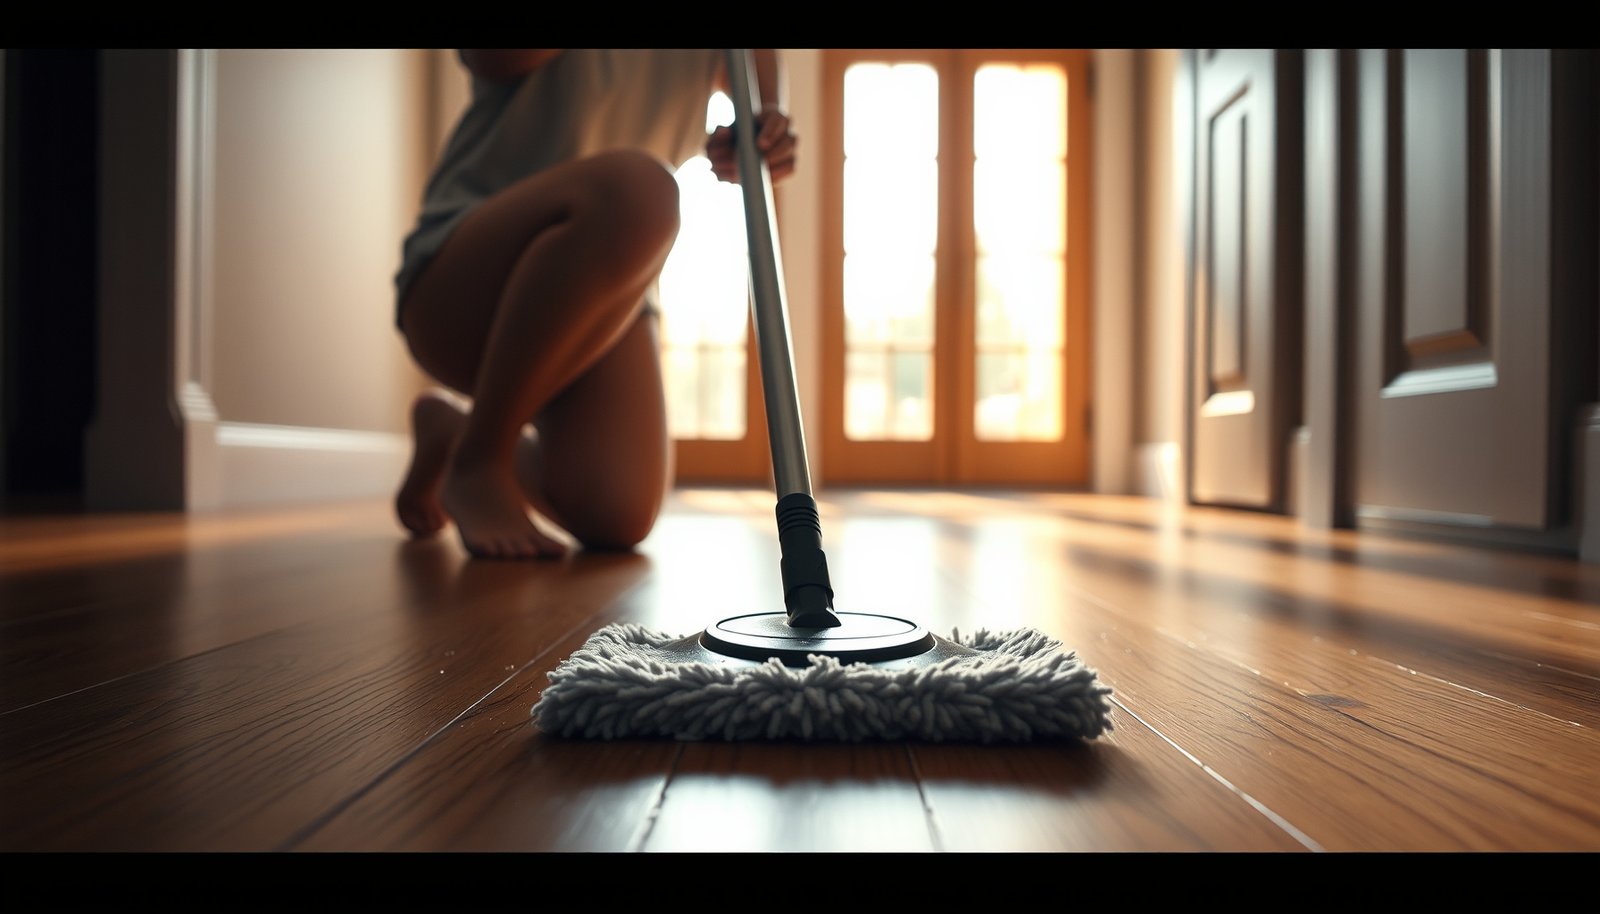

Wondering how to clean engineered wood floors in an entryway without dulling the finish or warping the planks? Use the straightforward routine: dust or vacuum with a soft brush, then mop with a barely damp, pH-neutral cleaner and dry immediately. If you follow this method, you’ll remove tracked dirt and grime safely and keep the floors looking new.



Cleaning engineered wood floors in an entryway is simple: keep grit off the surface, then use a microfiber mop with a wood-floor cleaner that matches your finish (usually pH-neutral). Use as little moisture as possible, and dry promptly to avoid swelling or finish damage. Below, you’ll get a safe routine for daily messes and a method for deeper cleaning without ruining the floor.
If your entryway gets tracked-in dirt, salt, mud, or heavy foot traffic, this guide is for you. It’s written for most engineered wood floors with a surface finish—just remember to follow your specific manufacturer’s care instructions first, since finishes can differ.
Prep and protect your entryway engineered wood floor
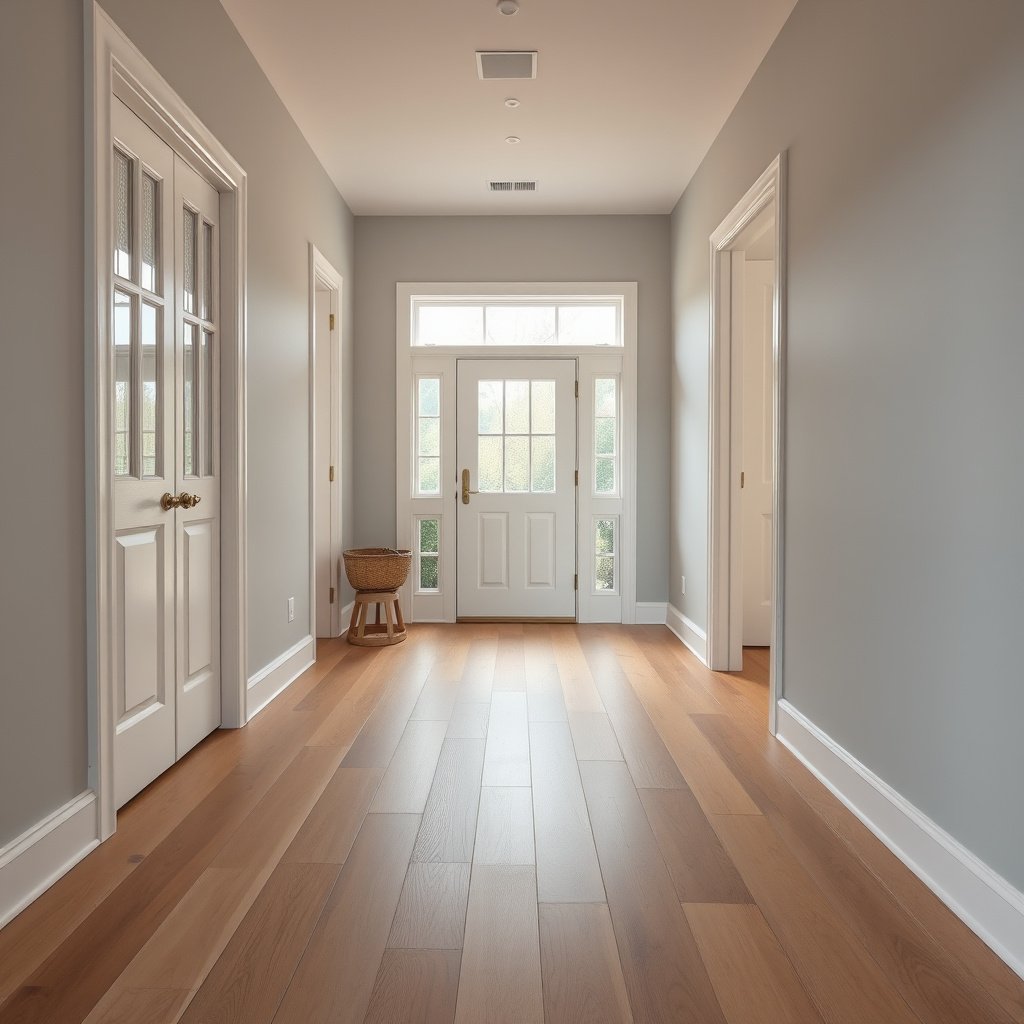
You can prevent most cleaning problems before you start by controlling abrasive grit and dust at the source. In 2026, the highest-impact step for an entryway engineered wood floor is still the “walk-off first” system: mats + a soft-dry removal before any damp cleaning.
Entryway mats trap sand and salt before they contact a finished wood surface, reducing micro-scratching.
Using a vacuum with a soft brush attachment removes loose debris without grinding grit into the wear layer.
Put mats to block sand and salt
Two mats matter more than people expect. Place one at the outside door (where wet footwear enters) and one inside (where residual grit falls off). For best results on an entryway engineered wood floor, shake outdoor mats outdoors on a schedule (weekly during high-sand months, more often during storms). This simple step cuts the amount of abrasive particles you’ll otherwise “polish” into the finish.
Do a quick dry pass before you clean
Before using any cleaner, remove loose material. For an entryway engineered wood floor, the goal is friction control: loose grit should be picked up, not smeared. Use either:
– A broom with soft bristles or
– A vacuum with a non-beater brush head
This dry pass is especially important if you get tracked-in sand or salt, because those particles are hard enough to abrade most wood finishes. For context, quartz (a common component of sand) scores about 7 on the Mohs hardness scale, which is high compared with typical cured floor finishes. USGS — Mohs hardness scale background
Also, avoid cleaning immediately after a mud track without removal; mud grit is often a mixture of mineral particles plus water that can dry into an abrasive film.
Daily and weekly cleaning routine (the safe way)
The safest routine for a finished engineered wood entryway is “dry first, barely damp second.” You’ll preserve appearance and reduce risk to seams and edges by spot-cleaning small wet spots and limiting whole-floor moisture.
Most finished wood-floor care guidance emphasizes “damp, not wet,” because excess moisture can reach joints and affect performance.
Microfiber mops help lift grime with less liquid than string mops, which reduces the chance of puddling on an entryway engineered wood floor.
Daily: remove grit, then spot-clean
For everyday messes in an entryway engineered wood floor:
– Sweep daily as needed (or vacuum using a soft attachment).
– Spot-clean damp drips with a barely-wet microfiber cloth.
Practical spot-clean method:
1. Blot (don’t scrub) with microfiber to lift the liquid.
2. Re-wipe with a second cloth that’s only lightly damp to remove residue.
3. Dry immediately with a clean, dry microfiber cloth.
This approach matters because entryway spills are rarely “pure water”—they often include soil, salt, cleaning residues, or shoe finish transfer that can haze if left to dry.
Weekly: damp-mop with a manufacturer-approved cleaner
For weekly upkeep:
– Damp-mop using a microfiber mop.
– Use a wood-floor cleaner approved for your finish type (often pH-neutral).
– Work in small sections and avoid leaving puddles.
“Damp” is the key word. If your microfiber mop is actively dripping, it’s too wet for most entryway engineered wood floor care instructions. Many official care guides specifically call for wringing mops well and using minimal moisture for finished wood floors.
How I think about the process (what works in real entryways)
A routine that’s forgiving is better than a routine that’s perfect. If you consistently prevent grit from accumulating and address moisture quickly, you usually get the “clean enough” look without finish damage.
Deep cleaning engineered wood in a traffic-heavy entryway
Deep cleaning is warranted when buildup dulls the finish—not just when the floor looks dirty. For an entryway engineered wood floor, the safest deep-clean strategy is the “clean the cloth, not the floor” damp-wipe approach to avoid soaking seams.
Deep cleaning finished wood floors typically uses a controlled amount of cleaner applied to the cleaning tool first, then wiped with light pressure.
Gentle spot treatment followed by a clean re-wipe reduces residue buildup that can cause haze.
Use the “damp clean” method
When buildup dulls the finish:
– Apply the cleaner to the microfiber (not directly to the floor).
– Wipe with light pressure.
– Re-wipe with a clean, slightly damp microfiber if the manufacturer’s instructions recommend it.
This method respects how entryway engineered wood floors behave under moisture. When liquid spreads, it has more opportunity to travel toward seams, edges, and openings around transitions—areas that are harder to keep fully sealed over time.
Treat scuffs first, then clean properly
If the floor has scuffs:
1. Try gentle spot treatment first with a microfiber pad or cloth (if your floor’s care guide allows it).
2. Rub lightly—don’t grind.
3. Re-wipe with clean microfiber that’s only slightly damp to remove any residue.
Important: many people reach for abrasive pads when scuffs show up. On a finished engineered wood entryway, that’s risky because abrasion can cut through the wear layer and amplify the appearance of wear.
Drying and maintenance to prevent damage
Drying is not a final step—it’s part of the cleaning method. After any damp cleaning on an entryway engineered wood floor, drying promptly helps prevent swelling, finish dulling, and edge-related problems.
Drying immediately after damp cleaning reduces the time moisture can sit on a finished wood surface.
Avoiding moisture at seams and along the perimeter is a core principle in engineered wood floor maintenance.
Dry with microfiber (or plan your route)
After damp cleaning, do one of the following:
– Dry with a clean, dry microfiber cloth, or
– Let it air-dry fully before foot traffic resumes
If your entryway is busy, schedule cleaning when there’s a window of time where you can keep the area off the floor (even 15–60 minutes can matter, depending on humidity and ventilation).
Prevent moisture events from becoming floor damage
For a durable entryway engineered wood floor finish:
– Wipe spills immediately.
– Avoid cleaning methods that soak edges, seams, or the perimeter.
– Use only enough cleaner to lift residue, not enough to “rinse” the floor.
If you have an entry mat, also check the mat’s rubber backing and any chemicals from doormats. Some mat adhesives and treatments can transfer and leave marks that look like “finish problems.”
What can go wrong (and how to avoid it)
The biggest risks are excess water, incompatible products, and abrasive debris grinding into the finish. If your entryway engineered wood floor shows hazing, peeling, or recurring dull patches, these are usually the causes—and they’re preventable.
Steam and wet mopping can expose the engineered wood floor finish to excess heat and moisture, increasing the chance of damage near seams.
Harsh chemicals (for example, bleach or strong solvents) can strip or haze certain wood finishes and manufacturer warranties may require approved cleaners only.
Pros/cons: damp microfiber vs. wet methods
Here’s a practical comparison for entryway engineered wood floors:
| Cleaning approach | Pros | Cons / risk areas |
|---|---|---|
| Damp microfiber + approved pH-neutral cleaner | Best balance of cleanliness and finish safety; minimal moisture | Requires discipline (wringing cloth/mop well); may take a second pass for heavy buildup |
| Wet mop / soaking rinse | Can move grime quickly | Higher risk of puddles traveling to seams and edges; more likelihood of swelling/dulling |
| Steam mop | Quick for some surfaces | Heat + moisture can degrade finished surfaces; steam can reach joints and compromise long-term appearance |
Common mistakes to avoid
1. Too much water. Wet mops, steam, and “flooding” are the fastest ways to create finish problems or allow moisture to affect joints.
2. Wrong products. Avoid harsh cleaners (like bleach) and strong solvents unless your floor manufacturer explicitly approves them.
3. Skipping grit removal. Entryways track sand and salt constantly. If you don’t dry-remove grit first, you increase scratch risk even when the cleaner is “gentle.”
If your floor has lifting edges, water staining, or a finish that’s already failing, stop and refer to your warranty/care guide. At that point, your goal changes from “cleaning” to “stabilizing and diagnosing.”
Verdict / tip: the best approach for entryway engineered wood floors
The best overall method for most homes is: dry remove grit first, then use a damp microfiber mop with the correct wood-floor cleaner, and dry promptly afterward. This routine protects the wear layer, reduces scratch development, and keeps the entryway engineered wood floor looking consistent in 2026 and beyond.
Here’s what you gain—and what you give up:
– Downside: it takes a routine mindset (mats + frequent dry sweeps + not over-wetting). Also, entryway wear is unavoidable, so this is prevention more than repair.
– Skip this method if: you suspect active delamination/lifting, you’ve had prior water damage, or your finish is failing. In those cases, you’ll need guidance specific to your floor’s construction and warranty terms.
If you’re not sure what “finish type” you have (urethane, aluminum-oxide, water-based, etc.), look for the label or warranty card terms. Following the manufacturer’s cleaner approvals is the safest “default” even when general care advice sounds similar.
Quick checklist (scan and save)
| Situation | Do this | Avoid |
|---|---|---|
| Daily grit/sand | Sweep or vacuum with soft attachment | Dragging debris across the surface |
| Wet spills | Wipe immediately with microfiber | Letting moisture sit or soak in |
| Weekly cleaning | Damp microfiber mop with approved cleaner | Soaking the floor or leaving puddles |
| Stubborn spots | Clean on microfiber; re-wipe to remove residue | Steam, abrasive pads, harsh chemicals |
| After cleaning | Dry immediately | Walking on it while it’s wet |
Sources
– National Wood Flooring Association (NWFA) guidance on cleaning/maintenance for wood floors.
– USGS (United States Geological Survey) — Mohs hardness scale background (for understanding abrasion risk from minerals in tracked-in grit).
Common Entryway Grit (Minerals) and Relative Scratch Risk on Finished Engineered Wood
| # | Tracked-in material | Typical Mohs hardness | Why it matters | Finish scratch potential |
|---|---|---|---|---|
| 1 | Quartz sand (common playground/sidwalk grit) | 7 | Hard mineral particles abrade wear layers | ★★★★★ |
| 2 | Feldspar/granite dust | 6 | Still abrasive enough to dull finishes over time | ★★★★☆ |
| 3 | Rust/iron oxide (hematite-like particles) | 6.5 | Abrasive dust plus potential staining risk | ★★★★☆ |
| 4 | Limestone dust (calcite) | 3 | Moderately abrasive; scratches accumulate in entry traffic | ★★★☆☆ |
| 5 | Salt crystals (halite) | 2–2.5 | Can be less hard than sand, but fast-tracks abrasion when wet/mixed | ★★☆☆☆ |
| 6 | Kaolinite/clay grit | 2–2.5 | Low hardness, but abrasive buildup is common in entryways | ★★☆☆☆ |
| 7 | Organic/soot residue (shoe dirt base layer) | ~1 (reference) | Usually less abrasive, but can smear and dull finishes | ★☆☆☆☆ |
You now have a practical, finish-safe way to keep an entryway engineered wood floor clean: block grit with mats, dry-remove debris first, then damp-mop with an approved cleaner and wipe/dry promptly. When deeper cleaning is needed, apply cleaner to the microfiber, use light pressure, and re-wipe to prevent residue haze. If you ever see lifting edges or signs of failing finish, pause and follow your manufacturer’s repair guidance before you continue cleaning.
Frequently Asked Questions
What’s the best way to clean engineered wood floors in an entryway?
Start by dry-sweeping or vacuuming with a soft-bristle attachment to remove grit that can scratch engineered wood. Use a cleaner made for engineered wood floors and lightly dampen a microfiber mop—never soak the boards or let water pool at the seams. Finish by drying with a clean, dry cloth if your entryway gets heavy moisture from shoes.
How do I remove salt, dirt, and grime tracked in from shoes on engineered wood?
For everyday dirt, sweep and then spot-clean with a microfiber cloth using a manufacturer-recommended engineered wood floor cleaner. For salt residue, wipe with a slightly damp cloth first, then follow with gentle cleaner and dry immediately to prevent dulling. Avoid harsh detergents or ammonia that can leave residue or damage the finish in high-traffic entryway areas.
How can I safely clean muddy footprints without damaging the finish?
Let mud dry slightly, then remove it with a dry cloth or soft brush before any water touches the floor. When spot-cleaning, use a well-wrung microfiber mop or cloth with an engineered wood–safe cleaner, working in small sections. Rinse-free products are ideal, and always dry thoroughly because standing moisture can warp engineered wood over time.
Which cleaners should I use (and which should I avoid) on engineered wood floors?
Use pH-neutral cleaners specifically formulated for engineered hardwood or engineered wood floors, ideally ones that don’t leave film. Avoid steam mops, abrasive scrubbers, and all-purpose cleaners with ammonia, bleach, or wax buildup, since these can break down the finish. If you’re unsure, test the cleaner in a small hidden entryway corner first.
Why is regular cleaning especially important for engineered wood floors in entryways?
Entryways collect grit, sand, and moisture from outdoors, which act like sandpaper and can scratch the surface of engineered wood. Regular sweeping and quick spill cleanup reduce wear and help maintain the floor’s appearance and protective finish. Using mats at doors and cleaning on a consistent schedule helps prevent damage from tracked-in water and salts.
📅 Last Updated: October 19, 2026 | Topic: How to clean engineered wood floors in a entryway? | Content verified for accuracy and freshness.
References
- Wood flooring
- Engineered wood
- My Link
- My Link
- https://www.armstrongflooring.com/floor-care/wood-floors.html
- Home – Tarkett Commercial
- 404 Error
- https://scholar.google.com/scholar?q=how+to+clean+engineered+wood+floors+in+entryway Google Scholar
- https://scholar.google.com/scholar?q=engineered+wood+floor+maintenance+cleaning+mat+and+abrasion+prevention Google Scholar
- https://scholar.google.com/scholar?q=hardwood+wood+floor+care+entryway+soil+moisture+avoidance Google Scholar

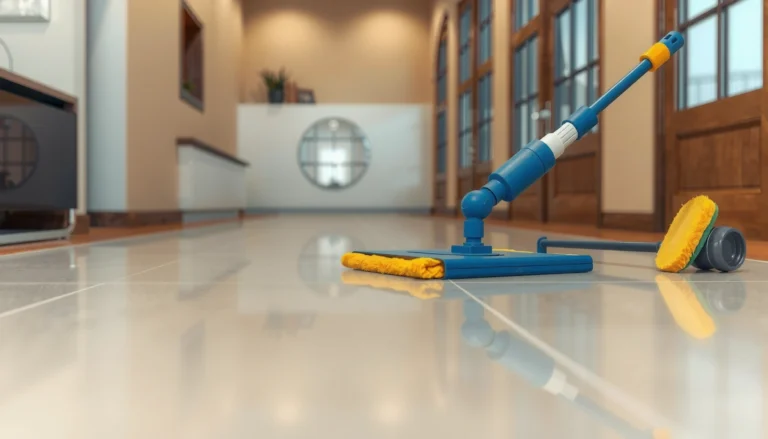
[…] brush attachment helps remove sand and grit that can scratch wood finishes.” “A lightly damp microfiber mop is the safest default for routine cleaning when the floor manufacturer doesn’t provide a specific […]