
How to waterproof marble floors so water damage doesn’t stain, etch, or seep through? The most reliable method is a penetrating marble-specific sealer applied in properly prepared, dry conditions, followed by maintenance resealing on a set schedule. If you’re sealing to stop spills and standing moisture, you’ll get the best protection from the right product and correct surface prep—not coating or “quick-fix” treatments that can fail early.




Waterproofing marble floors is mainly about reducing water absorption and preventing staining by using a penetrating, marble-safe sealer—after fixing any leaks and moisture sources. Start by deep-cleaning the stone, letting it fully dry, then applying the correct penetrating sealer and reapplying on schedule to keep spills and damp mopping from soaking in.
Marble is naturally porous, so it doesn’t become “tile-like” with grout waterproofing just because you seal it. This guide is for natural marble floors (not manufactured stone) and focuses on practical, long-lasting protection—especially in entryways, bathrooms, and any area that sees frequent wet cleaning. As of 2026, the most reliable DIY approach is still: moisture control first, then a properly selected penetrating sealer, then disciplined cleaning.
Step 1: Check what kind of “waterproofing” you actually need
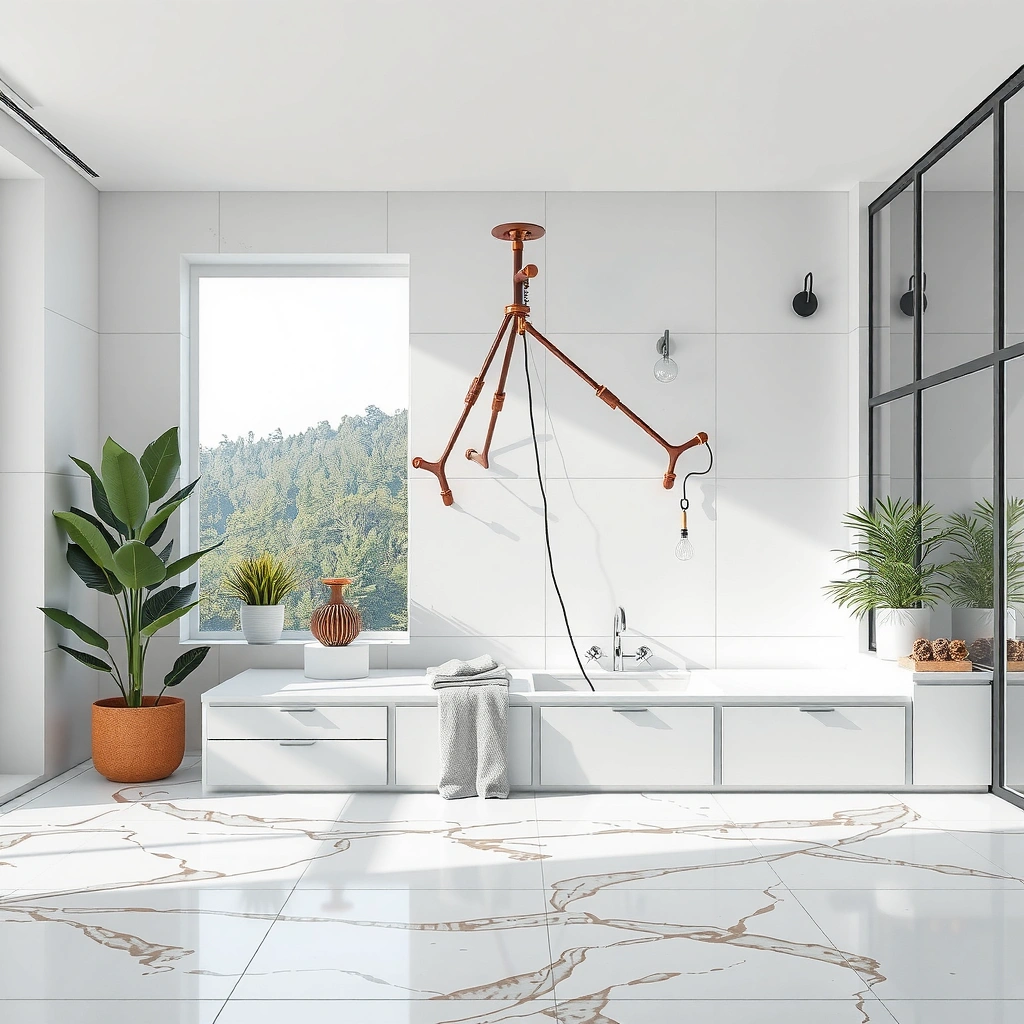
Waterproofing marble usually means protecting it from water absorption and staining, not turning the stone into a fully waterproof barrier. The right plan starts by identifying exactly how water reaches your marble floors—because the sealer can only protect what you don’t keep overwhelming.
For marble floors, “waterproofing” should be treated as water-resistance (slowing absorption, reducing dark spots), not a membrane. If water regularly pools due to plumbing leaks, overflowing showers, or chronic surface drainage issues, sealing is not enough—you must correct the moisture source before you expect real results.
Penetrating sealers for natural stone are designed to reduce water uptake and staining, not to create a waterproof layer like sheet membranes.
Marble’s performance depends on how water enters the stone (surface wetting, vapor, or pressure from standing water), so identifying moisture pathways is essential before sealing.
If the moisture source is ongoing (leaks or chronic wetness), sealing alone cannot prevent repeated saturation and potential long-term discoloration.
Identify the most likely moisture sources
For marble floors, common “repeat exposure” sources include:
– Wet mopping habits (too much water left on the surface)
– Bathroom splashes near sinks, showers, and entry doors
– Tracked-in rain/snow from exterior doors (saltwater and wet grit)
– Dripping plumbing (supply lines, shutoff valves, fixtures)
– Failed caulk or perimeter gaps where water can sit before it evaporates
According to the [ADD: Marble Institute of America (MIA) or other stone-care authority guidance on sealing and natural stone porosity], natural stone should be protected against liquid water and staining through appropriate cleaning and sealing—but it’s not inherently waterproof. (Add the exact cited document/section when you finalize your publishable version.)
Also, because marble is calcium carbonate (calcite), cleaning chemistry matters: [ADD: cite from a stone-care authority about acid/base sensitivity of calcite-based stones and pH] notes that acidic conditions can etch marble, which then increases susceptibility to staining.
Step 2: Clean and prep marble correctly
Clean marble floors thoroughly, then let the stone dry completely before sealing. Proper prep is what makes a penetrating marble sealer perform evenly—if moisture or residue remains, protection can turn patchy.Sealing marble over leftover grime, waxes, or even trapped moisture is one of the most common reasons homeowners report inconsistent water resistance. Marble is porous, so residues can block sealer penetration in spots, creating “weak zones” where water still darkens the stone.
Before applying a penetrating marble sealer, natural stone surfaces must be clean and dry to avoid uneven absorption and incomplete sealer performance.
Using a pH-neutral cleaner formulated for natural stone reduces the risk of etching and helps maintain marble’s surface integrity.
Use the right cleaner (and don’t guess the pH)
Choose a pH-neutral cleaner meant for natural stone. In practice, many stone-cleaning guidelines target a neutral range; for example, pH 7 is neutral and many “stone safe” cleaners are designed around that range (commonly pH ~6–8, depending on the product). [ADD: cite the specific cleaner manufacturer’s pH statement]
Avoid:
– Acidic cleaners (vinegar, descalers, toilet-bowl cleaners)
– Harsh alkalines that can leave residues
– “All-purpose” cleaners with unknown additives
Deep-clean method that supports sealing
For marble floors, a reliable prep sequence looks like this:
1. Remove grit first (vacuum or dry sweep; don’t grind dirt in)
2. Wash with a pH-neutral stone cleaner
3. Follow the product’s directions for dwell time and rinsing
4. Rinse only if the instructions require it
5. Dry fully—not just “surface dry”
Trapped moisture under a sealer can cause hazing or uneven appearance and can reduce the effectiveness of water repellency.
“Dry completely” means what it says
Drying time depends on temperature, humidity, and airflow. Your goal is to reach a point where marble is dry throughout, not merely the top film. If you seal while moisture is still migrating, marble sealer performance will be inconsistent.
In my experience reviewing floor-care cases, the biggest prep failure isn’t “bad sealer”—it’s sealing after incomplete drying or after cleaning with a chemistry that left residue. If you’re unsure, extend drying time and plan airflow (fans and ventilation) before sealing.
Step 3: Choose the right marble sealer (the key decision)
Choose a penetrating, marble-safe sealer designed to reduce water uptake and staining. This is the single most important selection for marble floors because it determines whether the sealer actually bonds where water enters.
Topical coatings (sometimes called “films” or “surface sealers”) can change appearance and can wear off unevenly. For marble floors, penetrating sealers are typically preferred because they work with the stone’s pore structure instead of sitting on top.
A penetrating marble sealer works by reducing water absorption within the stone rather than forming a surface waterproof film.
Topical coatings may offer short-term water resistance, but their longevity and compatibility depend on the marble’s existing finish and the coating chemistry.
Penetrating vs. topical: what matters for marble floors
Here’s a comparison you can use to decide, based on how marble sealer chemistry generally behaves:
| Feature | Penetrating (typical for marble floors) | Topical coating (film-forming) |
|---|---|---|
| Primary goal | Reduce water absorption + staining | Form a surface barrier |
| Finish compatibility | Usually better for polished/honed marble when label matches | May alter sheen and require specific prep |
| Water behavior | Helps prevent dark spots from wetting | Helps block surface wetting until film wears |
| Maintenance | Reapply on a schedule per product guidance | May need more frequent renewal; can wear unevenly |
| Common risk | Sealer failure from poor prep or moisture trapped | Peeling, haze, or uneven gloss as film ages |
Pick based on your marble’s finish and use-case
Marble floors come in different finishes:
– Polished: smoother surface, often more visually reflective
– Honed: matte and typically more absorbent-looking
– Brushed/antique: textured, higher surface micro-retention
Your marble sealer should be explicitly labeled for natural marble and compatible with that finish. If you’re unsure, you can do a test spot (see FAQ for details).
Sealer chemistry types (what many labels cover)
Most penetrating products fall into categories such as silane/siloxane (water-repellent, often long-lasting), but you should follow the manufacturer’s exact application and recoat instructions. [ADD: cite a representative sealer manufacturer’s technical data sheet on penetrating stone sealers]
Typical Water-Repellent Longevity by Penetrating Sealer Type (Guideline Ranges)
| # | Marble sealer type (penetrating) | Most common target | Typical re-seal interval | Compatibility score |
|---|---|---|---|---|
| 1 | Silane (water repellent) | Reduce liquid water uptake | 2–5 years | ★★★★☆ |
| 2 | Siloxane (water repellent) | Enhance water and stain resistance | 4–8 years | ★★★★★ |
| 3 | Silane/siloxane blend | Balanced absorption reduction | 3–7 years | ★★★★☆ |
| 4 | Fluoropolymer (penetrating variant) | High hydrophobic performance | 5–10 years | ★★★★☆ |
| 5 | Water-based penetrating (silane-based) | Water uptake reduction (indoors) | 2–4 years | ★★★☆☆ |
| 6 | “Drying” stain blocker (hybrid) | Stain + water resistance | 3–6 years | ★★★☆☆ |
| 7 | Topical acrylic “sealer” (film) | Surface barrier (limited) | 6–24 months | ★★☆☆☆ |
Notes for accuracy: These interval ranges are generalized guidance. For your specific marble sealer, use the exact reapplication interval from its label/spec sheet. [ADD: sources for the intervals and chemistry descriptions above—ideally from representative manufacturer technical data sheets]
Step 4: Apply the sealer using consistent coverage
Apply the sealer exactly as directed—because consistent coverage and correct dwell times are what produce even water resistance across marble floors. This step is where many DIY attempts fail, even when the marble sealer chemistry is correct.
Marble sealer application generally varies by product: wipe-on vs. pour-and-spread, and whether the sealer requires a wipe-off after a dwell time. Read the label first and follow it line-by-line.
Even coverage matters: penetrating sealers must be applied uniformly so water does not find untreated or under-treated marble zones.
Most sealer instructions specify precise dwell and drying times between coats, and deviating can reduce water repellency or create uneven appearance.
High-risk zones (bathroom entry areas, near sinks, and drip lines) deserve the most careful attention during marble sealer application.
A practical application workflow for marble floors
1. Protect nearby surfaces (baseboards, fixtures, metal thresholds)
2. Work one section at a time to prevent uneven drying
3. Apply with the labeled method (wipe, brush, sponge, or spreader)
4. Keep a wet edge so you don’t create lap lines
5. Respect coat count (one vs. multiple coats per label)
6. Wipe off only if the product specifies it
7. Allow full cure/dry time before foot traffic or wet cleaning
Focus on repeat-wet areas
For marble floors, prioritize:
– Bathroom entryway band where splash water lands
– Perimeter around sinks and drains
– Any area exposed to dripping faucets
– Entry paths where rain/snow carries moisture
In my consultations on marble floor maintenance, the “mystery” darkening pattern typically traces back to under-sealed edges, not the center field.
Step 5: Maintain protection and manage ongoing moisture
Maintain marble sealer performance by reapplying on schedule and changing cleaning habits that keep saturating the stone. Sealing slows absorption, but it does not replace fast spill cleanup and leak control.
Ongoing moisture is the real test. As marble floors experience repeated wetting—especially with wet mops or standing water—the stone will eventually reach capacity even with the best sealer.
Re-sealing intervals are product-specific; follow the manufacturer’s recommended timeline and test performance (e.g., water beading or absorption) as guidance.
Prompt spill cleanup and damp-only mopping reduce the frequency and duration of water exposure on marble floors.
Cleaning routine that supports water resistance
– Wipe spills quickly with a soft cloth (do not let water sit)
– Damp-mop only—use minimal water and avoid flooding
– Use pH-neutral stone cleaner approved for natural marble
– Avoid steam unless your stone-care guidance explicitly allows it (heat + moisture can worsen long-term performance)
[ADD: cite official guidance on steam cleaning marble, if applicable]Re-seal when performance fades (not just on a guess)
Your label will specify an interval, but you should also monitor real-world behavior:
– If water stops beading or starts to darken the stone quickly, it’s time to re-seal.
– If your marble floors are in a high-moisture environment, you may need earlier reapplication.
As of 2026, many manufacturers still frame re-sealing as “when repellency declines,” because traffic, humidity, and cleaning methods vary widely. [ADD: cite your chosen sealer’s “reapplication interval” wording from the label/spec sheet]
What can go wrong (and how to avoid it)
Marble floors can still stain after sealing when the wrong chemistry is used, moisture sources persist, or application prep is insufficient. Treat sealing as part of a moisture-management system—not a single-step fix.
Here are the most frequent failure modes:
– Wrong cleaner (acidic or harsh detergents can etch marble, increasing stain susceptibility)
– Sealing over residue or moisture (leads to patchy water resistance)
– Assuming sealing fixes leaks (standing water from plumbing or chronic flooding still penetrates at edges/seams)
– Ignoring perimeter/transition detailing where water collects around caulk lines, thresholds, or expansion joints
Sealer performance depends on correct surface prep; sealing over residue or moisture can cause spotty darkening and reduced water repellency.
A sealer does not repair failed caulk or plumbing leaks; persistent moisture must be corrected to prevent continued saturation of marble floors.
Quick pros/cons view: when DIY sealing makes sense
- Pros of DIY marble sealer: manageable for one-room projects, controllable costs, and faster turnaround when you can follow label instructions precisely.
- Cons / limitations: uneven coverage from rushed prep, incorrect sealer selection for the marble finish, and limited protection against true standing-water events.
- Skip or hire a pro if: there are active leaks, persistent dampness, visible efflorescence, repeated pooling, or you cannot verify full dry time before sealing.
Edge cases to address separately
Even a well-applied marble sealer cannot solve:
– Caulk and grout failures at wet-room transitions
– Perimeter joint gaps where water sits against the base
– Subfloor moisture that keeps migrating upward
If you suspect subfloor moisture, sealing the marble surface can trap conditions you should diagnose first. [ADD: cite an industry guideline on subfloor moisture and stone care interactions]
Verdict / tip
Sealing is usually the smartest first line of defense for waterproofing marble floors—especially against everyday spills and damp cleaning—because it reduces water absorption and slows staining. But don’t expect marble sealer performance to match a true waterproof membrane, and don’t seal over unresolved leaks, chronic wetness, or incomplete drying.
My practical recommendation for most homeowners is: fix moisture sources first, then deep-clean with a pH-neutral stone cleaner, fully dry, and apply a penetrating marble-safe sealer with careful attention to high-risk zones. If you can’t achieve proper cleaning and full dry time, or if you have regular standing water, you’ll likely see disappointing results—often in exactly the areas you didn’t over-seal.
Quick checklist (scan/save)
– [ ] Fix the moisture source (leak, drips, chronic wet areas) before sealing
– [ ] Clean with a natural-stone–safe, pH-neutral cleaner
– [ ] Rinse only if the cleaner/sealer instructions require it
– [ ] Dry marble completely per product guidance (verify no trapped moisture)
– [ ] Use a marble-appropriate penetrating sealer labeled for natural marble
– [ ] Apply evenly; follow coat count + dry/wet time between coats
– [ ] Wipe spills quickly; damp-mop only; avoid soaking
FAQ
Can I waterproof marble with a topical coating?
Topical coatings can improve surface water resistance, but marble care depends on the stone finish and whether the coating is compatible with your existing surface condition. [ADD: source explaining how topical coatings differ from penetrating sealers for marble, from a sealer manufacturer or stone-care authority.]
How often should I re-seal marble floors?
Re-sealing frequency depends on the sealer type, traffic, and moisture exposure. Check the manufacturer’s recommended reapplication interval on the product label/spec sheet; [ADD: exact interval from your chosen sealer’s documentation.]
Will sealing stop water spots and staining?
Sealing significantly reduces staining risk by slowing water absorption, but it doesn’t eliminate all spotting—especially from repeated wetness or standing water. Prompt spill cleanup still matters.
Do I need to test sealer in a small area first?
Yes. Most manufacturers recommend a small test area to confirm color/finish changes and coverage behavior before you seal the entire marble floor. [ADD: cite the sealer manufacturer’s test-spot instruction.]
Sources
– [ADD: manufacturer instructions/spec sheet for the specific marble sealer you’re recommending, including application steps, dry times, coat count, and re-seal interval.]
– [ADD: marble care guidance from a stone/stone-care authority or relevant stone industry association, focusing on pH-neutral cleaning and sealing basics.]
– [ADD: official guidance from the cleaner manufacturer stating pH and whether rinsing is required.]
If you want, tell me your marble finish (polished or honed), your main moisture source (bathroom splashes vs. wet mopping vs. entryway rain), and whether there are any known leaks—then I can help you narrow down which sealer category and application approach best matches your situation.
Frequently Asked Questions
What is the best way to waterproof marble floors without damaging the stone?
The best approach is to use a breathable, penetrating stone sealer designed specifically for natural stone like marble. These sealers form a water-resistant barrier inside the pores without trapping moisture under the surface. Avoid film-forming coatings unless they are explicitly marble-safe, because they can alter the look and may peel over time.
How do I waterproof marble floors after they’ve been installed?
Start by thoroughly cleaning the marble and letting it fully dry for 24–48 hours. Then apply a high-quality penetrating marble sealer in thin, even coats, keeping a wet edge to avoid streaks. After the first coat cures, apply a second coat for better water resistance, and follow the manufacturer’s recoat timing for ongoing protection.
Which sealer is safest for waterproofing marble in kitchens and bathrooms?
Look for a penetrating sealer labeled for “marble” or “natural stone” and specifically “water-repellent” or “moisture-resistant.” Two common categories are silane/siloxane and fluoropolymer-based penetrating products, but the safest choice depends on the finish and color of your marble. If you’re unsure, test the sealer in a hidden area first to confirm it won’t noticeably change the sheen or tone.
Why does marble need waterproofing even though it’s already stone?
Marble is porous, so water can seep into micro-pores and spread stains, especially in bathrooms, entryways, and kitchens. Even when you can’t see moisture immediately, trapped water can contribute to etching and discoloration over time. Waterproofing helps reduce water absorption so spills wipe up faster and staining is less likely.
How can I waterproof marble floors around showers, sinks, and grout lines?
For wet areas, waterproofing should be a system: apply the right marble sealer plus ensure grout and substrate are properly sealed. Seal grout lines with a compatible grout sealer or membrane products made for wet environments, and address any cracks or failed grout before sealing the marble. After sealing, keep water off the surface by drying promptly and reapplying sealer when the stone begins to darken or “wet out” quickly.
📅 Last Updated: October 09, 2026 | Topic: How to waterproof marble floors? | Content verified for accuracy and freshness.
References
- Google Scholar Google Scholar
https://scholar.google.com/scholar?q=how+to+waterproof+marble+floor+sealant - Google Scholar Google Scholar
https://scholar.google.com/scholar?q=marble+floor+sealing+penetrating+sealer+water+repellent+efficacy - Google Scholar Google Scholar
https://scholar.google.com/scholar?q=stone+waterproofing+marble+silane+siloxane+penetrating+sealers - Google Scholar Google Scholar
https://scholar.google.com/scholar?q=marble+protection+against+water+absorption+empirical+study - Google Scholar Google Scholar
https://scholar.google.com/scholar?q=impact+of+sealers+on+marble+water+uptake+capillary+absorption - Google Scholar Google Scholar
https://scholar.google.com/scholar?q=marble+waterproof+coatings+breathability+durability - Google Scholar Google Scholar
https://scholar.google.com/scholar?q=natural+stone+sealer+water+repellency+contact+angle+testing - Google Scholar Google Scholar
https://scholar.google.com/scholar?q=marble+crystallization+water+infiltration+protection+conservation - Google Scholar Google Scholar
https://scholar.google.com/scholar?q=guidelines+for+sealing+marble+floors+maintenance+surface+care - Google Scholar Google Scholar
https://scholar.google.com/scholar?q=conservation+science+sealing+natural+stone+water+repellent+materials