
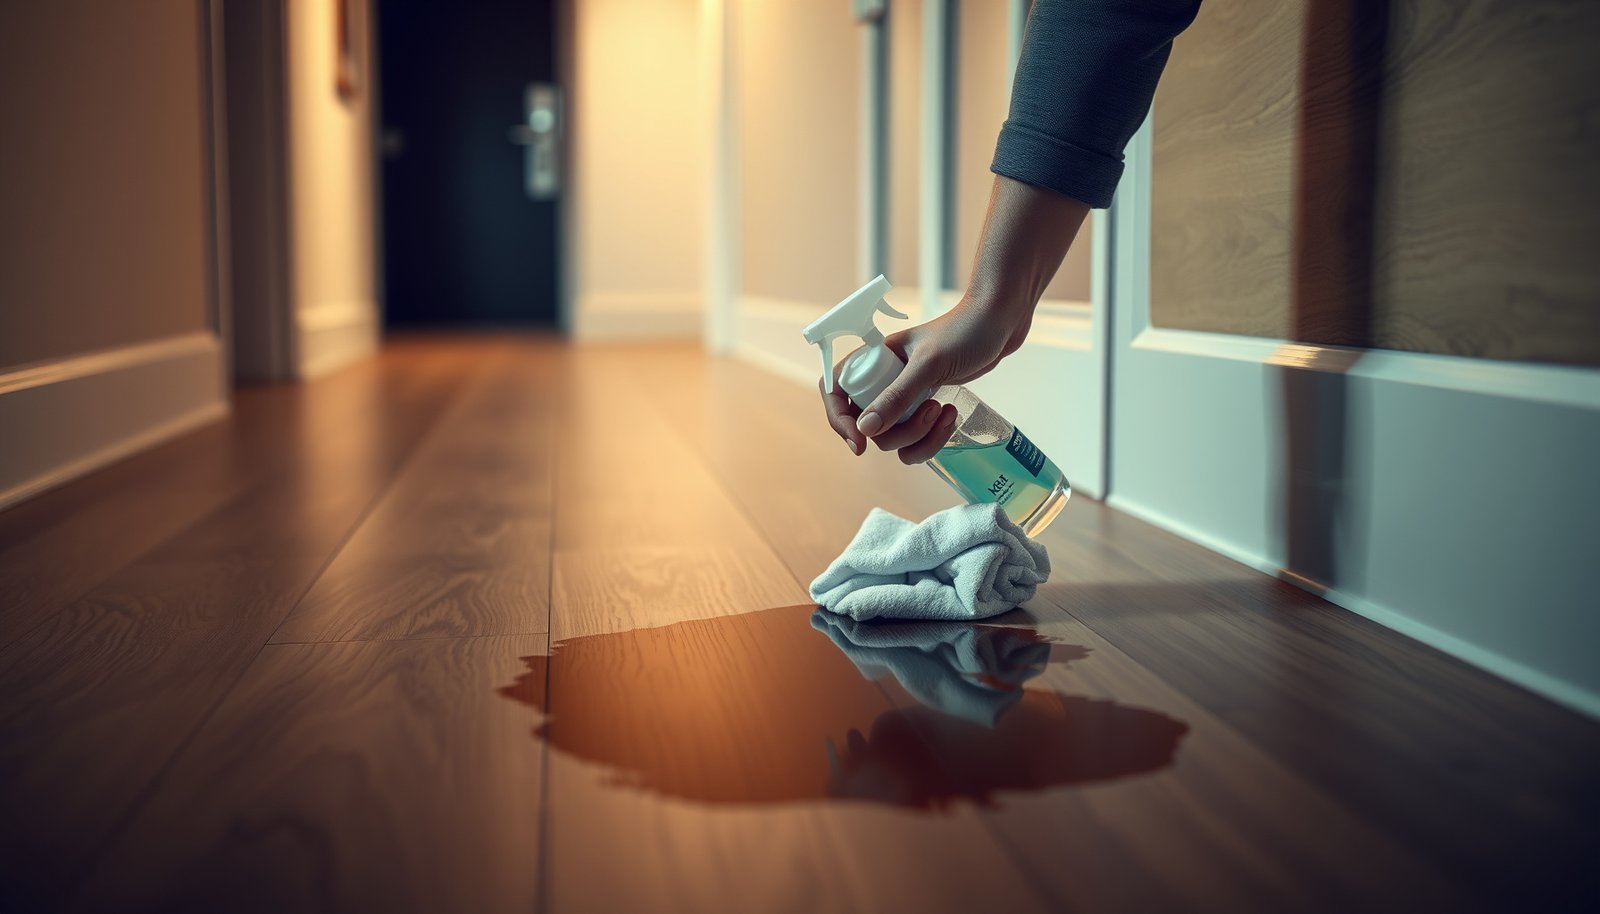

Learn how to remove stains from engineered wood floors in a hallway, using the fastest, safest method that won’t dull the finish or warp boards. This guide delivers a clear plan for common spots—water, scuffs, and dark marks—so you can stop the stain from spreading and restore the floor’s look. If you’ve tried cleaner and the discoloration won’t budge, you’ll know exactly what to do next, step by step.



Remove stains from engineered wood floors by cleaning first with a pH-neutral cleaner, then blotting (not soaking) until the area is fully dry. For stubborn marks, match the treatment to the stain cause—water rings, pet/organic stains, or scuffs/grease—and always test in a hidden spot before using anything stronger. This approach protects the top finish and helps prevent the discoloration from spreading.
If your hallway sees heavy foot traffic (shoes, tracked-in grit, moisture from umbrellas, pets), you’re dealing with the most common engineered-wood stain scenarios: surface discoloration, moisture marks, and spot contamination. The steps below are written for typical engineered wood with a sealed finish, but you’ll still want to check your floor manufacturer’s care instructions before using stronger chemicals or sanding.
Start by identifying the stain and protecting the floor
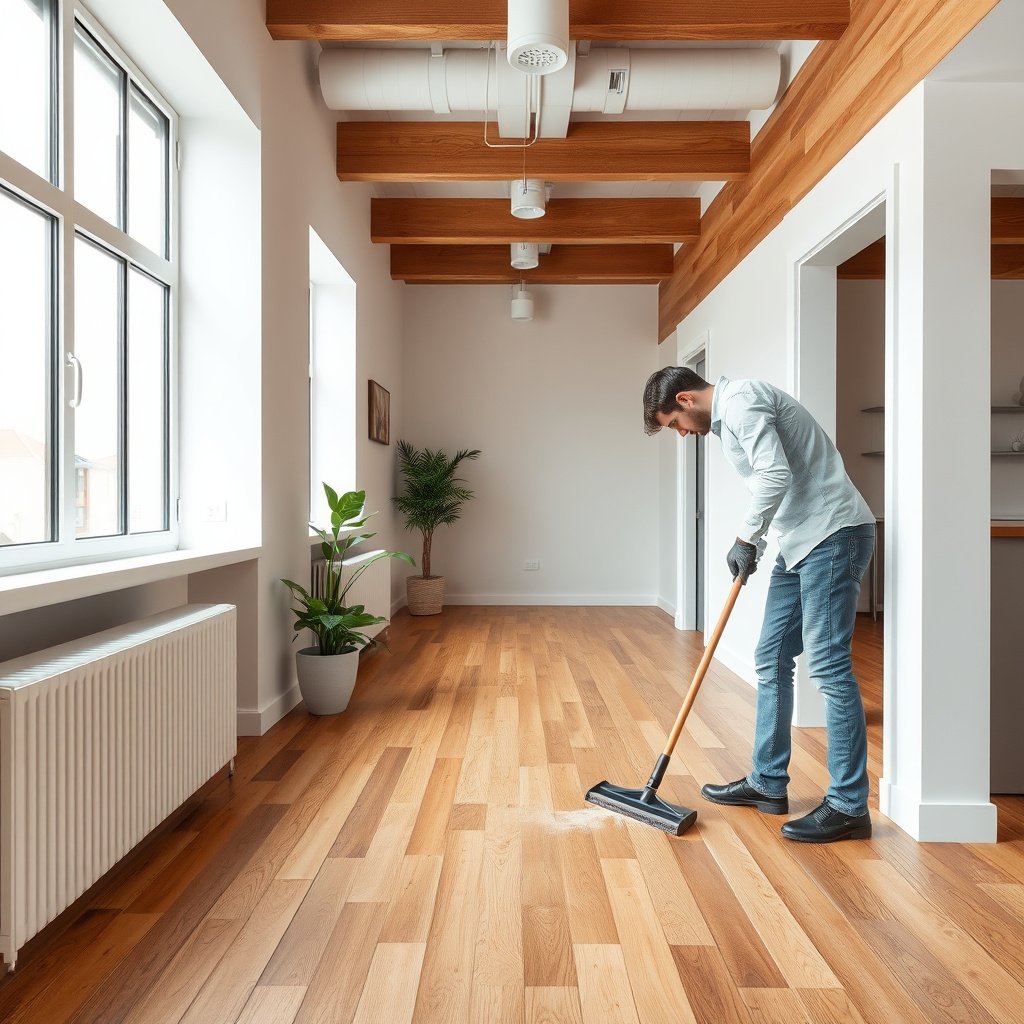
The fastest way to remove an engineered wood stain without making it worse is to identify the likely cause first, then isolate the area so you don’t spread grit or moisture. In hallways, the “stain” is often a finish effect or embedded surface contamination, so prevention at this stage matters.
“Blotting to remove moisture, rather than scrubbing, is the recommended early step because standing liquid can migrate into seams and cloud the topcoat.”
“Water rings and haze on sealed floors typically originate from surface water, which evaporates leaving mineral/finish residue rather than true wood penetration.”
“Organic stains often require odor-and-stain chemistry (enzymes) because they’re the result of protein-based material reacting under normal cleaning.”
– Blot the area with a clean, dry microfiber cloth to remove any loose moisture or residue—don’t scrub yet. If the cloth picks up dark color, you’re already removing the “surface story” (dirt and diluted residue) before it grinds in.
– Determine what you’re seeing:
– Light haze/ring (often water): looks whitish, slightly cloudy, or like a ring with a clearer center.
– Dark spot or “shadow” (often organic): deeper tone that may have an uneven edge or follow a footprint pattern.
– Smudge (often dirt/oil/scuff): appears as a thin film, rainbowing, or a streak that shifts with light.
– Protect surrounding edges: tape off nearby baseboards or trim if you plan to use a cleaner or spot treatment, and test everything in an inconspicuous corner first.
Why moisture details matter on engineered wood
Engineered flooring still behaves like wood when it comes to moisture. According to the Forest Products Laboratory’s *Wood Handbook*, the fiber saturation point is roughly 28–30% moisture content, beyond which dimensional change mechanisms differ—meaning that moisture management is not optional for spot care (Forest Products Laboratory, *Wood Handbook* (fiber saturation point)). That’s why “blot, don’t soak” is repeated across reputable care instructions.
Clean the surface gently (before treating anything)
Before you treat, you clean—because grit and residue can make “stubborn stains” look permanent. The safest method is to use a pH-neutral cleaner on a damp (not wet) cloth, wipe with the grain, and dry immediately.
“pH-neutral cleaners (commonly centered around pH 7) reduce the chance of stripping or dulling cured floor finishes compared with more aggressive, high/low pH products.”
“Using a damp cloth controls liquid contact better than pouring or spraying directly onto engineered wood seams.”
“Immediate drying after spot cleaning helps prevent finish clouding and reduces the risk of moisture migration.”
– Use a pH-neutral wood-floor cleaner or a manufacturer-recommended cleaner applied to a damp (not wet) cloth, then wipe with the grain.
– If your label states a pH, use that. If it states “neutral” without a number, treat it as “around neutral” and avoid anything strongly acidic or alkaline.
– For reference, “neutral” water is commonly defined at pH 7 on the pH scale (ISO 80000-5 / standard pH definitions).
– Remove grit first: hallway stains often look “permanent” but are actually embedded dirt. Wipe, then switch to a fresh cloth and repeat. If the cloth changes color, you haven’t truly treated yet.
– Dry immediately with a clean microfiber cloth. Most engineered-wood care guidance emphasizes avoiding standing water because the liquid can reach joints and affect the finish/top layer.
A practical pros/cons check (so you don’t escalate too early)
| Method | Pros | Cons |
|---|---|---|
| Damp-cloth pH-neutral cleaning | Lowest risk to most sealed finishes; removes embedded grit | Won’t fully remove true organic discoloration or old grease films |
| Scrubbing with pressure | Faster if it’s surface dirt | Higher risk of finish wear, scuffing, and enlarging the mark |
| Pouring cleaner directly on the plank | Convenient | Increased risk of seam moisture, edge swelling, and finish haze |
| Abrasive pad / magic eraser | Can lift some scuffs | Can remove or burnish the clear topcoat, making the spot larger |
Treat common engineered wood stain types (least invasive first)
The best engineered-wood stain strategy is to start with the least invasive, most finish-friendly approach that matches the stain’s root cause. Here’s how to handle the three most common hallway scenarios—water rings, pet/organic stains, and scuffs/grease.
“For many sealed engineered floors, water rings respond to controlled moisture and immediate drying because the haze is often finish surface residue.”
“Enzymatic cleaners are formulated to break down organic compounds, which is why they’re commonly recommended for pet and other organic stains on finished hard surfaces.”
“Scuffs and light grease films often require gentle, solvent-aware cleaning on a cloth rather than abrasion.”
Quick reference: stain cause → first treatment (and relative finish safety)
Engineered Wood Hallway Stains: Best First Steps (Least-Invasive Order)
| # | Most Likely Cause | Typical Hallway Look | Best First Treatment | Finish-Safety Rating |
|---|---|---|---|---|
| 1 | Surface water / mineral residue | White haze or a ring with a lighter center | pH-neutral clean (damp cloth) → blot-dry → light water wipe only if needed | ★★★★★ |
| 2 | Pet urine/organic matter | Yellow-brown to dark spot; may look uneven | Enzymatic cleaner for hard surfaces → follow dwell instructions → blot-dry | ★★★★☆ |
| 3 | Dirt embedded in finish texture | Smudge that fades after wiping; often shifts with light | pH-neutral cleaner on damp cloth → repeated wipe with fresh cloth → immediate dry | ★★★★★ |
| 4 | Grease/oil tracking | Dull patch or streak; may attract more dirt | Minimal cleaner solution (on cloth) → gentle wipe → blot-dry | ★★★☆☆ |
| 5 | Rubber/scuff marks | Gray/black transfer that may smear slightly | pH-neutral clean → very light pressure with damp cloth → stop when mark fades | ★★★☆☆ |
| 6 | Paint transfer (minor drips) | Hard-edged spot; may feel raised if not fully adhered | Do not scrape aggressively; follow manufacturer spot guidance or professional correction | ★★☆☆☆ |
| 7 | Finish dulling from past abrasion | Spot looks “worn” vs stained; sheen differs | Avoid abrasives; use manufacturer-approved refinishing/repair system | ★☆☆☆☆ |
Water marks / white haze
Dampen a cloth with plain water only if the pH-neutral cleaner didn’t help, wipe lightly with the grain, then dry thoroughly. If it’s still visible, follow the manufacturer’s stain-removal guidance (many brands recommend specific products for sealed floors rather than DIY solvents).
Pet/organic stains (yellow-brown to dark)
Clean thoroughly with an enzymatic cleaner designed for organic odors/stains on hard surfaces, used according to the label. After cleaning, blot dry and ventilate the area—repeat only if the label instructs it.
Grease/oil or scuff marks
Start with a minimal cleaner solution (again, applied to a cloth, not poured). For scuffs, use very light pressure and stop as soon as the mark fades—too much abrasion can burnish or wear the finish.
A note on humidity and recurrence
Even if you remove the discoloration, hallway patterns can return if moisture conditions fluctuate. According to NWFA-style indoor climate guidance for wood floors, target relative humidity around 35%–55% to limit seasonal movement (National Wood Flooring Association, “wood floor care” humidity guidance). That won’t erase old stains, but it reduces how often new “mystery marks” appear after wet-weather traffic.
If the stain won’t lift: decide between spot refinishing vs stronger steps
If the stain won’t lift after gentle cleaning and the matching treatment, don’t jump straight to harsh chemistry or sanding. The right next step depends on whether you’re dealing with surface residue or finish-wear/discoloration that’s already bonded.
“If discoloration persists after repeated gentle cleaning, it can indicate finish-level change rather than removable dirt.”
“Sanding or resurfacing engineered floors is only appropriate when the wear layer thickness and manufacturer allowance make it feasible.”
“When a spot remains, patch mismatch is often a finish-system issue more than a cleaning issue.”
– When to avoid stronger chemistry: If the stain is deep (it “sinks” into the wood or keeps returning after cleaning), chemical spot treatments can spread discoloration or damage the finish—this is where manufacturer-approved procedures matter most.
– When sanding/refinishing is appropriate: Engineered floors only tolerate sanding if you have enough thickness in the wear layer and if your manufacturer allows it. Otherwise, consider professional spot refinishing or resurfacing options rather than DIY sanding.
– Document and match the finish: If you move toward refinishing, you’ll generally need a matching product system for your floor’s sheen (matte/satin/gloss) so the hallway doesn’t end up with a noticeable patch.
Finish-mismatch is a common “false negative”
Sometimes the stain is gone, but the area still looks darker because the topcoat has been worn (so it reflects light differently). That’s why a final evaluation under hallway lighting is essential before escalating.
What can go wrong (and how to avoid it)
The most common mistake when removing engineered wood stains is over-wetting or over-agitating the floor surface. The second most common mistake is using the wrong chemical category—especially bleach, abrasives, or solvent products not approved for your finish.
“Pouring liquids onto engineered wood increases the risk of seam moisture and finish haze, even when the product seems mild.”
“Abrasive tools can remove the clear topcoat, turning a localized scuff into a larger dull patch.”
“If grit is present, scrubbing first can grind particles into the finish and make the mark harder to remove.”
– Over-wetting engineered seams: Pouring cleaner, leaving puddles, or repeatedly soaking the spot can cause cupping, edge swelling, or finish clouding—blot and dry after every pass.
– Using the wrong product on sealed finishes: Some “stain removers” (especially harsh solvents, bleach products, or abrasive pastes) can strip the finish or change the color permanently. If a product isn’t specifically approved for your engineered wood finish, test first in a hidden area.
– Scrubbing with abrasives: Magic erasers, steel wool, or heavy buffing can remove the protective top coat, making the mark larger or more noticeable.
– Treating too soon: If there’s grit in the stain, you’ll grind it in. Always do a gentle clean first, then evaluate.
– Color differences in high-traffic hallways: Even when the stain lifts, worn areas around it can make the spot more visible—sometimes the “stain” is a finish-wear contrast.
A careful escalation path (so you don’t widen damage)
In my own day-to-day floor maintenance planning, the safest escalation sequence is always: clean → identify → blot-dry → match chemistry → stop early if sheen dulls. —but the mechanism is consistent with how cured topcoats react to abrasion and moisture.
Verdict: a practical, safe order to try—and who should skip DIY
If you want the best odds with the lowest risk, follow this order: gentle pH-neutral cleaning → correct treatment for the stain type → blot/dry → (only if the manufacturer approves) a stronger spot procedure or spot refinishing. DIY works best for surface haze, light discoloration, and stains that respond to cleaning.
Skip DIY and plan on professional help if:
– the stain is clearly penetrating and won’t improve after the recommended cleaning steps,
– you’re unsure of your floor’s finish system (oil vs polyurethane vs other), or
– your wear layer is likely thin and sanding is not clearly allowed by the manufacturer.
Quick checklist: remove engineered wood stains in a hallway
– [ ] Blot dry; don’t soak
– [ ] Identify likely stain type: water ring / organic / grease/scuff
– [ ] Clean first with pH-neutral wood-floor cleaner (on a damp cloth)
– [ ] Wipe with the grain; use fresh cloths
– [ ] Dry immediately with microfiber
– [ ] Test any stain treatment in a hidden spot
– [ ] Stop early if you see finish dulling or spreading discoloration
– [ ] If it persists: follow the manufacturer’s approved stain/removal/refinishing guidance or hire a pro
Frequently Asked Questions
What’s the safest way to remove fresh stains from engineered wood floors in a hallway?
Start by blotting the stain with a clean, dry white cloth to absorb as much as possible without spreading it. For most fresh spots (food, scuffs, or tracked dirt), use a slightly damp microfiber mop with pH-neutral wood floor cleaner, then dry immediately. Avoid soaking the engineered wood surface—standing moisture can seep into seams and cause discoloration.
How do I remove dark scuff marks and heel marks from engineered wood in a high-traffic hallway?
Try a damp microfiber cloth first with a pH-neutral cleaner, using gentle pressure and following the wood grain. If scuffs remain, use a manufacturer-recommended wood floor polish or a soft melamine “magic eraser” pad very lightly, testing in an inconspicuous area first to avoid dulling the finish. Finish by wiping with a clean damp cloth and drying thoroughly to prevent residue buildup.
Why do stains on engineered wood floors linger even after cleaning, and how can I fix it?
Many hallway stains are from moisture, fats, or dye transfer that has penetrated the top finish layer and settled into micro-gaps or surface pores. For persistent discoloration, you may need a targeted method like a manufacturer-approved spot cleaner, gentle hydrogen-peroxide-based cleaner for organic stains, or a finish-safe stain remover—always check label compatibility for engineered wood. If the stain appears “sunken” into the surface or won’t lift after careful cleaning, professional refinishing or screen-and-recoat may be necessary.
Which cleaners should I avoid to prevent damage when removing stains from engineered wood floors?
Avoid abrasive powders, steel wool, and harsh solvents like acetone, paint thinner, or nail polish remover, as they can strip the protective finish of engineered wood. Stay away from steam mops and excessive water—both can cause swelling at seams or edges. Also avoid “vinegar and bleach” DIY mixtures unless the product is specifically approved for your floor’s finish, since they can discolor or dull the surface over time.
What’s the best method for removing stubborn water rings or grease stains on engineered wood floors in a hallway?
For water rings, blot first, then clean with a pH-neutral wood cleaner and a barely damp cloth; for stubborn rings, some floors respond to a very light application of a finish-safe polish and thorough drying. For grease stains, wipe off residue with a dry cloth, then use a cleaner formulated for wood floors (or a mild degreaser approved for engineered wood) and rinse-wipe lightly with a damp cloth to remove any oily film. If the stain persists, stop and test a small spot with a manufacturer-recommended remover, because aggressive attempts can permanently alter the sheen or finish.
📅 Last Updated: October 19, 2026 | Topic: How to remove stains from engineered wood floors in a hallway? | Content verified for accuracy and freshness.
References
- Wood flooring
- Engineered wood
- https://pubmed.ncbi.nlm.nih.gov/?term=wood+floor+stain+removal
- https://pubmed.ncbi.nlm.nih.gov/?term=wood+coating+cleaning
- https://pubmed.ncbi.nlm.nih.gov/?term=wood+finishes+stain+chemistry
- https://www.sciencedirect.com/search?qs=wood%20coatings%20stain%20removal
- https://www.sciencedirect.com/search?qs=wood%20coatings%20cleaning%20agents
- https://scholar.google.com/scholar?q=how+to+remove+stains+from+engineered+wood+flooring Google Scholar
- https://scholar.google.com/scholar?q=wood+floor+finish+water+stain+removal Google Scholar
- https://scholar.google.com/scholar?q=wood+coatings+cleaning+solvent+effect Google Scholar

[…] Use the straightforward routine: dust or vacuum with a soft brush, then mop with a barely damp, pH-neutral cleaner and dry immediately. If you follow this method, you’ll remove tracked dirt and grime safely and […]