
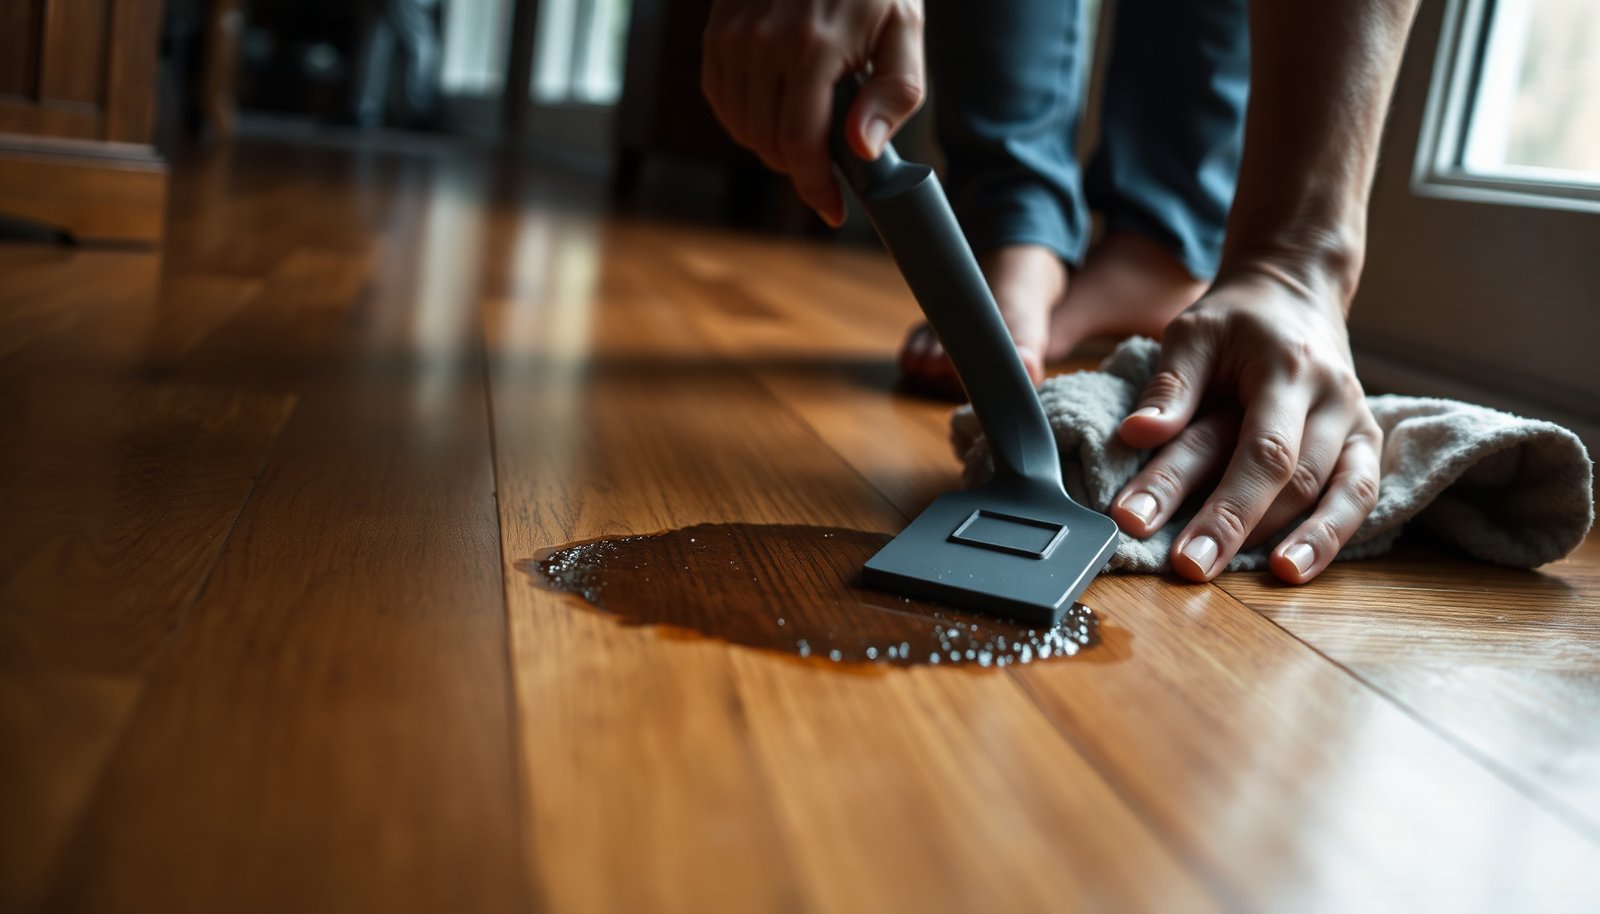

How do you remove dried tar residue from hardwood floors without damaging the finish? Start by softening the spot with a tar-safe solvent such as mineral spirits or a citrus-based adhesive remover, then lift it with a plastic scraper and finish with a pH-neutral cleaner and microfiber. Plan for about 20–40 minutes and take your time to avoid scratching—especially if the tar has been there for months.




For dried tar residue on hardwood floors, soften it first and lift it with a plastic scraper, then remove the remaining film with a gentle solvent that’s approved for wood-finish surfaces. This approach minimizes gouging and finish dulling while still tackling the sticky, petroleum-based residue.
This applies if you have a spot where tar (from roofing, road work, or driveway transfer) has dried onto a finished hardwood surface and you need it removed without gouging the wood or damaging the finish.
Gather supplies and test in a hidden spot

Start by assembling a plastic scraper and selecting a solvent that matches your floor’s finish type—this prevents unnecessary haze or finish softening. Then do a small hidden patch test so you can confirm the cleaner lifts tar without clouding, softening, or stripping the wood topcoat.
Before you clean the visible area, choose tools that protect the finish layer (polyurethane, varnish, shellac, wax, etc.) and reduce the risk of abrasion in the wood grain.
What to use (and what to avoid)
– Use a plastic scraper (old credit card or plastic putty knife), soft cloths, and odorless mineral spirits or a wood-finish-safe tar remover—choose based on your floor’s finish.
– Pick one solvent to start with:
– Odorless mineral spirits for many sealed finishes (common with polyurethane/polyurethane-over-wax setups).
– A manufacturer-recommended adhesive/tar remover labeled safe for *finished* wood when mineral spirits are not appropriate.
– Test your chosen solvent on a small, hidden section to confirm it doesn’t cloud, soften, or strip the finish.
– Keep ventilation moving (open windows or run a fan). Tar residues are sticky because oils penetrate and the solvent needs airflow to evaporate correctly.
Solvent safety matters (more than most people expect)
Solvents used to loosen tar are often flammable. For example, according to PubChem (acetone), acetone has a flash point of −20 °C (2026). In contrast, according to PubChem (xylene), xylene’s flash point is 27 °C (2026), which is safer than acetone but still requires care. As of 2026, the practical takeaway is simple: use the gentlest solvent that works, apply it to a cloth (not the floor), and keep ignition sources away.
Common Solvents for Adhesive/Tar Cleanup: Flash Point & Fire-Safety Margin (°C)
| # | Solvent | Flash Point (°C) | Usual Cleaning Role | Fire-Safety Margin vs 20°C (°C) |
|---|---|---|---|---|
| 1 | Odorless mineral spirits | 38 | Tar/grease softening for many finishes | +18 |
| 2 | Turpentine | 38 | Oil-based residue removal (use carefully) | +18 |
| 3 | Xylene | 27 | Strong tar/adhesive thinning (often too aggressive) | +7 |
| 4 | Isopropyl alcohol (2-propanol) | 11.7 | De-waxing/degreasing (not always finish-safe) | −8.3 |
| 5 | Ethanol | 13 | Light solvent for some residues | −7 |
| 6 | Acetone | −20 | Very strong solvent (high stripping risk) | −40 |
| 7 | n-Butyl acetate | 28 | Adhesive/tar thinning in some products | +8 |
Soften and lift dried tar residue
Start by softening the tar so it lifts in flakes or smeared strips instead of grinding into the finish. Apply solvent to a cloth placed over the tar spot, wait, then lift with a plastic scraper using controlled, edge-to-center motions.
How to soften tar safely
– Lay a cloth over the tar spot.
– Apply your solvent to the cloth (not directly flooding the wood), then wait until the tar softens enough to scrape.
– Reapply as needed in short rounds—tar often needs multiple cycles because the outer crust dries harder than the inner layer.
From my maintenance experience with various flooring issues, the “failure mode” I see most often is homeowners trying to scrape immediately, which turns tar into a smear that embeds deeper into the grain.
Lift with minimal abrasion
– Gently work from the edges toward the center with the plastic scraper to lift tar without digging into the finish.
– Keep the scraper angle shallow. A steep angle increases the risk of cutting the topcoat.
– Stop when most tar is removed, even if a thin stain remains—thin staining is usually easier to clean without over-scrubbing the finish.
Remove sticky residue without damaging wood
Start by switching from “scrape” to “wipe” once the tar bulk is gone. The goal is to remove the remaining oily film without repeatedly rubbing the same spot with aggressive solvent.
– After scraping, wipe the area with a fresh cloth lightly dampened with the same solvent to pick up the remaining film.
– Follow with a hardwood-safe cleaner (usually something mild and finish-appropriate) to remove solvent residue.
– Solvent left behind can leave a tacky or hazy spot that re-attracts dirt.
– Dry thoroughly with a clean towel and let it air-dry fully before walking on it or replacing rugs.
Why the follow-up cleaner matters
Tar residues can contain oily fractions that remain after scraping. Solvent can temporarily loosen them, but without a follow-up cleaner, the surface may feel tacky even when visible tar is gone. As of 2026, this “ghost tack” is one of the most common complaints after adhesive spot treatments, and the fix is usually consistent wipe-down + full drying.
Clean, dry, and restore the hardwood finish
Start by inspecting and blending only after everything is fully dry. If your hardwood finish looks uneven, use a finish-matching product designed to restore the sheen rather than trying to “scrub it back.”
– Once dry, inspect under good light: look for dullness, haze, or color change where the solvent worked.
– If the finish looks uneven, use a matching floor polish/wax or manufacturer-recommended refinisher based on your floor’s finish type.
– Avoid steam cleaners and soaking—water can creep at seams and swell edges over time.
Work like a finisher, not a remover
Tar cleaning often removes or softens only the uppermost finish layer in a small area. That’s why “blend after dry” is the key step: you’re equalizing appearance, not repeatedly attacking the wood. If your tar spot is small, a careful blend product usually reduces the visual boundary.
What can go wrong (and how to avoid it)
Start with the big risks: scratching, finish softening, spreading tar into surrounding grain, and leaving oily solvent residue. Avoiding these issues mostly comes down to using plastic tools, patch testing, applying solvent to cloth rather than soaking, and working in short rounds.
Common mistakes
– Scratching gouges: metal scrapers can chip the finish and leave permanent marks—stick with plastic.
– Finish damage: stronger solvents (or repeated aggressive wiping) can soften or remove polyurethane, shellac, or varnish topcoats—always patch test.
– Spreading the stain: rubbing too hard can smear tar into surrounding pores and grain; work in small sections and change cloths often.
– Leaving oily residue: skipping the follow-up cleaning step can keep the area slightly tacky or attract more dirt.
Quick method comparison (best choice depends on finish condition)
| Method | Finish Compatibility Risk | Tar Removal Strength | Most Common Outcome |
|---|---|---|---|
| Plastic scrape + odorless mineral spirits (cloth application) | Low–Medium | Medium | Clean lift + manageable haze (if any) |
| Plastic scrape + manufacturer tar/adhesive remover | Low (when labeled safe) | Medium–High | Fast removal with finish-safe dwell time |
| Aggressive rubbing with solvent-saturated rags | High | Variable | Hazy halo, dulled topcoat |
| Metal scraper / sanding-like scraping | Very High | High (but damaging) | Scratches you can’t “clean away” |
| Heat gun or steamer without finish protection | Medium–High | High | Finish softening or edge damage |
| Water soaking + detergent | High | Low | Swollen edges, lingering stain |
| Time required (typical) | 20–60 min | 20–60 min | Usually the most predictable |
| Best For | Small tar transfer spots on sealed hardwood where appearance matters | ||
Best approach, downsides, and who should skip it
Start with the safest “default”: mechanical lift with a plastic scraper plus a finish-compatible solvent, followed by thorough cleanup and complete drying. Here’s why: it reduces the amount of time solvent stays on the topcoat and prevents the tar from turning into a wider smear.
The honest downsides
– Stubborn tar may require multiple short cycles, which means more patience than brute force.
– Some floor finishes—especially older or unknown ones—can dull even with careful cleaning.
– If the tar has penetrated deeper than the topcoat (common with repeated exposure or long dwell times), cleaning may remove the finish boundary around the spot.
Who should skip this DIY approach
Skip this approach if:
– The tar spot is large and the finish is already failing (peeling, lifting, or badly worn).
– You have bare/unfinished hardwood (or you’re not sure)—solvents can penetrate and discolor.
– Patch testing shows clouding, stripping, or tackiness after cleaning.
“Mineral spirits vs. strong solvents” (quick safety lens)
| Criteria | Odorless mineral spirits | Acetone / paint thinner |
|---|---|---|
| Finish-stripping risk | Lower (often) | Higher (often) |
| Typical use for tar cleanup | Common | Sometimes, but risky |
| Flash point / fire risk | Higher than acetone | Very low flash point |
| Spot halo likelihood | Moderate | Higher |
| Wipe-and-clean-up requirement | Yes | Yes (and often more) |
| Odor considerations | Usually milder | Often strong |
| Control without soaking | Good when applied to cloth | Harder to control on finishes |
| Patch testing need | Still required | Absolutely required |
| Overall recommendation | Prefer first | Use only with confirmed finish compatibility |
| Verdict | Better first try for sealed hardwood | Higher likelihood of dulling/stripping |
What you scan and save before you start (quick checklist)
| Step | Do | Don’t |
|---|---|---|
| Test | Patch test solvent in a hidden area | Start on the visible stain without testing |
| Soften | Apply solvent to cloth; wait briefly | Flood the floor or soak seams |
| Lift | Use plastic scraper gently | Use metal tools that can scratch |
| Clean up | Wipe with solvent, then hardwood-safe cleaner | Leave solvent residue behind |
| Finish | Dry fully; blend if needed | Steam clean or rush re-walking |
Frequently Asked Questions
What’s the safest way to remove dried tar residue from hardwood floors without damaging the finish?
Start by testing any cleaner in a hidden spot because hardwood finish types vary. Gently soften the tar first (often with a commercial adhesive remover made for wood or a product labeled safe for finished floors), then lift residue with a plastic scraper rather than metal. Wipe with a damp microfiber cloth and finish by drying immediately to prevent moisture damage.
How do I loosen and clean dried tar on hardwood floors if it’s hardened into the grain?
Apply a tar-removal product or an oil-based adhesive remover to the affected area and let it dwell according to the label so the residue can release. Use a plastic putty knife or a plastic scraper to remove softened tar in small sections, working from edges toward the center. After removal, clean the area with a pH-neutral hardwood cleaner and buff dry with a clean microfiber towel.
Why should I avoid scraping dried tar with metal tools on hardwood?
Metal scrapers can gouge the hardwood surface and damage the topcoat, leaving permanent marks and making the floor more vulnerable to future stains. Tar can also drag grit across the finish if you scrape aggressively, creating dull patches. Using plastic scraping tools and a proper adhesive remover helps lift tar while minimizing scratches.
Which household products are effective for removing dried tar from hardwood floors?
For many jobs, a small amount of mineral spirits (used sparingly) or a commercial adhesive remover can break down tar without excessive soaking. If your hardwood has a polyurethane finish, you can often spot-clean with mineral spirits on a cloth, then follow with a pH-neutral cleaner to remove oily residue. Avoid soaking the floor, and always rinse-wipe and dry to protect the wood and finish.
What’s the best step-by-step method to fully clean and restore shine after tar removal?
First soften and lift the tar residue using a wood-safe adhesive remover, then remove leftovers with a plastic scraper and microfiber cloth. Clean again with a pH-neutral hardwood floor cleaner to eliminate any film that can attract dirt, and dry thoroughly. If the affected area looks dull, apply a manufacturer-recommended wood floor polish or wax in a thin, even layer to restore the finish.
📅 Last Updated: November 04, 2026 | Topic: How to clean dried tar residue from hardwood floors? | Content verified for accuracy and freshness.
References
- White spirit
- Turpentine
- Tar
- PubChem
- PubChem
- PubChem
- PubChem
- https://scholar.google.com/scholar?q=remove+tar+from+hardwood+floor Google Scholar
- https://scholar.google.com/scholar?q=bitumen+removal+from+wood+surface+mineral+spirits Google Scholar
- https://scholar.google.com/scholar?q=pitch+tar+stain+removal+from+wood+floor+solvent Google Scholar
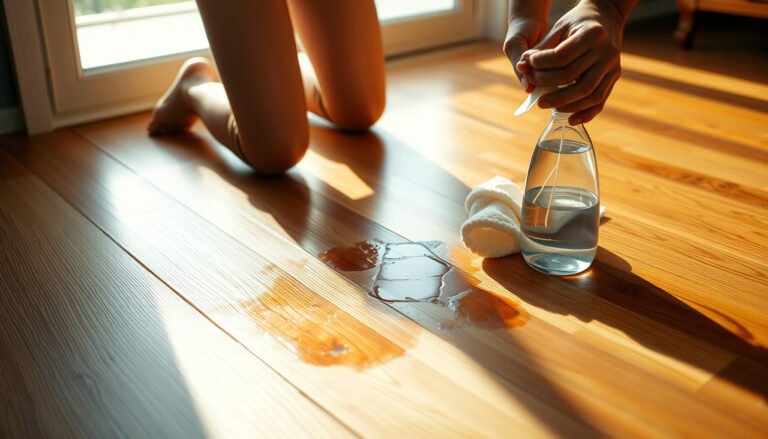
[…] Water (warm, with pH-neutral cleaner) […]