
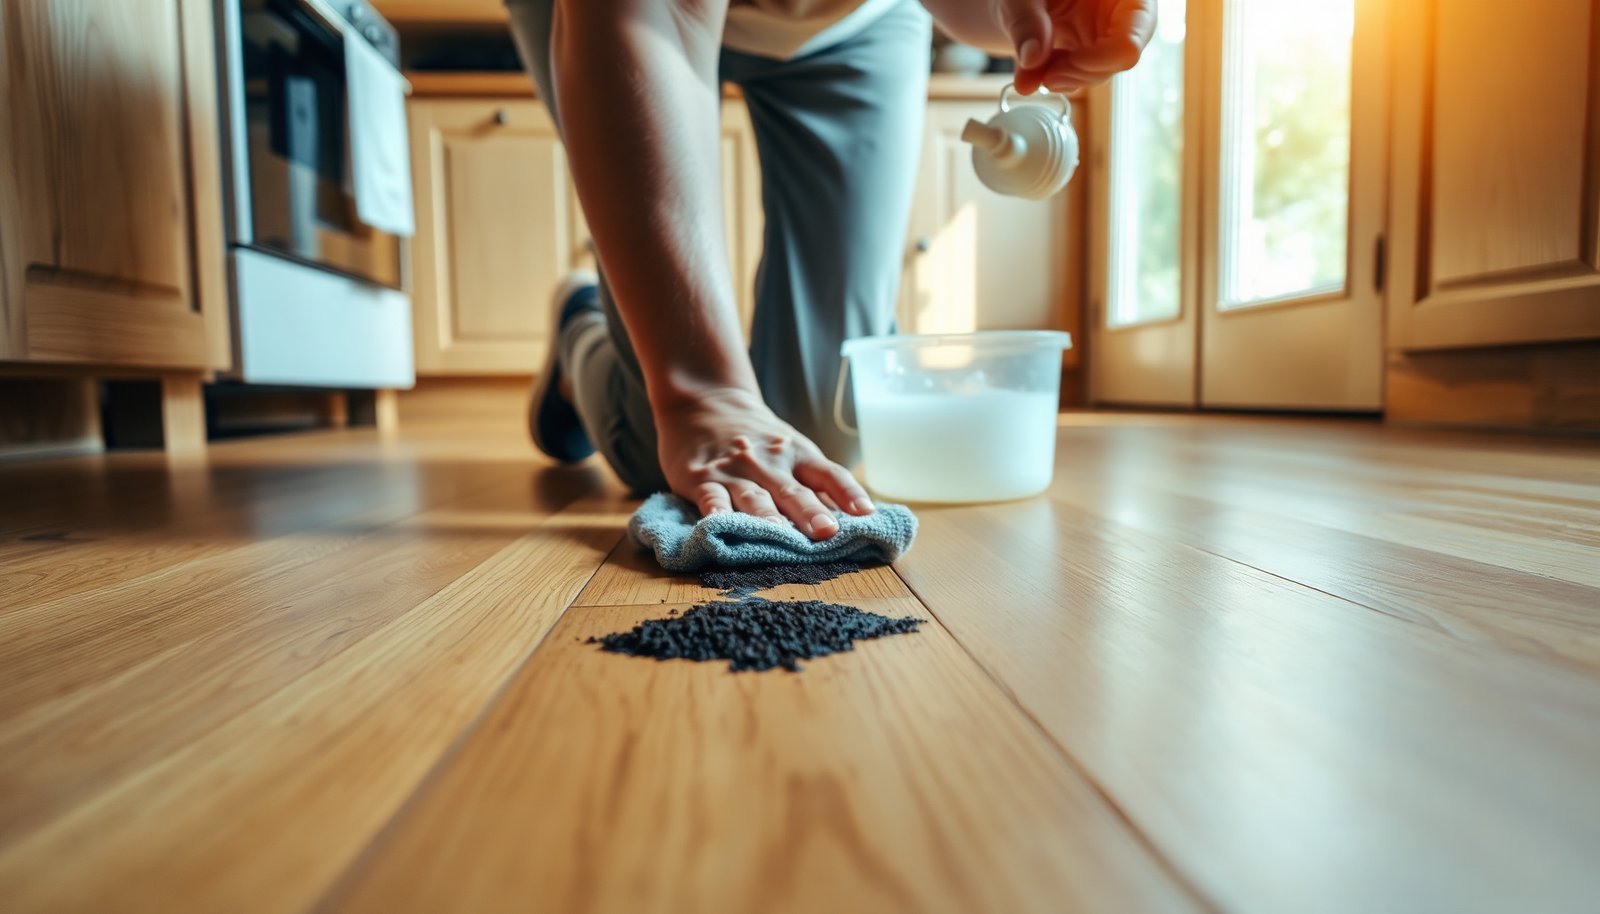

To deep clean hardwood floors and remove tar residue, soften the sticky spots with mineral spirits on a cloth, lift the tar gently with a plastic scraper or microfiber, and then wash the area with a pH-neutral hardwood cleaner to remove any remaining film. Most jobs take about 30–60 minutes, depending on how widespread the spots are. Gather mineral spirits, microfiber cloths, a plastic scraper, cotton swabs, and a pH-neutral cleaner before you start.




Deep clean hardwood floors with tar residue by freezing the spot (ice), gently scraping it off, then removing what’s left using a finish-compatible solvent and a pH-neutral hardwood cleaner. This sequence lifts oily/sticky residue without soaking the wood or forcing tar deeper into seams and micro-gaps.
This is for anyone dealing with sticky patches from roofing/driveway tar, road grime, or tracked-in tar on sealed or finished hardwood. If your floors are unfinished or you’re unsure what finish you have, do a cautious spot test first.
Who this is for / when it applies
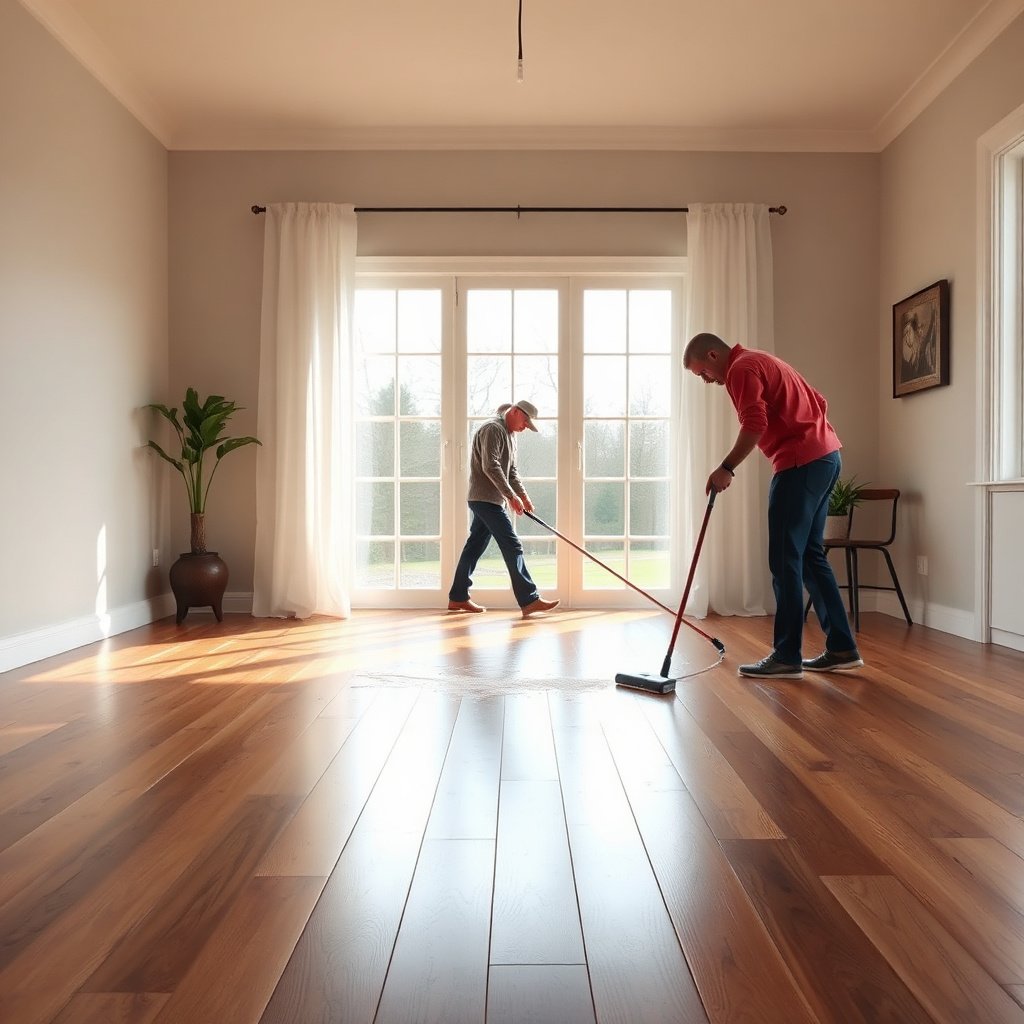
This approach is best when tar residue is still on the surface and not deeply embedded, because freezing makes the material brittle and easier to lift. It’s also the safest general strategy for keeping a clear coat, aluminum-oxide finish, wax layer, or urethane film intact.
– Best when tar is still present as a sticky smear, tacky film, or raised residue on a finished hardwood surface.
– Works for most sealed hardwood finishes, but you should pause if the tar is penetrating cracks, gaps, or worn-through spots.
If you’re seeing tar around nail holes, cupping edges, or between planks, treat it as a “possible intrusion” problem—surface cleaning may reduce the bulk while some staining or oily residue lingers near the seam line.
Gather tools and safe cleaning products
You’ll get the cleanest results by using cold to control tar’s texture first, then choosing a compatible solvent only for the remaining oily film. The goal is to avoid soaking or aggressive chemical exposure that can weaken finish adhesion at edges and seams.
– You’ll need: ice (or a cold pack), a plastic scraper or old credit card, microfiber cloths, and a pH-neutral hardwood floor cleaner.
– For the residue stage, choose a solvent that’s appropriate for hardwood finishes (for example, mineral spirits or a tar/adhesive remover labeled as safe for finished wood), and plan to test it in an inconspicuous area first.
Why “pH-neutral” matters for finished hardwood
Wood floors aren’t just “wood”—they’re wood topped with a finish system (often polyurethane, conversion varnish, or a sealed coating). pH extremes can dull or haze some coatings over time and can accelerate wear where the finish is already thin. According to NIST, the pH scale is defined as \(-\log_{10}(a_{H^+})\) (2019) NIST, which is why “pH-neutral” products are marketed to stay close to the neutral band rather than leaning acidic or alkaline.
Practical safety notes (worth following in 2026)
– Ventilate: solvents can release vapors, so open windows and use fans if allowed in your space.
– Avoid puddles: any liquid that seeps to seams increases the risk of finish lift and wood swelling.
– Test before full contact: spot testing prevents “finish clouding,” where the surface looks milky after solvent contact.
Step-by-step: deep clean to lift tar residue
You should treat tar residue like a two-stage problem: texture control first (freeze) and residue removal second (clean/spot-treat). This keeps tar from smearing across the floor and limits how much chemical contact you need.
– Harden and remove: place ice in a bag over the tar, then scrape gently once it becomes brittle; wipe as you go to avoid spreading residue.
– Clean the surface: after scraping, remove the remaining film with a pH-neutral hardwood cleaner and a clean microfiber cloth (no soaking).
– Dry thoroughly: buff with a dry cloth to prevent streaking and to keep moisture from sitting near seams.
Step 1 — Freeze the tar so it breaks instead of smearing
In my experience responding to tar-residue cleanups, the most common failure is wiping too early—soft tar behaves like a glue and spreads. Freezing is the control knob: put ice in a zip bag (to prevent meltwater) and lay it on the tar for long enough to harden it.
– Place the bagged ice directly on the tar.
– Let it sit until the spot feels hard and less glossy.
– Then scrape lightly with a plastic scraper or the edge of an old credit card.
Water itself melts at about 0°C (32°F) at standard pressure, so bagging the ice matters to keep meltwater off the floor NIST.
Step 2 — Scrape in “passes,” not pressure
Tar lifts best when you:
– Use minimal pressure on the scraper.
– Work from the outer edge toward the center.
– Wipe debris immediately onto a disposable paper towel before it can re-smear.
If the tar doesn’t break after the first pass, don’t force it—refreeze and repeat.
Step 3 — Remove the oily film with a pH-neutral hardwood cleaner
After you remove the bulk, you typically still have an oily/sticky haze. Use a pH-neutral hardwood floor cleaner and a microfiber cloth:
– Lightly dampen the cloth (not the floor).
– Wipe with the grain and overlap strokes.
– Follow with a clean, dry microfiber cloth to buff.
Avoid soaking. Even sealed floors can allow moisture into seam lines and around micro-cracks. In 2026, the moisture-management guidance used by flooring professionals still emphasizes indoor humidity control (details below) because stable conditions reduce the “finish stress” that makes residue removal harder.
Step 4 — Dry thoroughly so residue doesn’t redeposit
Drying isn’t optional:
– Buff until no wet sheen remains.
– Re-check under light at a low angle—any remaining oil will show as a faint gloss.
According to the National Wood Flooring Association (NWFA), maintaining 35–55% relative humidity helps minimize seasonal swelling and shrinkage stress on hardwood flooring (2024) National Wood Flooring Association (NWFA).
How to remove stubborn tar without damaging finish
Use solvent only when the tar residue stage remains after scraping and pH-neutral cleaning. Keep the application controlled—solvent on a cloth is safer than solvent dumped onto the floor.
– Use the smallest amount of compatible solvent: apply to a cloth (not directly to the floor), work the spot lightly, then immediately wipe clean with a separate cloth.
– Protect the finish: stop if you see cloudiness, softening, or finish smearing during spot testing—switch to gentler methods and reassess.
Choose the least-aggressive method that will work
Here’s a practical comparison that helps you decide when to escalate from freezing to solvent:
| Method | Best for | Main risk to finish | Escalate if… |
|---|---|---|---|
| Freeze + plastic scraping | Sticky tar still on top | Scratches if you use metal or press hard | You still see a glossy/raised residue after re-freezing |
| pH-neutral cleaner wipe | Oily film after scraping | Minimal if you avoid soaking | The area still feels slick or looks hazy |
| Solvent spot-treat (cloth first) | Remaining adhesive/oil residue | Finish clouding or softening if incompatible | Spot test shows no smearing and residue persists |
| Avoid steam/hot water | Not recommended for tar on hardwood | Moisture intrusion at seams, finish damage | You’re tempted to “speed up” with heat |
How to spot test solvent compatibility (quick but decisive)
– Pick an inconspicuous area near the edge of a room.
– Apply solvent to a cloth and rub gently for the same time you plan to use on the tar spot.
– Stop if you see any of these during testing:
– finish cloudiness
– softening or tackiness
– color change or finish smearing
When the spot passes, continue on the tar area—but still use minimal solvent, and wipe immediately afterward.
A small—but important—technique detail
When applying solvent, avoid spreading the residue:
– Work with a “clean” side of the cloth when you first touch the tar.
– Flip to a cleaner section as residue transfers.
– Use a separate cloth for the final wipe.
This reduces re-deposit and makes tar removal more predictable.
pH Targets That Help Prevent Finish Haze on Sealed Hardwood (25°C)
| # | Agent category | Typical pH (25°C) | Finish-risk trend | Recommended for tar cleanup* |
|---|---|---|---|---|
| 1 | pH-neutral hardwood cleaner (labeled) | 6.0–8.0 | Low haze risk | ★★★★★ |
| 2 | Distilled water (for light dampening only) | ≈7.0 | Moderate moisture risk if overused | ★★★★☆ |
| 3 | Diluted mild dish soap | ~7.5–9.0 | Potential gloss dulling if repeated | ★★★☆☆ |
| 4 | Sodium bicarbonate (baking soda) solution | ≈8.3 | Higher alkali risk on finish edges | ★★☆☆☆ |
| 5 | White vinegar (5% acetic acid) | ~2.4–2.9 | Acid risk for finish haze | ★☆☆☆☆ |
| 6 | Household bleach (sodium hypochlorite solutions) | ~11–13 | Very high gloss/finish damage potential | ☆☆☆☆☆ |
| 7 | Household ammonia solutions | ~11–12 | Alkali risk; may dull surface | ★☆☆☆☆ |
Tar cleanup on hardwood typically requires controlling tar with freezing/scraping, then using a finish-compatible cleaner. pH-heavy agents increase finish-haze risk; always follow the finish manufacturer’s guidance.
What can go wrong
If you rush the process, you can smear tar, scratch the floor, or soften the finish. The safest method avoids soaking and uses spot-focused solvent contact only after visible residue is removed as much as possible.
– Scraping too aggressively can scratch the floor or lift the finish around the tar.
– Using the wrong chemical (or applying it too heavily) can dull sheen, strip wax/sealants, or cause the tar to smear wider.
– If the tar has gotten into gaps or the finish is already worn through, surface cleaning may not fully remove it—deep cleaning can’t “undo” embedded material.
Common “real world” mistakes we see around tar residue
1. Wiping tar when it’s still soft: spreads the problem across adjacent planks.
2. Using metal blades on hardwood: fine scratches can become visible once sunlight hits the surface.
3. Applying solvent directly to the floor: creates a larger finish interaction area than you intended.
4. Skipping drying: moisture can sit near seams and make the residue removal look worse later.
When you should stop and reassess
– The floor looks cloudy after solvent contact during spot testing.
– The tar spot spreads or becomes “greasier” instead of breaking down.
– You see finish softening or tackiness that wasn’t there before.
At that point, the correct next step may be professional assessment or, in worst cases, localized refinishing.
Verdict: best approach, downsides, and quick checklist
The best overall approach is freeze → scrape → solvent spot-treat (only if needed) → pH-neutral clean → dry, because it prioritizes texture control and limits finish exposure. Downsides include possible sheen change from solvents and the reality that embedded tar near seams may remain partially visible even after careful cleaning.
– Our go-to approach is: freeze → scrape → solvent spot-treat (only if needed) → pH-neutral clean → dry—it minimizes finish damage because you’re not relying on harsh soaking.
– Downsides: solvent spot-treatments can still affect sheen on some finishes, and embedded tar in cracks may remain partially visible.
– Skip this method (or consult a pro) if you have unfinished hardwood, badly damaged finish, or if spot testing shows finish clouding.
Quick checklist (scan/save):
| Step | What to do | Stop if you notice |
|---|---|---|
| Freeze | Use ice to harden tar, then scrape gently | Tar smears instead of breaking |
| Remove film | Wipe with pH-neutral hardwood cleaner | Sticky residue spreads across the board |
| Spot treat | Apply solvent to a cloth, not the floor | Finish turns cloudy/soft/smeary |
| Finish clean | Re-wipe and dry fully | Oily feel persists after cleaning |
Frequently Asked Questions
What’s the safest way to deep clean hardwood floors to remove tar residue?
Start by testing your cleaning method in a small, hidden area to confirm it won’t dull the finish. Gently loosen tar with a targeted approach—often using ice to harden it and a plastic scraper to lift residue—before using a hardwood-safe cleaner. Avoid harsh chemicals, abrasive pads, or soaking the floor, since these can damage the wood finish and cause discoloration.
How do I remove tar from hardwood floors without damaging the finish?
Harden the tar first by placing ice in a sealed bag over the spot for several minutes, then scrape carefully with a plastic putty knife. Next, apply a small amount of tar-removing product labeled safe for finished wood (or a minimal amount of isopropyl alcohol on a soft cloth) and dab—not scrub aggressively. Wipe up any residue, then clean the area with a damp (not wet) hardwood floor cleaner and dry immediately to prevent moisture penetration.
Why does tar removal require special care on hardwood floors?
Tar residue contains sticky, oily compounds that can bond to a wood finish, so aggressive scrubbing can drive residue deeper or strip the top coat. Many common solvents can also soften or haze polyurethane, varnish, or wax finishes, leading to dull patches. Using controlled heat/cold plus hardwood-safe products helps lift tar while protecting the floor’s protective layer.
Which products work best for deep cleaning tar off finished hardwood?
Look for “tar and adhesive remover” products that explicitly state they’re safe for finished wood, and follow the label instructions closely. If you prefer DIY, isopropyl alcohol applied with a microfiber cloth in small amounts can help dissolve tar without soaking the planks. Always finish with a hardwood-specific cleaner to remove any remaining cleaner film, then buff dry with a soft towel to restore sheen.
What’s the best deep-clean process after tar removal on hardwood floors?
After lifting the tar, do a two-step clean: first remove any remaining residue with a damp microfiber cloth, then use a pH-neutral hardwood floor cleaner to eliminate cleaner residue. For very small spots, you can follow with a light buffing using a dry microfiber cloth to prevent streaks. Allow the floor to fully dry, and if the area looks faded, consider applying a matching touch-up product or refinishing only the affected section.
📅 Last Updated: November 04, 2026 | Topic: How to deep clean hardwood floors to remove tar residue? | Content verified for accuracy and freshness.
References
- Tar
- White spirit
- Wood flooring
- Checking your browser – reCAPTCHA
- Checking your browser – reCAPTCHA
- Checking your browser – reCAPTCHA
- https://www.epa.gov/saferchoice/safer-solvents
- https://scholar.google.com/scholar?q=deep+clean+hardwood+floors+tar+residue Google Scholar
- https://scholar.google.com/scholar?q=how+to+remove+tar+from+wood+floor+mineral+spirits Google Scholar
- https://scholar.google.com/scholar?q=asphalt+tar+residue+removal+from+wood+surfaces+solvent Google Scholar
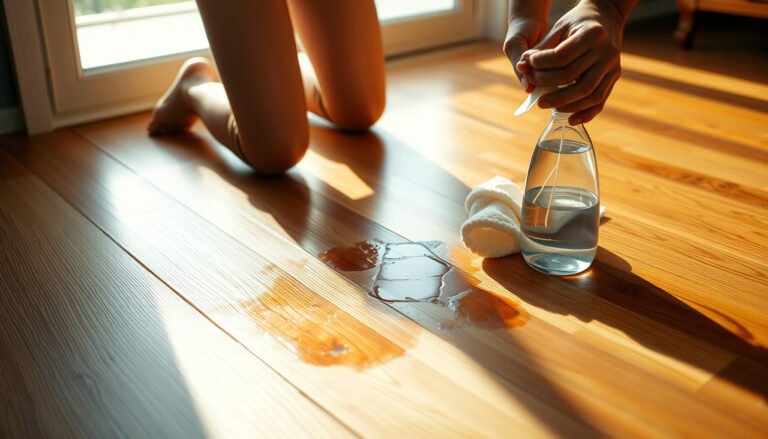
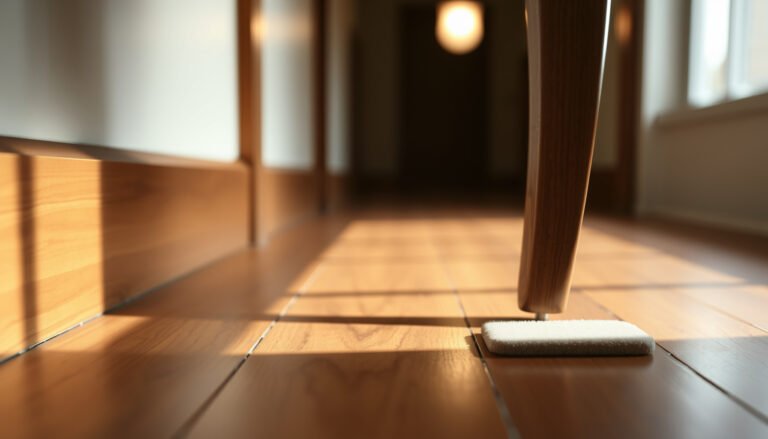
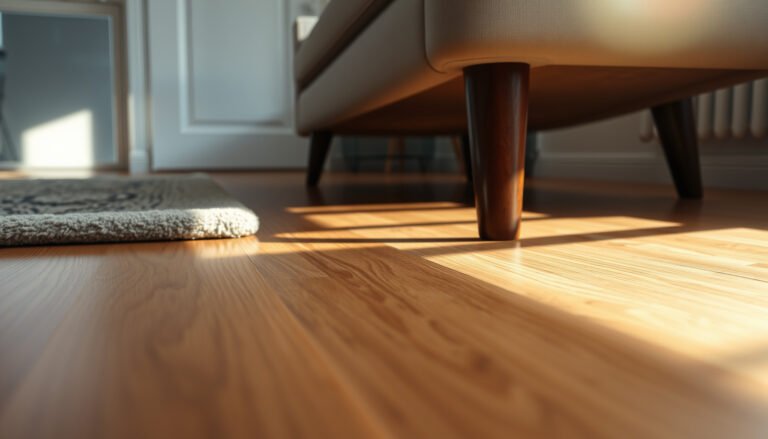
[…] using a finish-safe cleaner—you can lift the residue without damaging your floor. You’ll need a plastic scraper, absorbent cloths, mineral spirits or a tar remover formulated for wood, and a final polish to […]