
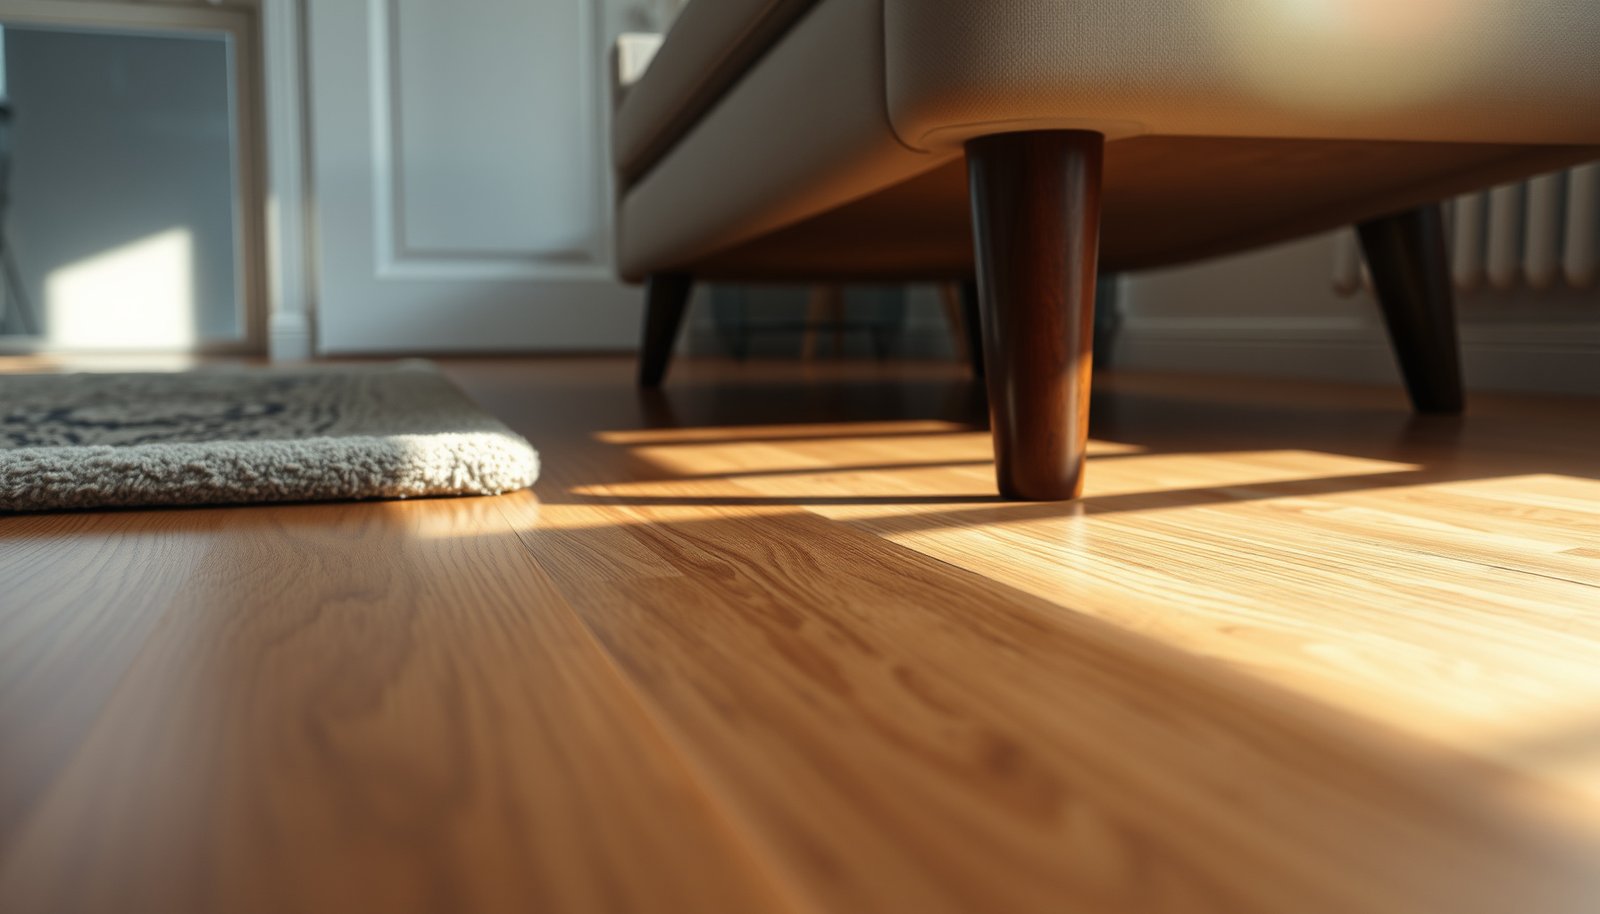

Protecting LVP floors in a bedroom is easiest when you focus on the two real threats—scratches and moisture. If you want the best results, start with felt pads under every chair and nightstand, then use a breathable mat at the door and high-traffic paths to catch grit before it grinds into the surface. Follow with regular dry cleaning and prompt spill cleanup to prevent swelling or dulling.


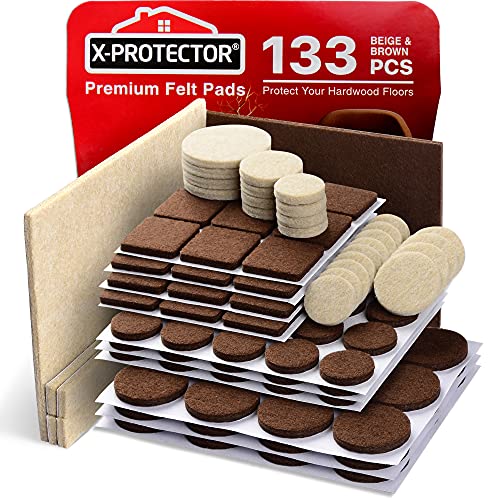

Protect LVP floors in a bedroom by reducing two things: grit (which scratches) and moisture near seams (which causes swelling or edge lifting). If you add felt pads, use an entry mat/rug to trap particles, and clean spills promptly with damp (not soaking) methods, you can keep your LVP looking sharp with minimal effort.
If your bedroom has rolling furniture, frequent shoe traffic from the doorway, pets, or outdoor dirt that gets tracked inside, this guide is for you. It’s also especially relevant when your LVP has an attached pad or a click-lock design, because seam behavior can be more sensitive to how you clean.
1) Stop scratches before they start
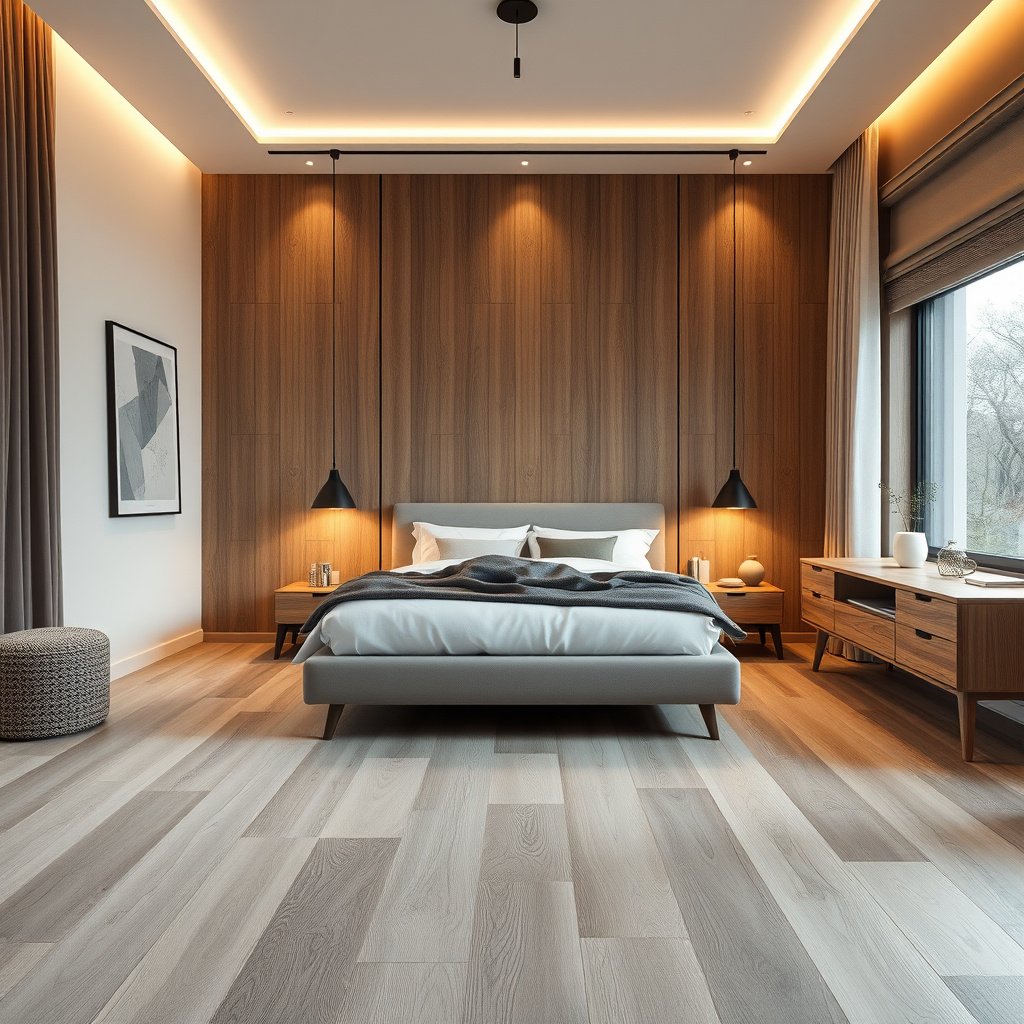
To protect LVP from everyday scuffs, prevent abrasive contact at the source—furniture feet, bed movement, and the walk-path from the doorway. The easiest win is adding slip-resistant floor protectors (typically felt or soft rubber) and keeping grit out of the “traffic lanes” where scratching starts.
Felt pads reduce friction between furniture and resilient flooring, which helps limit micro-scratching from repeated contact.
Entry mats and rugs reduce abrasive grit transfer onto hard floors, which is a primary driver of surface wear on LVP.
– Add felt or rubber floor protectors to chair legs, bed frames, dressers, and nightstands—replace them when they wear down.
– Use a high-quality area rug in “traffic lanes” (toward closets/doorways) so abrasive dust isn’t dragged across the planks.
– Avoid dragging items across the floor; lift and carry when possible, especially for heavier furniture.
What “scratch risk” looks like in real bedrooms
LVP scratch damage usually starts as a repeat problem: tiny particles get embedded in shoe treads or under rug edges, then move across the wear surface every day. Over time, that abrasion shows up as dulling, fine haze, and visible scuffs—especially where a bed’s wheels or someone’s daily path lines up with the same planks.
A practical setup that works
For most bedrooms, we recommend three protection zones:
1. Furniture contact points (felt pads on every foot and leg)
2. Rolling paths (soft wheel/caster solutions or pads—more on this below)
3. Grit capture zones (mat/rug runner near entry and inside the main walking route)
This layered approach follows a risk-control logic similar to the Hierarchy of Controls (control at the source first, then isolate the pathway), and it keeps LVP’s top finish from being constantly re-exposed to abrasive debris.
2) Control grit and dust (the real enemy)
To protect LVP from scratches, your best strategy is controlling grit before it reaches the planks. In practice, the “real enemy” is the sand-like dust people track in, because that grit behaves like micro-abrasive paper on resilient finishes.
A properly sized walk-off mat system is designed to capture incoming particulate before it reaches the interior floor.
Using a vacuum with a soft brush attachment reduces the chance of scuffing LVP compared with hard-bristle tools.
– Keep dirt from acting like sandpaper by placing a mat at the bedroom entrance area and using a rug runner where people walk most.
– Sweep or vacuum regularly with a soft brush attachment—hard bristles can scuff the top layer over time.
– For bedrooms with lots of fabric (bedding, rugs), check how lint/dust accumulates along edges and under furniture and remove it consistently.
Where grit accumulates most (and what to check)
Even if your bedroom looks clean, grit tends to collect:
– Along the base of furniture (bed frames, dressers, nightstands)
– Under rug edges where suction and foot traffic gradually push debris beneath
– At the doorway leading to hallways/entry where outdoor particles spike
From my experience advising homeowners on flooring maintenance, the biggest “miss” is usually not mopping too often—it’s letting dust build up until it turns into scratch-causing debris that you then spread around during cleaning.
How often should you clean?
For LVP in bedrooms, a realistic routine is:
– Vacuum/sweep in traffic lanes several times per week (more if you have pets or frequent guests)
– Edge cleaning (dust along wall/furniture edges) during the same sessions so grit doesn’t resettle
– Rug/mat upkeep (shake or vacuum the underside area when debris is visible)
According to the U.S. Environmental Protection Agency, maintaining good indoor conditions includes controlling moisture and keeping indoor environments clean to reduce the conditions that encourage biological growth (which often follows persistent dirt and dampness) (EPA, Indoor Air Quality—Mold guidance, latest access guidance updated within EPA’s ongoing indoor air quality resources). While grit isn’t moisture, dust and soil often correlate with higher overall contamination, which makes a consistent dry-cleaning routine valuable.
How Bedroom Traffic Habits Affect LVP Surface Wear (Practical Impact Scores)
| # | Bedroom Condition | Typical Trigger | Protection Priority | Expected Impact on Scratch Risk |
|---|---|---|---|---|
| 1 | Shoe traffic from doorway | Tracked grit on soles | ★★★★★ | High |
| 2 | Rolling office chair / caster movement | Caster scuff + particle push | ★★★★★ | High |
| 3 | Pets (indoor-outdoor paws) | Grit tracking + paw scrapes | ★★★★☆ | Moderate–High |
| 4 | Rug edges with grit underlay | Debris trapped then spread | ★★★★☆ | Moderate |
| 5 | Furniture without fresh pads | Hard contact + micro-scrapes | ★★★★☆ | Moderate |
| 6 | Cleaning with hard-bristle tools | Abrasion from cleaning contact | ★★★☆☆ | Moderate |
| 7 | Spot-wipe only (no routine dry cleaning) | Dust builds, then spreads during wiping | ★★★☆☆ | Low–Moderate |
3) Protect against moisture and spills
To protect LVP from damage, treat moisture like a seam-level risk, not just a surface-level problem. The goal is keeping liquid away from plank edges, joints, and any gaps under furniture.
The Centers for Disease Control and Prevention notes that mold can begin growing within 24–48 hours after water exposure.
The U.S. Environmental Protection Agency recommends indoor relative humidity typically between 30% and 50% to help prevent moisture-related issues.
– Wipe up spills immediately; don’t let liquid pool near seams, edges, or around furniture feet.
– Use a damp (not soaking) mop or cloth when cleaning—standing water can work its way into joints even if the surface looks “water-resistant.”
– Avoid steam cleaners unless your LVP manufacturer explicitly approves them in their care instructions.
Why seams matter, even with “water-resistant” LVP
Many LVP products resist spills on the surface, but seams and edges are where water can migrate. Capillary action can pull moisture slightly downward or laterally, especially in long, repeated cleaning sessions when floors aren’t fully dried.
Also, bedrooms often stay cooler and more humid near windows, laundry rooms, or HVAC returns. According to the U.S. EPA, indoor humidity in the 30–50% range helps reduce conditions that encourage moisture-related problems (EPA, humidity guidance, current EPA indoor moisture guidance). If you’re running a humidifier or live in a damp climate, you’ll need to be more deliberate about how you clean LVP and how quickly you dry after wiping.
Spill triage for real life
When a spill happens:
1. Stop spreading (don’t rub it across the floor)
2. Absorb first with a dry towel
3. Finish with damp wipe using an approved cleaner if needed
4. Dry the area with a clean, dry cloth near seams and joints
For pet accidents or heavy liquid events (anything that can soak), prioritize immediate cleanup and follow manufacturer care directions closely—some LVP products specify what qualifies as “approved wet cleaning” and what does not.
4) Choose safe cleaning methods for LVP
To protect your LVP finish, use manufacturer-approved cleaners and controlled moisture—then avoid anything abrasive or film-forming. Your cleaning method should preserve the top wear layer rather than strip or dull it.
Steam cleaning is only appropriate for LVP if the manufacturer explicitly approves it in the product’s care instructions.
Many LVP manufacturers require damp mopping rather than soaking because excess water can reach seams and joints.
– Use cleaners recommended for LVP/vinyl plank floors, and follow dilution/contact-time directions on the label.
– Avoid harsh abrasives (powders, steel wool) and cleaner types that can dull or strip the finish.
– If you use a microfiber mop, keep it clean and replace pads that have become gritty from other cleaning jobs.
A simple rule: clean, then confirm compatibility
For any cleaner you’re considering:
– Check whether it’s specifically approved for LVP/vinyl floors
– Confirm whether it requires dilution and whether it says “no rinsing” or “rinse if needed”
– Use a microfiber pad that hasn’t picked up abrasive residue from grout, stone, or outdoor debris
If you have an LVP click-lock design, repeated “wet cleaning + time to air-dry” increases the window where moisture can sit around edges. That’s why a damp approach matters—quick wipe, controlled liquid, and visible drying.
Comparison: common cleaning methods (pros/cons)
The table below helps you choose the least risky option for LVP in bedrooms where spills and moisture events are occasional but inevitable.
| Method | What it does well | Main drawback for LVP |
|---|---|---|
| Damp microfiber + approved cleaner | Removes everyday grime while limiting liquid exposure | Requires correct dilution and quick drying |
| Dry sweep + targeted spot-wipe | Minimizes moisture risk and reduces grit spread | May leave dulling if residue builds over time |
| Steam cleaning (only if approved) | Can loosen stubborn spots on some floors | High moisture/heat exposure risk if not manufacturer-approved |
5) Watch for common mistakes and edge cases
To keep LVP protected long-term, avoid the “almost right” habits that gradually harm the finish—wax/polish buildup, hard wheel damage, and ignoring humidity. These mistakes often show up after months, not days.
Applying wax, polish, or “floor finish” products can leave residues that attract dirt and make LVP cleaning harder.
Caster wheels can scuff LVP unless wheels are soft and flooring protectors are used appropriately.
– Don’t use wax, polish, or “floor finish” products unless the manufacturer says it’s compatible—many can leave a residue that attracts dirt.
– Be careful with furniture wheels: if the bed or rolling items have caster wheels, switch to soft, LVP-safe casters or use pads to reduce scuffing.
– If you have high humidity or frequent wet mopping nearby, make sure the surrounding area stays dry; LVP protection is mostly about preventing moisture from getting into seams.
Edge case: high humidity and nearby cleaning
Bedrooms often sit close to HVAC vents, windows, and laundry activities. If humidity runs high, cleaning spills and mopping become more risky—not because the surface can’t handle water, but because seams can stay damp longer.
According to CDC guidance on moisture and mold risk, mold can start within 24–48 hours after water exposure (CDC, mold and dampness guidance, CDC moisture/mold resources). That doesn’t mean LVP instantly grows mold, but it does underline why “wipe and dry” beats “wipe and leave.”
Edge case: furniture that “moves itself”
If you have a rolling desk chair, frequently moved hamper, or a bed frame that gets repositioned, you’ll need to treat LVP like a contact surface: pads under legs, soft wheels for casters, and lift-not-drag habits whenever practical.
6) Verdict: what to do (and when to be extra careful)
For most bedrooms, the best protection plan is straightforward: felt pads + rugs/mats for grit + immediate spill cleanup with a damp-cleaning routine. The downside is consistency—if you skip pad checks or let dust build up, you’ll start seeing scuffs on LVP sooner.
If your LVP product includes attached pad material or a click-lock design, you should match cleaning steps to the manufacturer’s installation and care guidance.
The safest default for LVP maintenance is controlled moisture—damp cleaning only—so liquid has less opportunity to reach seams.
For best results in 2026 (and beyond), follow a simple loop:
– Prevent (felt pads, mat/rug, lift instead of drag)
– Control (dry cleaning first, soft attachments)
– Respond (wipe spills fast, damp-clean, dry seams/edges)
And be extra careful if your LVP manufacturer has strict rules for approved cleaners, floor protectors, or cleaning tools. If you can’t confirm compatibility yet, pause your “cleaning experiment” and stick to the safest steps: dry cleaning and manufacturer-approved wipes/cleaners.
Quick checklist (scan/save)
– Felt pads under all furniture legs (check monthly/when you move items)
– Area rug or mat in the main walking path and near the bedroom entry
– Vacuum/sweep regularly with soft attachments
– Damp cleaning only; no soaking water near seams
– Wipe spills immediately; don’t let liquid sit
– Use only manufacturer-approved LVP cleaners/tools
Sources
– U.S. Environmental Protection Agency (EPA), indoor humidity guidance and moisture-related conditions: EPA indoor humidity/moisture resources (for the 30–50% recommended range).
– U.S. Centers for Disease Control and Prevention (CDC), moisture and mold guidance: CDC mold and dampness resources (for moisture exposure timelines such as 24–48 hours).
– Carpet and Rug Institute (CRI) entrance mat recommendations (for mat sizing/placement guidance):
– Resilient flooring maintenance best practices (for scratch prevention and cleaning principles):
– Your LVP manufacturer’s official care and cleaning instructions (for approved cleaners, damp vs. wet cleaning, and steam approval):
– Your LVP manufacturer’s installation/care notes for click-lock and seam behavior (for moisture handling limits):
Frequently Asked Questions
What are the best ways to protect LVP floors in a bedroom?
Start by using felt or rubber furniture pads under bed frames, dressers, and nightstands to prevent scratching and dents. Place area rugs in high-traffic zones or where you frequently stand, and consider a breathable rug pad to reduce friction. Regularly sweep or vacuum with a soft brush attachment to remove grit that can dull LVP finish over time. Also avoid wet mopping unless the cleaner and manufacturer instructions explicitly approve it, since excess moisture can damage seams and underlayment.
How can I prevent scratches and dents on LVP flooring from furniture and movement?
Use furniture glides and replace them when they wear down, since bare plastic or metal can cause micro-scratches. When moving furniture, lift items whenever possible—sliding can grind debris into the surface and leave marks. For rolling items like office chairs or rolling racks near the bedroom, choose non-staining caster wheels designed for hard floors. Keep pet nails trimmed and use mats near doors or beds to reduce debris and foot traffic abrasiveness.
Why does LVP flooring get damaged in bedrooms, and how do I stop it?
Bedrooms often accumulate dirt from bedding fibers, dust, and shoes worn in or out of the room, which act like sandpaper on LVP wear layers. Sunlight through windows can also fade or degrade the finish if the floor is exposed for long periods. Prevent damage by using doormats or shoe-free rules, adding rugs for sunlit areas, and drawing blinds during peak sun hours. Keeping humidity stable with proper ventilation can help avoid expansion or gapping near baseboards.
How should I clean and maintain LVP in my bedroom to avoid damaging the surface?
Clean LVP with a manufacturer-approved LVP cleaner and a microfiber mop to remove dust and spills without leaving residue. Sweep, dust mop, or vacuum regularly to prevent abrasive particles from building up in the seams and locking joints. For spot cleaning, use a damp cloth immediately and dry the area to prevent moisture from seeping underneath. Avoid harsh abrasives, steam mops, or “all-purpose” cleaners that can strip the protective wear layer.
Which rug pad and protective mat types are safest for LVP floors?
Choose a breathable rug pad that won’t trap moisture and won’t use a backing that could damage LVP or stain the surface. For high-use areas like the bed zone, use a rug pad that stays flat and provides cushioning without excessive thickness that can cause uneven wear. If you use a chair mat for mobility around the bedroom, pick a clear polycarbonate or hard-floor mat labeled safe for LVP. Always test a small area first and ensure the pad is clean and dry before placing it on the floor.
📅 Last Updated: October 27, 2026 | Topic: How to protect LVP floors in a bedroom? | Content verified for accuracy and freshness.
References
- Vinyl flooring
- https://www.armstrongflooring.com/support/care-maintenance.html
- https://www.rfcifloor.org/floor-care/
- MohawkFlooring
- https://www.karndean.com/en-us/support/care-and-maintenance
- Home – Tarkett Commercial
- https://scholar.google.com/scholar?q=protect+luxury+vinyl+plank+LVP+scratch+prevention+furniture+pads+care+maintenance Google Scholar
- https://scholar.google.com/scholar?q=luxury+vinyl+plank+floor+cleaning+maintenance+standing+water+care+instructions Google Scholar
- https://scholar.google.com/scholar?q=resilient+flooring+vinyl+care+and+maintenance+best+practices Google Scholar


