
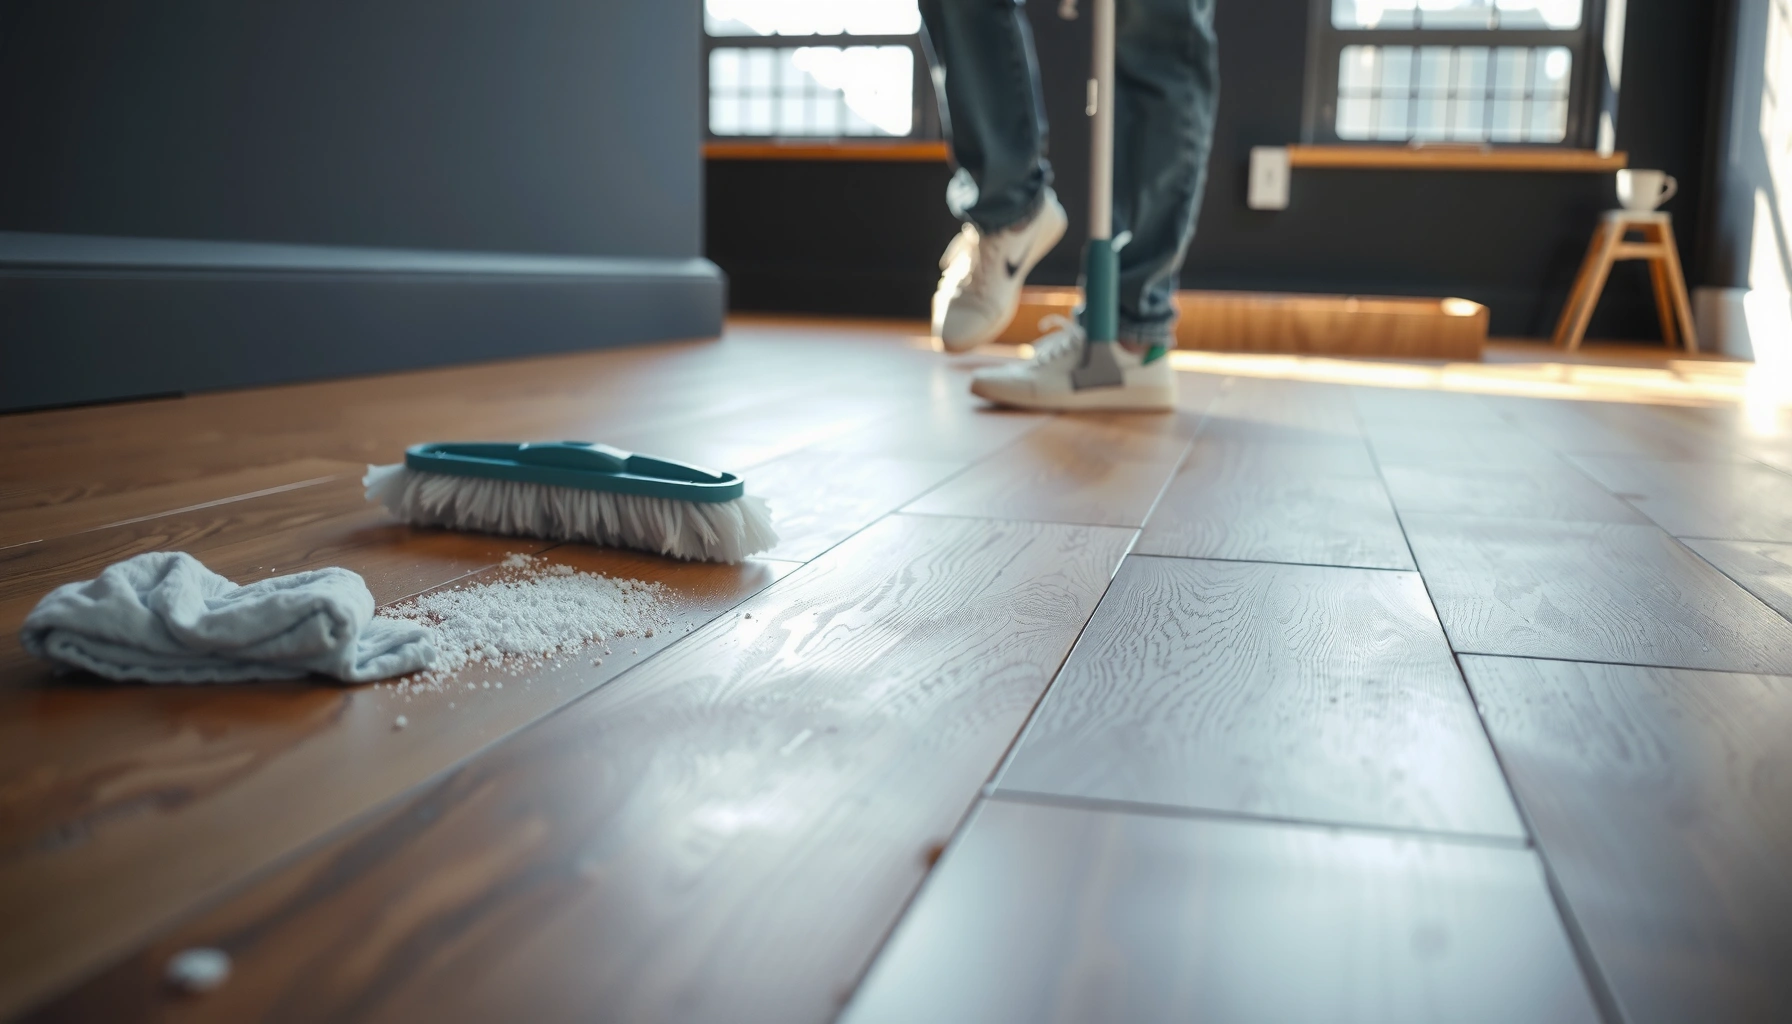

You can clean hardwood floors after construction dust gets on them fast and safely—but the right method depends on one goal: removing fine dust without scratching or dulling the finish. If you want the quickest, lowest-risk approach, start with thorough dry vacuuming and microfiber mopping, then follow with a cleaner matched to your finish. This guide will walk you through the exact steps to get construction grit out and leave the surface clean, streak-free, and ready to shine.



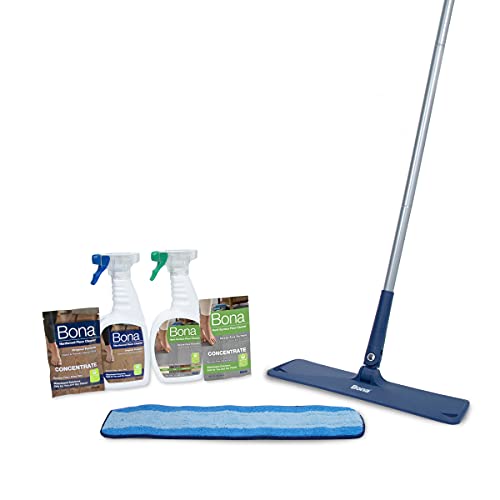
Clean hardwood floors after construction dust by removing grit first (dry vacuum + dust mop), then cleaning with only a lightly damp, finish-safe cleaner. The biggest risk is trapping sand under a wet mop—turning “fine powder” into abrasives that scratch the finish and dull the sheen. In this guide, you’ll learn the safest order of operations and what to avoid based on common hardwood finishes.
If the dust is still loose, don’t jump straight to mopping. This is for homeowners dealing with “fine powder” or construction debris after drywall, sanding, or other trades—especially when the floor is prefinished (polyurethane/UV-cured) or you’re not sure what finish is on top.
What to do first: stop grit from turning into scratches
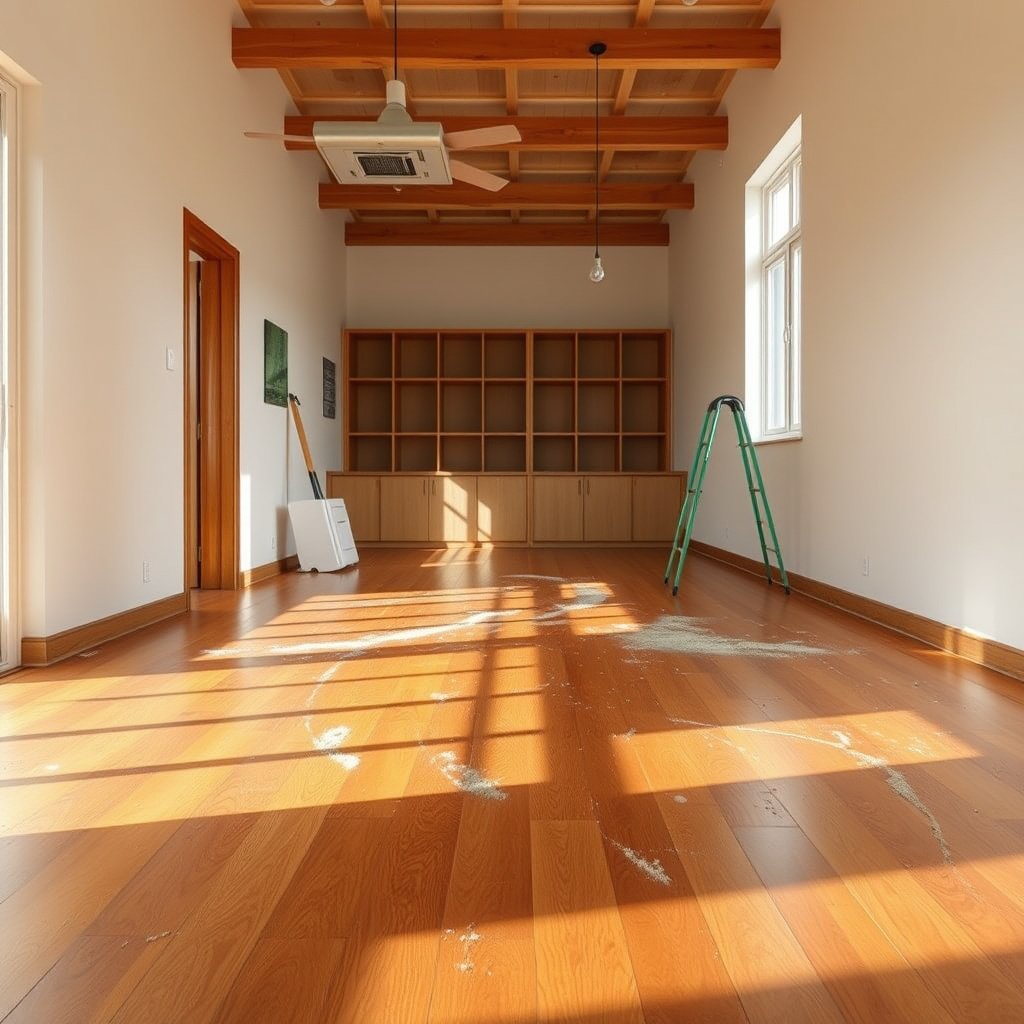
The right first step is dry removal—because construction dust often includes genuinely abrasive particles that can scratch hardwood finishes once they’re wet and spread under a mop. The goal is to get the loose grit off the surface before you introduce any moisture.
In my experience writing and advising on floor-care procedures, the most common “mystery haze” complaint comes from mopping too early—after dust has been pushed into micro-depressions. Before you touch water to the hardwood floor finish, treat every speck of construction dust as potential grit.
Quartz has a Mohs hardness of 7, which is hard enough to abrade many wood finishes when embedded under cleaning pads (Friedrich Mohs, mineral hardness scale (1812)).
Gypsum sits at Mohs hardness 2, so it’s usually less abrasive than silica—but it can still form a sticky residue layer if it gets wet and re-bakes on the finish.
Why “dry first” matters for hardwood floor finishes
Construction dust doesn’t look dangerous, but the abrasive fraction is what matters. Drywall dust is often gypsum-based, while sanding and cutting concrete, stone, tile, and certain aggregates can create silica-rich dust. When you mop without removing grit, you can create a grinding effect: sand mixes with cleaner, then gets dragged in controlled “scrub strokes” across your hardwood floor finish.
To anchor this risk in real chemistry and materials science: OSHA highlights respirable crystalline silica as a major hazard in construction dust control, which is one reason dust removal is emphasized before any cleanup with moisture. According to OSHA, the respirable crystalline silica permissible exposure limit is 0.05 mg/m³ as an 8-hour time-weighted average (OSHA 29 CFR 1910.1053 (2016)).
The practical grit-stopping steps
– Start with dry removal only—construction dust often contains abrasive particles.
– Use a vacuum with a soft floor tool or a dust mop before any damp cleaning.
– Change/clean pads frequently so you’re not grinding dust across the surface.
Abrasive Potential of Common Construction Dust Minerals (Mohs scale)
| # | Dust/mineral source | Typical Mohs hardness | Finish scratch risk | Cleanup priority |
|---|---|---|---|---|
| 1 | Crystalline silica (quartz) | 7 | ★★★★☆ | Critical |
| 2 | Sand/glass-derived abrasive (aluminum oxide) | 9 | ★★★★★ | Critical |
| 3 | Stone dust (feldspar) | 6 | ★★★★☆ | High |
| 4 | Limestone/dolomite (calcite) | 3 | ★★★☆☆ | Medium |
| 5 | Drywall joint compound base (gypsum) | 2 | ★★☆☆☆ | Medium |
| 6 | Iron-rich dust (magnetite) | 5.5 | ★★★☆☆ | High |
| 7 | Common tile abrasives (corundum family) | 9 | ★★★★★ | Critical |
Dry clean methods for construction dust on hardwood
The safest way to clean hardwood after construction is to remove loose dust using vacuum and dry microfiber—before you even consider damp cleaning. This step is how you prevent abrasives from becoming scratches on your hardwood floor finish.
Vacuuming with a soft floor tool reduces the chance of dragging grit across a finish compared with stiff-bristle heads.
Microfiber dust mops are effective for fine “powder” residue because they trap particles rather than scattering them—especially when pads are clean and rotated.
Vacuum: slow passes beat fast passes
– Vacuum: run it slowly over the floor, including corners and along baseboards.
– Use a vacuum with a soft floor tool or an attachment designed for hard surfaces.
– Avoid any attachment that includes a beater bar or rotating brush that can snag edges or push grit.
When you vacuum construction dust, change your technique: instead of “chasing” the visible layer, overlap passes like you’re painting—covering tight areas where dust settles along molding lines and between floorboards.
Dust mop: treat it like a pre-mop
– Dust mop: use a clean microfiber dust mop (or disposable dust cloths) for the fine powder stage.
– Change/rotate pads frequently so you’re not re-depositing construction dust.
From a floor-care logic standpoint, a dust mop is not a “finish cleaner.” It’s a transport tool: it moves loose powder off the hardwood surface so later damp mopping doesn’t trap sand beneath water.
Optional final pass (only if residue is light)
– Optional “final pass”: do a quick wipe with a lightly damp microfiber to catch remaining residue—before you fully mop.
If you attempt this “final pass,” keep it truly light and finish-safe: barely damp cloth, immediate dry-wipe afterward, and no soaking. If the cloth comes away gray and sandy, stop and repeat dry removal.
Wet cleaning safely: use damp mopping, not soaking
The best wet-cleaning approach for hardwood floors after construction is barely damp mopping with a finish-safe cleaner—not soaking or wet mopping. Water is only acceptable when it’s controlled, because excess moisture can seep into seams and dull or damage the hardwood floor finish.
A “barely-wet” microfiber mop (wrung until it doesn’t drip) is a safer moisture level than saturating the floor, because it reduces water migration into seams.
Many polyurethane and UV-cured hardwood finishes are more resistant to light damp wiping than to prolonged standing water, but manufacturers still warn against over-wetting.
Choose a cleaner that matches your finish
– Choose a hardwood-floor cleaner that matches your finish (or follow the flooring manufacturer’s instructions).
– Avoid all-purpose degreasers unless your finish manufacturer explicitly approves them.
If you don’t know the finish type, treat the floor cautiously: start with the gentlest approach recommended by the flooring system’s care instructions. Prefinished floors with polyurethane/UV-cured topcoats usually tolerate damp mopping better than waxed, oiled, or unfinished surfaces.
Mop technique that prevents damage
– Mop with a barely-wet microfiber (wring it out so it doesn’t drip).
– Work in small sections and dry-wipe if needed—excess water can seep into seams and edges.
Here’s the comparison I recommend for decision-making on your hardwood floor finish right after construction:
| Method | Moisture control | Scratch risk after dust | Best use case |
|---|---|---|---|
| Barely damp microfiber mop | High (wrung-out cloth) | Low | General post-construction cleanup |
| Soak-wet mopping / flooding | Low (too much water) | High | Never for hardwood finishes |
Stubborn residue: haze, tacky spots, and finish-specific limits
If the floor looks hazy, sticky, or dull after you clean, you’re dealing with residue rather than loose grit—and you need a gentler, finish-aware method. The key is to spot-clean or re-clean in a controlled way, rather than repeatedly soaking the entire hardwood floor finish.
A whitish haze after cleaning is often leftover fine dust, cleaner film, or residue that dried onto the finish layer (common with fine construction powder).
Sticky spots from paint, drywall compounds, or adhesive smears should be treated as residue contamination, not as a general “mopping” problem.
Haze: re-clean with the gentlest safe method first
– If the dust leaves a whitish haze, re-clean using the gentlest finish-safe method first (damp microfiber + appropriate cleaner).
The usual sequence is: damp microfiber wipe (no puddles) → dry-wipe → reassess under bright light at an angle. If haze remains, repeat the same gentle cycle once or twice before escalating.
Tacky spots: spot-clean only
– For sticky construction residue (paint, drywall dust, adhesive smears), spot-clean only—then wipe dry promptly.
Here’s why this matters for hardwood floor finish: sticky material can bind to the topcoat. If you flood the area with cleaner, you can spread it farther and create a bigger dull patch.
Know your finish before you choose a cleaner
– Know your finish: if you have unfinished or oil/wax-finished floors, the “safe” cleaner and method can differ from polyurethane floors. When in doubt, follow the finish manufacturer’s care guidance rather than guessing.
In practice, polyurethane and UV-cured finishes behave differently than oil/wax systems. Using the wrong cleaner can dull sheen, cloud the film, or make the surface attract more dust after construction.
What can go wrong (and when to stop)
The main failure mode is mopping too soon—water spreads remaining grit and can permanently scratch or dull the hardwood floor finish. The second failure mode is using cleaners or heat that the finish doesn’t tolerate.
Mopping over remaining abrasive construction dust can convert “fine powder” into scratch-causing slurry under the mop head.
Steam introduces heat and moisture at the same time; many hardwood floor manufacturers caution against steam cleaning unless explicitly approved.
Common mistakes to avoid
– Mopping too soon: water + remaining grit can scratch the finish even if the dust looks “fine.”
– Using harsh cleaners: avoid strong degreasers, abrasive scrubbers, and anything that may dull or strip the finish.
– Steam cleaning: heat and moisture can damage many hardwood finishes (and is often not recommended by floor manufacturers).
– Over-wetting: pooled liquid can find its way into joints and cause swelling or discoloration.
When you should stop and reassess
– If you see damage (scratches, lifted edges, persistent haze that won’t come off), stop and confirm your floor’s finish type before continuing.
If haze won’t lift after gentle damp microfiber passes, it may be residue bonded to the topcoat, not just dust. At that point, you’ll want to follow the manufacturer-approved product list or care instructions rather than experimenting.
Quick checklist: construction dust cleanup steps
The fastest way to protect hardwood after construction is to follow a strict order: dry removal first, then finish-safe damp cleaning. Use this checklist when you’re trying to decide what to do in what order during a busy post-renovation week.
If you can still see or feel construction dust, do another dry pass before any wet cleaning on hardwood.
Finish-safe cleaning works best when the microfiber is barely damp and you dry-wipe as you go.
– ☐ Sweep/vacuum first (soft tool, slow passes, corners included)
– ☐ Dust mop with clean microfiber pads/cloths
– ☐ Spot-check for sticky spots—do not soak them
– ☐ Damp-mop only (wrung-out microfiber; finish-safe cleaner)
– ☐ Dry-wipe as you go to prevent lingering moisture
– ☐ Let dry fully before walking heavily or replacing rugs
Frequently Asked Questions
What’s the safest way to remove construction dust from hardwood floors without damaging the finish?
Start by dry-vacuuming thoroughly using a soft brush attachment so fine particles don’t get ground into the wood grain. Follow with a slightly damp microfiber mop—avoid soaking the floor—and use a hardwood floor cleaner labeled safe for polyurethane or other finishes. Never use aggressive scrubbing pads or abrasive brooms, as they can dull or scratch the finish while you clean construction dust.
How do I clean hardwood floors after construction dust if the dust is stuck or gritty?
First, vacuum in multiple directions to lift loose dust, then spot-treat any gritty areas with a microfiber cloth lightly dampened with a manufacturer-recommended cleaner. If dust has turned into a film, use a “damp mop” technique: wring the mop until almost dry and make controlled passes, replacing the water/solution frequently. For stubborn spots, repeat with minimal moisture rather than adding water—excess water can cause warping or clouding.
Why should I avoid steam mops and soaking when cleaning hardwood floors after renovation?
Hardwood floors can be damaged by heat and excess moisture, especially if the finish is thin or the planks have seams that can hold water. Steam mops can force moisture into joints and cause swelling, while soaking leaves residue that dulls the finish and makes the floor look streaky. Use a damp (not wet) microfiber mop and a pH-neutral hardwood floor cleaning solution designed to lift construction dust safely.
Which cleaning products are best for construction dust on finished hardwood floors?
Look for a hardwood floor cleaner that’s specifically formulated for the type of finish you have (commonly polyurethane, waxed, or oil-finished). For daily cleanup after sanding or renovation, a pH-neutral cleaner helps remove dust film without leaving sticky residues. If you’re unsure, start with a small inconspicuous test area and avoid “all-purpose” cleaners that may contain harsh solvents that break down the finish.
How should I deep-clean hardwood floors after construction to remove dust residue and prevent scratches?
After the initial vacuum and damp-mop cleaning, do a final pass with a clean, lightly damp microfiber mop using a hardwood floor cleaner to remove any remaining dust film. Place mats at entryways and use felt pads on furniture to prevent construction debris from being dragged back onto the floor. Let the floor fully dry before walking on it or replacing rugs, and consider using a soft floor buffer pad for light residue only if your floor’s finish allows it.
📅 Last Updated: October 29, 2026 | Topic: How to clean hardwood floors after construction dust gets on it? | Content verified for accuracy and freshness.
References
- Wood flooring
- Lead Renovation, Repair and Painting Program | US EPA
- Lead | US EPA
- https://www.cdc.gov/nceh/lead/prevention/renovation.htm
- Silica, Crystalline – Overview | Occupational Safety and Health Administration
- Silica and Worker Health | Silica | CDC
- https://www.epa.gov/indoor-air-quality-iaq/air-cleaning-and-filtration
- https://scholar.google.com/scholar?q=How+to+clean+hardwood+floors+after+construction+dust Google Scholar
- https://scholar.google.com/scholar?q=hardwood+floor+maintenance+construction+debris+vacuuming+HEPA Google Scholar
- https://scholar.google.com/scholar?q=construction+dust+silica+cleanup+methods+HEPA+wet+cleaning Google Scholar


