


Want to polish wood-look tile floors and get a glassy, streak-free shine? This step-by-step guide shows exactly how to clean, strip residue if needed, buff, and seal so your finish stays smooth without dulling or haze. Follow these instructions and you’ll know the fastest path to a durable, high-gloss result that looks like real refinished wood.



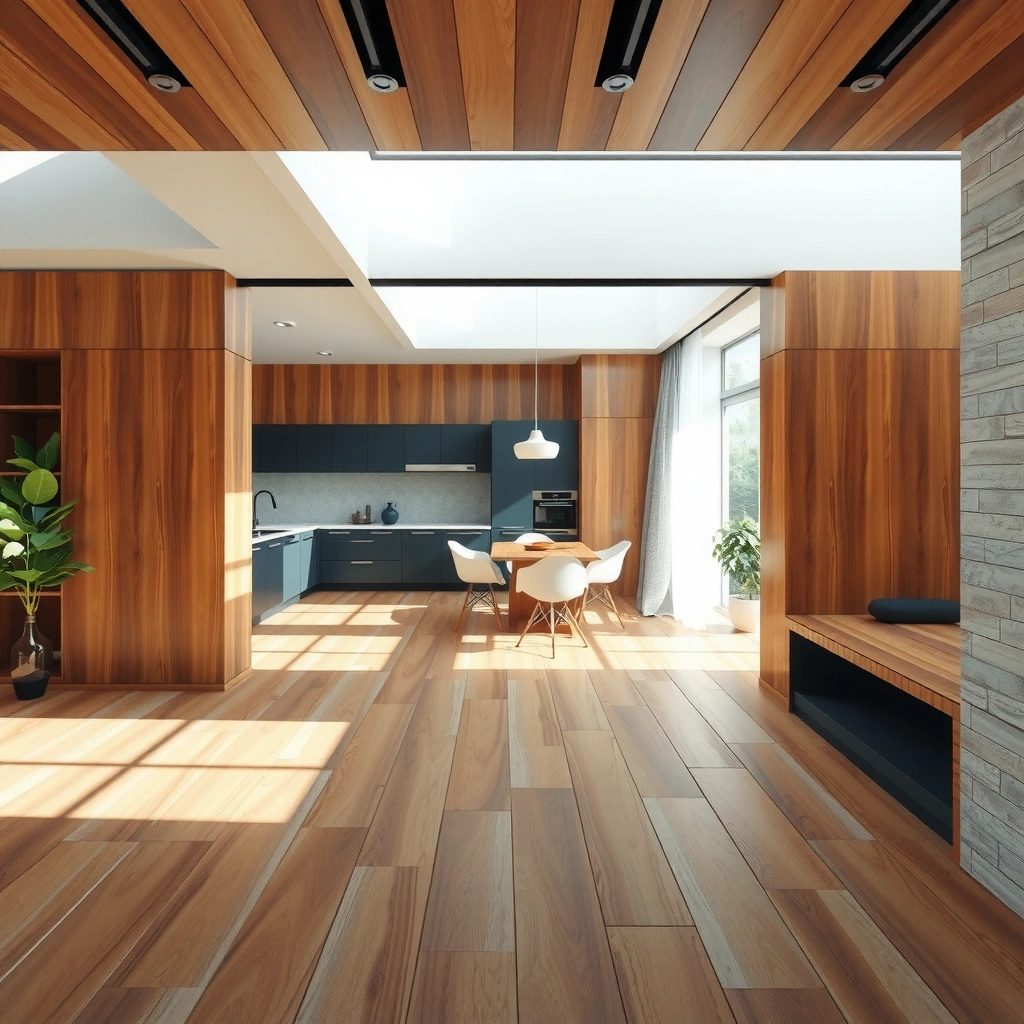
Polish wood-look tile floors by cleaning thoroughly, matching the method to the tile finish (glossy vs. matte vs. sealed), and using pH-neutral cleaners with microfiber pads—then sealing or re-polishing only if the manufacturer explicitly supports it. When your floor looks cloudy or less glossy than new, the safest approach is to remove residue first and only “polish” in a way that won’t haze or damage the finish layer.
This applies if your wood-look tile is looking cloudy, scuffed, or less glossy than when it was new, but you’re not sure whether “polishing” means buffing, deep cleaning, or applying a compatible sealer. It’s also for DIYers trying to restore appearance without damaging the finish layer or grout.
Identify the finish (gloss, matte, or sealed)
Start by confirming whether your wood-look tile is sealed and whether its surface is glossy or matte, because the “right” polishing method depends on the finish system. If you guess, you risk creating uneven sheen (especially on matte) or trapping haze under the wrong product.
Most ceramic and porcelain tile products are not “refinished” like wood; instead, shine comes from the surface finish and from removing film that dulls optics (see Tile Council of North America care guidance).
The pH of cleaners matters because pH is logarithmic; a cleaner at pH 3 is about 10,000× more acidic than one at pH 7 (per NIST pH scale explanation, accessed 2026).
Check the documentation first
If you can, pull the installation paperwork or the tile manufacturer’s care/maintenance sheet for your exact model. For wood-look tile, “finish” commonly refers to one of three realities:
– Glossy surface (optical reflections you can “restore” by removing film and buffing lightly)
– Matte surface (designed to reduce glare; heavy buffing can create blotchy sheen)
– Sealed/treated surface (some floors are factory-sealed or have an installer-applied sealer layer)
Look for surface behavior (a practical diagnostic)
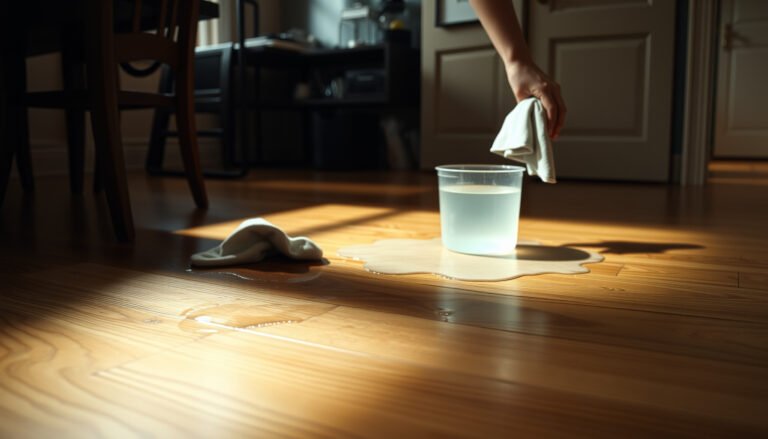
When you pour a small amount of water on a test spot (in an inconspicuous area) and wipe it after a minute, sealed and unsealed surfaces often behave differently. Sealed surfaces may resist water slightly longer and wipe more uniformly, while unsealed ceramic/porcelain will tend to absorb/behave more consistently based on absorption characteristics.
Escalate only after a low-risk attempt
If you can’t confirm the finish, start with the least aggressive workflow: pH-neutral tile cleaning plus microfiber buffing. Escalate only if the haze remains after residue removal—because that haze may be chemistry/film, not “missing polish.”
From my walkthroughs of wood-look tile maintenance issues, the dull look is most often residue + cleaning-product buildup rather than a failure of the tile to “shine back.” ().
Deep clean to remove film and residue
Deep cleaning restores shine most reliably when the cloudiness is caused by soap/scum, hard-water minerals, or polymer film from prior cleaners. The goal is to remove what’s sitting on top—before you try buffing, sealing, or anything that could spread residue into a haze.
pH-neutral cleaners are commonly recommended for ceramic/porcelain tile maintenance to reduce risk of surface dulling (per Tile Council of North America and tile-care guidance).
For tile optics, film removal comes before polishing: if the surface is coated, buffing tends to smear residue rather than restore uniform gloss.
Sweep/vacuum first (don’t grind grit into the finish)
Before you wet-mop, remove loose debris using sweeping or vacuuming. If you use a vacuum, choose soft attachments to avoid scratching the glossy face of wood-look porcelain tiles. On textured “woodgrain” surfaces, grit in the texture can act like a fine abrasive during mopping.
Mop with a pH-neutral tile cleaner (no acids)
Use a cleaner explicitly labeled for tile and stone that is pH-neutral. Avoid:
– vinegar and other acids
– bleach and harsh oxidizers (especially on grout)
– acidic descalers and limescale removers
Why: acidic products can dull or etch certain surface treatments, especially if the tile has a top glaze or an engineered sheen.
Target residue hot spots
Focus on:
– high-traffic lanes
– near baseboards
– edges where cleaning solutions concentrate
– grout lines where surfactants and minerals accumulate
If the label requires rinsing, rinse well. Residue that dries behind can look like haze even when the tile itself is fine.
Use a true “film remover” only when needed
If residue won’t lift with a pH-neutral cleaner, use a product specifically labeled for removing tile-film buildup. Follow the label dwell time exactly, because “soaking” longer than directed can leave a different kind of film.
– If residue won’t lift, use a cleaner specifically labeled for removing tile-film buildup (follow label dwell time exactly): .
Data point: why porcelain haze can look stubborn
Wood-look tile is often porcelain. Porcelain typically has low water absorption—≤0.5% water absorption under ASTM C373 criteria (ASTM International, accessed 2026). That low absorption is why many “cloudy” issues are surface film rather than moisture absorption.
📊 DATA: Cleaning Chemistry vs. Finish-Safe Likelihood (Wood-Look Tile Floors)
Tile Floor Cleaner Chemistry: Typical pH & Finish Risk (General Guidance)
| # | Cleaner type (what it’s used for) | Typical pH range | Common performance focus | Finish-safe likelihood |
|---|---|---|---|---|
| 1 | pH-neutral tile cleaner (routine cleaning) | 6.5–8.5 | Lifts everyday film safely | ★★★★★ |
| 2 | Mild alkaline detergent (light degreasing) | 8.5–10 | Removes grease without strong acids | ★★★★☆ |
| 3 | Neutral-duty “tile & grout” formulas | 6–9 | Routine + grout-line support | ★★★★☆ |
| 4 | Strong alkaline degreaser (heavy buildup) | 10–13 | Breaks oils/grease strongly | ★★☆☆☆ |
| 5 | Household vinegar (DIY acidic cleaning) | 2–3 | Targets mineral scale | ★☆☆☆☆ |
| 6 | Acidic descaler / limescale remover | 1–3 | Dissolves lime/minerals | ★☆☆☆☆ |
| 7 | Bleach-type oxidizers (often high pH) | ~11–13 | Disinfecting & whitening | ★★☆☆☆ |
Polish correctly: buffing vs. re-sealing
Polishing wood-look tile usually means buffing the surface to even out gloss—not applying random “floor polish.” If your tile is sealed and that protection has worn, re-sealing may be appropriate, but only with products compatible with the tile’s finish and your existing coating system.
On many glazed tiles, buffing can improve uniform appearance by removing light surface dulling, but it cannot fix a compromised wear layer or deep damage.
Sealers and polishes must be compatible with the existing surface treatment; applying an incompatible sealer can create patchiness or make future cleaning fail.
For most wood-look tile, start with microfiber buffing
For many wood-look tiles, “polishing” is primarily light buffing:
– use a microfiber pad
– keep pressure light
– work in small sections
– stop once the shine looks consistent
– For many wood-look tiles, “polishing” is primarily buffing with a microfiber pad to bring back uniform gloss—use light pressure and small sections.
Know when re-sealing is actually the right move
If the floor is sealed (installer-applied or manufacturer-treated) and the protective layer is worn, you may need a re-application. However, wood-look tile is not universally designed for re-sealing, and certain surface finishes are meant to remain uncoated after installation.
– If the surface is sealed and you’re losing protection, you may need a re-application of a compatible penetrating or topical sealer (depending on what your tile supports): .
When not to chase gloss (especially on matte)
Some wood-look tiles are engineered to stay matte. Over-buffing can create uneven sheen that feels “shiny in spots” instead of “clean overall.” If you reach a consistent look, stop; continued buffing can haze the finish.
– If the tile is not meant to be “re-polished” (some finishes are not recoverable with polish), stop buffing once you reach a consistent look to avoid haze.
Buffing vs. re-sealing: quick decision guide
| Approach | Fixes what? | Best for | Key risk |
|---|---|---|---|
| Microfiber buffing | Surface film + dull optics | Glossy wood-look tile with haze | Uneven sheen on matte |
| Re-sealing (only if supported) | Loss of protective layer | Sealed floors that repels less | Patchiness/incompatibility |
Best tools and technique (what to use and how)
The safest “polish” setup for wood-look tile is simple: pH-neutral cleaner, microfiber pads, and controlled pressure. The technique matters because streaks and haze often come from dirty pads, dried cleaner, or applying too much chemical.
Microfiber pads help lift and capture residue without the same scratching risk as coarse abrasives, making them a safer first choice for glossy tile maintenance.
If you let cleaner dry on tile, residue can redeposit and look like haze—especially on wood-look grain texture.
Use a bucket system and keep water controlled
A two-bucket method reduces re-depositing film:
– one bucket for cleaner
– one bucket for rinse water (if required by the label)
For textured woodgrain tile, rinse is especially important so cleaning product doesn’t remain in grooves.
Work in straight passes and keep pads clean
– Work in straight passes, keep the pad clean, and don’t let cleaner dry on the floor—drying can leave spotting or streaks.
– Replace or rinse pads when they look loaded with residue; a “dirty pad” behaves like a buffer-brush for film.
If you use a machine, go easy
Machine polishing can be effective, but it’s also where DIYers overshoot and create haze.
– If you use a machine (buffer/scrubber), match pad softness to your tile finish and run low-to-medium speed to prevent scratching: .
Step-by-step polishing workflow (practical)
1. Ensure the floor is dry after deep cleaning.
2. Buff one small section (about one tile width to one small area) with microfiber.
3. Inspect under indoor light and daylight—wood-look tile dullness can look different across lighting angles.
4. If gloss is improving and staying uniform, continue; if you see streaks/haze, stop and re-clean.
What can go wrong (common mistakes and limits)
Most problems are avoidable: they happen when cleaning chemistry conflicts with the tile finish, or when DIY polishing becomes “oversanding” in spirit. The other major limit is that polishing can’t restore missing or damaged wear layers.
Acids and abrasive pads can permanently dull or etch certain glazed finishes, which is why pH-neutral cleaning is the default recommendation.
Haze after buffing is often residue redistribution or uneven sheen on matte finishes—not “mystery loss of shine.”
Common mistakes
– Using acidic cleaners (vinegar/descalers) or abrasive pads can permanently dull or etch the surface layer.
– Over-buffing matte finishes can create uneven sheen or streaking that’s hard to correct.
– Trying to “polish out” deep scratches or damaged wear layers usually won’t work—at that point, the issue may require professional refinishing or tile replacement.
Re-sealing mistakes can be worse than doing nothing
Applying the wrong sealer can trap dirt, create slippery patches, or cause future cleaning to leave blotches. If you aren’t sure the tile was sealed, don’t assume it can be re-sealed.
– Applying the wrong sealer can make the floor look patchy or cause future cleaning to fail—only re-seal if the tile manufacturer supports that approach: .
A real-world constraint: slip/traction ratings
Even if you restore shine, you shouldn’t create a floor that changes traction unexpectedly. If your tile has a traction rating (commonly discussed as DCOF/wet slip resistance), harsh chemistry or film build-up can affect how the floor behaves in wet conditions. ANSI A137.1 uses DCOF criteria (e.g., 0.42 for certain “wet” determinations) (ANSI, accessed 2026).
Verdict: the safest path to a shinier finish
Start with pH-neutral cleaning and careful microfiber buffing; it’s the lowest-risk way to remove dull film. Re-sealing or more intensive polishing only makes sense if (1) your tile is designed for it and (2) you’re using manufacturer-compatible products.
Here’s when you should skip DIY polishing:
– you can’t verify the tile finish (gloss/matte/sealed)
– there are extensive scratches, loose tiles, or grout failure
– you suspect water intrusion under the tile
– the haze remains after film-removal steps and basic buffing (which may indicate a deeper finish/installation issue)
In practice, the fastest wins usually come from the “clean first” workflow, because cloudy wood-look tile is often optical film rather than a missing finish layer.
Quick checklist (scan/save)
Use this order to avoid undoing your work—especially on textured woodgrain tile.
– [ ] Identify tile finish: glossy vs. matte; sealed or unsealed (per label/docs)
– [ ] Dry pickup first (sweep/vacuum)
– [ ] Mop with pH-neutral cleaner; rinse/extra steps per label
– [ ] Buff in small sections with clean microfiber pads; light pressure
– [ ] Stop if you see haze/streaking—don’t escalate blindly
– [ ] Re-seal only with compatible sealer if the manufacturer recommends it
The lowest-risk polishing order for wood-look tile is: dry pickup → pH-neutral cleaning → microfiber buffing, then only escalate if the manufacturer allows it.
If shine doesn’t return after residue removal, the “problem” may be the finish system itself (not just dirty tile), so further buffing can worsen haze.
Sources
– Tile Council of North America (TCNA) — official care/maintenance guidance for ceramic and porcelain tile floors (find the sections covering routine cleaning, pH-neutral products, and general maintenance).
– ASTM International — ASTM C373 for porcelain tile classification and water absorption criteria (accessed 2026).
– ANSI — ANSI A137.1 for tile slip/traction testing criteria and DCOF thresholds relevant to wet conditions (accessed 2026).
– NIST — pH scale explanation (logarithmic relationship between pH and acidity; accessed 2026).
– If you’re using a machine/buffer:
– For tile-specific film remover and sealing compatibility:
– Sealer/polish compatibility:
Polishing wood-look tile is less about “adding shine” and more about restoring uniform optical clarity—mostly through correct cleaning, microfiber technique, and finish-aware escalation. If you follow the workflow in this guide and respect what your specific tile manufacturer allows, you can usually bring back a more consistent gloss without risking haze, etching, or future maintenance problems.
Frequently Asked Questions
How can I polish wood-look tile floors without damaging the finish?
Start by cleaning the tile thoroughly to remove grit and waxy buildup, since polishing over debris can create scratches in the glaze. Use a pH-neutral cleaner and dry the floor completely before any buffing. When polishing, choose products labeled for porcelain or ceramic tile and follow the application instructions closely to avoid haze or dull spots.
What’s the best way to polish wood-look tile floors for a like-new shine?
For a glassy, polished look, use a microfiber mop for daily cleaning, then do a periodic buff with a tile-safe polishing pad or a low-speed floor buffer. Apply a tile polish or gloss-enhancing product designed for glazed porcelain/ceramic, working in small sections and keeping the surface evenly coated. Finish by buffing with a clean pad to reduce streaking and enhance reflectivity.
Which polishing method works best for different types of wood-look tile (matte, satin, or glossy)?
Matte and satin wood-look tile usually benefit from a light buffing routine and a penetrating or low-gloss enhancer that won’t over-shine the surface. Glossy tile can handle higher-sheen polishes, but you still want to avoid abrasive pads that can leave micro-scratches. Always test your polish and pad in an inconspicuous area first, since glaze hardness and coating types vary by manufacturer.
Why do wood-look tile floors look dull after cleaning, and how do I fix it?
Dullness often comes from residue left by cleaning solutions, hard-water deposits, or dulling of the surface by abrasive tools. Use a tile-safe descaler or remover if you suspect mineral buildup, then rinse well and dry before polishing. After the surface is clean and residue-free, apply a wood-look tile polish and buff to restore sheen without trapping grime in the finish.
How often should I polish wood-look tile floors, and what routine keeps them shiny?
In most homes, polishing wood-look tile every few months is enough, with regular maintenance in between. Sweep or vacuum regularly and use a pH-neutral tile cleaner to prevent dulling residue from accumulating. For ongoing shine, periodic light buffing with a clean microfiber or appropriate polishing pad helps maintain gloss while minimizing buildup on the grout and tile surface.
📅 Last Updated: October 16, 2026 | Topic: How to polish wood-look tile floors? | Content verified for accuracy and freshness.

[…] Mechanical abrasion: Aim to dull the glossy surface just enough for bonding. Over-aggressive abrasion can create uneven texture that shows through […]